
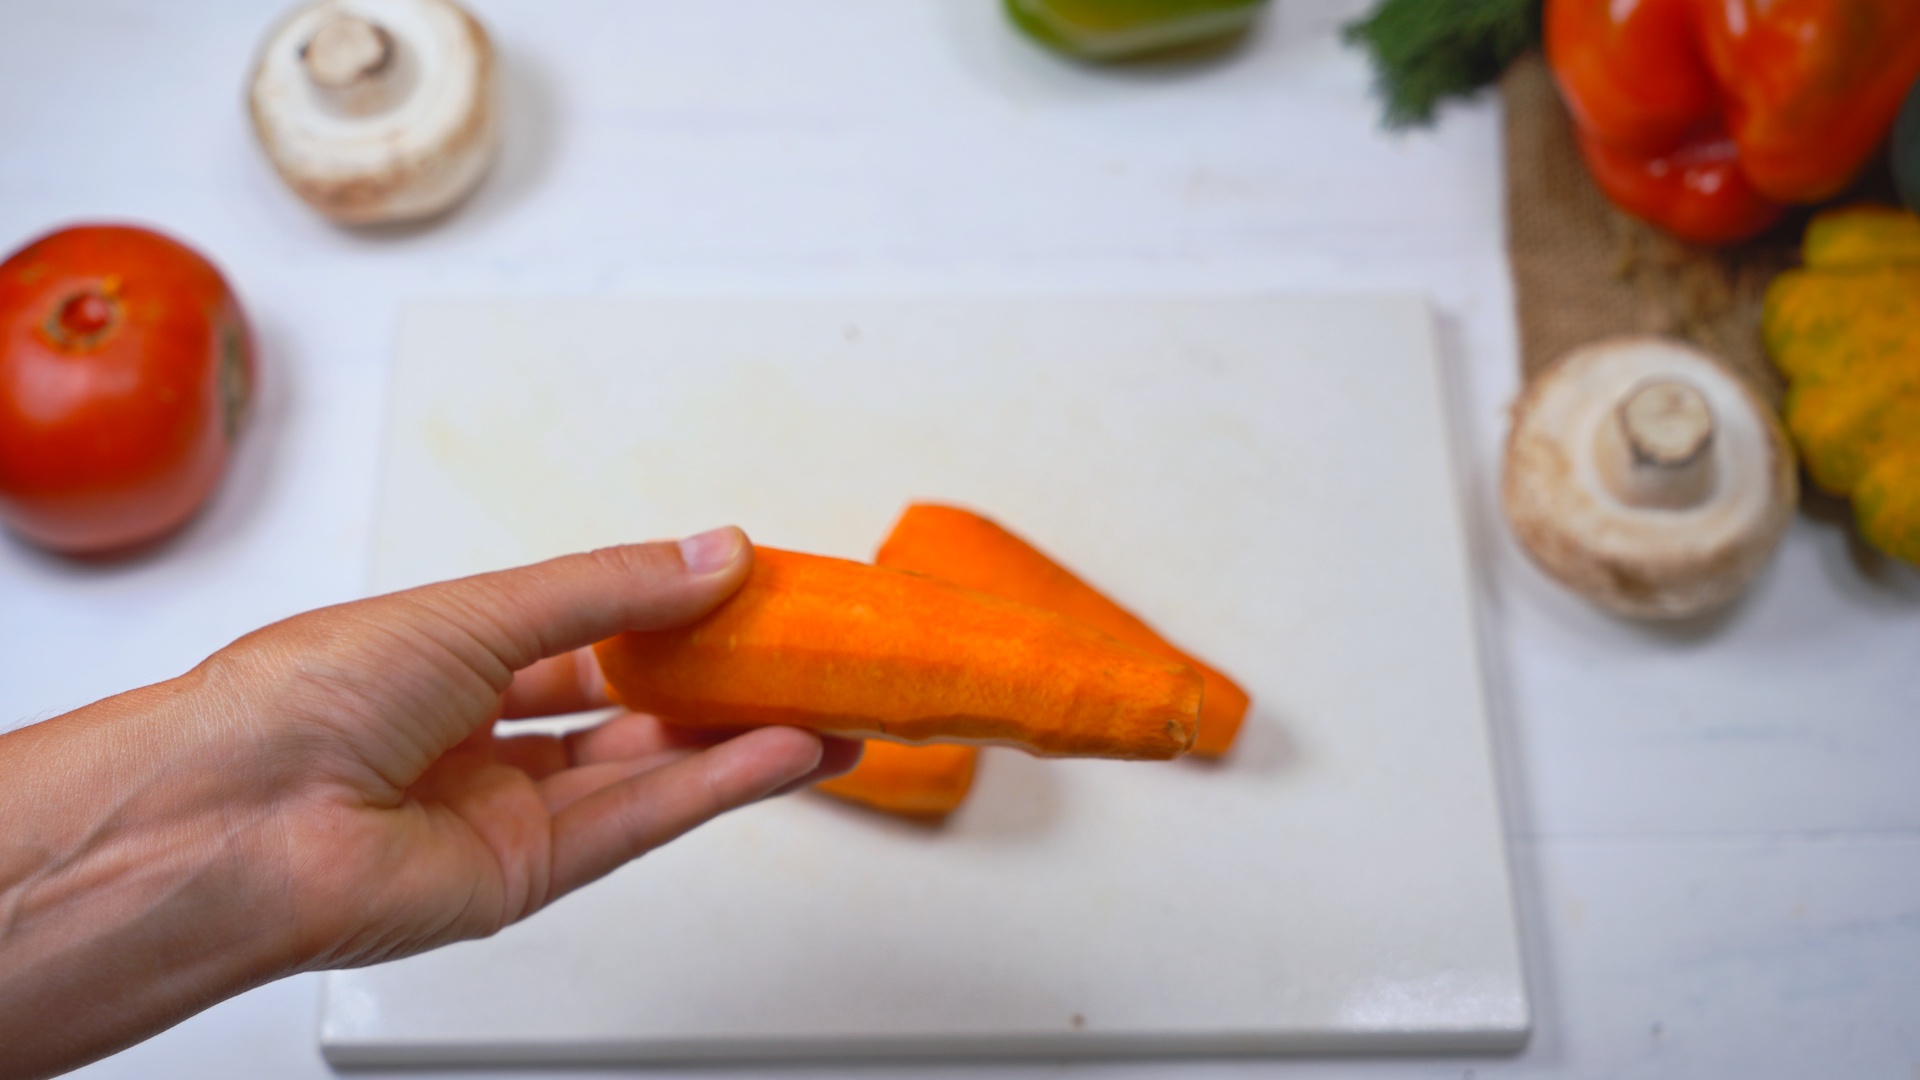
Julienned carrots can make an ordinary bowl of lettuce look restaurant-ready, help a stir-fry cook more evenly, and add a satisfying crunch to sandwiches, spring rolls, soups, and slaws. The name may sound like something taught during an expensive French culinary course, but the technique is simply a practical way to cut carrots into thin, matchstick-shaped strips.
Learning how to julienne carrots does not require professional equipment or the ability to chop vegetables at television-chef speed. With a sharp knife, a stable cutting board, and a few careful steps, almost any home cook can create neat carrot matchsticks. A mandoline, julienne peeler, or food processor can also speed things up when dinner is approaching and patience is leaving the building.
This guide explains the traditional knife method, alternative tools, common mistakes, storage tips, and the best ways to use julienne carrots in salads and cooked dishes.
What Does It Mean to Julienne Carrots?
To julienne a carrot means to cut it into long, narrow strips that resemble wooden matchsticks. A common home-kitchen target is approximately 1 to 3 inches long and about 1/8 inch thick. Exact culinary-school measurements can vary, but consistency matters more than chasing perfection with a ruler while dinner gets cold.
Julienne is thinner than a batonnet cut and much thinner than the chunky carrot sticks commonly packed in lunch boxes. These slim pieces are especially useful because they:
- Distribute color throughout salads, noodle bowls, and slaws.
- Absorb dressings, marinades, and pickling liquid quickly.
- Cook faster than thick carrot slices or chunks.
- Create a crisp texture without overwhelming each bite.
- Mix easily with cabbage, cucumbers, peppers, herbs, and noodles.
Uniform strips also tend to cook at a similar rate. That means fewer pieces that are nearly raw sitting beside others that have surrendered into orange mush.
Tools You Need to Julienne Carrots
Essential Equipment
- A sharp chef’s knife: An 8-inch chef’s knife works well for most adults, although a smaller utility or santoku knife may feel more comfortable.
- A stable cutting board: Choose a board large enough to hold the carrot sections and finished matchsticks without creating a vegetable traffic jam.
- A vegetable peeler: Peeling is optional when carrots are scrubbed thoroughly, but it creates a smoother and more uniform appearance.
- A clean kitchen towel: Place a slightly damp towel beneath the cutting board if it slides on the counter.
Optional Time-Saving Tools
- Julienne peeler: This resembles a standard vegetable peeler but has small teeth that create multiple thin strips with each stroke.
- Mandoline slicer: A julienne attachment can produce large quantities of uniform carrots quickly.
- Food processor: A julienne or shredding disk is useful for party-size slaws and meal preparation.
A knife generally produces the neatest traditional matchsticks. A julienne peeler creates longer, slightly flexible strands, while a food processor usually makes shorter, less precise pieces. All three results can be useful; the best tool depends on the dish and how enthusiastically you feel about washing extra equipment.
How to Prepare Carrots Safely
Wash your hands and clean the knife, board, and work surface before preparing the carrots. Rinse whole carrots thoroughly under running water before peeling or cutting them. Firm produce can be gently scrubbed with a clean vegetable brush to remove surface dirt. The FDA advises washing produce under running water rather than using soap, detergent, or household cleaning products.
Use a cutting board reserved for produce and ready-to-eat foods, or make certain the board has been thoroughly washed after contact with raw meat, poultry, or seafood. USDA guidance recommends separate boards to reduce the risk of cross-contamination.
Trim away the stem end, narrow tip, damaged areas, and any soft or discolored sections. Dry the carrots before cutting. A dry carrot is easier to control than one that behaves like it is trying to escape.
How to Julienne Carrots with a Knife
The basic process is simple: cut the carrot into manageable sections, create a flat surface, slice the sections into thin planks, and cut those planks into matchsticks.
Step 1: Peel and Trim the Carrots
Peel each carrot if you want a smooth, polished finish. Peeling is particularly helpful for older carrots with rough skin. Young carrots can be left unpeeled when they are thoroughly scrubbed and their appearance suits the recipe.
Trim both ends with your chef’s knife. Remove only what is necessary; there is no prize for turning half a carrot into compost.
Step 2: Cut the Carrots into Short Sections
Cut each carrot crosswise into sections approximately 2 to 3 inches long. Short sections are easier to stabilize and produce matchsticks that fit comfortably into salads, wraps, and stir-fries. Food Network and Martha Stewart use similar manageable segments in their julienne instructions.
If one end of the carrot is much wider than the other, separate the thick and thin portions. You may need to cut thicker sections into slightly narrower blocks so that the finished pieces have similar dimensions.
Step 3: Create a Flat Base
Lay one carrot section on its side and slice a very thin piece from one edge. Turn the carrot so the newly cut side rests flat against the board.
This step is sometimes called “squaring off” the vegetable. It prevents a round carrot from rolling beneath the knife and gives you a safer, more predictable starting point. You can trim the remaining rounded sides to form a rectangular block, but complete squaring is optional for everyday cooking.
Step 4: Slice the Carrot into Thin Planks
Hold the carrot with your non-dominant hand, curling your fingertips inward so the knuckles face the side of the blade. Slice lengthwise to create thin planks about 1/8 inch thick.
Use smooth, controlled strokes. Avoid pushing straight down with excessive force. A sharp knife should move through the carrot without requiring an upper-body workout.
Keep the first few planks together, but do not build a towering stack. Two to four planks are usually manageable. A tall, slippery stack is quicker only until it falls over.
Step 5: Cut the Planks into Matchsticks
Stack the carrot planks neatly and position them flat on the board. Cut lengthwise again at approximately 1/8-inch intervals. The resulting strips are your julienned carrots.
Work slowly while learning. Keep the tip of the knife near the board and use a gentle forward-and-down motion. Let the knuckles of your guiding hand help control the width of each cut while keeping your fingertips tucked away from the blade.
Step 6: Sort and Adjust the Pieces
Transfer the matchsticks to a bowl and inspect the pile. Set aside unusually thick pieces and slice them again. Rounded edge pieces may not look perfectly square, but they still taste like carrots and are welcome in soups, stir-fries, stocks, or the cook’s snack bowl.
How to Julienne Carrots Without a Chef’s Knife
Using a Julienne Peeler
Place a peeled carrot flat on the cutting board or hold it firmly by the thick end. Pull the julienne peeler lengthwise along the carrot using even pressure. Rotate the carrot as needed and stop when the remaining piece becomes too small to hold safely.
A julienne peeler is affordable, compact, and useful for small quantities. Its serrated blade creates long, thin strips suitable for salads, garnishes, noodle bowls, and sandwich toppings. The strips may be more flexible and less square than knife-cut matchsticks, but they provide excellent crunch with very little effort.
Using a Mandoline
Install the julienne blade and adjust the thickness according to the manufacturer’s instructions. Trim the carrot so it sits securely in the hand guard, then slide it across the blade with steady pressure.
Mandolines are fast and exceptionally consistent, but their blades are extremely sharp. Always use the supplied guard, a cut-resistant glove, or another manufacturer-approved safety device. Never continue slicing a tiny carrot stub with bare fingertips simply because wasting one inch of carrot feels emotionally unacceptable.
Using a Food Processor
Fit the processor with a julienne or medium shredding disk. Cut the carrots into lengths that fit the feed tube, start the motor, and apply gentle pressure with the food pusher.
This is the fastest method for large batches. The results may look more like coarse shreds than classic matchsticks, but they work beautifully in carrot slaw, fritters, salads, vegetable pancakes, fried rice, and baked goods.
How Thick Should Julienne Carrots Be?
For a classic julienne, aim for strips approximately 1/8 inch thick. The ideal length depends on the recipe:
- 1 to 2 inches: Chopped salads, tacos, spring rolls, and sandwich fillings.
- 2 to 3 inches: Stir-fries, slaws, noodle bowls, and decorative garnishes.
- Longer strands: Raw salads, vegetable “noodles,” and dramatic plating.
Thinner carrots soften quickly and absorb dressing well. Slightly thicker matchsticks remain crisp for longer and hold up better in hot skillets. When cooking carrots with softer vegetables, such as zucchini or bell peppers, add the carrots first or cut them more thinly because carrots generally require more cooking time.
Best Ways to Use Julienne Carrots
Fresh Salads and Slaws
Julienne carrots are naturally suited to salads because they deliver sweetness, color, and crunch without requiring diners to wrestle with thick chunks. Toss them with shredded cabbage, sliced scallions, cilantro, toasted peanuts, and a lime dressing for a bright slaw.
For a simple carrot salad, combine the matchsticks with lemon juice, olive oil, Dijon mustard, parsley, salt, pepper, and a small spoonful of honey. Let the mixture rest for 10 to 15 minutes so the dressing lightly softens the carrots.
Stir-Fries
Heat a skillet or wok, add oil, and cook the carrot matchsticks for one or two minutes before adding vegetables that soften quickly. Their thin shape helps them become crisp-tender while retaining their color and structure.
Try them with snow peas, bell peppers, mushrooms, ginger, garlic, soy sauce, and sesame oil. Keep the pan hot and the cooking time short. Julienne carrots should bend slightly when cooked but should not collapse like overcooked noodles.
Soups and Broths
Thin carrot strips are ideal for noodle soup, chicken broth, vegetable soup, and miso soup. Add them near the end of cooking so they soften without losing all texture.
Pickles and Sandwiches
Carrot matchsticks absorb pickling liquid rapidly. Combine them with julienned daikon, vinegar, sugar, and salt for a quick pickle that adds acidity and crunch to banh mi, rice bowls, grilled meats, and wraps.
Spring Rolls and Lettuce Wraps
The narrow shape fits neatly into rice-paper rolls and lettuce cups. Pair the carrots with cucumber, herbs, noodles, tofu, shrimp, or cooked chicken. Avoid overfilling the wrapper unless your preferred serving style is “spring roll explosion.”
Common Julienne Mistakes and How to Fix Them
The Carrot Rolls While Cutting
Create a flat base before making lengthwise cuts. Also make sure the cutting board is stable and the carrot is dry.
The Matchsticks Are Different Sizes
Concentrate on making even planks first. If the planks have consistent thickness, the final matchsticks will be much easier to control. Cut only a few stacked planks at a time.
The Knife Gets Stuck
The blade may be dull, the carrot may be unusually thick, or you may be pressing straight downward. Sharpen the knife and use a smooth slicing motion rather than forcing it through the vegetable.
The Strips Are Too Thin and Flexible
Very thin strands are not necessarily wrong. Use them raw in salads, garnishes, or quick pickles. For stir-frying, cut slightly thicker matchsticks that can withstand heat.
Too Much Carrot Is Wasted
You do not have to produce a perfectly rectangular block. Trim only enough to create a stable base. Save the rounded pieces for soup, stock, fried rice, snacks, or another recipe.
How to Store Julienned Carrots
Place freshly cut carrots in a clean, airtight container and refrigerate them promptly. Refrigeration is especially important after vegetables have been peeled or cut.
For the best texture, use julienned carrots within three to five days. A dry paper towel placed inside the container can absorb excess moisture. Replace it if it becomes damp.
Carrots that appear dry can be refreshed by soaking them briefly in cold water, then draining and drying them thoroughly. Discard pieces that develop slime, mold, an unpleasant odor, or significant softness.
Whole carrots last longer than cut carrots, so consider preparing only the quantity you expect to use during the next few meals. Whole carrots should be refrigerated without their leafy tops, which can draw moisture from the roots.
A Home Cook’s Learning Curve: What the First Few Batches Teach You
The first attempt at julienning carrots often begins with confidence and ends with a collection of orange objects representing several unrelated geometric categories. There may be matchsticks, planks, wedges, tiny cubes, and one mysterious piece that looks like a canoe. This is normal. The goal of the first batch is not perfection; it is learning how the carrot, knife, and cutting board behave together.
The most noticeable improvement usually comes from creating a flat surface. Many beginners try to slice a whole round carrot lengthwise while it rocks from side to side. Once a thin strip is removed and the carrot rests securely on the board, the entire process feels calmer. The knife becomes easier to guide, the planks become more consistent, and the cook stops chasing the carrot across the counter.
The next lesson is that thin planks determine the quality of the finished julienne. It is tempting to rush through the plank stage because the matchstick stage looks like the “real” technique. In practice, uneven planks create uneven strips. One thick plank may become several crunchy beams, while a paper-thin plank produces strands that wilt immediately in dressing. Slowing down during the first lengthwise cuts saves time later.
Stacking also requires restraint. A large stack seems efficient, but it can slide apart as the knife moves through it. Two or three planks are easier to control. Once the technique becomes familiar, the stack can gradually grow. Speed should appear naturally through repetition rather than through a sudden decision to impersonate a restaurant line cook.
Different dishes also teach different standards. Carrots for a rustic slaw do not need perfect square edges. Slight variations make the salad look natural and provide a mix of textures. Carrots for fresh spring rolls benefit from longer, thinner strands that align neatly with noodles and herbs. Stir-fry carrots should be uniform enough to cook together, but they can be slightly thicker so they remain crisp under high heat.
Alternative tools create their own learning experiences. A julienne peeler is easy to understand, but pressure matters. Pressing too lightly creates incomplete strands; pressing too firmly can make connected strips that resemble an orange accordion. A mandoline delivers remarkable consistency, yet it also demands complete attention and proper hand protection. The moment the carrot becomes too small to hold safely is the moment to stopnot the moment to become heroic.
After several batches, the process becomes less about exact measurements and more about visual rhythm. The cook begins to recognize a suitable plank thickness, maintain a steady knife angle, and adjust the cut for the final dish. The leftover rounded pieces also stop feeling like waste. They become snacks, soup vegetables, or ingredients for tomorrow’s fried rice.
The most useful lesson is that julienning is not a performance. It is a practical skill designed to improve texture, cooking time, and presentation. A slightly irregular pile of fresh carrot matchsticks is more valuable than a perfect pile that took an hour and caused dinner to be served at bedtime.
Frequently Asked Questions
Do You Have to Peel Carrots Before Julienning?
No. Thoroughly scrubbed young carrots can be julienned with the peel intact. Peeling produces a smoother appearance and removes rough or dry outer skin from older carrots.
Can Baby Carrots Be Julienned?
Yes, although their small size makes them harder to stabilize. Cut a flat surface before slicing, and keep your fingers well away from the blade. Full-size carrots are generally easier and safer for practicing knife skills.
Is Shredded Carrot the Same as Julienned Carrot?
No. Shredded carrots are typically finer, shorter, and less uniform. Julienned carrots are deliberate matchstick-shaped pieces. Shreds are excellent for cakes and quick slaws, while matchsticks provide a more distinct crunch and polished appearance.
Can Julienned Carrots Be Frozen?
They can be frozen, but their texture will soften after thawing. For better quality, blanch the carrots briefly, cool them in ice water, drain thoroughly, and freeze them in suitable containers. Use thawed carrots in soups, stews, sauces, or cooked dishes rather than crisp salads.
What Is the Fastest Way to Julienne Several Pounds of Carrots?
Use a food processor with a julienne disk or a mandoline with the correct attachment. A chef’s knife is practical for small batches, but mechanical tools save considerable time when preparing food for a crowd.
Conclusion
Learning how to julienne carrots is one of those small kitchen skills that produces surprisingly useful results. Start by washing and trimming the carrots, cut them into manageable sections, create a flat base, slice thin planks, and turn those planks into matchsticks. Keep the knife sharp, the cutting board stable, and your fingertips curled safely away from the blade.
Use a julienne peeler for quick salads, a mandoline for precision, or a food processor when feeding a small army. Whether the carrots are headed for slaw, soup, stir-fry, pickles, spring rolls, or sandwiches, consistent strips improve texture, presentation, and cooking time. They do not need to look machine-made. They simply need to be thin enough for the recipe and similar enough to behave well together.













