
Cooking oil is a kitchen hero until dinner is over. One minute it is crisping chicken, browning potatoes, or making vegetables taste like they went to culinary finishing school. The next minute it is sitting in a pan, looking suspiciously like a plumbing bill in liquid form. So, how do you dispose of cooking oil without clogging your sink, annoying your trash can, or creating a tiny environmental villain under your house?
The good news: disposing of used cooking oil is easy once you know the rules. The even better news: you may not need to toss it right away. Many oils can be strained, stored, and reused safely for another round of frying, sautéing, or flavor-building. The trick is knowing when oil is still useful, when it has crossed into “please retire me” territory, and where it should go when its crispy glory days are over.
This guide explains the best ways to throw away cooking oil, how to recycle it, how to reuse frying oil safely, and what never to do unless you enjoy emergency calls to plumbers. Spoiler: the kitchen sink is not a magic portal.
Why Proper Cooking Oil Disposal Matters
Cooking oil, bacon grease, lard, shortening, butter drippings, and other fats are often grouped under the term FOG, which stands for fats, oils, and grease. FOG may look harmless when warm, but once it cools, it can thicken, cling to pipe walls, trap food particles, and slowly narrow the drain. Over time, that innocent “just a little bit” habit can become a stubborn clog.
Pouring oil down the sink can also contribute to larger sewer problems. When household grease combines with wipes, food scraps, and other debris, it can form heavy blockages that are difficult and expensive for cities to remove. That means proper cooking oil disposal is not only about protecting your kitchen plumbing; it is also about protecting public wastewater systems and local waterways.
There is another practical reason to dispose of oil correctly: mess prevention. Hot oil can melt plastic bags, leak through trash, stain floors, attract pests, and make your garbage smell like a deep fryer that has seen too much. A simple cooling-and-container method prevents almost all of that drama.
The Golden Rule: Never Pour Cooking Oil Down the Drain
If you remember only one thing, remember this: do not pour cooking oil down sinks, toilets, shower drains, storm drains, or garbage disposals. The garbage disposal may grind food scraps, but it does not make oil disappear. It simply sends the grease farther into the pipes, where it can cool, stick, and start plotting.
Hot water and dish soap are not reliable solutions either. They may move oil a little farther along, but once the water cools, the oil can still separate and cling to the plumbing. Think of hot water as giving grease a bus ticket, not a passport. It does not solve the problem; it may just move the problem somewhere less convenient.
Best Ways to Dispose of Cooking Oil at Home
1. Let the Oil Cool Completely
Before you touch used cooking oil, let it cool. This is not just a polite suggestion from cautious people wearing oven mitts. Hot oil can burn skin, warp plastic containers, melt trash bags, and create spills that are both slippery and annoying. Let the pan sit until the oil is cool enough to handle safely.
If you are dealing with a large amount of oil from deep-frying, give it extra time. A Dutch oven full of frying oil can stay warm longer than expected. If you are not sure, wait. Cooking oil disposal is one of those rare kitchen tasks where procrastination can be a safety strategy.
2. Pour It Into a Sealable Container
Once the oil is cool, pour it into a leak-proof container. Good options include an empty cooking oil bottle, coffee can, glass jar, milk carton, takeout container, or sturdy plastic jug. Use a funnel if you have one. If you do not, make peace with gravity and pour slowly.
Seal the container tightly before placing it in the trash. For extra protection, especially with liquid oils that do not solidify, wrap the container in a used paper bag or place it inside another bag before tossing it. If your local waste authority asks residents to label cooking oil containers, write “Cooking OilNot for Recycling” on the outside.
3. Solidify Small Amounts Before Trashing
For smaller amounts of grease, you can let it solidify in the pan and scrape it into the trash. Bacon grease, beef fat, and shortening often firm up on their own. Vegetable oil may stay liquid, but you can mix it with absorbent material to make it easier to discard.
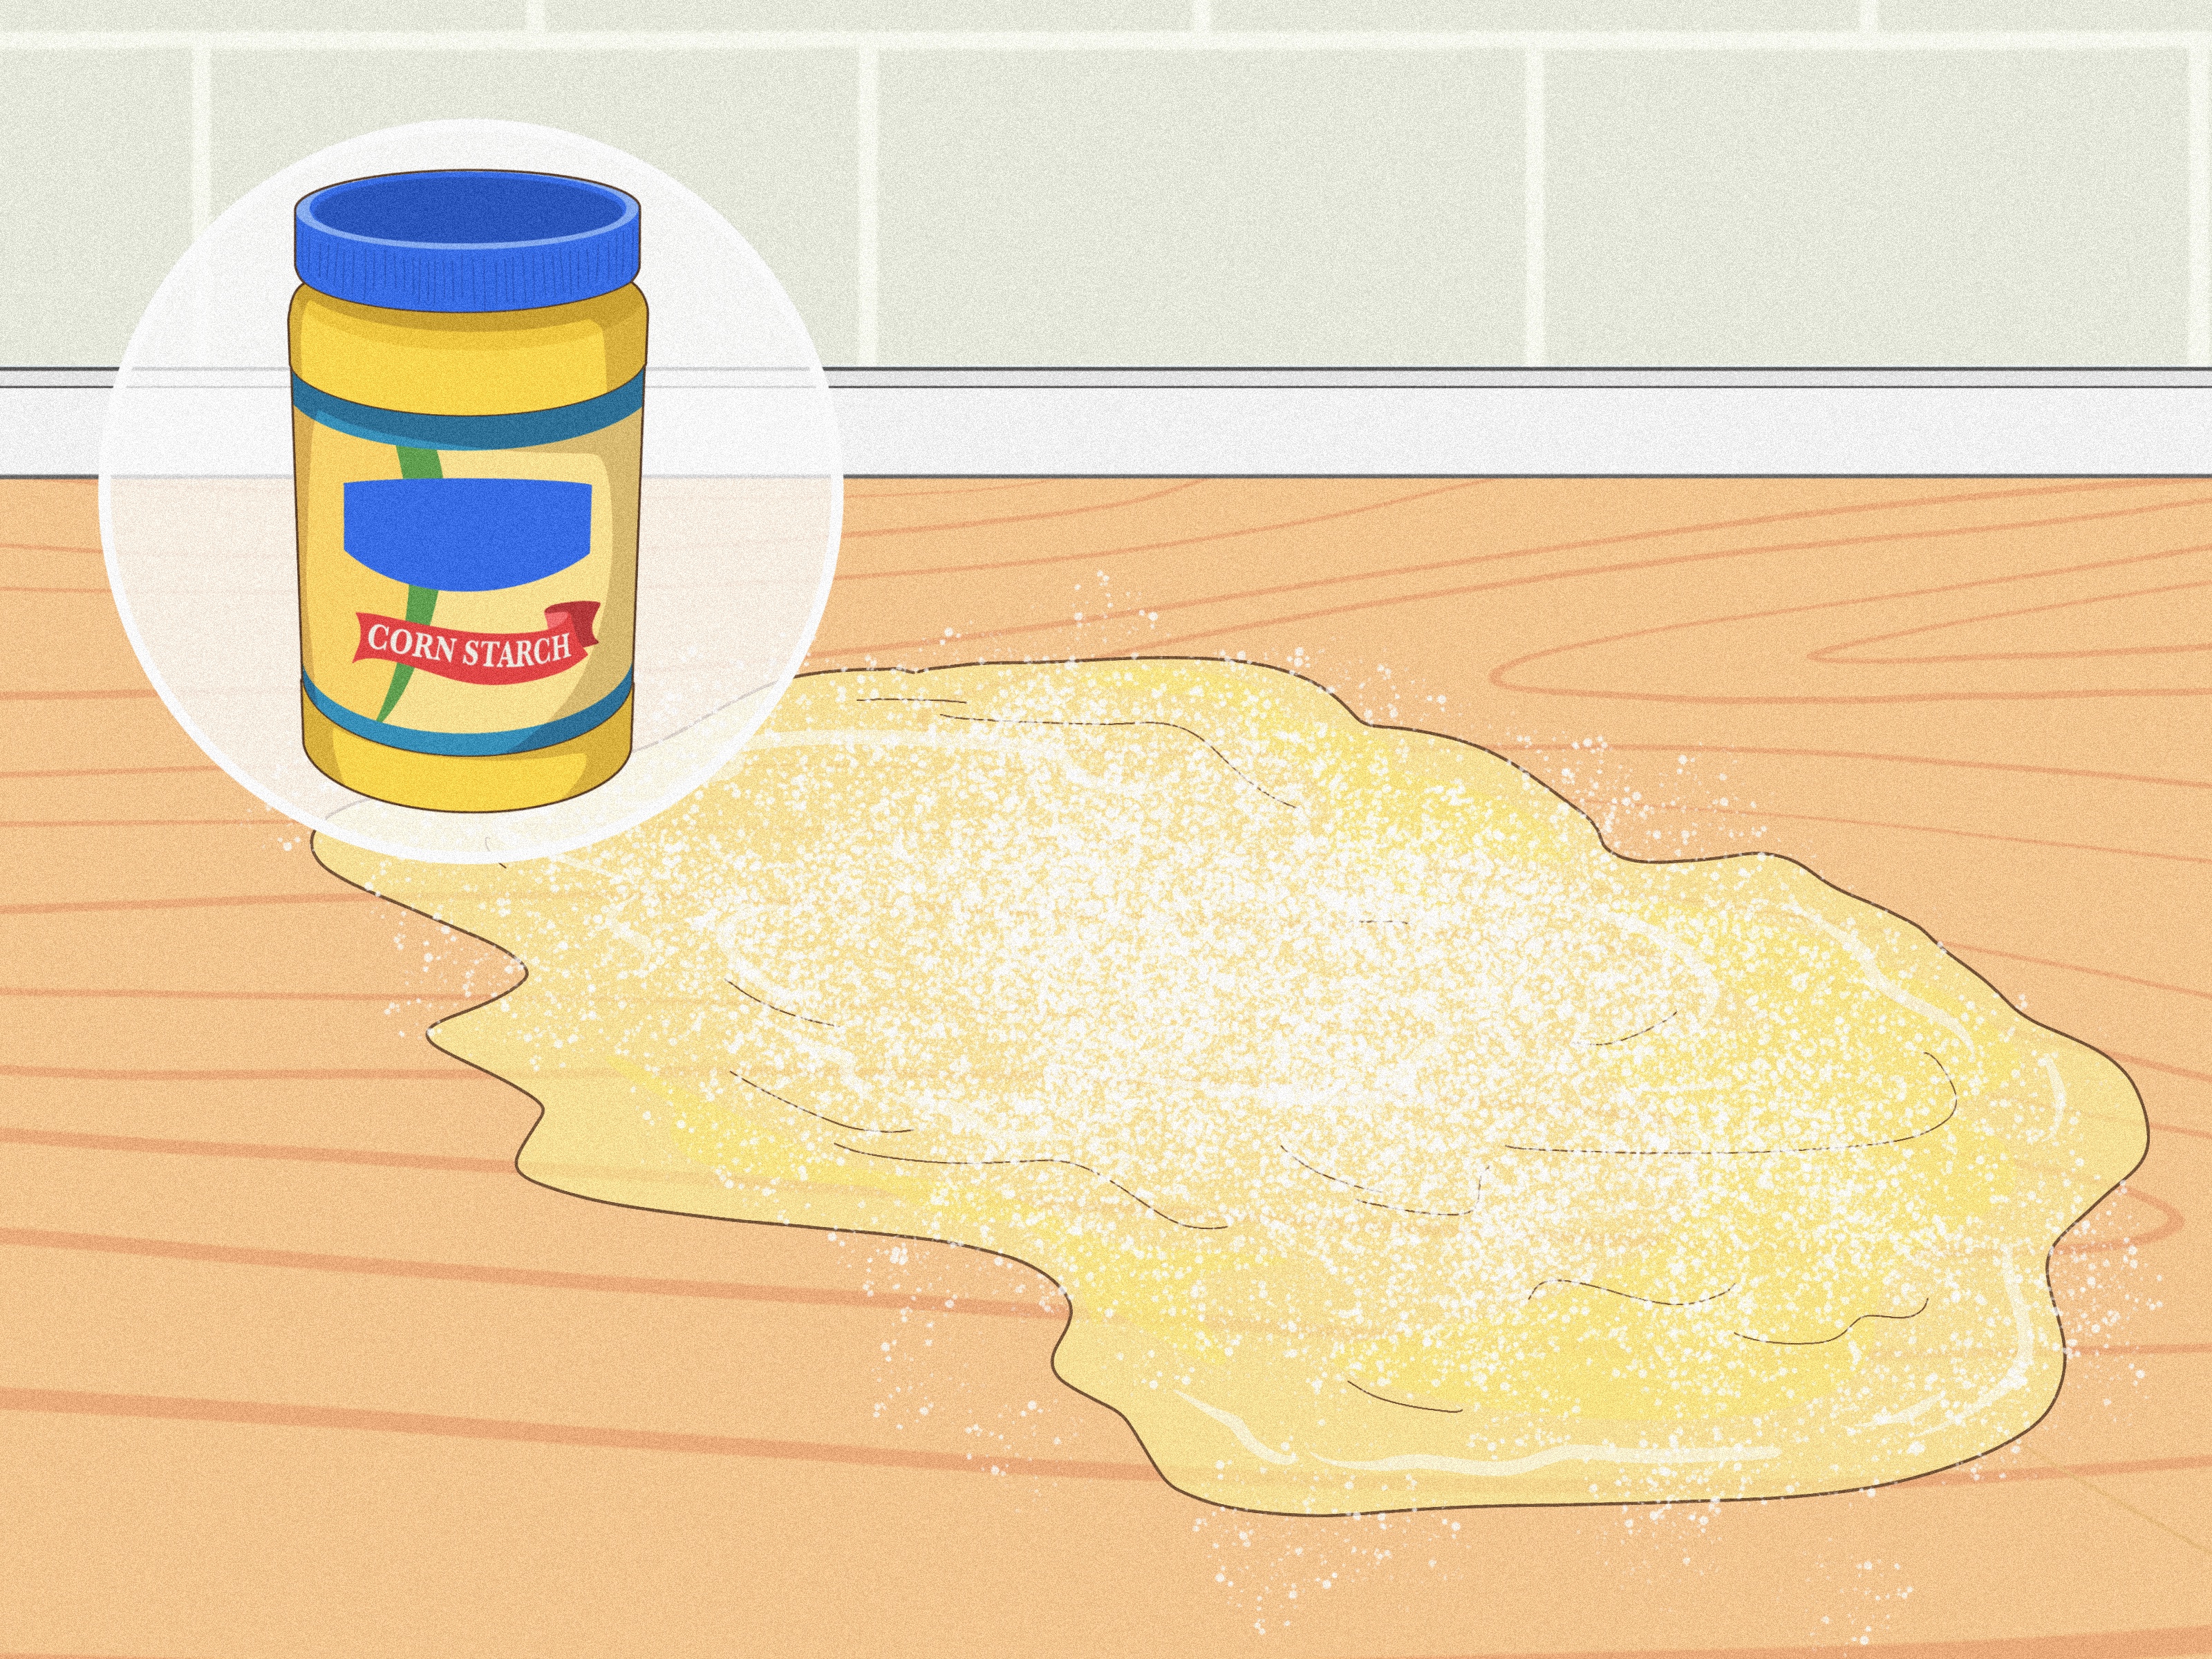
Try mixing cooled oil with used paper towels, coffee grounds, sawdust, flour, oats, shredded newspaper, or cat litter. The goal is to turn slippery liquid into contained waste. Once absorbed, place the mixture in a bag or lidded container and throw it away with regular trash.
4. Wipe Greasy Pans Before Washing
Even after pouring off the main oil, a thin greasy film often remains. Wipe pans, plates, and utensils with a paper towel before washing them. This small step keeps more grease out of the drain and makes dishwashing easier. Your sponge will also live a happier, less oily life.
For sticky residue, scrape food scraps into the trash or compost bin first, then wipe away grease, then wash with warm water and dish soap. A sink strainer can help catch bits of food that would otherwise join forces with grease in the pipes.
Can You Recycle Used Cooking Oil?
Yes, in many places used cooking oil can be recycled, but rules vary by city and county. Some communities collect used oil and convert it into biodiesel, renewable fuel, soap, or industrial products. Others accept it at household recycling events, transfer stations, or special drop-off sites. Some areas do not accept household cooking oil at all.
To recycle used cooking oil, store it in a clean, sealed container and keep it separate from water, food scraps, chemicals, motor oil, and cleaning products. Recyclers usually want used cooking oil, not a mysterious swamp stew from the back of the garage. If your oil is mixed with meat drippings or heavy solids, check local rules before assuming it is accepted.
Search your city or county website for terms like “used cooking oil recycling,” “FOG disposal,” “holiday grease recycling,” or “household cooking oil drop-off.” Around Thanksgiving, some municipalities offer turkey fryer oil collection events because nothing says “American holiday” like several gallons of peanut oil needing a responsible exit plan.
Can You Put Cooking Oil in the Compost?
Usually, home compost is not the best place for cooking oil. Small traces of plant-based oil on vegetable scraps may not ruin a compost pile, but larger amounts can slow decomposition, create odors, block airflow, and attract pests. Animal fats such as bacon grease, lard, and chicken drippings are especially likely to invite raccoons, rats, flies, or the neighbor’s extremely motivated dog.
If you use a municipal composting program, follow local instructions. Some commercial compost facilities can handle greasy food waste that home compost piles cannot. When in doubt, keep cooking oil out of the compost and choose the sealed-container trash method or a local recycling option.
How to Reuse Cooking Oil Safely
Not all used oil needs to be thrown away after one use. If the oil was not overheated, did not burn, and does not smell unpleasant, you can often reuse it. This is especially helpful after deep-frying because a full pot of oil can be expensive to replace after a single batch of fries.
Step 1: Strain Out Food Particles
Food crumbs are the enemy of reusable oil. They continue to break down, darken the oil, create off-flavors, and burn during the next cooking session. After the oil cools, strain it through a fine-mesh sieve, cheesecloth, coffee filter, or clean paper towel set inside a funnel.
Move slowly and avoid pouring cloudy sludge from the bottom of the pan into your storage container. That last bit may look small, but it can carry the strongest burnt flavor. Let it go. Some kitchen relationships are meant to end.
Step 2: Store It in an Airtight, Light-Proof Container
Store filtered oil in a clean, sealed container away from heat and light. A dark bottle, jar in a cabinet, or labeled container in the refrigerator works well. Refrigeration can help preserve quality, especially if you plan to reuse the oil later rather than tomorrow.
Label the container with the date and what you cooked in it. This prevents the classic mistake of frying doughnuts in oil that previously cooked fish. Unless your goal is “cod-scented dessert,” keep oils separated by flavor category.
Step 3: Reuse Oil for Similar Foods
Oil absorbs flavor. Oil used for French fries, onion rings, or plain vegetables may work well for future savory frying. Oil used for fish, shrimp, or heavily seasoned chicken should be saved only for foods that can handle those flavors. Sweet foods deserve clean or neutral oil.
As a general kitchen rule, reuse oil only when it still looks, smells, and performs well. Some home cooks reuse frying oil two or three times, while others get fewer uses depending on cooking temperature, breading, moisture, and food type. There is no trophy for pushing oil past its prime.
When to Throw Away Used Cooking Oil
Used oil will tell you when it is done. The signs are not subtle if you pay attention. Discard cooking oil when it smells rancid, sour, fishy, metallic, or burnt. Toss it if it becomes very dark, thick, sticky, cloudy, or foamy. If it smokes at normal frying temperatures or gives food a bitter taste, it has retired itself.
Oil also breaks down faster when it is overheated. If you accidentally let the pan smoke aggressively, do not save that oil for later. Overheated oil can taste harsh and perform poorly. Fresh food deserves better than yesterday’s kitchen accident.
Best Containers for Used Cooking Oil
The best container depends on whether you plan to reuse, recycle, or trash the oil. For reuse, choose a clean jar or bottle with a tight lid. Glass works well, but make sure the oil is fully cool before pouring. For trash disposal, choose a sturdy disposable container such as an empty oil bottle, metal can, milk carton, or takeout tub. For recycling, use whatever container your local program recommends.
Avoid thin plastic bags, open bowls, flimsy cups, and containers without lids. Used oil has one mission once it escapes: spread everywhere. Give it walls, a lid, and no chance to express itself on your kitchen floor.
How to Handle Different Types of Cooking Fat
Vegetable Oil, Canola Oil, Corn Oil, and Peanut Oil
Liquid frying oils are good candidates for straining and reusing if they remain clean and neutral-smelling. When disposal time comes, pour cooled oil into a sealed container or take it to a local recycling program if available.
Olive Oil
Olive oil used for light sautéing often leaves only a small residue. Wipe the pan with a paper towel before washing. If you have a larger amount, cool it, containerize it, and trash or recycle according to local rules.
Bacon Grease
Bacon grease solidifies beautifully, which makes it easy to save or discard. To save it, strain through a fine mesh filter into a clean jar and refrigerate. Use small amounts to flavor cornbread, beans, eggs, greens, or roasted vegetables. To discard it, let it harden, scrape it into the trash, and wipe the pan before washing.
Butter, Lard, Shortening, and Meat Drippings
These fats usually solidify when cool. Scrape them into the trash or store them for cooking if they are clean and safe. Because animal fats attract pests and develop strong odors, keep them sealed tightly and avoid adding them to a backyard compost pile.
What Not to Do With Used Cooking Oil
Do not pour cooking oil outside on the ground. It can attract animals, create slick surfaces, damage plants, and move into stormwater systems. Do not pour oil into street drains; those often lead directly to waterways or storm systems not designed to handle kitchen grease.
Do not put loose liquid oil into your recycling bin. Bottles, paper, cardboard, and cans contaminated with oil can create problems for recycling facilities. Unless your local program specifically accepts used cooking oil in sealed containers, keep it out of curbside recycling.
Do not pour hot oil into a trash bag. It can melt plastic, leak, and create a greasy disaster that will make you question every choice that led to that moment. Cool first, contain second, toss third.
Quick Cooking Oil Disposal Checklist
- Let used oil cool completely before handling.
- Strain and store clean oil if you plan to reuse it.
- Pour unwanted oil into a sealed, leak-proof container.
- Mix small amounts with absorbent material if needed.
- Wipe greasy pans with paper towels before washing.
- Check local rules for used cooking oil recycling.
- Never pour oil down sinks, toilets, garbage disposals, storm drains, or outdoor soil.
Practical Examples for Real-Life Kitchen Situations
After Frying Chicken
Let the oil cool for several hours. If the oil still smells clean and is not dark or foamy, strain it through cheesecloth and store it in a labeled container for future savory frying. If it smells burnt or has too much sediment, pour it into a sealed jug and throw it in the trash or recycle it through a local program.
After Cooking Bacon
Turn off the heat and let the grease cool until warm but still pourable. Strain it into a jar if you want to cook with it later, or let it harden in the pan and scrape it into the trash. Wipe the pan before washing.
After Sautéing Vegetables
If only a tablespoon or two of oil remains, absorb it with a paper towel and throw the towel away. Then wash the pan normally. Small habits like this prevent long-term grease buildup.
After Deep-Frying a Turkey
Large amounts of oil require a plan. Cool the oil completely, return it to its original container if possible, and look for local seasonal oil recycling events. Many communities offer special collection options after major holidays.
Experience Notes: What Real Kitchens Teach About Cooking Oil Disposal
The first lesson from real kitchens is that oil disposal feels annoying only when there is no system. Once you create a simple routine, it becomes as automatic as putting leftovers in the fridge. Keep one empty bottle, jar, or coffee can under the sink or in a cabinet labeled “used cooking oil.” After frying or sautéing, let the oil cool, pour it in, seal it, and move on with your life. The container slowly fills, and when it is full, it goes into the trash or to a recycling drop-off. No panic, no sink sabotage, no greasy balancing act over a trash bag.
The second lesson is that paper towels are tiny plumbing bodyguards. After making bacon, burgers, fried eggs, or roasted vegetables, wiping the pan before washing makes a noticeable difference. The sink stays cleaner, the sponge does not turn into an oil slick, and the drain is spared a slow, greasy coating. It is not glamorous, but neither is explaining to a plumber that the clog began with “just a little bacon fat.”
The third lesson is that reusing oil works best when you treat it like an ingredient, not a leftover. Good frying oil should be filtered, labeled, and stored with intention. A jar marked “friesJune 12” is useful. A mystery jar of amber liquid hiding behind the pickles is not. Keeping separate containers for neutral foods, seafood, and heavily seasoned items prevents flavor surprises. This matters because oil remembers. It remembers fish. It remembers garlic. It remembers that one batch of jalapeño poppers with the enthusiasm of a gossip columnist.
The fourth lesson is that oil quality changes faster when food is wet, breaded, sugary, or heavily seasoned. Potato fries leave relatively manageable sediment. Battered chicken, fish, doughnuts, and crumb-coated foods leave more particles behind. Those particles darken, burn, and shorten the life of the oil. Filtering right after cooling is one of the easiest ways to extend usefulness. Using a thermometer also helps because overheating oil damages it quickly and can make food taste bitter.
The fifth lesson is that local rules matter more than internet confidence. In one city, used cooking oil may be accepted at a transfer station. In another, it may belong only in the trash. Some areas welcome holiday turkey fryer oil for biodiesel production, while others do not accept residential oil at all. Before driving across town with a jug of used peanut oil in the passenger seat like a strange road-trip companion, check your city or county waste website.
Finally, the best kitchen habit is prevention. Use only as much oil as you need. Pan-fry instead of deep-fry when practical. Save clean bacon grease for flavoring future dishes. Choose reusable storage containers. Scrape plates before washing. These tiny actions make cooking oil disposal less wasteful, less messy, and much easier. Your pipes may never send you a thank-you card, but they will show appreciation by continuing to drain.
Conclusion: Toss Smart, Reuse Wisely, and Keep Oil Out of the Sink
Learning how to dispose of cooking oil is one of those simple household skills that saves money, prevents plumbing problems, and keeps your kitchen running smoothly. The safest basic method is easy: cool the oil, pour it into a sealed container, and throw it in the trash unless your local area offers recycling. For small amounts, absorb the oil or wipe it with a paper towel before washing dishes. For large amounts, especially deep-frying oil, check local recycling programs that may turn used cooking oil into biodiesel or other useful products.
Reusing oil is also a smart option when the oil is clean, properly strained, and stored in an airtight container. Just watch for warning signs like bad smells, foam, cloudiness, dark color, smoke, or bitter flavor. When oil looks tired, let it retire with dignity.
The sink, toilet, garbage disposal, storm drain, yard, and compost pile are not good exits for used cooking oil. A container, a label, and a little patience are all you need. It is not fancy, but it worksand your pipes will remain blissfully free from the greasy villain origin story.










