
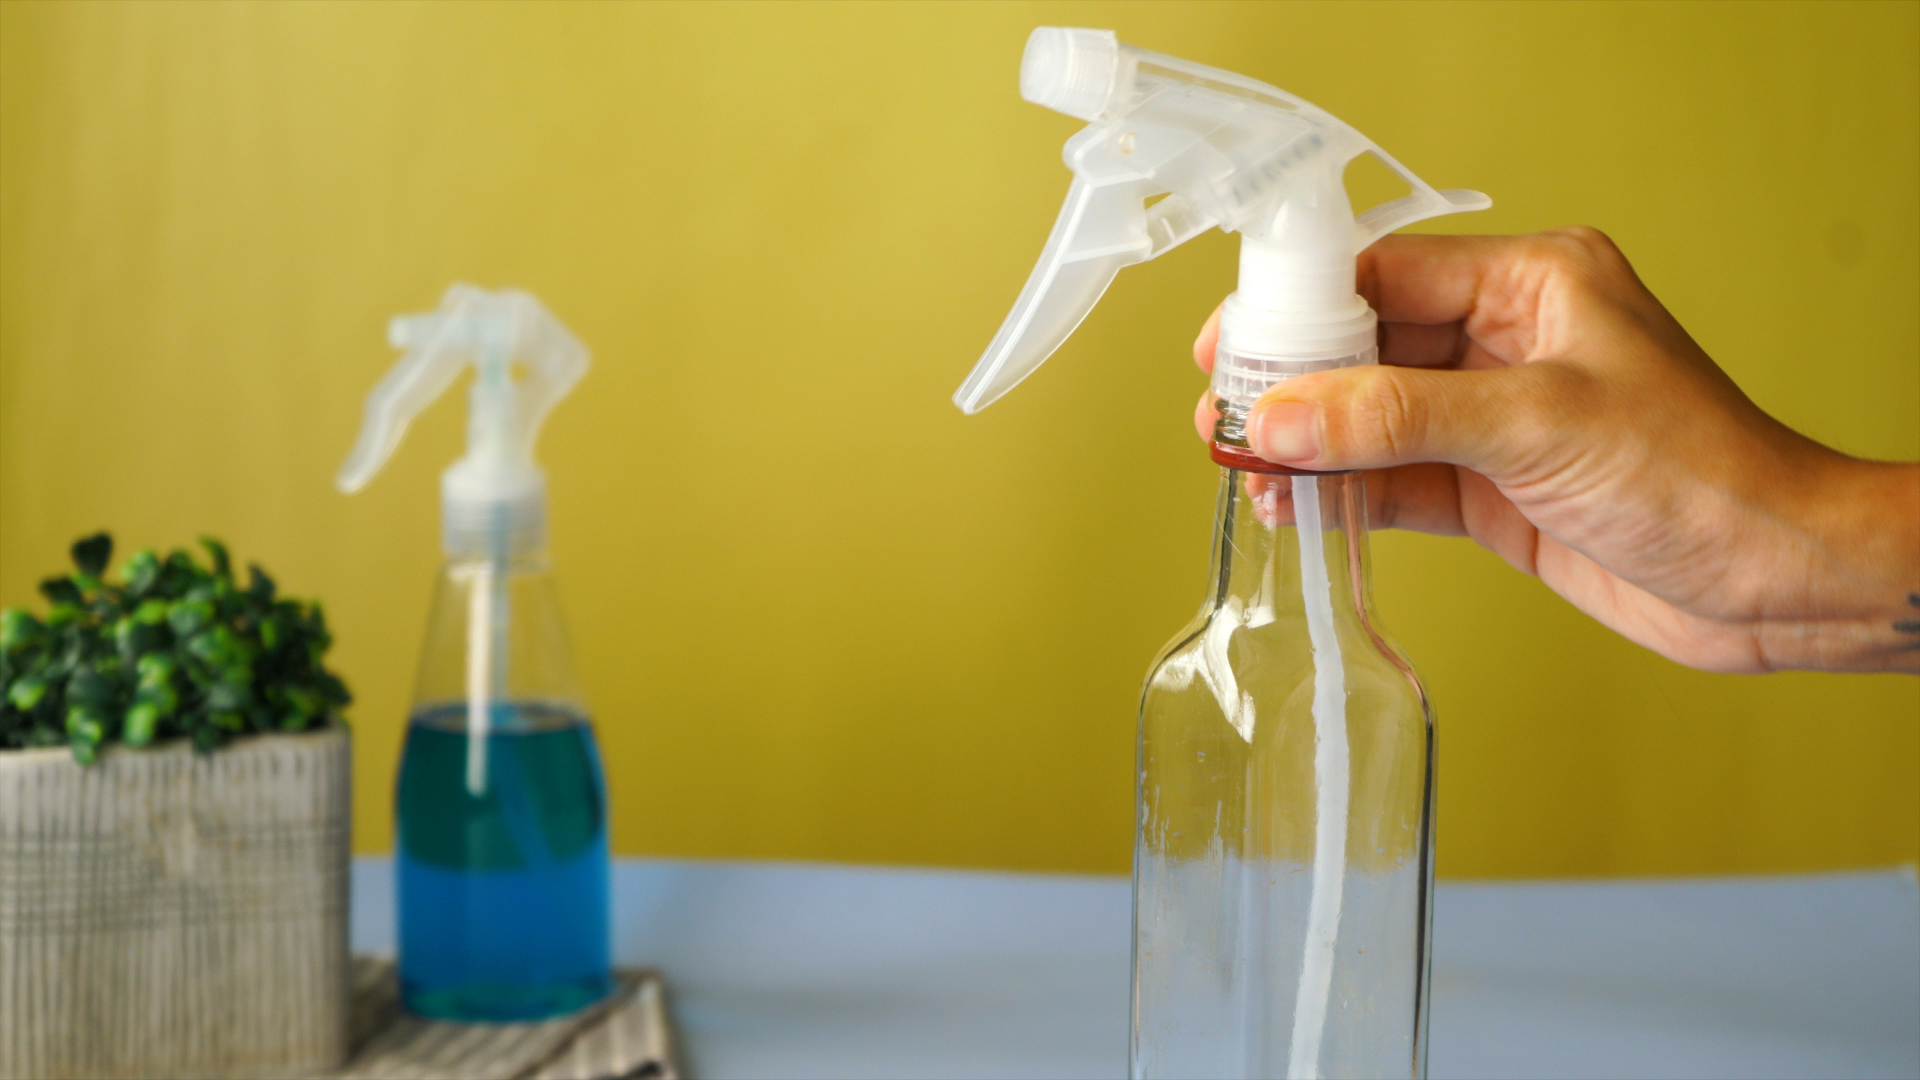
A spray bottle is one of those modest household tools that quietly does a lot of heavy lifting. It mists thirsty houseplants, tackles fingerprints on mirrors, freshens fabric, and makes you feel strangely professional while cleaning the kitchen. The good news: making a reusable spray bottle is simple. You do not need a chemistry degree, a machine shop, or a tiny hard hat.
This guide explains how to assemble a reliable DIY spray bottle using a reusable bottle and a trigger sprayer. You will learn how to choose the right parts, fit the dip tube, avoid annoying leaks, test the spray pattern, and label the finished bottle so nobody mistakes “counter cleaner” for “mystery lemonade.”
Important note: This project is best for water, plant mist, or mild water-based cleaning solutions. Do not transfer hazardous chemicals, pesticides, fuels, or strong commercial cleaners into an unlabeled homemade container. Keep chemical products in their original containers whenever possible, and never use a bottle that resembles a food or drink container.
What You Need to Make a Spray Bottle
Before starting, gather the basic parts. Most of them are inexpensive, reusable, and easy to find online or at a hardware, garden, or home-supply store.
- A clean reusable bottle with a screw-top neck
- A trigger sprayer head that fits the bottle neck
- A dip tube, usually included with the trigger sprayer
- Scissors or a utility knife for trimming the tube
- Warm water and mild dish soap
- A funnel
- A waterproof label and permanent marker
- Your chosen liquid, such as water, plant mist, or a properly labeled mild cleaner
For everyday use, a 16-ounce or 24-ounce bottle is a sweet spot. It is large enough to be useful but not so large that your wrist files a complaint with management. A clear bottle is convenient because you can see the liquid level, while an opaque bottle can be better for light-sensitive products.
Choose the Right Bottle Before You Begin
Not every bottle is a good candidate for a spray bottle conversion. A sturdy plastic bottle made for household use is usually the easiest option. Glass bottles can work for plain water or certain gentle mixtures, but they are heavier and can shatter if dropped. If you choose glass, use it in a low-risk spot and keep it away from children, pets, and slippery bathroom floors.
The bottle opening matters just as much as the bottle itself. Trigger sprayers come in different neck sizes, so the threads must match. The most common mistake is buying a beautiful bottle and discovering that the sprayer cap fits it the way a cowboy hat fits a goldfish: not at all.
For a basic all-purpose spray bottle, use a container with a wide enough neck for easy filling and cleaning. A bottle that once held water-based soap or a commercial cleaning product may be reusable only if it has been thoroughly cleaned and is compatible with the new liquid. Avoid reusing containers that held pesticides, solvents, fuels, or unknown chemicals.
How to Make a Spray Bottle in 12 Steps
Step 1: Decide What the Spray Bottle Will Be Used For
Start with the job. Are you making a plant mister, a bottle for plain water, a homemade fabric refresher, or a cleaner for non-food-contact surfaces? Your intended use affects the bottle material, sprayer type, label, and storage location.
A fine-mist sprayer works well for houseplants, ironing, hair care, and light surface dampening. A standard trigger sprayer is better for cleaning counters, windows, patio furniture, or bathroom surfaces. Many adjustable nozzles can switch between mist, stream, and off settings by twisting the tip.
Step 2: Select a Clean, Sturdy Bottle
Choose a bottle without cracks, dents, warped threads, or a lingering chemical smell. Check the base and sidewalls carefully. A bottle may look fine while standing still but start leaking like it has a personal grudge the moment you squeeze the trigger.
For plain water, most clean household spray bottles are suitable. For a mild cleaner, use a bottle designed for cleaning products. If the bottle previously held a different product, do not assume a quick rinse makes it ready for a new purpose.
Step 3: Match the Trigger Sprayer to the Bottle Neck
Screw the trigger sprayer cap onto the empty bottle before trimming anything. It should screw on smoothly, sit level, and feel snug without forcing it. If the cap rocks, cross-threads, or leaves visible gaps, it is the wrong size.
A good fit matters because the cap does more than hold the trigger in place. It seals the bottle, supports the dip tube, and helps maintain the suction needed to pull liquid upward. A poor seal can cause drips, weak spraying, or an embarrassing stream of cleaner down your sleeve.
Step 4: Wash the Bottle and Sprayer Parts
Wash the bottle, cap, and removable parts with warm water and mild dish soap. Rinse thoroughly until no soap residue remains. Let everything dry completely before adding your final liquid, especially if you are using a stored solution rather than plain water.
Cleaning is not the same as disinfecting. In many everyday household situations, soap and water are enough for routine surface cleaning. Disinfecting is generally more relevant when someone is sick or has recently been sick in the home.
Step 5: Inspect the Dip Tube
The dip tube is the long plastic straw attached beneath the trigger head. Its job is simple: it reaches into the liquid so the trigger can pull fluid upward and out through the nozzle.
Hold the tube beside the bottle. It should reach close to the bottom but should not curl tightly, press against the base, or bend sharply. A tube that is too long can block the flow. A tube that is too short leaves a frustrating puddle of liquid at the bottom, which is the spray-bottle equivalent of leaving three chips in the bag.
Step 6: Trim the Dip Tube at an Angle
Use clean scissors or a utility knife to cut the tube at a slight angle. A diagonal cut helps prevent the tube from sealing flat against the bottom of the bottle. Leave a small amount of clearance between the tube and the base.
Trim slowly. You can always cut off more, but reattaching a piece of tube after an enthusiastic snip is not a glamorous DIY milestone. Test-fit the tube after each small trim until it rests near the bottom without bending.
Step 7: Check the Gasket and Trigger Connection
Look inside the sprayer cap for a small gasket or sealing liner. This piece helps stop leaks around the neck of the bottle. Make sure it lies flat and is not twisted, cracked, or missing.
Also check that the dip tube is pushed firmly onto the trigger assembly. If it is loose, the sprayer may pull in air instead of liquid. Air is excellent for breathing and dramatically less helpful for cleaning a mirror.
Step 8: Add Your Liquid With a Funnel
Place a funnel in the bottle opening and pour in your chosen liquid. Do not fill the bottle to the absolute top. Leave about one inch of empty space so the trigger assembly can fit without forcing liquid out through the neck.
For a plant mister, plain water is often all you need. For a homemade cleaning spray, use only a simple, appropriate formula and clearly identify the contents. Do not mix bleach with ammonia, vinegar, alcohol, or other cleaners. Mixing products can create dangerous gases or reactions.
Step 9: Screw on the Trigger Sprayer Securely
Insert the dip tube into the bottle, lower the trigger head carefully, and screw the cap on clockwise. Tighten it until it is secure, but do not overtighten. Plastic threads can strip, and a stripped cap has the structural integrity of a soggy cracker.
Wipe away any drips around the neck. Then turn the bottle upright and inspect the cap seam for leaks.
Step 10: Prime the Spray Mechanism
Most new trigger sprayers need priming. Point the nozzle into a sink, bathtub, or old towel and squeeze the trigger several times. At first, nothing may happen. Then a few bubbles may appear. Eventually, the liquid should travel through the tube and emerge from the nozzle.
Do not panic if it takes several squeezes. The trigger system needs to push air out of the tube before it can pull liquid upward. Think of it as the bottle stretching before work.
Step 11: Adjust and Test the Spray Pattern
Twist the nozzle tip to test the available settings. Depending on the sprayer, you may have a fine mist, a stronger stream, or an off position. Test the pattern over a sink or outdoors.
A good mist should be even and light. A stream should be steady rather than sputtery. If the nozzle dribbles, the tube may be loose, the cap may not be sealed, or the nozzle may be partially clogged.
Step 12: Label and Store the Finished Bottle
Label the bottle immediately. Include the contents, the date you made it, and any important directions. For example:
- Plant Mist Distilled Water Made June 2026
- Glass Cleaner Use on Glass Only Do Not Mix
- Surface Cleaner Keep Away From Children and Pets
Never rely on memory alone. A clear bottle of liquid can look harmless, but unlabeled household sprays create unnecessary risk. Spray bottles are a common source of cleaning-product exposures in children, particularly involving the eyes and face, so store every bottle out of reach and keep the nozzle in the locked or off position when available.
Best Uses for a Homemade Spray Bottle
A well-made spray bottle can become a useful part of your home routine. The key is to assign each bottle one job and label it clearly.
Plant Mister
Fill the bottle with plain water and use a fine mist setting for humidity-loving plants. Avoid soaking leaves constantly, especially in low-light conditions, because standing moisture can encourage plant problems. A light morning mist is usually more sensible than turning your fern into a rainforest documentary every evening.
Ironing and Fabric Spray
A spray bottle filled with water can help dampen stubborn wrinkles before ironing. Use clean water, and empty the bottle occasionally so it does not become a permanent museum exhibit for stale water.
Outdoor Cleanup Bottle
Keep a dedicated spray bottle with water near gardening supplies for rinsing tools, dampening potting soil, or gently misting seedlings. For stronger outdoor jobs, use products only as directed by their labels. Pesticide labels are legal instructions, not decorative fine print.
General Surface Cleaning Bottle
For simple cleaning, a bottle can hold a mild cleaning solution suitable for the surface you are treating. Remember that cleaning removes dirt and many germs, while disinfecting requires a product used according to its specific label directions and contact time.
Common Spray Bottle Problems and Easy Fixes
The Trigger Does Not Spray
First, make sure the nozzle is not set to off. Then check whether the tube is attached securely and reaches into the liquid. Prime the trigger with several squeezes. If that does not work, rinse the nozzle with warm water and try again.
The Bottle Leaks Around the Cap
Check the gasket inside the cap. Make sure the threads are clean and aligned. Unscrew the cap, wipe the bottle neck dry, and screw it on again carefully. If the bottle or cap is cracked, replace it rather than attempting a tape-based miracle.
The Spray Is Weak or Uneven
A weak spray often means the nozzle is clogged or the dip tube is bent. Remove the trigger head, rinse it with warm water, and inspect the tube. Very thick liquids also may not work in a standard trigger sprayer, because these bottles are designed for relatively thin, water-like fluids.
The Nozzle Sprays Sideways
Rinse the nozzle and gently wipe away dried residue. If the spray still veers left like it is avoiding a difficult conversation, replace the trigger head. The bottle can often be reused with a new sprayer.
Safety Tips for DIY Spray Bottles
- Label every bottle as soon as it is filled.
- Keep household chemicals in their original containers whenever possible.
- Never use food or beverage containers for cleaning chemicals.
- Do not mix cleaners unless the manufacturer specifically says it is safe.
- Use gloves, ventilation, and eye protection when product labels recommend them.
- Keep bottles out of reach of children and pets.
- Do not spray disinfectants directly on skin, food, or people.
For safer product choices, consider cleaners that are clearly labeled for their intended use and follow all directions. The EPA’s Safer Choice program is one resource that helps identify products formulated with ingredients considered safer for human health and the environment.
Real-World Experiences: What Making Spray Bottles Teaches You
Making a spray bottle sounds almost too easy to deserve a full guide. Then you do it once, discover that the tube is two inches too long, spray water directly onto your shirt, and suddenly understand why small household tools have instruction manuals.
The first lesson is that a good spray bottle is mostly about fit. The bottle itself may be perfectly fine, but a mismatched trigger head can turn a five-minute project into a tiny plumbing disaster. Many people assume all spray tops are interchangeable because they look similar from across the room. They are not. Bottle necks vary, threads vary, and gaskets vary. A sprayer that almost fits is not “close enough.” It is simply waiting for the moment when you pick it up after cleaning the bathroom.
The second lesson is that trimming the dip tube deserves patience. It is tempting to cut it quickly, screw on the lid, and move on with life. But if the tube presses flat against the bottom of the bottle, the trigger may sputter. If it is too short, you will never use the last bit of liquid. The ideal tube length is not dramatic, but it makes the bottle feel far more polished and dependable.
A third experience is learning that labels save more than time. After a few bottles accumulate under the sink, “clear liquid in a clear bottle” becomes a surprisingly unhelpful identification system. One bottle might be plain water, another might be a glass cleaner, and another may contain a plant treatment. The label is not a fussy extra. It is the thing that prevents someone from spraying the wrong product on the wrong surface, plant, or pair of sunglasses.
There is also something satisfying about assigning each bottle a specific role. A fine-mist bottle for plants stays cleaner and works better when it is not borrowed for kitchen duty. A stronger trigger bottle for counters does not need to share space with fabric spray. This small amount of organization saves time and prevents cross-contamination. It also makes your cleaning cabinet look suspiciously competent, which is never a bad thing.
Finally, a reusable spray bottle encourages a more practical kind of sustainability. Instead of constantly buying a new bottle for every basic task, you can maintain a few durable containers and replace only a worn trigger head when needed. The point is not to turn your home into a laboratory. It is simply to create useful tools, use them responsibly, and avoid treating every household chore like an excuse to buy another plastic object.
Note: A homemade spray bottle is a practical container, not a substitute for product safety directions. For commercial cleaners, disinfectants, pesticides, and other chemical products, follow the original label exactly and keep the original container whenever possible.
Conclusion
Learning how to make a spray bottle is a small DIY skill with big everyday value. With a clean bottle, a properly fitted trigger sprayer, a correctly trimmed dip tube, and a clear label, you can create a reliable tool for plants, light cleaning, fabric care, and general household tasks.
The secret is not fancy equipment. It is careful assembly, realistic use, and smart storage. Choose the right bottle, test the sprayer before trusting it near a freshly cleaned wall, and label everything before your future self has to play a very boring guessing game.














