
A chafing dish can make a home buffet look imry brick, send steam toward an unsuspecting eyebrow, or leave chicken sitting at an unsafe temperature if it is used incorrectly. Fortunately, learning how to use a chafing dish is much easier than pronouncing “hors d’oeuvres” with confidence.
The basic idea is simple: a heat source warms a shallow pan of water, the hot water produces gentle steam, and that steam keeps a separate food pan warm. The food is heated indirectly, so it stays at a steady serving temperature without sitting directly over a flame.
This guide explains how to assemble, light, operate, refill, extinguish, and clean a chafing dish. It also covers buffet food safety, common mistakes, suitable menu choices, and practical lessons that can save your next party from becoming an accidental food-science experiment.
What Is a Chafing Dish?
A chafing dish, often called a chafer, is a portable food-holding system used at buffets, weddings, catered events, restaurants, holiday dinners, and large family gatherings. It usually consists of a frame, water pan, food pan, lid, and heat source. Traditional models use canned chafing fuel, while electric and induction models provide flameless alternatives.
The water pan is the quiet hero of the system. It distributes heat more evenly than a direct flame and helps prevent scorching. The steam surrounding the food pan also reduces moisture loss, although it cannot rescue food that was already overcooked before it entered the buffet line. t importantly, a chafing dish is designed to hold cooked food hot. It is not intended to cook raw meat, bring refrigerated food to a safe temperature, or reheat yesterday’s casserole from refrigerator-cold. Food should be fully cooked and properly reheated before it is transferred to the chafer. n>
Parts of a Standard Chafing Dish
Although styles vary, most chafing dish sets contain the following components:
| Component | Purpose |
|---|---|
| Frame or stand | Supports the pans and creates space for the heat source. |
| Water pan | Holds hot water that distributes heat beneath the food. |
| Food pan | Contains the fully cooked food being served. |
| Lid or cover | Retains heat and moisture between servings. |
| Fuel holders | Secure canned fuel beneath the water pan. |
| Fuel cans or electric heater | Supply the heat needed to keep the water hot. |
| Serving utensils | Allow guests to serve food without touching it directly. |
A full-size rectangular chafer commonly holds one full-size food pan, two half-size pans, or several smaller inserts. Half-size pans are especially useful when serving two side dishes because guests can choose between green beans and macaroni and cheese without requiring two complete chafer setups. Commercial sets may also use round soup inserts, roll-top lids, electric heating elements, or induction-compatible pans. n>
What You Need Before Setting Up
Gather everything before lighting the fuel. Once an open flame is burning beneath a metal pan, it is not the ideal time to discover that the serving spoon is still in your neighbor’s kitchen.
- A complete chafing dish set
- The correct fuel cans or approved electric heater
- Hot tap water
- Fully cooked, properly heated food
- A clean food thermometer
- A long-reach lighter or long match
- Serving spoons, tongs, or ladles
- Heat-resistant gloves or dry oven mitts
- A manufacturer-approved snuffer, fuel cover, or metal saucer
Place the chafer on a sturdy, level, heat-resistant surface. Keep it away from curtains, paper decorations, cardboard signs, loose tablecloth edges, children, pets, and busy walkways. Some venues prohibit chafing fuel or require advance permission because it creates an open flame, so check the building’s rules before arriving with a case of fuel and a heroic amount of lasagna. n>
How to Use a Chafing Dish Step by Step
1. Position the Frame
Unfold or assemble the frame according to the manufacturer’s instructions. Confirm that every leg is locked and that the stand does not rock when lightly pressed. The chafer should sit far enough from the table edge that guests cannot accidentally bump a handle or brush against a fuel can.
If several chafers are being used, leave enough space between them for lids, utensils, and safe refilling. A buffet line that looks like stainless-steel rush-hour traffic becomes difficult to manage once people begin serving themselves.
2. Install the Water Pan
Set the water pan securely into the frame. Add approximately one inch of hot water unless the manufacturer specifies a different fill line. Starting with hot water reduces preheating time and helps the chafer reach operating temperature more efficiently. Do not overfill the pan because the food pan will displace some of the water. bottom of the food pan should sit above or slightly within the hot-water bath, depending on the chafer design. Water should never overflow into the food. Too little water can evaporate quickly and create uneven heating; too much can spill when the food pan is inserted.
3. Place the Fuel Cans in Their Holders
Remove the fuel-can lids and place each can securely inside its holder before lighting it. Never light a fuel can elsewhere and carry the exposed flame across the room. Follow the burn-time and ventilation instructions printed on the fuel container.
Many full-size chafers use two fuel cans, but the correct number depends on the equipment, food, weather, and fuel type. Using extra cans without checking the manufacturer’s instructions can produce excessive heat, evaporate the water too quickly, and turn delicate sauces into paste.
4. Light the Fuel Safely
Use a long-reach lighter or long match so your hand remains away from the flame. Light each can only after it is positioned under the chafer. Chafing-fuel flames can be difficult to see in bright light, so never assume a can is extinguished simply because it looks inactive.
Do not lean directly over the fuel, move the chafer after lighting it, or leave the flame unattended. Keep an approved snuffer within reach throughout service. . Preheat the Water Pan
Cover the chafer and allow the water to heat for approximately 10 to 20 minutes. The exact time depends on the starting water temperature, pan material, room conditions, fuel output, and chafer design. The water does not need to boil aggressively; gentle steam is the goal. heating matters because placing food into a cold chafer can cause its temperature to fall before the water becomes hot enough to maintain it.
6. Add Fully Heated Food
Cook the food completely in an oven, on a stovetop, in a fryer, or with another proper cooking appliance. If the dish was prepared in advance, reheat it thoroughly before placing it in the chafer. USDA guidance recommends reheating leftovers to 165°F before hot holding. nsfer the hot food into a clean food pan, then lower the pan carefully into the chafer. Wear dry heat-resistant gloves because the water pan, steam, lid, and frame may already be hot.
7. Cover the Food
Place the lid over the food pan. Keeping the lid closed retains heat, slows moisture loss, and reduces the amount of fuel needed. Open it only when serving, checking temperature, stirring, or refilling.
When lifting a flat lid, tilt the far edge upward first so steam escapes away from your face and hands. Steam burns are remarkably efficient at turning a pleasant buffet into a memorable learning experience.
8. Monitor the Food Temperature
Check the food regularly with a clean food thermometer, measuring several areas rather than only the hottest spot. Stir thick foods such as chili, gravy, rice, mashed potatoes, and creamy pasta before taking a reading because their temperatures may vary from the center to the edges.
For home buffet service, USDA guidance recommends holding hot food at 140°F or above. Commercial food-service rules may use 135°F as the minimum hot-holding temperature under regulations based on the FDA Food Code. Businesses should follow their state and local health requirements; home hosts can use 140°F as a conservative target. . Stir and Refill in Small Batches
Stir food periodically so heat and moisture are distributed evenly. Instead of filling the pan to the rim at the beginning, consider using smaller batches and replacing them more frequently. Small batches are easier to keep at a safe temperature and generally look fresher on the buffet.
When replenishing food, the safest practice is to replace the nearly empty pan with a clean pan of freshly heated food. Avoid pouring a new batch directly over food that has been sitting in the chafer for a long time. Combining old and new batches makes temperature control and service-time tracking more difficult.
10. Check the Water and Fuel
Inspect the water level during long events. If it is getting low, carefully add hot water along the side of the water pan. Do not pour water over the food, fuel, or flame. Avoid adding cold water because it can lower the holding temperature and may cause sudden temperature changes in the pan.
Monitor the fuel according to its rated burn time. When a can must be replaced, extinguish it properly and allow it to cool before handling. Never add liquid fuel, gel, or another flammable material to a hot or burning container.
Chafing Dish Food-Safety Rules
Keep Hot Food Out of the Danger Zone
Bacteria can multiply rapidly when perishable food remains between 40°F and 140°F. USDA and FoodSafety.gov therefore recommend keeping hot food at 140°F or above during home buffet service and cold food at 40°F or below. A thermometer is the only reliable way to confirm that the food is being held safely; steam, bubbling edges, and optimistic thinking are not measurement tools. ollow the Two-Hour Rule
Perishable food that is not being maintained at a safe hot or cold temperature should generally be discarded after two hours. When the surrounding temperature is above 90°F, that limit drops to one hour. This rule is especially important for outdoor weddings, summer cookouts, tailgates, and buffet tables placed in direct sunlight. o Not Use a Chafer to Reheat Cold Food
A chafer produces gentle holding heat. That is useful after food is hot but too slow for safely reheating a refrigerated tray. Reheat the dish rapidly with an oven, stovetop, microwave, or other suitable appliance, verify its temperature, and only then move it to the buffet.
Prevent Cross-Contamination
Provide a separate utensil for every dish. Replace utensils that fall on the floor or become contaminated. Keep handles from resting inside the food, and avoid arranging allergen-containing dishes where serving spoons can easily migrate between pans.
Labeling major allergens is helpful at mixed gatherings. At minimum, hosts should know which dishes contain common ingredients such as milk, eggs, peanuts, tree nuts, wheat, soy, fish, shellfish, or sesame.
Best Foods for a Chafing Dish
Moist foods that tolerate gentle, extended heat are usually the best choices. Reliable options include:
- Chili, stew, curry, and braised meat
- Meatballs in sauce
- Macaroni and cheese
- Baked pasta and lasagna
- Mashed potatoes and dressing
- Gravy, queso, and warm dips
- Rice dishes with adequate moisture
- Beans and sauced vegetables
- Scrambled eggs served for a limited period
- Sliced meat held with broth or sauce
Foods that rely on crispness are less cooperative. Fried chicken, French fries, roasted potatoes, breaded seafood, and crunchy appetizers can soften as steam collects beneath the lid. They may still be held briefly, but venting the cover slightly or using specialized dry-heat equipment often produces better results.
Delicate proteins can also suffer when held too long. Fish may break apart, chicken breast may dry out, and eggs can become rubbery. Use smaller batches, lower heat when the equipment permits adjustment, and replace the food frequently.
Common Chafing Dish Problems and Solutions
The Food Is Not Hot Enough
Confirm that the fuel is lit, the water pan was preheated, the lid is closed, and the food entered the chafer already hot. Check the water level and test the food with a thermometer. If the temperature has fallen below the required holding level, do not depend on the chafer to recover it slowly. Reheat the food rapidly with proper cooking equipment.
The Food Is Drying Out
Make sure the water pan has not boiled dry. Keep the cover closed, stir periodically, and add an appropriate hot liquid such as broth, sauce, milk, or cooking juices. Use only enough liquid to restore consistency; mashed potatoes should not become potato soup simply because the host became enthusiastic.
The Food Is Too Hot or Scorching
Reduce the heat if the fuel holder has an adjustable cover, or use fewer fuel cans when permitted by the manufacturer. Confirm that the water pan contains enough water. Thick foods near the bottom and sides should be stirred regularly.
Condensation Is Dripping Into the Food
Lift and tilt the lid carefully so condensation drains toward the water pan rather than back into the entrée. Roll-top lids are convenient because they remain attached and reduce the chance that guests will place a wet lid on the table.
The Flame Keeps Going Out
Wind is a common problem at outdoor events. Use a chafer designed with wind protection, relocate the buffet to a sheltered area, or choose an approved flameless system. Do not build a homemade enclosure around the flame, because it may trap heat, restrict airflow, or ignite nearby material.
How to Extinguish and Clean a Chafing Dish
Extinguish the Fuel
Use the fuel holder’s cover, a manufacturer-approved snuffer paddle, or a metal or ceramic saucer to smother the flame. Never blow on chafing fuel. Blowing can spread the flame or hot fuel rather than extinguishing it safely. ve the fuel cans in place until they are completely cool. Do not move, recap, store, or discard a hot can. Follow the manufacturer’s instructions and local waste or recycling rules for partially used and empty containers.
Handle Leftovers Promptly
Transfer safe leftovers to shallow storage containers so they cool more quickly. Refrigerate them within the applicable two-hour limit, or one hour when conditions exceed 90°F. Do not place an entire deep, steaming buffet pan into a crowded refrigerator and assume the center will cool promptly.
Wash the Components
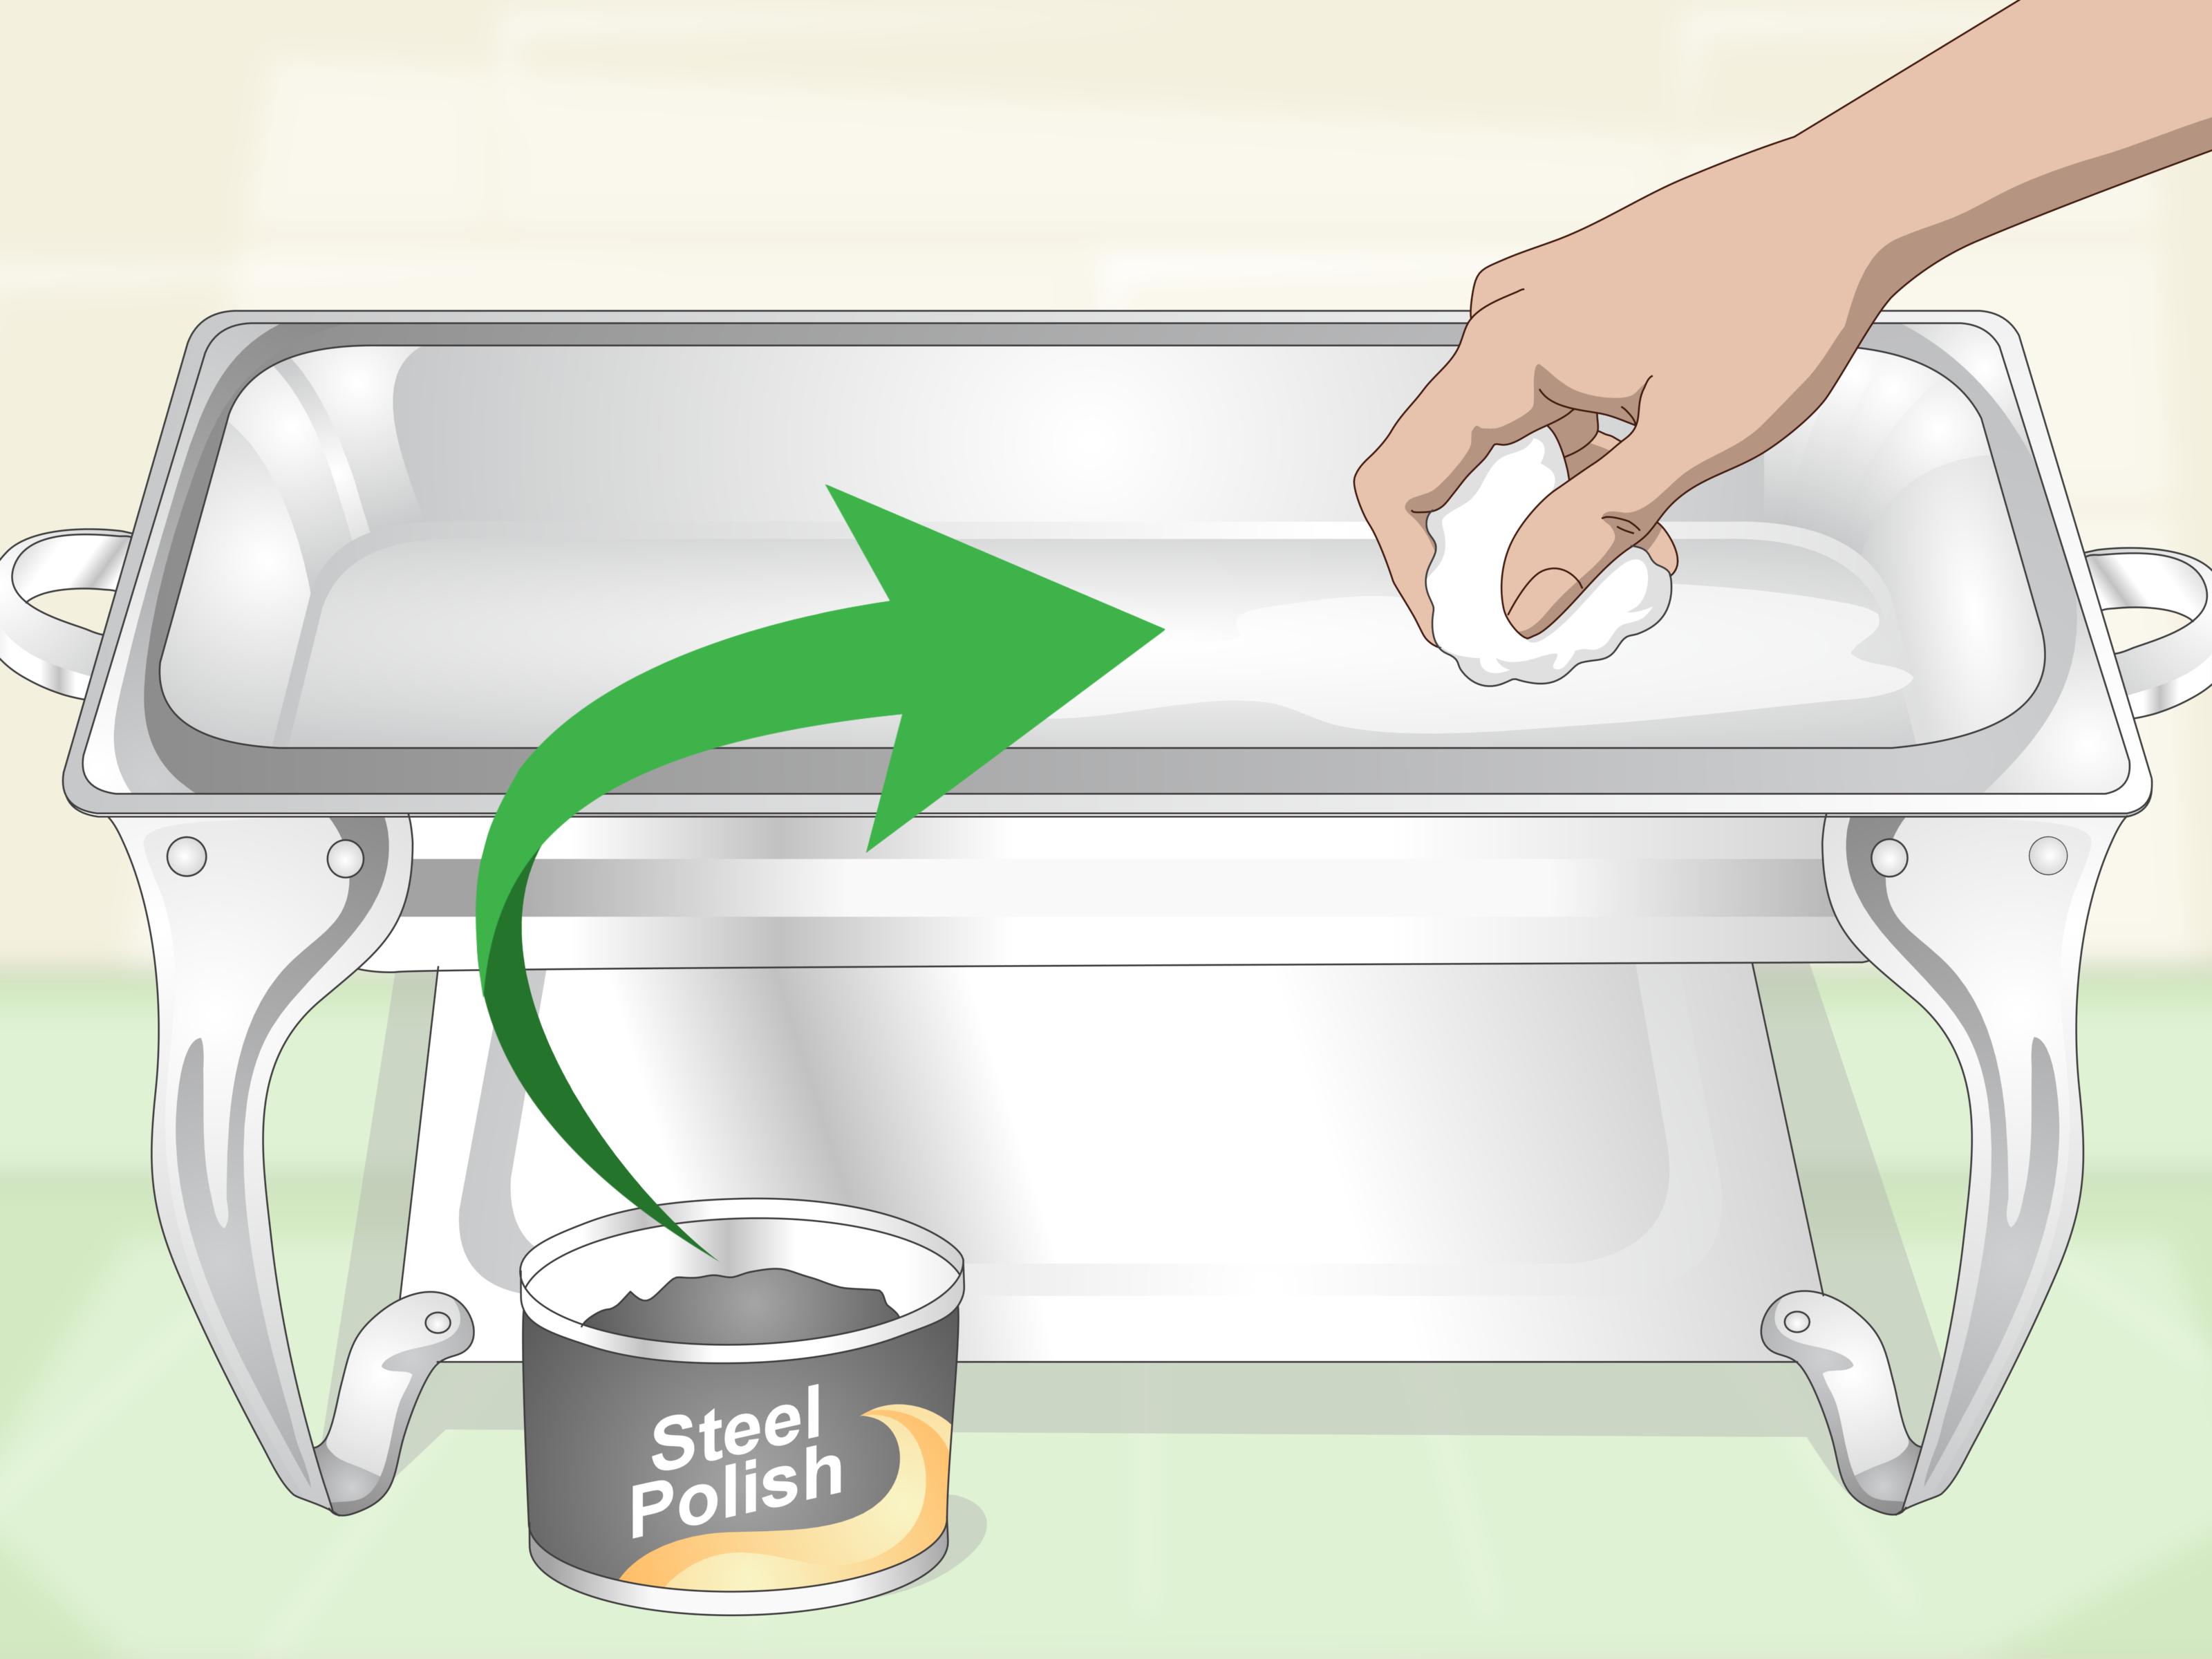
Once everything has cooled, empty the water pan and remove food residue. Wash removable stainless-steel components with warm water and dish soap, following the manufacturer’s care instructions. Use a soft cloth or nonabrasive sponge to protect polished surfaces. Dry every part thoroughly before stacking or storing it. ctric chafers require additional care. Unplug the unit, allow it to cool, and never immerse electrical components unless the manufacturer specifically identifies them as washable.
Experience-Based Lessons from Real Buffet Setups
The following composite examples reflect common lessons from home entertaining and catering environments. They show why successful chafing-dish service depends less on fancy equipment than on preparation, temperature checks, and a willingness to refill food before it begins looking emotionally exhausted.
Experience One: The Holiday Pasta Problem
Imagine a holiday dinner for 25 guests. The host fills a chafer with baked ziti at 4:30 p.m., even though dinner will not begin until 6:00. Two fuel cans are burning strongly, the lid is closed, and the host assumes more heat must be better.
By serving time, the ziti around the edges is dark and chewy while the center is still acceptable. The water pan has nearly evaporated, and the cheese topping resembles a protective roofing material.
The better approach is to keep the pasta covered in a low oven until closer to service, preheat the chafer, and transfer one smaller batch shortly before guests eat. A second hot pan can remain ready in the kitchen. The food spends less time in holding equipment, the buffet looks freshly replenished, and nobody needs a steak knife for baked ziti.
Experience Two: The Outdoor Wind Surprise
At an outdoor graduation party, a buffet table is placed near the edge of a patio. A light breeze repeatedly extinguishes one fuel can beneath the chicken. From above, the dish still looks warm because steam appears whenever the lid opens. A thermometer tells a less cheerful story: one side of the pan is significantly cooler than the other.
The lesson is that visual clues cannot replace temperature checks. The buffet should be relocated to a sheltered, approved location, or a wind-resistant or flameless warming system should be used. Stirring the chicken helps equalize the temperature, but food that has fallen too far must be rapidly reheated with proper equipment before returning to service.
Outdoor events also require a shorter timeline for unprotected perishable food when temperatures rise above 90°F. A backup plan for power, wind, rain, and shade is not excessive planning; it is how the potato salad avoids becoming famous for the wrong reason.
Experience Three: The Soup Refill Success
A home host serving chili makes one smart decision: instead of putting the entire batch into a large chafer, only half goes onto the buffet. The rest remains hot in a slow cooker in the kitchen. Every 30 minutes, the host checks the temperature, stirs the chili, wipes the serving area, and replaces the pan when it becomes low.
The result is better presentation and easier temperature control. Guests do not scrape the bottom of an oversized pan, newly heated chili is not poured over an old layer, and the serving station stays neat. The smaller pan also reduces unnecessary exposure each time the lid is opened.
Experience Four: The Water Refill Mistake
During a long reception, a helper notices that the chafer water is low. Trying to be useful, the helper removes the food pan while the fuel is still burning and carries a pitcher of cold water through a crowded serving area.
A safer system would assign one trained person to buffet maintenance. That person would keep hot water nearby, use dry heat-resistant gloves, maintain a clear work area, and add water carefully without moving a lit chafer. Responsibilities matter because buffet equipment becomes much less predictable when six well-meaning relatives decide to repair it simultaneously.
The Practical Takeaway
The most dependable routine is simple: heat the food properly, preheat the water pan, add food shortly before service, keep the lid closed, check temperatures, refill with smaller hot batches, and monitor the water and fuel. Most chafing-dish disasters begin when someone skips one of those steps because the food “looks warm enough.”
Conclusion
Learning how to use a chafing dish comes down to understanding what the equipment can and cannot do. A chafer can maintain the temperature of fully cooked, already-hot food. It cannot safely cook raw ingredients, rapidly reheat cold leftovers, or compensate for poor timing.
Set the unit on a stable surface, add the correct amount of hot water, preheat it, use approved fuel or an electric heater, and monitor food with a thermometer. Keep lids closed, stir thick dishes, serve manageable batches, and extinguish fuel with a proper snuffer rather than blowing on the flame.
With those habits in place, your buffet food will stay safer, warmer, and more appealingand you will look wonderfully organized even if the kitchen behind the scenes resembles the final five minutes of a cooking competition.













