
Installing an interior door sounds like one of those projects that should come with dramatic music, three emergency hardware-store runs, and at least one moment where you stand in the hallway whispering, “Why is this suddenly my life?” The good news is that hanging a new interior door is very doable for a careful DIYer. The even better news is that when you get it right, the payoff is huge: smoother operation, better privacy, a cleaner look, and that oddly satisfying click when the latch catches exactly the way it should.
If you are replacing a beat-up bedroom door, upgrading a hollow-core relic, or finishing a renovation, this guide walks you through the process in plain English. No robotic fluff. No mystery steps. Just a practical, beginner-friendly approach to installing an interior door with fewer headaches and less accidental swearing.
For most homeowners, the easiest path is a prehung interior door. That means the slab comes already attached to its frame, which saves you from laying out hinges from scratch. A slab door can still work well, especially when the existing jamb is in great condition, but it requires more precise measuring, trimming, and hinge work. We will focus mainly on the prehung method, then cover slab-door basics later on.
Before You Start: Pick the Right Door
Before you grab a pry bar and start feeling powerful, make sure you bought the right type of door. This step matters more than people think. A gorgeous door that swings the wrong way is still a problem with good bone structure.
Prehung vs. slab door
A prehung door includes the door slab, hinges, and frame as one unit. It is usually the easiest option when you are replacing both the door and the jamb, or when the old frame is damaged, out of square, or just generally giving off bad energy.
A slab door is just the door itself. It is often the better choice when your existing frame is still square, solid, and worth keeping. Slab doors can save money, but they demand more precision because you must line up hinge mortises, latch placement, and clearances yourself.
Check door handing
Door swing matters. Stand where you want the door to open away from you. If the hinges are on the left, it is a left-hand door. If the hinges are on the right, it is a right-hand door. Simple in theory, weirdly confusing in a store aisle. Double-check before you buy.
Measure like you enjoy being correct
Measure the opening width at the top, middle, and bottom. Measure the height on both sides and in the center. Also check whether the floor is level and whether the jamb or rough opening is plumb. Old houses, especially, love to pretend that “straight” is more of a suggestion.
If you are buying a prehung door, compare your measurements to the manufacturer’s recommended rough opening. If you are buying a slab, measure the existing slab and jamb carefully, including door thickness, hinge locations, and bore holes.
Tools and Materials You’ll Want Nearby
You do not need a contractor trailer full of gear, but you do need the basics. Gather everything first so you do not end up balancing a door with one knee while searching for your level under a pile of paint rollers.
- Prehung interior door or slab door
- Tape measure
- Level
- Hammer
- Screwdriver or drill/driver
- Pry bar
- Wood shims
- Finishing nails or finish screws
- Utility knife
- Nail set
- Safety glasses and gloves
- Door hardware set
- Wood filler or spackle
- Trim or casing, if needed
- Caulk and paint for finishing touches
If the door is solid core, do yourself a favor and recruit a helper. Interior doors are not always outrageously heavy, but they are awkward. Awkward is how backs get mad and corners get dented.
How to Install a Prehung Interior Door
Step 1: Let the door acclimate if needed
If the manufacturer recommends it, let the door sit in the house for a while before installation, especially if it came from a warehouse, garage, or truck on a very different temperature or humidity level. This helps reduce surprise movement later. Wood and composite products like to remind us that they are still technically from trees.
Step 2: Remove the old door and trim
Start by removing the hinge pins from the old door. Support the slab as you pull the pins so it does not swing, twist, or suddenly become a floor problem. Set the old door aside.
Next, score any painted edges around the casing with a utility knife so you do not tear up the drywall paper. Use a pry bar and a small wood block to gently remove the trim. Work slowly if you want to reuse it. Then remove the old jamb if you are replacing the whole unit.
Once the opening is exposed, check the framing. Look for loose studs, protruding nails, cracked drywall, damaged subflooring, or anything else that will make the new unit sit badly. A new door installed in a bad opening is like putting dress shoes on a trampoline.
Step 3: Dry-fit the prehung door
Set the new door unit into the rough opening. Center it and make sure the jamb sits flush with the finished wall surface on the side you are working from. Confirm that the swing direction makes sense and that the slab will clear the flooring.
This is also the moment to notice obvious problems. If the floor rises sharply, the jamb hits before the unit is seated, or the slab drags the finish floor, stop and fix that issue before fastening anything.
Step 4: Start with the hinge side
The hinge side is the control side. Get this side right and the rest of the job becomes much easier.
Use a level to check the hinge jamb for plumb. Insert shims behind each hinge location and near the top and bottom of the jamb as needed. Adjust them until the hinge side is perfectly vertical. Keep checking both the back side and the face of the jamb. A jamb can fool you by looking good from one angle and still being off.
Once the hinge side is plumb, temporarily fasten it through the jamb and shims into the framing. Do not fully commit yet. This is a first date, not an elopement.
Step 5: Check the reveal
Now close the door and look at the reveal, which is the gap between the slab and the frame. It should be even across the top and along the latch side. If the gap pinches at one corner or gets wide on one side, the frame needs adjustment.
A uniform reveal is the secret sauce of a good door install. When the reveal is even, the door tends to swing cleanly, latch properly, and look professional. When it is not, the door starts acting like it has unresolved issues.
Step 6: Shim the latch side and head jamb
Once the hinge side is behaving, move to the latch side. Shim at the top, near the latch, and at the bottom until the jamb is straight and the reveal remains even. Then shim the head jamb if necessary to keep the top gap consistent.
Do not just jam in shims everywhere like you are stuffing a holiday turkey. Each shim should solve a problem: correcting plumb, supporting a fastener, or fine-tuning the reveal.
Step 7: Fasten the frame securely
With the jamb aligned, drive finish nails or finish screws through the jamb, through the shims, and into the studs. Many DIYers like screws because they allow for easier adjustment and provide a bit more control, especially on heavier doors.
Fasten at shim locations so the frame stays supported. Avoid overdriving the fasteners, which can bow the jamb inward and wreck the reveal you just worked so hard to perfect. That is one of the most common beginner mistakes: everything was going well until the last screw turned heroic.
Step 8: Test the swing
Open and close the door several times. It should swing without rubbing, latching cleanly and staying where it should. If it pops open on its own, swings shut without permission, or scrapes the floor, the frame probably needs a small adjustment.
This is normal. Door installation is rarely one dramatic move. It is more of a nudge-and-check relationship.
Step 9: Trim the shims and install casing
Once you are happy with the fit, score any protruding shims with a utility knife and snap them off flush. Then install the interior casing or trim. Nail it to the jamb and the framing where appropriate, keeping the trim lines neat and consistent.
Set the nail heads, fill the holes, and caulk where the trim meets the wall for a cleaner finish. This is the part where the project stops looking “under construction” and starts looking intentional.
Step 10: Install hardware
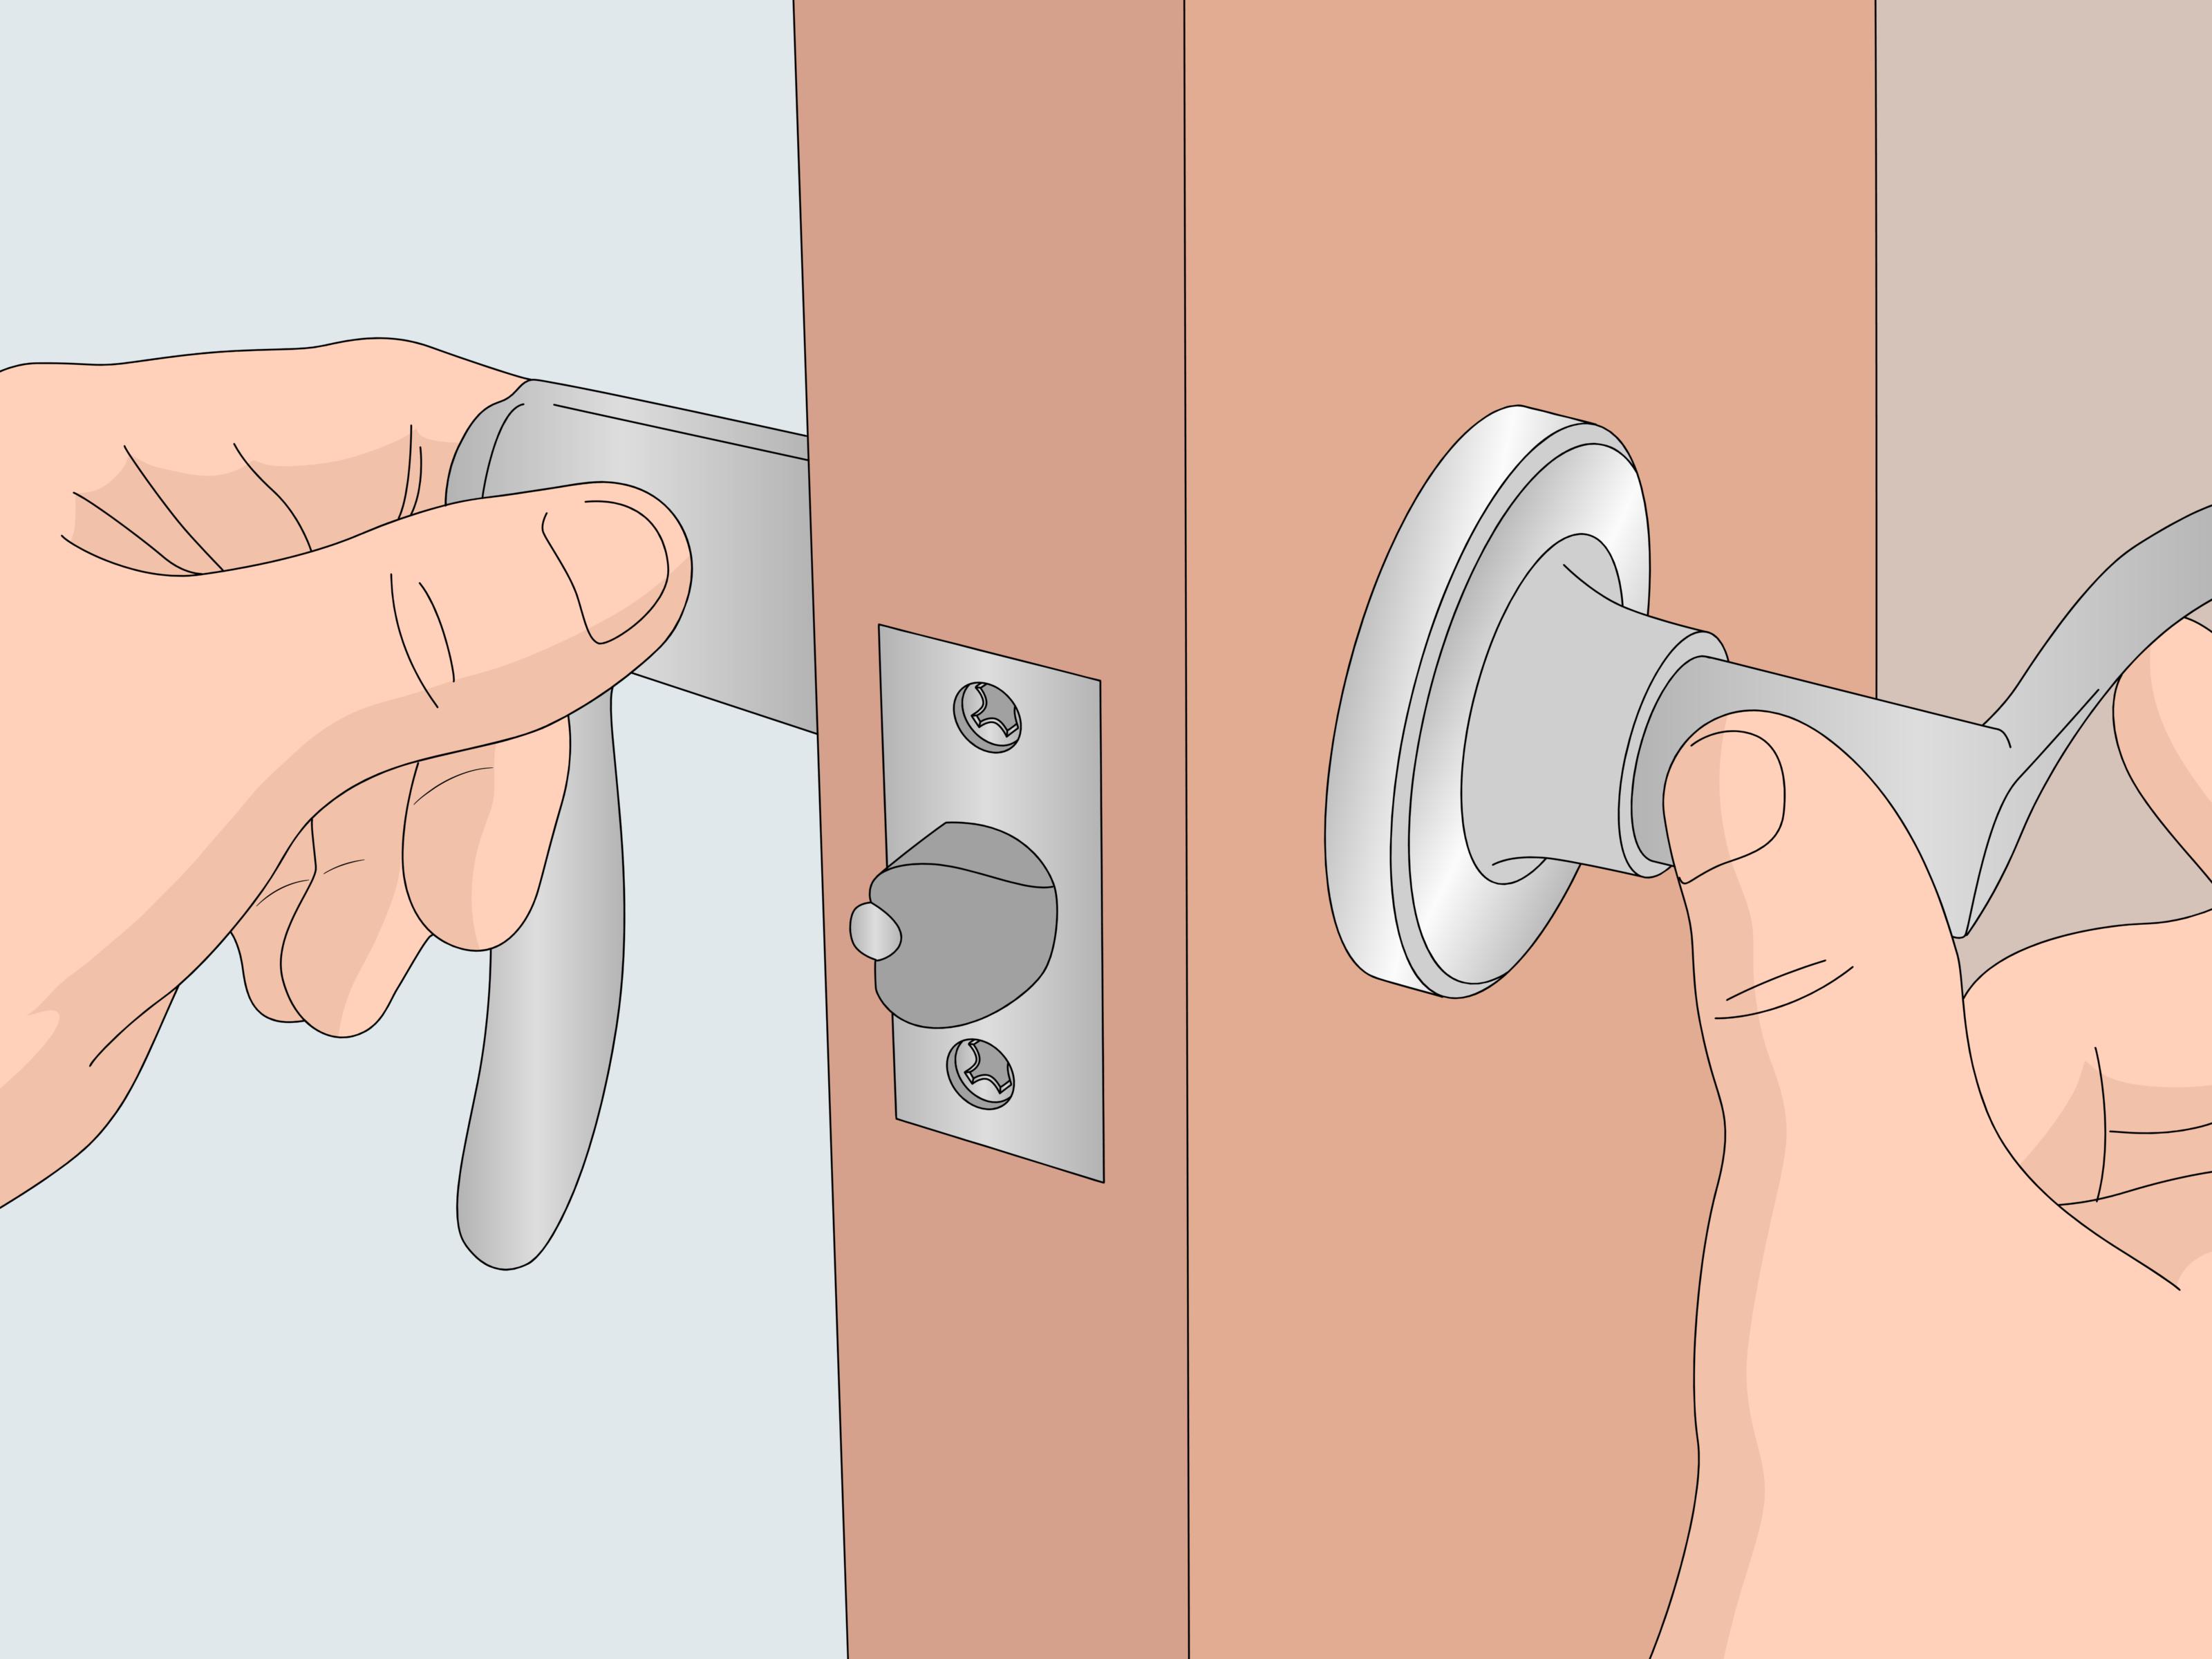
If the door came pre-bored, install the latch, knob or lever set, and strike plate. Tighten everything snugly, but do not crank down so hard that the hardware binds. Test the latch several times. A slightly misaligned strike plate can usually be adjusted without drama.
How to Install a Slab Interior Door
If your existing jamb is in excellent shape, installing a slab door can be a smart move. It is often cheaper, and you do not need to remove the whole frame. That said, slab installs are less forgiving. One measurement error can turn a simple swap into a woodworking subplot.
The easiest method is to lay the old door on top of the new slab, keeping the tops and hinge edges aligned. Transfer the hinge locations and hardware placement carefully. Mark everything with a square and sharp pencil.
Next, cut or plane the slab if necessary. Then mortise for the hinges using a chisel or router. Bore the lockset hole and latch hole using the proper template. Attach the hinges, hang the door, and test the fit. If the reveal is too tight, remove the slab and make small corrections. Small is the key word here. You can always take off more material. You cannot put it back without entering a very different kind of project.
Slab doors are best when the old jamb is square, plumb, solid, and worth saving. If the frame is crooked or damaged, a prehung replacement is usually faster and gives a better result.
Common Interior Door Installation Mistakes
Ignoring plumb on the hinge side
This is the classic error. If the hinge side is off, everything else follows it into chaos. Start there every time.
Fastening before checking the reveal
Do not lock the frame in place until you have closed the door and checked the gaps. The reveal tells the truth even when your eyeballs are feeling overconfident.
Overdriving nails or screws
Too much pressure can bow the jamb and create a rub point. Snug is good. Aggressive is how you end up uninstalling the thing you just installed.
Forgetting floor clearance
Carpet, rugs, underlayment, and transitions all matter. A door that worked great before the flooring update may suddenly act like it hates the room.
Choosing the wrong swing
A door should open in a way that makes the room easier to use, not harder. Think about furniture, traffic flow, switches, and closet access before you buy.
Troubleshooting After Installation
The door rubs at the top corner: The jamb is likely out of plumb or the frame is slightly twisted. Loosen the fasteners and adjust the shims.
The latch will not catch: Check the strike plate alignment. The door may be set slightly too high, too low, or too far toward one side.
The door swings open or shut by itself: That usually means the hinge jamb is not perfectly plumb.
The gaps are uneven: Revisit the shims, especially behind the hinges and near the latch area.
The door squeaks: That is usually a hinge issue, not an installation disaster. Tighten the screws and lubricate the hinge pins.
When It Makes Sense to Call a Pro
DIY is great, but so is knowing when a project is drifting out of your lane. Consider hiring a pro if the rough opening is badly out of square, the wall framing is damaged, the floor is dramatically unlevel, you are installing a very heavy solid-core slab by yourself, or the opening needs resizing. The same goes for historic homes, where nothing is standard and every trim board seems emotionally attached to the wall.
There is no shame in tapping out before the project turns into a memoir.
Real-World Lessons From Installing Interior Doors
One of the most common experiences DIYers report is that the door itself is not the hardest part; it is the opening. On paper, the project sounds simple: remove old door, insert new door, add a few shims, and enjoy your upgraded life. In reality, the doorway may be slightly twisted, the floor may slope more than you noticed, and the trim may come off in six pieces even though you swore you were being gentle. That does not mean you are bad at DIY. It means you are working on a real house, and real houses are full of personality.
A lot of beginners also discover that patience matters more than brute force. The first instinct is often to fasten the frame quickly and “make it work.” But the better approach is to slow down, close the door over and over, study the reveal, and make tiny adjustments. The people who end up happiest with the final result are usually the ones who accept that this is a finesse job. It is less like wrestling a refrigerator and more like tuning an instrument.
Another lesson that comes up often is the value of having a helper, especially with solid-core doors. A second person makes it easier to hold the unit in place, check alignment, and keep the jamb flush with the wall while you shim. Even a quick assist during the first ten minutes can save a lot of frustration. Plenty of DIYers start out saying, “I can handle this alone,” and end up halfway through the project trying to balance a door on a folded towel while negotiating with gravity.
Experienced remodelers also tend to emphasize one small but important truth: a neat-looking trim job can hide minor imperfections, but it cannot fix a badly hung door. In other words, get the operation right first. Make sure the slab swings freely, latches properly, and has consistent gaps. Cosmetic finishing comes later. Caulk is powerful, but it is not magic. It cannot convince a stubborn latch to line up.
People replacing only a slab door often mention that transferring hinge and hardware locations is the point where accuracy really counts. Using the old slab as a template helps a lot, but even then, careful marking and checking are essential. A hinge mortise that is slightly too deep or too high can change the whole fit. The upside is that once you have done one successfully, the next one feels far less intimidating. Door projects have a way of looking impossible right up until the moment they finally swing smoothly.
Finally, there is the emotional reward. A well-installed interior door changes how a room feels. It looks cleaner, sounds quieter, and works better every single day. That is one reason this project remains such a satisfying DIY upgrade. You do the fiddly work once, and then you enjoy the results every time you walk through the doorway like the extremely competent person you have become.
Final Thoughts
Installing an interior door is one of those home projects that rewards patience, precision, and a healthy respect for shims. If you measure carefully, start with the hinge side, check the reveal often, and avoid rushing the fasteners, you can get a professional-looking result without making the project your entire personality for the week.
Choose a prehung door if you want the easiest DIY route. Choose a slab if your jamb is in great shape and you are comfortable doing detailed layout work. Either way, the winning formula is the same: plumb, level, test, adjust, repeat. Fancy tools help, but careful work helps more.













