
An electric stove top has a special talent for looking guilty even when you only cooked one innocent grilled cheese. One splash of pasta sauce, one rebellious drop of oil, and suddenly your kitchen looks like it hosted a tiny food fight. The good news: cleaning an electric stove top does not require wizardry, industrial-strength panic, or the urge to replace the whole appliance out of spite. It just takes the right method, a little patience, and the wisdom to avoid scrubbing your cooktop like you are sanding a deck.
This guide walks you through how to clean an electric stove top in 11 simple steps, with practical tips for everyday messes, burnt-on residue, and streaky surfaces that refuse to cooperate. While these steps are especially useful for smooth-top electric stoves and glass cooktops, you will also find a quick note for traditional coil-burner models. The goal is simple: remove grease, lift stains, protect the finish, and get that shiny surface back without turning your kitchen into a chemistry experiment.
Important: These steps are designed primarily for a smooth-top or glass-ceramic electric stove. If your stove has exposed coil burners, do not soak the coils, and remove the drip pans separately for washing. More on that below.
What You Need Before You Start
- Microfiber cloths or soft, lint-free cloths
- A non-abrasive sponge or cooktop pad
- White vinegar in a spray bottle
- Baking soda
- A non-abrasive electric cooktop cleaner
- Warm water
- A soft towel or paper towels
- A cooktop scraper made for glass or ceramic surfaces
- Dish soap for knobs, edges, and trim
You do not need steel wool, random powdered cleaners from the back of the cabinet, or a fierce emotional monologue aimed at the burnt spaghetti sauce. In fact, those harsh tools are exactly what can leave scratches, haze, or damage behind.
How to Clean an Electric Stove Top: 11 Steps
Step 1: Turn Everything Off and Let the Surface Cool
First things first: power down the stove and let the surface cool completely, or at least until it is only barely warm if you are following your manufacturer’s care instructions for scraping residue. Cleaning a hot glass stove top is a terrible idea for several reasons. One, it can burn you. Two, cleaners may dry too fast and streak. Three, a rushed cleanup on a hot surface can bake residue in even harder. If your stove has a hot-surface indicator light, treat it like a tiny traffic signal telling you not to do anything heroic yet.
Step 2: Remove Loose Crumbs and Surface Debris
Once the stove is cool, use a dry microfiber cloth or soft paper towel to remove crumbs, salt, dried herbs, and whatever mystery flakes appeared after last night’s dinner. This step matters because loose grit can act like sandpaper when you start wiping. If you skip it, you may drag debris across the top and leave fine scratches behind. Your electric cooktop deserves better than being exfoliated with burnt rice.
Step 3: Spray Vinegar on Light Grease and Everyday Smudges
For routine messes, lightly spray the stove top with white vinegar. Vinegar helps cut grease and loosen fresh splatters without leaving a heavy film behind. Let it sit for a few minutes, but do not flood the surface. A little goes a long way here. Think “freshening up,” not “indoor thunderstorm.” This step is especially helpful if your electric stove top looks dull from fingerprints, light oil mist, or faint rings left by pans.
Step 4: Add a Cooktop Cleaner for Stubborn Spots
If grease, scorch marks, or cloudy buildup are hanging on for dear life, apply a small amount of glass cooktop cleaner or ceramic stove cleaner to the problem areas. Choose a product labeled safe for electric glass or ceramic surfaces. Use only a non-abrasive formula. Harsh cleaners can leave scratches, strip the finish, or create a hazy look that makes the cooktop seem older than it is. In other words, this is not the moment to improvise with whatever cleaner looks toughest.
Step 5: Let the Cleaner or Vinegar Sit for 10 to 15 Minutes
Patience is doing a lot of the heavy lifting here. Give the cleaner time to soften greasy film and baked-on residue. A short wait helps break up the bond between the mess and the surface, which means less scrubbing later. If you are dealing with a cooked-on sauce spill, cheese fossil, or a suspicious brown ring that appeared after pancake day, this soak time makes a big difference.
Step 6: Use a Warm, Damp Towel to Loosen Burnt-On Gunk
For the messes that laugh in the face of normal wiping, lay a warm, damp towel over the stained area for several minutes. This helps soften crusted residue so you are not attacking it with brute force. You want the towel damp, not dripping. After a few minutes, lift it off and gently wipe. Sometimes this alone will take care of the worst of it. Other times, it will at least humble the mess enough for the next step.
Step 7: Scrape Carefully With a Proper Cooktop Scraper
If burnt-on residue is still clinging to the glass, use a scraper made specifically for glass or ceramic cooktops. Hold it at a low angle and glide it carefully under the residue. Do not jab, stab, or go full medieval knight on your stove. A proper scraper is designed to lift stuck-on food without damaging the surface when used correctly. This is the best way to remove blackened spills, crusty sugar, and carbonized sauce patches that have clearly made themselves at home.
If your stove has a smooth glass surface, never substitute a random razor blade held upright, a metal spatula, or any other “close enough” tool. That is how small problems become permanent decoration.
Step 8: Scrub Gently With a Non-Abrasive Pad
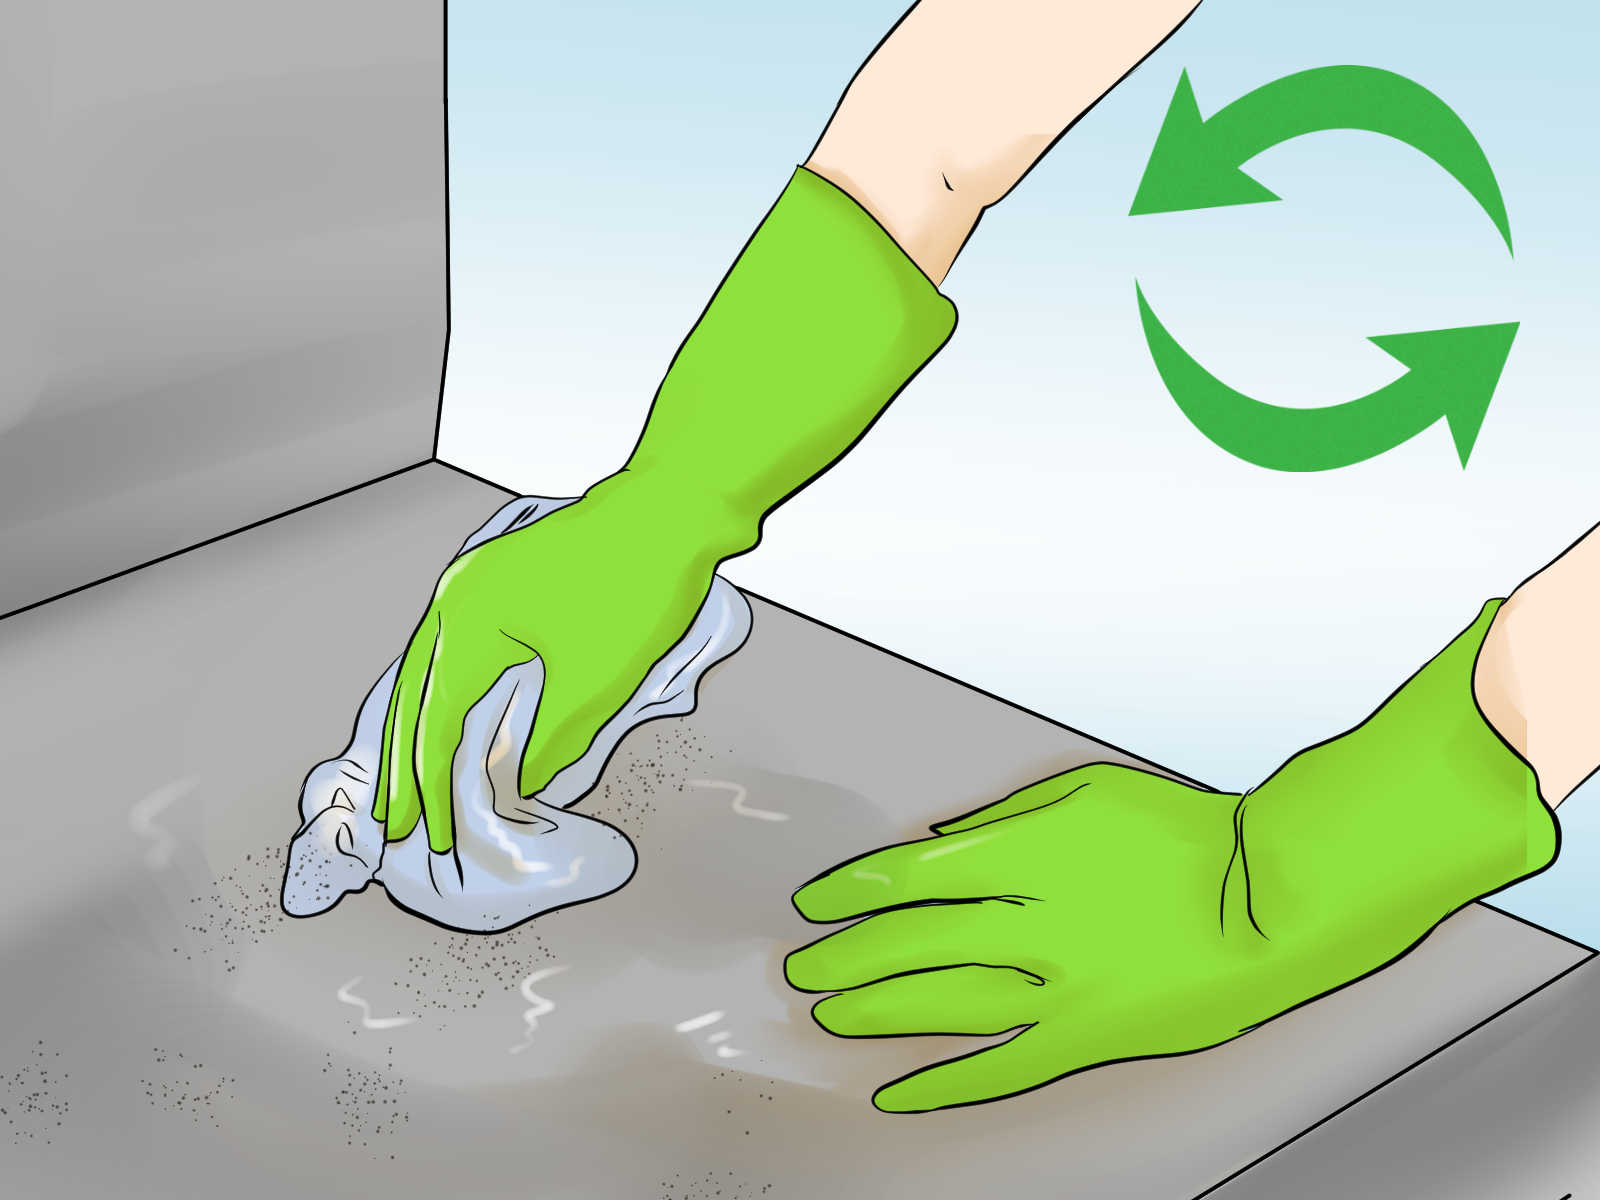
After scraping, use a non-abrasive pad or sponge to work the cleaner across the surface. Use circular motions or gentle back-and-forth strokes, depending on what feels easier. Apply steady pressure, but do not scrub like you are trying to erase a bad decision from history. Gentle friction is enough when the residue has already been softened properly. If needed, sprinkle a little baking soda on especially stubborn spots and work it in with a damp cloth.
Step 9: Wipe Away All Cleaner Residue
This step is easy to underestimate and surprisingly important. Use a clean damp cloth to wipe away every bit of cleaner, vinegar, baking soda, and loosened grime. If residue stays behind, it can dry into streaks or burn the next time you cook. That means your freshly cleaned stove top can go right back to looking tired before you even boil water. Rinse your cloth and wipe again if needed. A second pass is not overkill; it is quality control.
Step 10: Dry and Buff the Surface Until It Shines
Take a dry microfiber cloth and buff the surface thoroughly. This final polish helps remove streaks and brings back the glossy finish that makes a glass electric stove top look clean rather than “technically less dirty.” Work from one side to the other and pay attention to corners, burner outlines, and the perimeter trim. If you still see smears, use a fresh dry cloth and buff again. The shine is usually hiding just one extra pass away.
Step 11: Clean the Knobs, Edges, and Surrounding Trim
A clean cooktop surrounded by greasy knobs is like wearing a crisp shirt with ketchup on the collar. Finish the job by wiping the edges, trim, and control knobs with warm water and a little dish soap. Dry them well before putting anything back in place. If your model has removable knobs, wash them gently and avoid soaking them unless your manual says that is safe. This last step makes the whole stove look cleaner, not just the center stage where the burners live.
Quick Note for Coil-Burner Electric Stove Tops
If you have an older electric stove with exposed coil burners, the process is a little different. Wipe the coils with a damp cloth only, and do not immerse them in water. Remove the drip pans and wash those separately with warm, soapy water. Once the pans are dry, reinstall everything carefully. For coil models, the biggest win comes from keeping the drip pans clean and wiping up spills before they burn into a permanent science project.
Common Mistakes to Avoid
- Using steel wool or abrasive scrubbers: These can scratch glass and ceramic surfaces.
- Cleaning while the stove is hot: This can cause streaking, burns, and cleaner residue that bakes on.
- Using harsh chemical cleaners: Products with ammonia, bleach, or rust remover may damage the finish.
- Skipping the rinse step: Leftover cleaner can leave a film or burn on later.
- Dragging dirty pans across the surface: Even a clean stove top will suffer if cookware bottoms are gritty.
How Often Should You Clean an Electric Stove Top?
The best answer is annoyingly simple: a little after every use, and a deeper clean once a week or whenever buildup starts forming. A quick wipe after dinner takes less than a minute and can save you from a major cleanup later. If you cook often, especially anything involving oil splatter, sticky sauces, or bubbling pots, regular maintenance makes a huge difference.
Think of it this way: cleaning a fresh spill is a small inconvenience. Cleaning a week-old burnt syrup patch is a test of character.
Best Habits for Keeping Your Stove Top Cleaner Longer
- Wipe up spills as soon as the surface is safe to touch.
- Check the bottoms of pans before cooking.
- Avoid sliding cookware across the surface.
- Keep a microfiber cloth and stove cleaner nearby.
- Use lids when simmering sauces that love to escape.
- Do a quick polish after deep cleaning to reduce streaks.
Real-Life Cleaning Experiences: What People Usually Learn the Hard Way
Most people do not really learn how to clean an electric stove top from a cheerful manual and a cup of tea. They learn because oatmeal exploded before work, because tomato sauce erupted like a tiny volcano, or because holiday cooking left behind a brown ring that looked permanent enough to require emotional support. That is why real-life experience matters so much with stove cleaning. In actual kitchens, the mess is rarely neat, the timing is rarely convenient, and the first instinct is often wrong.
One common experience is the “I’ll clean it later” mistake. A lot of people see a small spill, decide it can wait, then turn the burner on again for the next meal. That innocent splatter becomes a baked-on patch with the stubborn spirit of a gym membership contract. What could have been wiped away with vinegar and a cloth now needs soak time, cleaner, a scraper, and a serious attitude adjustment. The lesson is not glamorous, but it is true: small messes are cheap, old messes are expensive in effort.
Another familiar lesson comes from using the wrong tool. Plenty of home cooks try paper towels alone, then give up and graduate straight to the rough side of a sponge, steel wool, or an all-purpose cleaner that smells like it could remove road paint. That usually ends badly. Instead of a shiny glass cooktop, they get scratches, streaks, or a cloudy finish that makes the stove look older than the refrigerator. The better experience, repeated again and again in real kitchens, is that gentle tools plus patience beat aggressive scrubbing almost every time.
Then there is the moment people discover the power of a proper scraper. It sounds dramatic, but for many stove owners, this is the plot twist. After ten minutes of wiping in frustration, the right scraper lifts burnt-on gunk in seconds and suddenly the whole cleanup feels possible again. It is not magic. It is just the difference between using the correct tool and trying to negotiate with burnt cheese using optimism.
Families who cook often also notice that the dirtiest stove tops are usually not caused by one giant disaster. They come from layers: a little grease from eggs, a drop of soup, a dusting of seasoning, then a pot boils over and everything gets reheated. By the end of the week, the cooktop is wearing several meals at once like a very bad outfit. The experience teaches a simple habit: one quick wipe after cooking saves a deep-clean session later. It feels boring in the moment, but it works.
Even renters and first-time homeowners tend to learn the same thing: a stove top looks delicate, but it is not helpless. If you follow a smart routine, you can remove everyday grime, tackle burnt residue, and keep the finish looking bright for years. The trick is not scrubbing harder. It is cleaning sooner, choosing non-abrasive products, and respecting the surface. Your stove top does not need punishment. It needs a sensible plan and maybe, on especially chaotic weeknights, a little sympathy.
Final Thoughts
Cleaning an electric stove top is one of those chores that feels much worse in your imagination than it does in real life. Once you know the right steps, it becomes quick, manageable, and oddly satisfying. Cool the surface, loosen the mess, use the right cleaner, scrape carefully when needed, and polish it dry. That is the whole playbook. Do it regularly, and your stove top will stay cleaner, shinier, and much less likely to judge your cooking adventures from beneath a layer of burnt taco filling.
And if today’s mess looks impossible, do not panic. Most dirty cooktops are not ruined. They are just waiting for a smarter cleaning strategy and about fifteen minutes of your attention.














