
A hexaflexagon looks innocent at first: just a flat paper hexagon, sitting there like it has paid rent and belongs on your desk. Then you pinch it, open it, and suddenly a hidden face appears. Congratulationsyou have just met one of the sneakiest little math toys ever folded from paper.
In this guide, you will learn how to fold a classic trihexaflexagon, the most beginner-friendly type of hexaflexagon. It has six edges, six triangular sections visible at a time, and three different faces that can be revealed by flexing. In plain English: it is a paper puzzle that flips itself inside out without needing batteries, Wi-Fi, or a dramatic software update.
Hexaflexagons are popular in classrooms, craft rooms, math clubs, and anywhere people enjoy turning simple materials into “wait, how did that happen?” moments. The design is based on a strip of equilateral triangles folded into a hexagon. When the folds line up correctly, the finished model can be flexed to reveal hidden patterns, colors, numbers, or doodles. It is part origami, part geometry lesson, and part tiny magic trick.
What Is a Hexaflexagon?
A hexaflexagon is a folded paper shape that usually looks like a regular hexagon. The “hexa” part refers to the six-sided shape, while “flexagon” comes from its ability to flex. The most common beginner version is called a trihexaflexagon because it can show three different faces.
The first famous flexagon story goes back to 1939, when Arthur H. Stone, a British graduate student at Princeton University, played with trimmed strips of paper and discovered that they could be folded into a shape with hidden surfaces. His friends Bryant Tuckerman, Richard Feynman, and John Tukey became interested, and the wonderfully serious-sounding “Flexagon Committee” was born. Imagine a group of brilliant mathematicians gathering around a paper toy and saying, “Yes, this deserves investigation.” Honestly, they were right.
Today, hexaflexagons are used to teach symmetry, geometry, pattern recognition, folding accuracy, and mathematical curiosity. They are also excellent for proving that one small strip of paper can humble even the most confident adult.
Materials You Need
- A sheet of printer paper, light cardstock, or construction paper
- Scissors
- Ruler
- Pencil
- Glue stick or clear tape
- Markers, colored pencils, or crayons
- Optional: a printed trihexaflexagon template
For beginners, a printed template is the easiest choice. If you want to draw your own, you need a strip made of 10 equilateral triangles. Each triangle should be the same size. Accuracy matters because a hexaflexagon is not very forgiving. It may look like a friendly paper craft, but it has the personality of a geometry teacher checking your homework.
Before You Start: A Few Folding Tips
Use paper that is firm but not too thick. Regular printer paper works, but light cardstock is better if you want a sturdier model. Heavy cardstock may resist flexing, which is a polite way of saying it may fight you.
Score the fold lines before folding. You can do this by tracing each line firmly with the dull side of scissors, an empty ballpoint pen, or a ruler edge. Scoring helps the paper fold cleanly and makes the final flexing smoother.
Also, fold both ways on each crease before assembly. Make a valley fold, then reverse it into a mountain fold. This “training session” loosens the paper and helps the hexaflexagon move naturally later.
How to Fold a Hexaflexagon: 12 Steps
Step 1: Create or Print a Triangle Strip
Start with a strip of 10 equilateral triangles arranged in a straight row. If you use a template, print it and cut around the outside. If you draw it by hand, use a ruler and compass to make sure all sides of each triangle are equal.
A common beginner size is 2 inches per triangle side. That gives you a hexaflexagon large enough to fold comfortably without feeling like you are performing surgery on a postage stamp.
Step 2: Cut Out the Strip Carefully
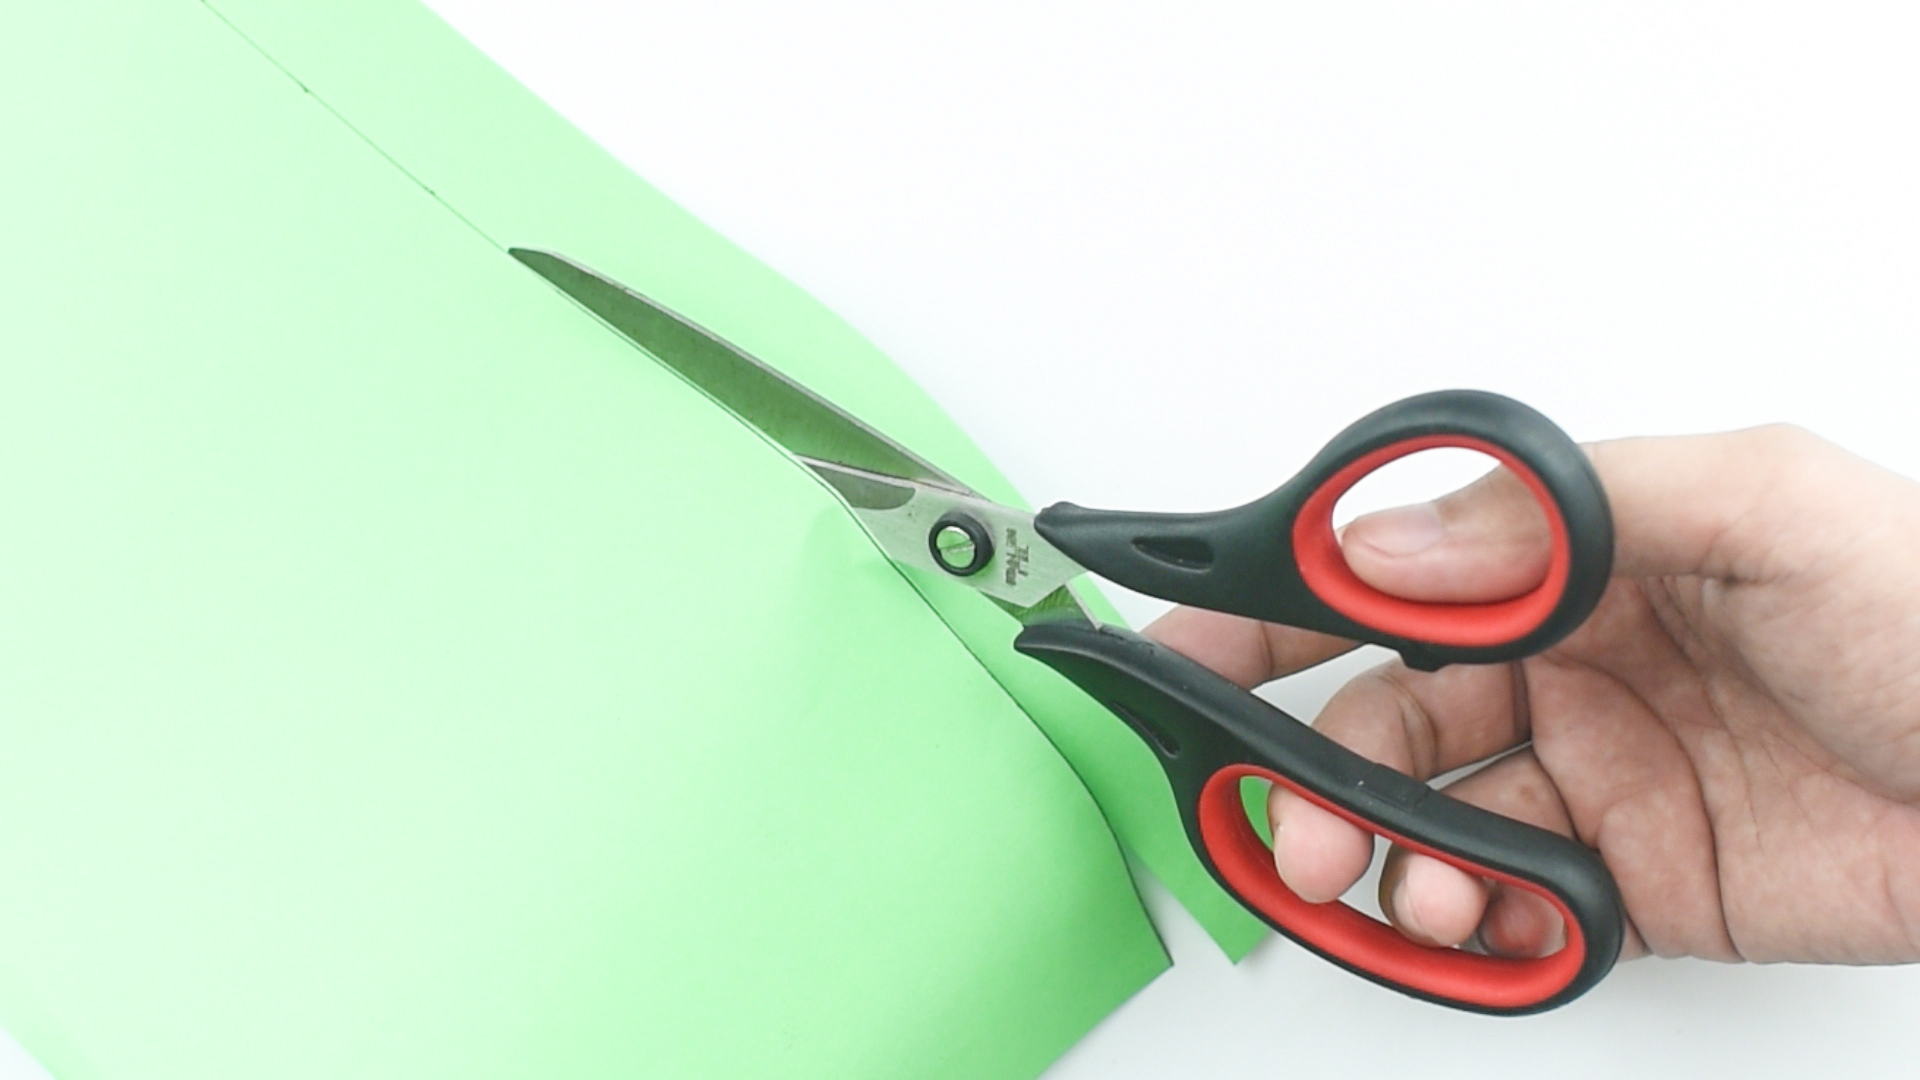
Cut along the outer edge of the strip. Try to keep the cuts straight and clean. Uneven edges will not ruin the project, but they can make the final shape harder to flex.
Leave any glue tab attached if your template includes one. If your strip has exactly 10 triangles and no tab, you can still finish it with tape or by overlapping the final triangles.
Step 3: Number or Color the Triangles
Before folding, decorate the triangles so you can see the hidden faces when the flexagon opens. A simple method is to color the triangles in three groups. Use one color for the front face, another for the back face, and a third for the hidden face.
If you prefer numbers, mark the triangles with 1s, 2s, and 3s according to your template. The goal is for each full face to show a matching set after folding and flexing.
Step 4: Score Every Fold Line
Place the ruler along each line between triangles and score it lightly. Do not cut through the paper. You only want to weaken the surface enough to guide the fold.
This step may feel unnecessary, but it makes a big difference. A well-scored hexaflexagon opens like a clever puzzle. An unscored one opens like a stubborn sandwich wrapper.
Step 5: Fold Back and Forth Along Each Line
Fold the strip like an accordion, crease by crease. Fold one line forward, then backward, then forward again. After that, reverse every crease and fold it the other way.
You are preparing the paper to move in multiple directions. This is important because flexing requires the paper to bend inward and outward without tearing or jamming.
Step 6: Position the Strip With the Correct Side Facing Up
Lay the strip flat in front of you. If you are using a printed template, follow the orientation shown on the pattern. If you are using your own drawing, place the triangles so the decorated front side faces up.
Make sure the triangles form a zigzag row. The strip should look like a chain of peaks and valleys rather than a plain rectangle.
Step 7: Fold the Left End Behind the Strip
Begin forming the hexagon by folding the left section behind the strip along one of the crease lines. The triangles should start stacking neatly, with edges matching.
Do not glue anything yet. At this stage, you are simply shaping the paper and checking that the triangles line up.
Step 8: Fold the Right End Over or Under
Fold the right section so it wraps around and helps form a six-sided shape. You should now see the beginning of a flat hexagon made from six visible triangles.
If the model looks twisted, do not panic. Unfold and try again. Most first-time hexaflexagons go through a short “abstract sculpture” phase before becoming recognizable.
Step 9: Tuck the Final Triangle Into Place
Take the last loose triangle and tuck it under the matching triangle near the beginning of the strip. This overlap closes the loop and locks the hexagon shape.
The finished form should be flat, with six triangles on one side and six triangles on the other. If one side has a triangle sticking out like a paper shark fin, something is not tucked correctly.
Step 10: Glue or Tape the Overlap
Apply a small amount of glue or tape to secure the final overlapping triangles. Use only enough adhesive to hold the paper together. Too much glue can seep into the folds and freeze your flexagon in place, which is the craft version of putting a sports car in a glass case.
Let the glue dry before flexing. If you use tape, trim any excess so it does not catch on the folds.
Step 11: Loosen the Flexagon
Gently bend the hexaflexagon along its creases. Push opposite corners slightly toward each other, then flatten it again. Rotate the model and repeat.
This loosening process helps the paper learn where it wants to open. Be patient. A new hexaflexagon often needs a little encouragement before it starts flexing smoothly.
Step 12: Flex and Reveal the Hidden Face
Hold the hexaflexagon with one corner pointing up. Pinch two adjacent triangles together, then use your other hand to gently open the opposite side. If it opens, continue turning the center outward until a new face appears.
If it does not open, do not force it. Rotate the hexaflexagon and try another pair of adjacent triangles. Once you find the right opening, the hidden face will appear. This is the moment when the paper stops being paper and becomes a tiny mathematical goblin.
How to Decorate a Hexaflexagon
Decorating a hexaflexagon makes the hidden-face effect much more satisfying. You can color each face a different shade, draw three different images, write secret messages, or create a pattern that changes as you flex.
For a classroom activity, try labeling each face with a math concept. One face can show fractions, another can show geometry vocabulary, and the hidden face can reveal answers. For a birthday card, write “Happy,” “Birthday,” and a surprise message on the hidden face. For pure chaos, draw three different cats and let the flexagon decide which cat rules the day.
Common Mistakes and How to Fix Them
The Hexaflexagon Will Not Open
This usually means you are pinching the wrong pair of triangles or the folds are too stiff. Rotate the model and try again. If every side refuses to open, gently refold each crease in both directions.
The Shape Looks Uneven
Uneven triangles are often the cause. A hexaflexagon depends on equal triangle sizes. If the strip was hand-drawn, check the side lengths. Small differences can make the final model lopsided.
The Paper Tears While Flexing
Tearing usually happens when the folds are forced. Use thinner paper, score the fold lines, and flex slowly. The model should open because the creases guide it, not because you wrestle it into submission.
The Hidden Face Does Not Match
If the colors or numbers appear scrambled, the triangle pattern may have been labeled incorrectly before folding. The flexagon may still work, but the design will look mixed. For your next version, use a printed template or mark the faces after folding.
The Math Behind the Magic
A hexaflexagon is a beautiful example of how geometry can hide complexity inside a simple shape. It is built from equilateral triangles, which fit together neatly because each angle measures 60 degrees. Six of those angles meet around a point to form a full 360-degree turn, making the hexagon possible.
The flexing action works because the folded strip creates layers. Some triangles are visible, while others are tucked inside. When you pinch and open the correct folds, the layers rearrange and expose a surface that was previously hidden.
This is why hexaflexagons are so useful for teaching spatial reasoning. You are not only seeing a shape; you are predicting movement, tracking hidden surfaces, and learning how two-dimensional materials can behave in surprising three-dimensional ways.
Creative Uses for Hexaflexagons
Hexaflexagons are more than desk toys. Teachers use them for math lessons, art projects, vocabulary review, science diagrams, and storytelling. Because each model has multiple faces, it can hold stages of a process, parts of a cycle, or different versions of an image.
For example, a science class might create a water cycle hexaflexagon with evaporation, condensation, and precipitation on different faces. A language arts class might use one for beginning, middle, and end. An art class can explore repeating patterns, color theory, and optical surprises.
At home, a hexaflexagon makes a fun rainy-day craft. It is inexpensive, quick to make, and impressive enough to make someone say, “Wait, do that again.” That phrase is basically the official applause of paper engineering.
Extra Experience: What You Learn After Folding a Few Hexaflexagons
After making several hexaflexagons, one thing becomes very clear: the first model teaches your hands more than your eyes. Reading the instructions helps, but the real learning happens when you feel the paper resist, relax, fold, and finally open. The first attempt may be awkward. The second one is usually better. By the third, you start acting like you have been appointed Assistant Professor of Folding Weird Little Hexagons.
The biggest lesson is patience. A hexaflexagon rewards careful preparation. When the triangle strip is cut neatly, the creases are scored, and the folds are trained in both directions, the finished model flexes smoothly. When those steps are rushed, the model tends to jam. This makes the project a surprisingly good reminder that precision is not about being fussy; it is about making the fun part actually work.
Another useful experience is discovering how much paper choice matters. Thin printer paper is easy to fold, but it wears out faster. Light cardstock feels stronger and holds its shape beautifully, but it needs sharper creases. Construction paper can work, although some types are too soft and fuzzy at the edges. For beginners, medium-weight paper is the sweet spot.
Decorating also becomes easier after assembly. Many people try to color the whole strip first, which is fine if they are using a template. But if you are experimenting, it can be smarter to fold the blank model, flex it, and then mark each visible face as it appears. This method helps prevent scrambled designs and makes it easier to understand which triangles belong together.
Flexing teaches another quiet skill: gentle problem-solving. If the model does not open, forcing it rarely helps. Instead, rotate it, pinch a different pair of triangles, and feel for the opening. There is usually one direction where the center begins to separate naturally. Once you find it, the movement becomes much easier to repeat.
Hexaflexagons are also excellent conversation starters. Hand one to someone who has never seen one before, show two faces, and then reveal the third. The reaction is almost always the same: confusion, delight, suspicion, and then a request to try it. That little moment is why this paper puzzle has lasted for generations. It turns geometry into something you can hold, test, break, fix, and share.
The best final tip is to make more than one. Create a practice version first, then a decorated version. Try different sizes. Make one with numbers, one with colors, and one with tiny drawings. Each version will teach you something new about folds, symmetry, and hidden structure. And if one turns out badly, keep it anyway. It can serve as a noble reminder that even mathematicians probably had a crumpled prototype or two.
Conclusion
Learning how to fold a hexaflexagon is a simple project with a surprisingly rich reward. You begin with a strip of triangles and end with a flexible paper puzzle that reveals hidden faces through clever geometry. It is affordable, educational, creative, and just mysterious enough to make people accuse you of paper wizardry.
Whether you are making one for a classroom lesson, a craft afternoon, a math club activity, or your own curiosity, the key is accuracy. Cut cleanly, crease carefully, glue lightly, and flex gently. Once the hidden face appears, you will understand why hexaflexagons have fascinated mathematicians, teachers, artists, and curious kids for decades.
Note: This article is based on established mathematical and educational information about trihexaflexagons, hexaflexagons, flexing methods, paper geometry, classroom craft practices, and the historical development of flexagons.














