
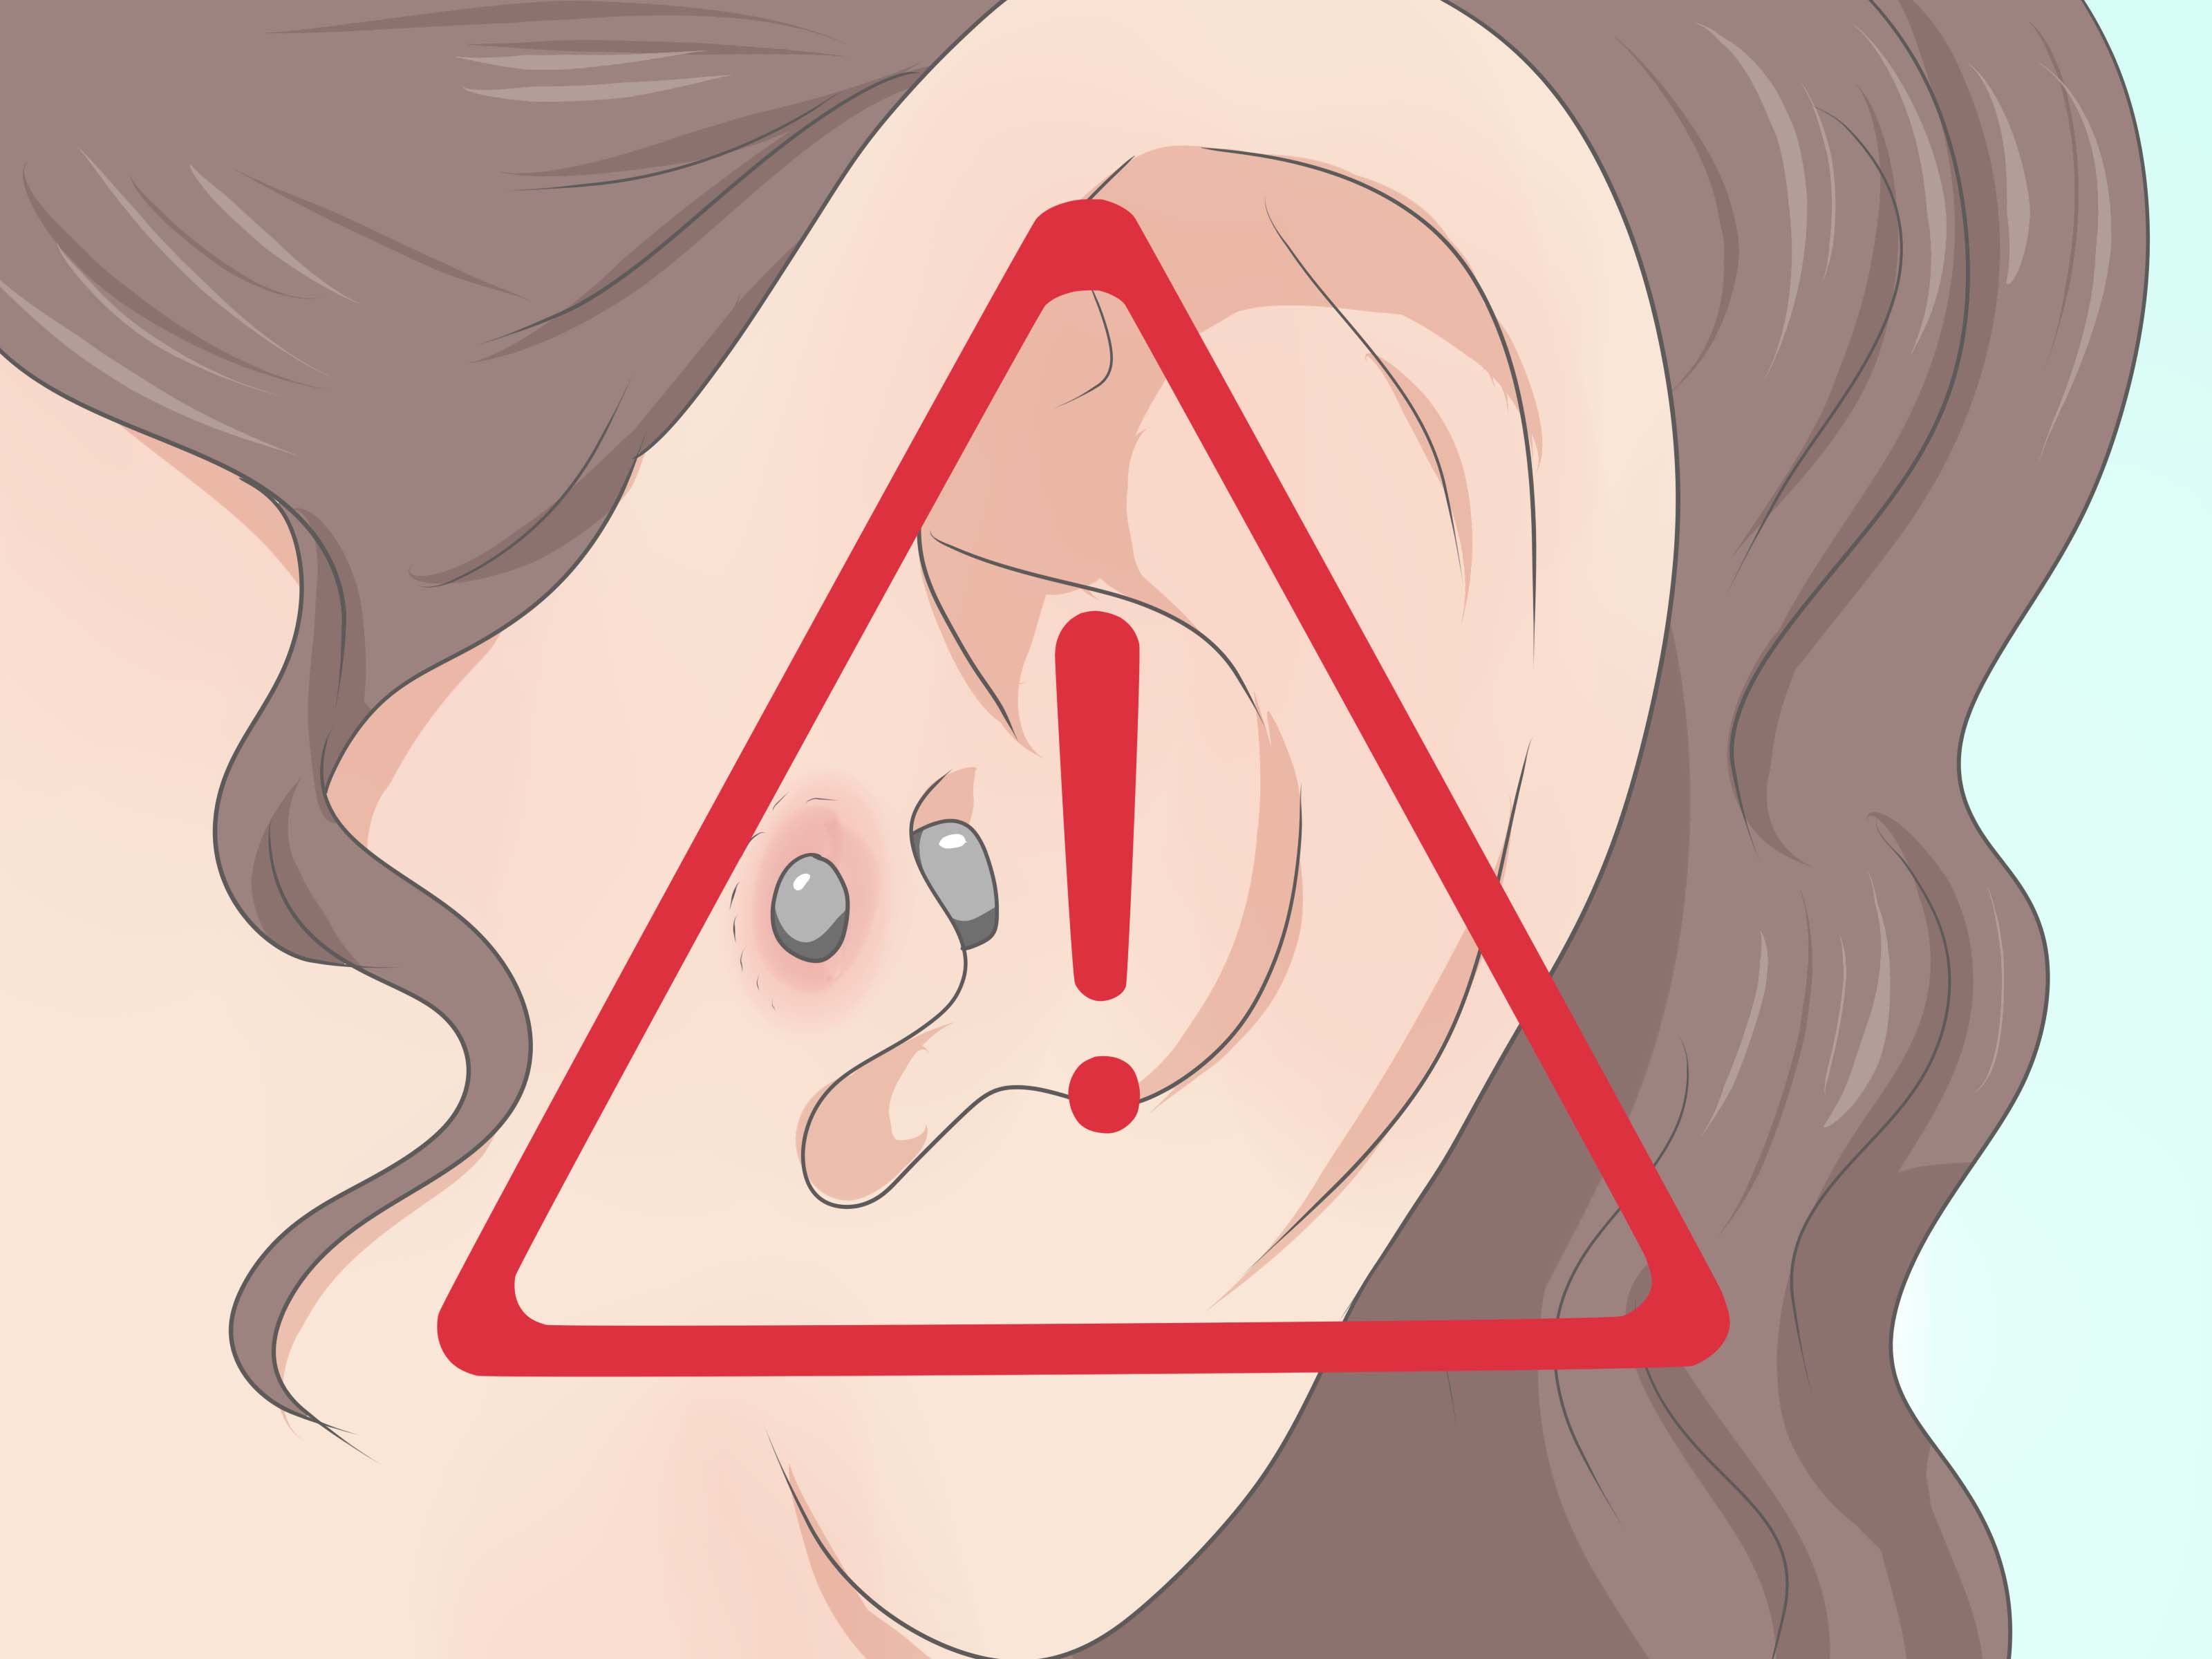
Important safety note: A tragus piercing may look tiny, but the tragus is cartilage, not a soft earlobe. Cartilage has less blood flow, takes longer to heal, and can become seriously irritated or infected when pierced with poor technique, unsterile tools, or the wrong jewelry. This article uses the search-friendly title “How to Pierce Your Own Tragus” because that is what many readers type into Google, but the safest answer is simple: do not pierce your own tragus at home. Treat this as a practical, step-by-step guide to getting a tragus piercing safely, preparing correctly, avoiding common disasters, and caring for it like a responsible adult with excellent taste in ear jewelry.
The tragus is the small, firm flap of cartilage that partially covers the entrance to your ear canal. A tragus piercing can look sleek, subtle, edgy, or minimalist depending on the jewelry you choose. It also sits in a high-touch, high-friction area near earbuds, phones, hair, skincare products, and pillowcases. In other words, it is cutebut it is not casual. If a lobe piercing is a bicycle, a tragus piercing is a tiny motorcycle with a paperwork requirement.
Why You Should Not Pierce Your Own Tragus at Home
Before we get into the 14 steps, let’s clear up the elephant in the piercing room: DIY tragus piercing is risky. The tragus is small, curved cartilage, and the angle matters. A badly placed piercing can heal crooked, reject, develop bumps, cause scarring, or become too irritated to keep. Even worse, non-sterile needles, sewing needles, safety pins, piercing guns, earrings, and “I saw it on TikTok” confidence can introduce bacteria into fresh tissue.
A professional piercer works with sterile, single-use equipment, anatomy checks, appropriate jewelry, and clean technique. That is not drama; that is wound care with sparkle. If you want the best chance of a comfortable, attractive, long-lasting tragus piercing, book a qualified piercer rather than turning your bathroom mirror into a surgical suite.
How to Pierce Your Own Tragus: 14 Safer Steps to Follow Instead
These 14 steps are designed for people who are researching how to pierce their own tragus but want the safest real-world path. They cover preparation, choosing a piercer, jewelry selection, aftercare, and healing habits.
Step 1: Understand What a Tragus Piercing Really Is
A tragus piercing goes through the small cartilage flap in front of the ear canal. Because it is cartilage, it usually heals more slowly than a soft earlobe piercing. It may stay tender for months, and irritation bumps can appear if the jewelry is bumped, twisted, slept on, or cleaned too aggressively. The better you understand the anatomy, the less likely you are to treat it like a disposable fashion sticker.
Step 2: Check Whether Your Anatomy Is Suitable
Not every tragus is ideal for piercing. Some are too small, too thin, too curved, or positioned in a way that makes jewelry uncomfortable. A professional piercer can evaluate whether your tragus has enough tissue to support jewelry safely. This matters because forcing a piercing through unsuitable anatomy can lead to migration, rejection, pressure bumps, or jewelry that never sits right.
Step 3: Avoid Piercing Guns Completely
A tragus should never be pierced with a piercing gun. Guns are not appropriate for cartilage because they use blunt force to push jewelry through tissue. This can create unnecessary trauma, swelling, and poor placement. A professional cartilage piercing should be performed with sterile, appropriate piercing equipment by someone trained in body piercingnot by a mall kiosk gadget that treats your cartilage like a stapler project.
Step 4: Research a Reputable Piercing Studio
Look for a clean studio with trained piercers, sterile procedures, clear aftercare instructions, and high-quality jewelry. Read reviews, check portfolios, and pay attention to how the studio answers questions. A good piercer will not rush you, shame you, or act annoyed when you ask about sterilization, jewelry material, healing time, or placement. If the studio feels chaotic, smells strange, or offers bargain-bin cartilage piercings with mystery metal, politely flee.
Step 5: Ask About Sterile Equipment
Professional piercers should use sterile, single-use needles and properly sterilized tools. The jewelry should be clean, safe for fresh piercings, and appropriate for long-term wear inside healing tissue. Do not accept vague answers like “we clean everything pretty well.” Your tragus deserves better than “pretty well.”
Step 6: Choose Safe Initial Jewelry
Initial jewelry matters more than most people realize. For a fresh tragus piercing, many piercers recommend a flat-back labret-style stud because it sits securely and creates less movement than a hoop. High-quality options often include implant-grade titanium, niobium, or solid 14k or 18k gold from reputable manufacturers. Avoid cheap plated jewelry, nickel-heavy jewelry, mystery metals, and decorative pieces that are too heavy or textured for a new piercing.
Step 7: Skip the Hoop at First
Hoops can look amazing in healed tragus piercings, but they often move too much during early healing. Movement equals irritation, and irritation can lead to swelling, bumps, soreness, and delayed healing. Start simple. Once the piercing is fully healed and your piercer confirms it is ready, you can switch to a hoop if your anatomy allows it.
Step 8: Prepare Your Body Before the Appointment
Eat a real meal before your piercing appointment, drink water, and avoid showing up exhausted, shaky, or running on iced coffee and vibes. Do not drink alcohol beforehand, and avoid taking unnecessary blood-thinning substances unless prescribed by your healthcare provider. Wear your hair away from the ear, bring any medical questions, and be honest about allergies, fainting history, skin issues, or past keloid scarring.
Step 9: Let the Piercer Mark and Check Placement
Before the piercing happens, your piercer should mark the placement and let you review it. Look at it from different angles. Ask whether the placement works with your ear shape, future jewelry goals, and daily habits. For example, if you wear earbuds constantly, mention it. A good tragus placement balances style, comfort, anatomy, and healing potential.
Step 10: Expect Pressure, Not a Movie-Level Scream
Tragus piercing pain varies. Some people describe it as a quick pinch; others feel firm pressure because cartilage is dense. The actual piercing is usually fast, but the sound or pressure near the ear canal can surprise people. Stay still, breathe steadily, and let the piercer guide you. This is another reason not to do it yourself: flinching with a needle near your ear is not the plot twist anyone needs.
Step 11: Clean With Sterile Saline Only
Aftercare should be boring, and that is a compliment. Wash your hands before touching the area. Spray the piercing with sterile saline wound wash as directed by your piercer, then gently dry it with clean disposable gauze or a clean paper product. Do not twist, rotate, dig, scrape, or perform tiny archaeological excavations around the jewelry. Crust can soften and rinse away during cleaning.
Step 12: Avoid Harsh Products
Do not use rubbing alcohol, hydrogen peroxide, iodine, harsh antibacterial soap, tea tree oil, ointments, makeup, fragrance, or random internet “miracle” solutions on a healing tragus piercing. These products can irritate healing tissue and delay recovery. Your piercing is a wound, not a kitchen counter. Disinfecting it into oblivion will not make it heal faster.
Step 13: Protect It From Friction and Pressure
Tragus piercings are easily irritated by earbuds, headphones, phones, hats, hair, pillowcases, and sleeping directly on the pierced side. Use speakerphone when possible, clean your phone regularly, avoid in-ear earbuds during early healing, and sleep on the opposite side. A travel pillow can help because your ear can rest in the center opening instead of being smashed into the pillow like a panini.
Step 14: Watch for Warning Signs
Some tenderness, swelling, and clear fluid can be normal in a new piercing. However, worsening pain, spreading redness, heat, foul-smelling yellow or green discharge, fever, chills, severe swelling, embedded jewelry, or symptoms that do not improve deserve medical attention. Cartilage infections can become more serious than lobe infections, so do not wait until your ear is sending dramatic emergency signals.
How Long Does a Tragus Piercing Take to Heal?
Healing time varies. Many cartilage piercings take several months to calm down, and full healing can take longer depending on your body, placement, jewelry, and aftercare habits. The outside may look fine before the inside is fully healed. That is the sneaky part. Do not change jewelry too early, stop cleaning too soon, or assume “it doesn’t hurt today” means “fully healed forever.”
A realistic mindset helps. Think of your tragus piercing as a slow-cooking recipe, not instant noodles. You cannot rush cartilage healing by poking it, twisting it, changing jewelry weekly, or trying every cleaning hack on the internet. The most successful healing routine is usually simple: clean hands, sterile saline, minimal touching, low pressure, and patience.
Common Tragus Piercing Mistakes to Avoid
Mistake 1: Touching It Constantly
Touching a new piercing with unwashed hands is one of the easiest ways to introduce bacteria. Even clean hands should not be on the piercing all day. Admire it in the mirror like royalty viewing a portraitfrom a respectful distance.
Mistake 2: Sleeping on It
Pressure can change the angle of a healing piercing, trigger swelling, and create irritation bumps. If you wake up on the pierced side every night, use a travel pillow or build a pillow setup that protects the ear.
Mistake 3: Changing Jewelry Too Soon
Switching jewelry before the piercing is ready can tear healing tissue and restart irritation. Let your piercer handle the first jewelry change or downsizing. Downsizing may be important once swelling decreases, but timing should be professional, not impulsive.
Mistake 4: Using Cheap Jewelry
Low-quality jewelry can contain irritating metals, rough surfaces, poor threading, or coatings that flake. A fresh piercing needs smooth, body-safe jewelry. Saving money on the jewelry can cost you comfort, healing time, and possibly the piercing itself.
Mistake 5: Confusing Irritation With Infection
Not every bump is an infection. Some bumps come from pressure, poor jewelry fit, moisture, overcleaning, or trauma. However, if you have worsening pain, heat, pus, fever, or spreading redness, contact a healthcare professional. When in doubt, ask your piercer and seek medical care when symptoms look serious.
Can You Wear Earbuds With a Tragus Piercing?
During early healing, earbuds can be a problem. They may press against the jewelry, introduce bacteria, trap moisture, or move the piercing repeatedly. Over-ear headphones may also create pressure depending on their design. If you rely on earbuds daily, discuss this with your piercer before getting pierced. You may need to switch to speakerphone, one-ear listening, or headphones that do not touch the tragus area.
What Jewelry Looks Best in a Tragus Piercing?
Once healed, tragus piercings are surprisingly versatile. Tiny flat-back studs, opal ends, bezel-set gems, minimalist gold disks, delicate shapes, and small hoops can all look beautiful. The best jewelry depends on your anatomy, personal style, and comfort. For the initial piercing, however, function beats drama. Start with safe, simple jewelry. Save the fancy “main character energy” piece for after healing.
When to See a Professional Piercer or Doctor
See your piercer if the jewelry feels too tight, the angle looks odd, a bump appears, or you are unsure whether the piercing is healing normally. See a healthcare professional if you notice severe swelling, intense pain, fever, chills, spreading redness, foul odor, thick pus, or jewelry becoming embedded. Do not remove jewelry from an infected cartilage piercing without medical or professional guidance, because trapped infection can become worse.
Personal Experiences and Practical Lessons About Tragus Piercings
Many people start researching “how to pierce your own tragus” because the piercing seems small and manageable. The logic is understandable: tiny piercing, tiny problem, right? Unfortunately, tragus piercings are a perfect example of something that looks simple from the outside but requires skill, angle control, sterile technique, and proper jewelry sizing. The most common regret people share is not the piercing itselfit is rushing the process.
One typical experience goes like this: someone loves the look of a tragus stud, buys jewelry online, watches a few videos, and thinks the process will be as easy as pushing through an earlobe. Then reality appears wearing steel-toed boots. Cartilage is firm. The tragus is awkward to reach. The angle is hard to see in a mirror. The ear canal is right there, making every movement feel more intense. Even if the jewelry goes in, swelling can make the fit too tight, and low-quality jewelry can irritate the tissue. Within days, the piercing may become sore, angry, and difficult to clean.
Another common lesson is that aftercare is not about doing more; it is about doing the right things consistently. People often panic when they see crust or swelling and start cleaning five times a day, twisting the jewelry, applying alcohol, adding ointment, and sleeping on it because “it already hurts anyway.” That usually makes things worse. Healing cartilage prefers calm conditions. The less drama you create, the more likely your piercing is to settle.
People with successful tragus piercings often describe a different pattern. They choose a reputable piercer, start with a flat-back stud, clean gently with sterile saline, avoid earbuds for a while, and protect the piercing from pressure. They do not change jewelry early. They do not spin the stud for luck. They do not let friends poke it. They treat the piercing like a tiny houseplant: light care, clean environment, no overwatering, and absolutely no chaos.
A practical example: imagine someone who works from home and wears earbuds six hours a day. Before getting pierced, they ask their piercer whether a tragus piercing fits their lifestyle. The piercer explains that earbuds may irritate the piercing during healing, so the person switches to over-ear headphones that do not press on the tragus. They also clean their phone, change pillowcases more often, and sleep with a travel pillow. None of these habits are glamorous, but they make healing smoother.
Another example involves jewelry. A person may want a tiny hoop immediately because it matches their style. A good piercer may recommend starting with a stud instead. At first, that can feel disappointing, like ordering fries and being handed a responsible salad. But after a few months of calmer healing, the person can often switch to a hoop safely. The long-term result is better because the piercing had time to stabilize.
The biggest takeaway from real tragus piercing experiences is this: patience is the accessory nobody photographs, but everyone needs. A tragus piercing can be stylish, comfortable, and long-lasting when done correctly. It can also become a months-long annoyance when rushed, pierced at home, cleaned harshly, or fitted with poor jewelry. If you want the look, invest in the process. Your ear is not a practice canvas, and your future self will appreciate the decision to do it safely.
Conclusion
Learning how to pierce your own tragus should lead you to one smart conclusion: do not do the actual piercing yourself. The tragus is cartilage, and cartilage piercings need sterile equipment, correct placement, safe jewelry, and careful aftercare. A professional piercer can evaluate your anatomy, use appropriate tools, place the jewelry correctly, and guide you through healing. Your job is to prepare well, choose quality jewelry, keep the piercing clean, avoid unnecessary touching, protect it from pressure, and respond quickly if warning signs appear.
A tragus piercing may be small, but the commitment is real. Treat it with respect, and it can become one of the coolest details in your ear stack. Treat it like a bored Saturday night experiment, and it may become a cautionary tale with swelling. Choose wisely, clean gently, and let your tragus have its stylish little moment without unnecessary drama.













