
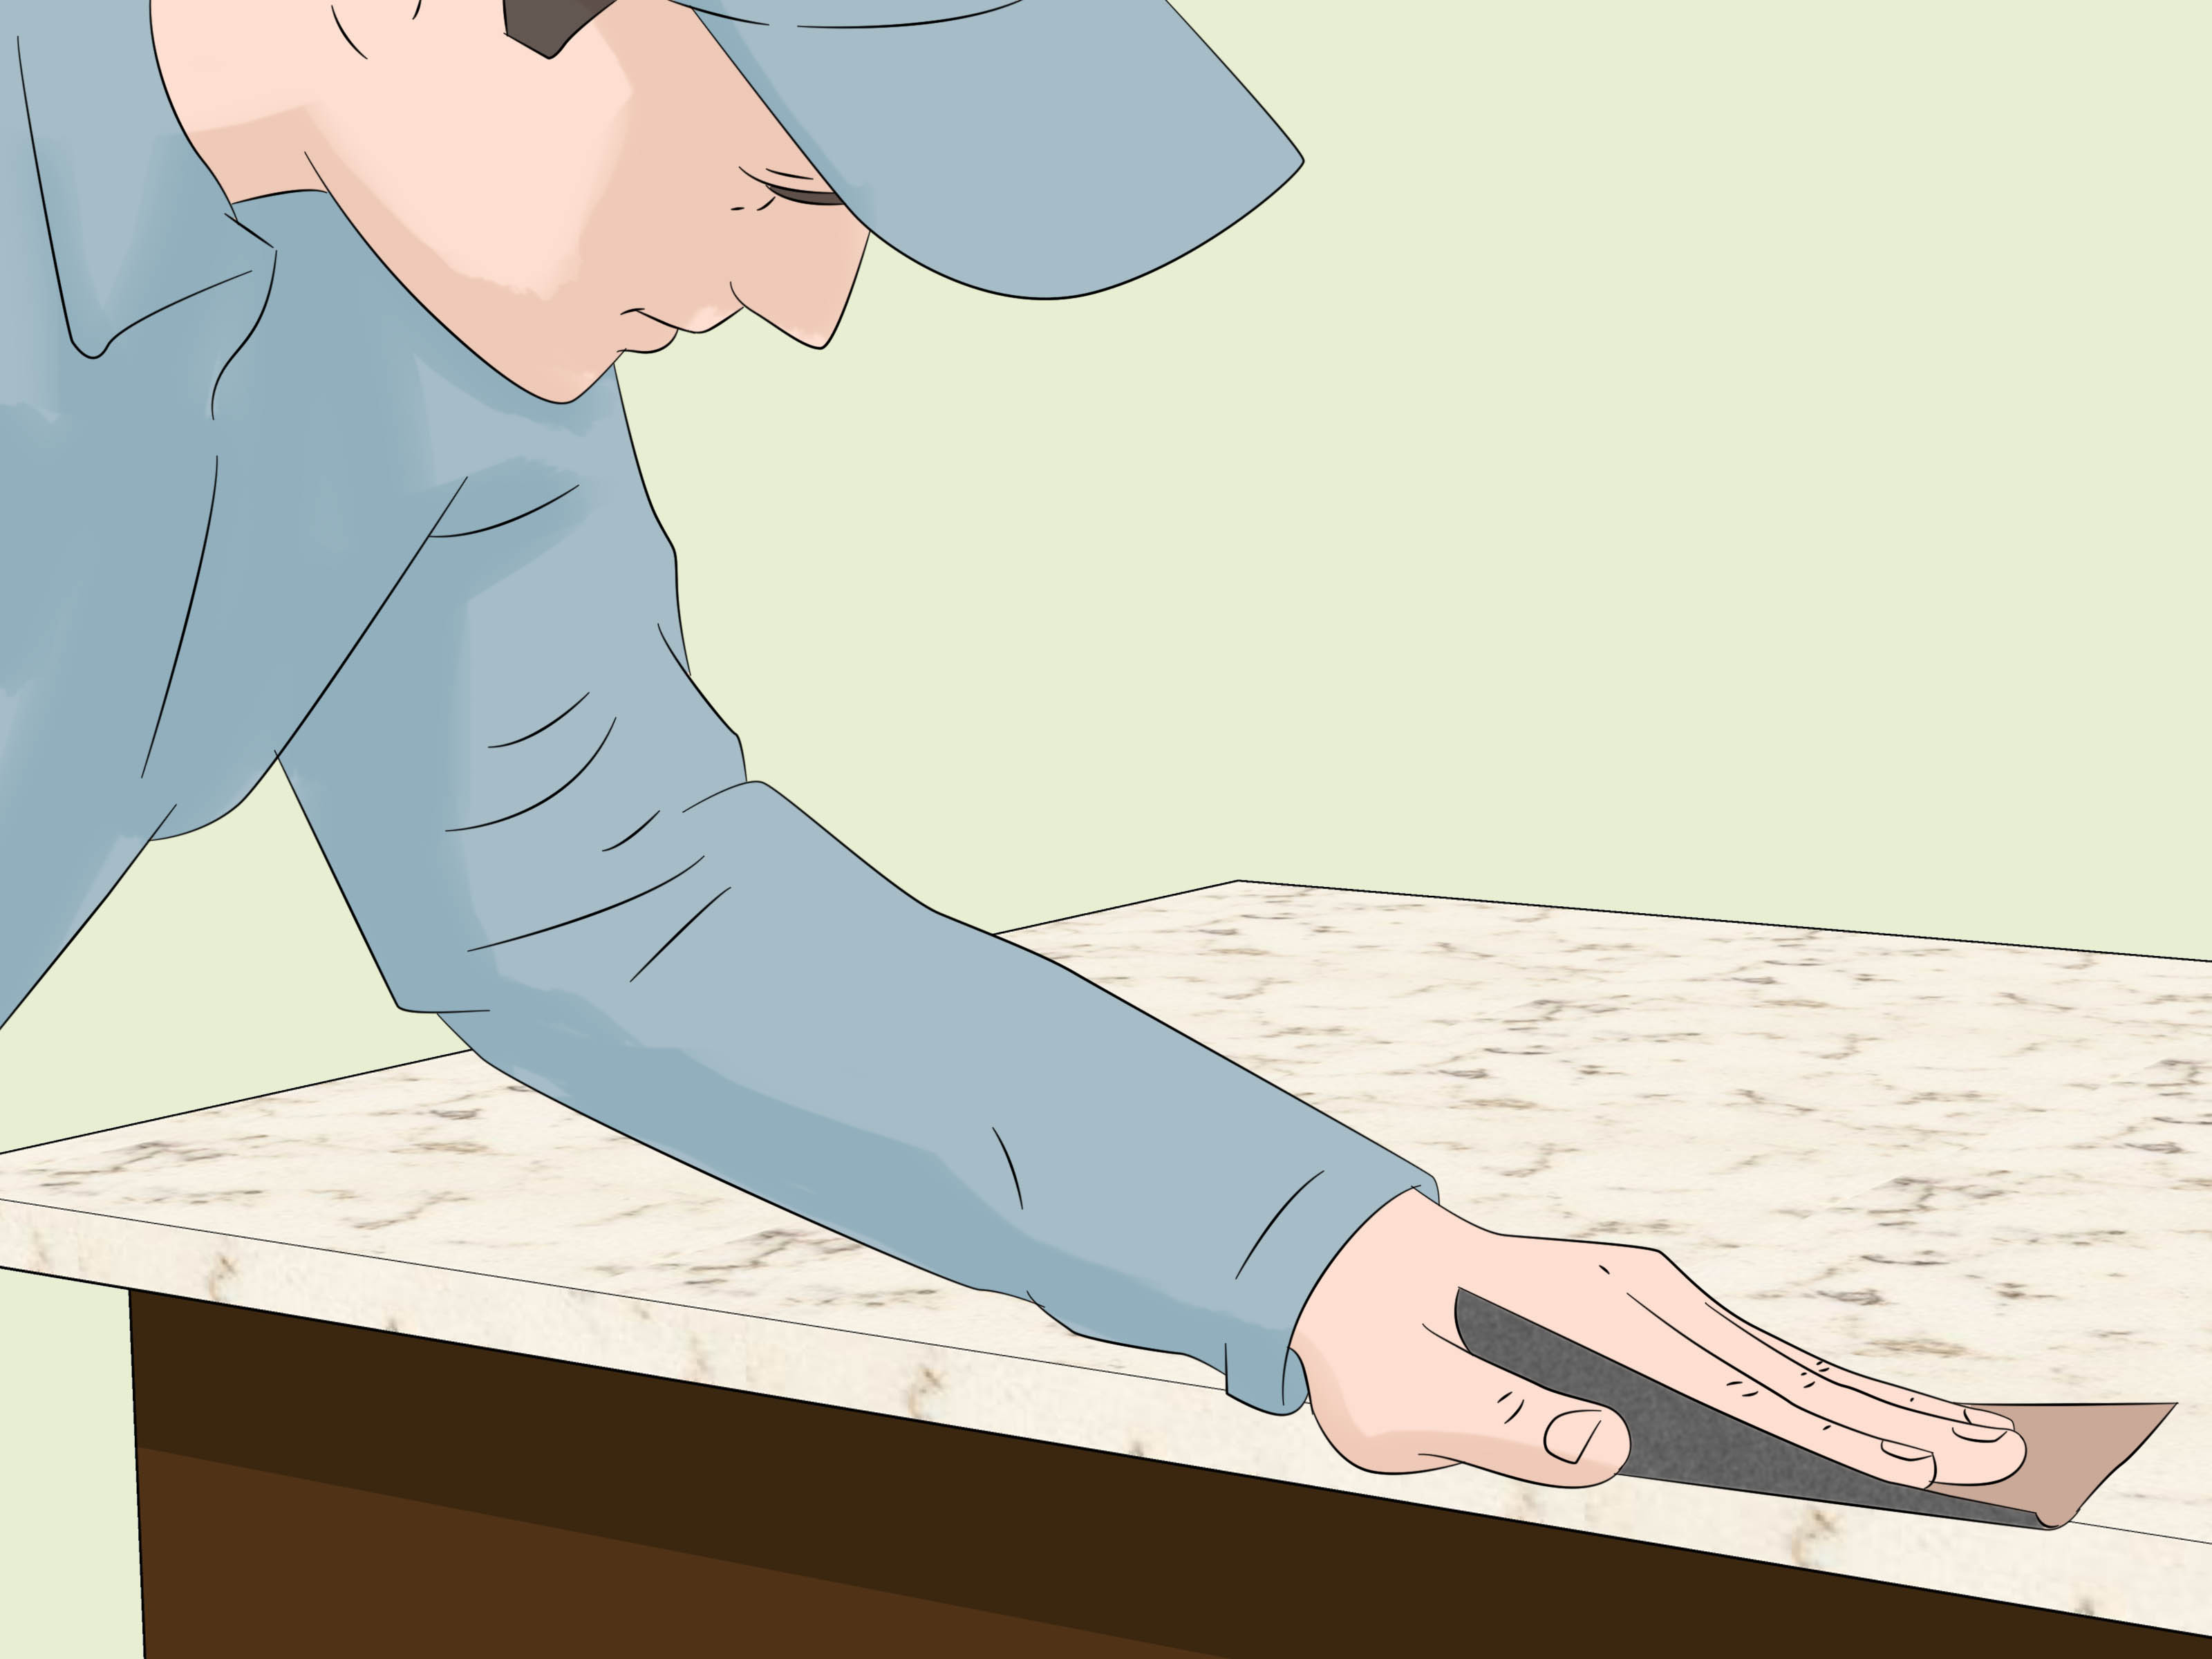
Note: This guide is for small, cosmetic quartz countertop chips. If your countertop has a long crack, loose edge, deep structural damage, major heat discoloration, or an active warranty, contact the installer or manufacturer before you play countertop surgeon with a tube of glue and heroic confidence.
A quartz countertop is the calm, good-looking overachiever of the kitchen. It resists stains, does not need sealing, and usually handles daily life better than the family group chat handles Thanksgiving plans. But quartz is not magical. Drop a cast-iron skillet on the edge, knock a heavy mug into the sink cutout, or let a sharp appliance corner bang into the surface, and suddenly your beautiful counter has a chip staring at you like a tiny judgmental crater.
The good news: many small quartz countertop chips can be repaired at home. The better news: you do not need to replace the whole slab because one corner had a dramatic little moment. The realistic news: the repair may not be invisible from two inches away under interrogation lighting. But with the right method, patience, and a steady hand, you can make a small chip much less noticeable and protect it from getting worse.
Below are three practical DIY methods for fixing a chip in a quartz countertop: clear super glue, pigmented epoxy, and a UV-curing quartz repair kit. Each one works best for a different kind of chip, so do not grab the first adhesive in the junk drawer and hope your countertop appreciates the enthusiasm.
Before You Repair: Understand What Quartz Is
Quartz countertops are engineered surfaces made from crushed quartz minerals combined with resins, pigments, and binders. That engineered structure is why quartz is nonporous, stain-resistant, and easier to maintain than many natural stones. Unlike granite or marble, quartz generally does not need sealing, polishing, or reconditioning as part of normal care.
However, the resin content also means quartz can be sensitive to high heat and harsh chemicals. Hot pans, oven trays, bleach-heavy cleaners, abrasive powders, and aggressive scrubbing pads can dull, discolor, or damage the surface. In other words, quartz is durable, not invincible. Think “super dependable friend,” not “cartoon superhero.”
Can You Really Fix a Chip in a Quartz Countertop Yourself?
Yes, if the chip is small, shallow, and cosmetic. DIY quartz chip repair is most realistic when the damaged spot is about the size of a grain of rice, a pea, or a small fingernail clipping. It is also easier when the chip is on a flat surface rather than a busy edge profile.
You should call a professional if the chip is large, the edge is cracked through, the countertop is separating at a seam, the sink rail is damaged, or the chip sits in a high-stress area such as a corner, overhang, or cooktop cutout. Also, check your warranty paperwork before doing anything permanent. Some warranties exclude owner-caused damage, heat shock, chemical damage, and improper repairs. A five-minute phone call may save you from turning a tiny chip into a very expensive “learning experience.”
Tools and Supplies You May Need
The exact supplies depend on the repair method, but most quartz chip fixes use the same basic setup:
- Mild dish soap or a non-abrasive cleaner
- Rubbing alcohol or denatured alcohol for final cleaning
- Microfiber cloths
- Painter’s tape or masking tape
- Razor blade scraper or plastic scraper
- Toothpicks, small craft sticks, or a precision applicator
- Clear cyanoacrylate glue, pigmented epoxy, or a UV quartz repair kit
- Fine-grit sandpaper, usually 600 grit or higher, if the product instructions allow sanding
- Quartz-safe polish or a soft buffing cloth
- Nitrile gloves and good ventilation
A quick warning: do not attack quartz with rough sandpaper, steel wool, a power sander, or random mystery solvents. Quartz does not enjoy being treated like an old picnic table.
Step Zero: Clean, Dry, and Tape the Area
No matter which DIY repair you choose, preparation matters. Adhesive bonds poorly to grease, crumbs, dust, soap film, and the tiny fossilized remains of last week’s spaghetti sauce. Start by washing the area with warm water and mild dish soap. Wipe it dry with a microfiber cloth.
Next, use rubbing alcohol on a cloth to clean only the chipped area and the immediate surrounding surface. Do not pour solvent directly onto the countertop or let it sit. A quick wipe is enough. Let the spot dry completely.
Finally, place painter’s tape around the chip. Leave only the damaged area exposed. The tape creates a neat boundary and keeps adhesive from wandering across your countertop like it has vacation plans.
DIY 1: Clear Super Glue for Tiny Chips
Best for: small chips on light, solid, or lightly patterned quartz
Clear cyanoacrylate glue, commonly called super glue, is a common DIY solution for tiny quartz chips. It works especially well on small surface nicks where the missing spot is shallow and the surrounding countertop is light enough that a clear fill will blend in.
Use a thin glue for shallow surface chips and a gel-style glue for vertical edges where runny adhesive might drip. The goal is to fill the chip slightly above the countertop surface, let it cure fully, then shave the excess level.
How to do it
- Clean and dry the chip completely.
- Tape around the damaged area, leaving the chip exposed.
- Add a tiny drop of clear super glue into the chip.
- Let the glue settle. If needed, add another small drop until the chip is slightly overfilled.
- Allow the glue to cure according to the label. Many DIYers wait 24 hours for a harder, safer finish.
- Hold a razor blade nearly flat against the countertop and gently shave off the excess glue.
- Wipe the area clean and lightly buff with a soft cloth.
The most common mistake is using too much glue at once. A giant blob does not cure better; it just creates a shiny little hill that you must later flatten without scratching the quartz. Build the fill slowly. Countertop repair rewards patience, which is rude but true.
Pros and cons
Super glue is cheap, easy to find, and simple to use. It is excellent for small, clear fills. However, it may look obvious on dark, speckled, or veined quartz. It can also turn cloudy if moisture gets trapped or if the area was not cleaned well. Use this method when the chip is tiny and your expectations are reasonable.
DIY 2: Pigmented Epoxy for Dark or Patterned Quartz
Best for: visible chips, darker quartz, speckled designs, and edge damage
Pigmented epoxy is the stronger, more customizable cousin of the super glue method. It is useful when the countertop color is dark, creamy, gray, black, brown, or heavily patterned. Because the epoxy can be tinted, it can blend better than a clear repair.
This method takes more effort, but it gives you more control. You can use a quartz repair kit with color pigments or a stone epoxy kit designed for countertops. The key is to mix a small test batch first and compare the color after it begins to set. Wet epoxy often looks slightly different from cured epoxy, which is one of the many reasons countertops enjoy keeping us humble.
How to do it
- Clean, dry, and tape the damaged area.
- Mix the epoxy according to the manufacturer’s instructions.
- Add pigment gradually until the color resembles the countertop background or dominant fleck.
- Use a toothpick or small applicator to press the epoxy into the chip.
- Slightly overfill the chip to allow for shrinkage and leveling.
- Remove obvious smears before the epoxy hardens, but do not disturb the filled chip.
- Let the epoxy cure fully, often overnight or longer depending on the product.
- Level the repair with a razor scraper or fine finishing method recommended by the kit.
- Buff gently with a soft cloth.
If your quartz has veins, you can create a more realistic repair by layering colors. Fill most of the chip with the background shade, then use a toothpick to add a tiny streak of gray, white, tan, or black before the epoxy sets. Do not overdo it. A subtle vein looks natural. A dramatic lightning bolt in a pea-sized chip looks like your countertop joined a rock band.
Pros and cons
Pigmented epoxy creates a stronger and more color-matched repair than clear glue. It is a smart choice for chips on darker quartz or more noticeable areas. The downside is that color matching can be tricky. If the countertop has lots of movement, flecks, or dramatic veining, a professional fabricator may blend the repair better than a DIY kit.
DIY 3: UV Quartz Repair Kit for Fast, Controlled Curing
Best for: small chips where you want quick curing and a cleaner finish
UV repair kits are popular for quartz, granite, marble, tile, and other hard surfaces. These kits usually include a clear or tinted resin, curing strips, and a UV light. The resin stays workable until it is exposed to UV light, giving you more time to position the fill neatly. Once cured, it can often be scraped or polished smooth.
UV kits are helpful for edge chips because the curing film can hold the resin in place while it hardens. They are also useful for people who do not want to wait a full day before leveling the repair. That said, follow the kit instructions exactly. UV resin is convenient, but it is still chemistry, not cake frosting.
How to do it
- Clean the chip with alcohol and let it dry completely.
- Tape around the chip to protect the surrounding quartz.
- Apply the UV resin into the damaged area, slightly overfilling it.
- Place the curing film over the resin and press out trapped air bubbles.
- Use the UV light for the time recommended by the repair kit.
- Peel away the curing film after the resin hardens.
- Scrape excess material carefully with a razor blade held flat.
- Buff the repair with a soft cloth or kit-provided pad.
The curing film is not decorative packaging. Use it. It helps flatten the resin and reduce air bubbles. Air bubbles are tiny, but they are talented at making a repair look like it was completed during a kitchen earthquake.
Pros and cons
UV repair kits cure quickly, offer good control, and are widely available. Many kits include several color options or polish pads. However, cheaper kits may include weak lights, limited pigment choices, or resin that does not perfectly match your countertop. For a tiny chip, that may be fine. For a prominent island edge under bright pendant lights, consider whether a professional repair is worth it.
How to Choose the Right DIY Method
Use clear super glue when the chip is very small and the countertop is light or simple. Use pigmented epoxy when the chip is more visible, the quartz is dark, or the pattern needs color blending. Use a UV repair kit when you want a fast cure, better shaping control, or a kit that includes resin, film, and finishing tools.
Here is a simple rule: the more expensive, visible, or complicated the countertop pattern, the more cautious you should be. A small chip near the toaster station is forgiving. A chip on the front edge of a waterfall island is basically sitting on a stage with a spotlight and a tiny microphone.
What Not to Do When Repairing Quartz
Do not use regular wall filler, wood putty, nail polish, hot glue, craft resin not rated for hard surfaces, or random caulk unless a product specifically says it is suitable for countertop chip repair. These materials may discolor, soften, peel, or collect grime.
Do not use harsh cleaners before or after repair. Avoid bleach, oven cleaner, abrasive powders, scouring pads, and highly acidic products. Mild soap, water, microfiber cloths, and manufacturer-approved cleaners are the safe everyday choices.
Do not sand aggressively. Some repair products allow careful finishing with very fine grit, but over-sanding quartz can dull the surrounding surface and turn a chip repair into a larger dull patch. That is not a glow-up.
When to Call a Professional
Call a countertop professional if the chip is larger than a dime, the crack continues beyond the chip, the edge feels loose, the sink cutout is involved, or the slab has heat damage. You should also call a pro if the countertop is new and may still be covered by installation or manufacturer support.
Professionals can mix color-matched adhesives, recreate veining, polish the surface with the right tools, and evaluate whether the damage is cosmetic or structural. In many cases, a professional chip repair costs far less than replacing a slab, and the result may be much less visible than a first-time DIY attempt.
How to Prevent Quartz Chips in the Future
The easiest chip to repair is the one you never create. Use cutting boards instead of chopping directly on the counter. Set heavy pans down gently. Do not drag appliances with rough feet across the surface. Add felt pads under countertop appliances if they move often. Be especially careful around sink edges, outside corners, dishwasher areas, and island overhangs.
For heat protection, always use trivets or hot pads under pans, baking sheets, slow cookers, air fryers, and electric griddles. Quartz can resist normal kitchen life, but sudden or prolonged heat can damage resin and cause discoloration or cracking. The phrase “but I only set it down for a second” has starred in many countertop tragedies.
Extra Experience: Real-Life Lessons From Fixing Quartz Chips
After looking at many homeowner experiences with quartz chip repair, one pattern becomes clear: most DIY repairs succeed or fail before the adhesive even comes out of the tube. Cleaning, taping, drying, and choosing the correct filler matter more than having the fanciest kit in the drawer. A careful person using a basic repair method often gets a better result than an impatient person using a premium product like they are frosting a cupcake during a fire drill.
One common situation is the tiny edge chip near the sink. This happens because sink edges work hard. Pots, pans, coffee mugs, and utensils all pass through that zone, often while wet hands are moving too quickly. For these chips, gel super glue or UV resin usually works better than thin liquid glue because it does not run down the vertical edge as easily. The best trick is to build the repair in thin layers instead of trying to fill the whole missing spot at once. Small layers cure more cleanly and reduce the chance of bubbles.
Another common experience involves color matching. Homeowners often assume white quartz is easy to repair because, well, it is white. Then they discover there are approximately seven million versions of white: warm white, cool white, creamy white, icy white, gray-white, and “why does this suddenly look blue under my kitchen lights?” For white or light quartz, clear glue may blend better than a badly matched white filler. For darker quartz, however, clear glue can look like a shiny raindrop trapped in the stone. That is when pigmented epoxy earns its keep.
Lighting also changes everything. A repair that looks perfect at noon may become visible at night under pendant lights. Before you panic, remember that most guests are not inspecting your countertop from six inches away unless they are either countertop installers or extremely unusual dinner company. The goal of DIY repair is usually to make the chip less noticeable, smoother, and protected from collecting grime. Perfect invisibility is possible sometimes, but it should not be the standard for every DIY job.
Another lesson: curing time is not a suggestion. Many repairs look bad because someone scraped, sanded, wiped, or polished too soon. Adhesives may feel dry on top before they are fully hardened underneath. If the label says wait 24 hours, wait 24 hours. Your countertop is not going anywhere. It has one job, and that job is standing still.
Finally, homeowners often underestimate how useful a razor blade can be when used correctly. The blade should be clean, sharp, and held nearly flat. The motion should be gentle and controlled. You are shaving excess filler, not mining for quartz. If the blade catches, stop and reassess. A plastic scraper may be safer for nervous beginners, though it may not level hardened resin as effectively.
The best practical mindset is this: test first, work small, and stop before you overwork the repair. The moment the chip looks 85 to 95 percent better, you may already be at the sweet spot. Chasing the final five percent is how people accidentally create a dull halo, scratch the surface, or invent a new chip with bonus regret.
Conclusion
Fixing a chip in a quartz countertop is not as scary as it looks, especially when the damage is small and shallow. For tiny light-colored chips, clear super glue can be a quick and affordable fix. For darker or patterned quartz, pigmented epoxy offers better blending and durability. For fast curing and controlled application, a UV quartz repair kit can be the most user-friendly option.
The secret is not brute force. It is preparation, patience, and picking the method that matches the chip. Clean the area well, protect the surrounding surface with tape, overfill slightly, cure fully, and level gently. And when the damage is large, structural, or warranty-related, let a professional take over. There is no shame in calling the countertop cavalry.














