
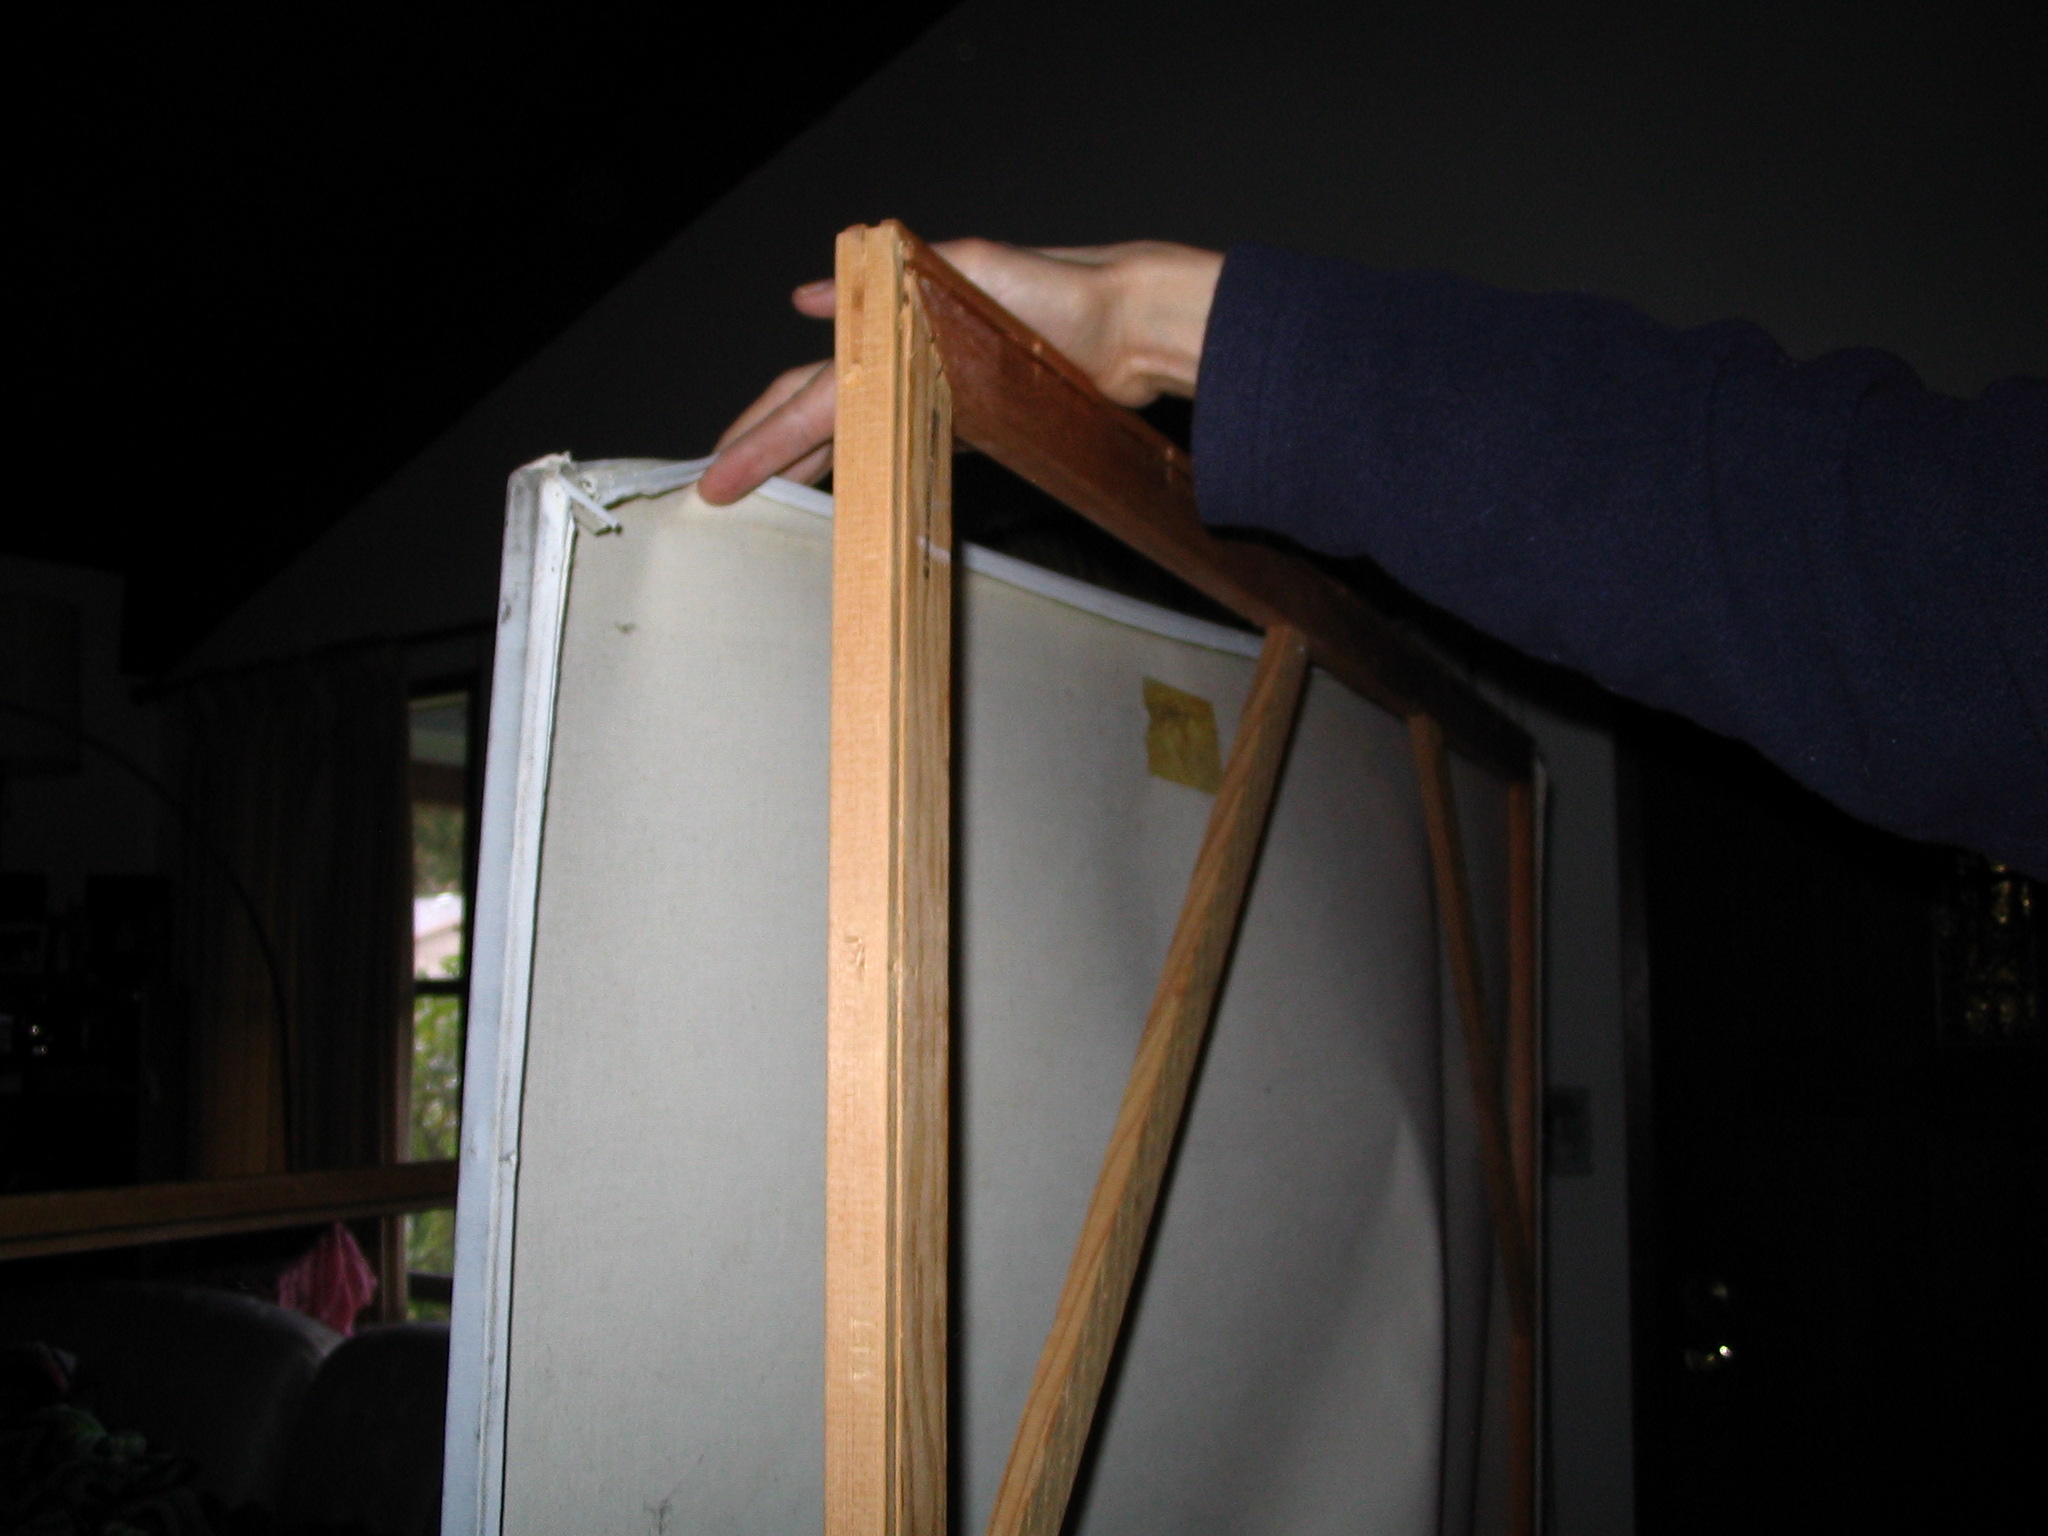
Removing a painting from a frame sounds simple until you turn it over and meet the tiny army of nails, framer’s points, brown backing paper, mystery tape, dust, bent hardware, and one suspicious brad that looks like it was installed by someone with a grudge. The good news? Many framed paintings can be removed safely at home if the artwork is stable, the frame is not unusually complicated, and you work slowly. The bad news? Rushing is how paintings end up with dents, tears, scratches, or the dreaded “I only meant to loosen it” hole.
This guide explains how to remove a painting from a frame in 11 careful steps, with practical advice for canvas paintings, framed panels, and some matted artwork. It is written for homeowners, collectors, artists, students, and anyone who needs to reframe, inspect, clean the frame, replace backing, or prepare a painting for professional conservation. The main rule is simple: protect the art first, the frame second, and your ego third. If anything feels stuck, fragile, valuable, historic, wet, flaking, warped, or confusing, stop and call a professional conservator or experienced framer.
Before You Start: Know What You Are Removing
A painting can be framed in several ways. A stretched canvas usually sits in the rabbet, which is the inner ledge of the frame. It may be held with nails, offset clips, framer’s points, brads, screws, or small metal tabs. A painting on panel may be secured more tightly because the support does not flex like canvas. A work on paper may be behind glass or acrylic, mounted with hinges, held under a mat, and sealed with backing paper. Each setup needs patience, but the goal is the same: release the fasteners without touching or stressing the painted surface.
Never assume the back of a frame tells the whole story. Some older frames hide nails under grime, paper, labels, or tape. Some paintings are stuck to the frame because old varnish, paint, or pressure bonded to the inner edge. If the paint surface is lifting, cracked, powdery, tacky, or pressed against glass, this is not a casual DIY project. That is the art world’s version of a red traffic light.
Tools and Supplies You May Need
- Clean padded work surface, foam blocks, or folded towels
- Nitrile or clean cotton gloves
- Needle-nose pliers
- Small flat-head screwdriver or micro spatula
- Utility knife or craft knife for backing paper only
- Wire cutters, if hanging wire must be removed
- Painter’s tape for labeling hardware, not for sticking to the painting
- Small container or envelope for screws, nails, and points
- Camera or phone for documentation
- Clean cardboard or archival board to protect the back of the canvas while working
Avoid household shortcuts such as kitchen knives, forceful prying, duct tape, wet cleaning products, and “just a little yank.” Art does not appreciate optimism with sharp edges.
How to Remove a Painting from a Frame: 11 Steps
Step 1: Inspect the Painting and Frame First
Start with a slow visual inspection. Look at the front of the painting under good light. Check for flaking paint, cracked varnish, loose canvas, dents, tears, warped panels, mold, insect debris, or areas where the surface touches the frame or glass. Then inspect the back. Notice how the painting is secured. Are there nails? Flexible points? Screws? Offset clips? A sealed dust cover? Old tape? Labels? Hanging wire?
Take photos before you remove anything. Photograph the front, back, corners, labels, inscriptions, hardware placement, and any damage. These pictures help you reassemble the frame correctly and preserve information about the artwork’s history. Original labels and frame markings can be surprisingly important, especially for provenance, exhibitions, previous owners, or artist notes.
Step 2: Decide Whether This Is Safe to Do Yourself
Do not remove the painting yourself if the paint is lifting, the canvas is brittle, the frame is very ornate or crumbling, the artwork is valuable, or the painting appears stuck to the rabbet. Also stop if the painting is nailed at an awkward angle through the stretcher into the frame, because forcing those nails out can jerk the canvas or crack the frame.
For everyday decorative art in stable condition, careful DIY removal is often reasonable. For heirlooms, antiques, signed works, museum-quality pieces, or anything emotionally irreplaceable, a professional assessment is worth the fee. A conservator can separate stuck materials, remove rusted fasteners, preserve labels, and prevent damage that may cost far more to repair later.
Step 3: Prepare a Clean, Padded Work Area
Choose a large table or clean floor area where the entire frame can rest flat. Cover the surface with clean padding, such as a soft blanket, clean towel, foam sheet, or padded blocks. The padding should support the frame, not press into the painted surface. Remove jewelry, watches, bracelets, belts, or anything that can scratch the painting when you lean over it.
Wash and dry your hands, then wear gloves if appropriate. Clean hands are essential because skin oils can stain exposed canvas, raw wood, paper, and gilded surfaces. Keep drinks, snacks, pets, and curious children away. No painting has ever improved because a cat decided to supervise from the center of the worktable.
Step 4: Place the Frame Face Down Carefully
With two hands, hold the frame from the sides, not by the top rail or hanging wire. Large frames should be handled by two people. Place the frame face down on the padded surface. Make sure the pressure rests on the frame, not on raised paint, decorative corners, or fragile ornament.
If the frame is ornate, use small padded supports under stable parts of the frame so delicate gilded decoration does not bear the weight. If the painting has no backing board and the back of the canvas is exposed, place a clean protective board over the stretcher area while you work near hardware. This helps prevent a slipped tool from punching the canvas from behind.
Step 5: Remove Hanging Wire, Hooks, or Extra Hardware
Before you deal with the painting itself, remove anything that blocks access to the back: hanging wire, D-rings, screw eyes, wall bumpers, hanging plates, or loose brackets. Use a screwdriver or pliers as needed. Put the hardware in a small labeled envelope or cup.
Do not let loose wire whip across the back of the painting. Old wire can be surprisingly sharp, and a free end can scratch a frame or snag canvas. If the wire is frayed, cut it cautiously with wire cutters and discard it. When reframing, old wire is often better replaced than trusted for another decade of gravity duty.
Step 6: Cut or Peel Back the Dust Cover
Many frames have a paper dust cover sealed to the back. This cover helps block dust and gives the frame a finished look, but it must be opened to reach the fasteners. Use a sharp utility knife to cut along the inner edge of the frame, keeping the blade shallow and angled away from the artwork. Cut only the backing paper, not the canvas, backing board, labels, or frame.
If there are labels, gallery stickers, artist notes, or old exhibition tags, photograph them before cutting. If they are attached to the dust cover, preserve that piece if possible. Do not casually rip off labels. Tiny scraps of paper can contain dates, titles, prices, inventory numbers, or other clues that matter later.
Step 7: Identify the Fasteners Holding the Painting
Once the back is open, identify how the painting is held in place. Flexible points can often be bent upward. Rigid framer’s points may need to be pulled with pliers or a point remover. Offset clips are usually screwed into the frame and overlap the stretcher. Small nails or brads may be driven through the stretcher or angled into the frame. Metal frames may require removing spring clips or taking off one side of the frame.
Work methodically around the frame. Do not remove one side completely and then yank. The painting should remain supported until all fasteners are released. If you are unsure what a fastener is, pause and examine it under better light. Confusing hardware is not an invitation to pry harder.
Step 8: Remove Points, Nails, or Clips Slowly
For flexible points, bend them up gently with a flat tool. For rigid points, grip with needle-nose pliers and pull straight out or wiggle gently until they release. For nails, grip the nail firmly with pliers and use a small wood block as a fulcrum if needed. Always direct force away from the painting. A sudden slip toward the canvas can create damage faster than you can say, “That wasn’t supposed to happen.”
If a nail or brad refuses to move, do not escalate to brute force. Rust, tight wood, and angled fasteners can make removal risky. A professional framer may use specialized tools to cut, pull, or release fasteners without twisting the stretcher or cracking the frame.
Step 9: Check Whether the Painting Moves Freely
After removing the fasteners, do not immediately lift the painting. First, gently test whether it shifts slightly inside the frame. Use the stretcher bars or panel edges only. Never press your fingers into the painted surface or the back of exposed canvas.
If the painting does not move, inspect the inner edge. It may be wedged tightly, caught on a remaining point, stuck to the rabbet, or bonded by old paint or varnish. Stop if you see any sign that the paint layer is attached to the frame. Separating a stuck painting can tear paint from the edge, pull canvas threads, or damage the image. That is professional territory.
Step 10: Lift the Painting Out at a Slight Angle
When the painting is loose, ease it toward one side of the frame while lifting the opposite side slightly. This angled movement helps the painting clear the rabbet without scraping. Support the stretcher or panel with both hands. For larger paintings, one person should support each side.
Move slowly. If you feel resistance, lower the painting and inspect again. Do not drag the painted edge along the frame. Do not flex the canvas. Do not grab crossbars as if they are handles unless you know they are secure. Once free, place the painting on a clean, stable surface where it is protected from dust, pressure, and accidental contact.
Step 11: Store, Reframe, or Document Everything Properly
After removal, keep the painting and frame together unless there is a good reason to separate them. Original frames may be part of the artwork’s history, value, or visual design. Store removed hardware, labels, backing pieces, and notes in a labeled bag or folder. If the frame will be reused, inspect it for loose corners, sharp points, warped rails, insect damage, and acidic backing materials.
If you plan to reframe the painting, consider using archival or conservation-grade materials. A backing board can protect the canvas from dust, handling accidents, insects, and minor environmental changes. Spacers may be needed if glazing is used, so glass or acrylic does not touch the painted surface. The painting should be held securely but not squeezed. Too much pressure can deform the canvas, stress a panel, or leave marks over time.
Common Mistakes to Avoid
Pulling Before All Fasteners Are Removed
One hidden nail can turn a simple removal into a torn canvas. Work around the frame twice before lifting. Good light and patience are cheaper than restoration.
Touching the Paint Surface
Paint can be more delicate than it looks. Even dry paint can scratch, dent, or absorb oils from your fingers. Handle the stretcher, panel edge, or frame instead.
Using the Wrong Tool
A butter knife is for toast, not conservation-adjacent activity. Use small, controlled tools. Sharp tools should cut backing paper only, never near exposed canvas unless you truly know where the blade is going.
Ignoring Old Labels
Labels may identify the artist, title, gallery, owner, exhibition, or date. Photograph and save them. The back of a painting can be a little archive wearing dust.
Forcing a Stuck Painting
If the artwork is bonded to the frame, stop. Paint or varnish may have adhered to the rabbet. Pulling can remove original material from the painting’s edge.
Special Cases: Canvas, Panel, Paper, and Glazed Paintings
Canvas Paintings
Canvas paintings are flexible and vulnerable to punctures from behind. Protect the canvas back while removing hardware. Avoid pressing on the canvas, even if it looks tight. Loose canvases can dent; brittle canvases can crack; and both can punish impatience.
Paintings on Panel
Panel paintings may be wood, hardboard, Masonite, or other rigid supports. They can warp or split if forced from a tight frame. If the panel is swollen, wedged, or bowed, get professional help before trying to pry it out.
Works on Paper
Watercolors, gouache paintings, pastels, drawings, and prints are often framed behind glass or acrylic. They may be hinged to a mat or backing board. Do not peel artwork from tape, glue, or old mounts. Paper conservation requires careful moisture, adhesive, and fiber knowledge. When in doubt, leave hinges and mounts alone.
Paintings Behind Glass or Acrylic
If the paint touches glass, be extremely careful. Paint can stick to glazing, especially in humid conditions or if the painting was framed improperly. Do not pull the glass away from the surface. A conservator may need to separate the layers safely.
When to Call a Conservator or Professional Framer
Call a professional if the painting is valuable, signed, antique, sentimental, damaged, stuck, moldy, warped, or fitted into an elaborate frame. Also seek help if the frame has deep nails, brads shot at angles, rusted metal, unstable gilding, broken corners, or glass that is cracked inside the frame. A qualified framer can handle ordinary reframing problems, while a conservator is best for paint instability, adhesion, surface damage, or historic materials.
Professional help is not an admission of defeat. It is a smart way to avoid turning a manageable problem into a repair invoice with a comma in it.
Experiences and Practical Lessons from Removing Paintings from Frames
The most useful experience related to removing a painting from a frame is learning that the actual removal is usually not the hard part. The hard part is deciding when not to remove it. Many people flip over a framed painting and assume the back is just packaging. In reality, the back may contain the entire story of how the artwork has lived: old gallery labels, framer’s notes, inscriptions, repairs, backing boards, improvised clips, and sometimes questionable decisions made in someone’s garage in 1978.
One common experience is discovering that two paintings of similar size can behave completely differently. A newer canvas in a simple wood frame may come out easily after bending up flexible points. The whole process can take ten minutes, including labeling the hardware. Then an older painting of the same size may refuse to move after every visible nail is removed. Why? The frame may have shrunk slightly, the canvas may have expanded, or the paint edge may be stuck to the rabbet. That is when patience matters. The safest move is not to “try just a little harder,” because a little harder is often exactly how edge damage begins.
Another lesson is that a clean workspace changes everything. People often think they need better tools when what they really need is better setup. A padded table, good light, a small container for hardware, and enough room to rotate the frame can prevent most accidents. Working on a cluttered desk is risky because screws roll away, tools slide under the frame, and the painting ends up balanced halfway on a laptop, which is bad for both culture and electronics.
It is also common to underestimate the frame itself. Some original frames are artist-selected or period-appropriate. Even if the frame looks worn, it may contribute to the artwork’s history and value. Removing a painting should not automatically mean discarding the frame. In many cases, the better plan is to repair or adapt the existing frame with safer backing, better hardware, and conservation-friendly materials.
People also learn quickly that backing boards are not boring. A good backing board helps protect the canvas from dust, accidental bumps, insects, and sudden changes behind the painting. When you remove an old frame and find no backing at all, it is a reminder that the reverse of a canvas is exposed and vulnerable. Reframing is a great opportunity to improve protection without changing the front appearance of the artwork.
The final experience is emotional: removing a painting from a frame can feel oddly personal. You see the hidden construction, the stretcher, the labels, the dust, the old repairs, and the marks of previous owners. It becomes clear that a painting is not just an image; it is an object with layers of history. Treat it like one. Move slowly, document what you find, save what matters, and remember that the best DIY art handling is quiet, careful, and almost boring. In this case, boring is beautiful.
Conclusion
Learning how to remove a painting from a frame is mostly about control. Inspect first, prepare a padded workspace, remove hardware slowly, release fasteners carefully, and lift the artwork only when it moves freely. The process is not about strength; it is about patience, observation, and knowing when to stop. If the painting is fragile, valuable, stuck, or oddly secured, bring in a conservator or professional framer. A safe removal protects the artwork, preserves the frame, and keeps future you from saying, “Well, that escalated.”














