
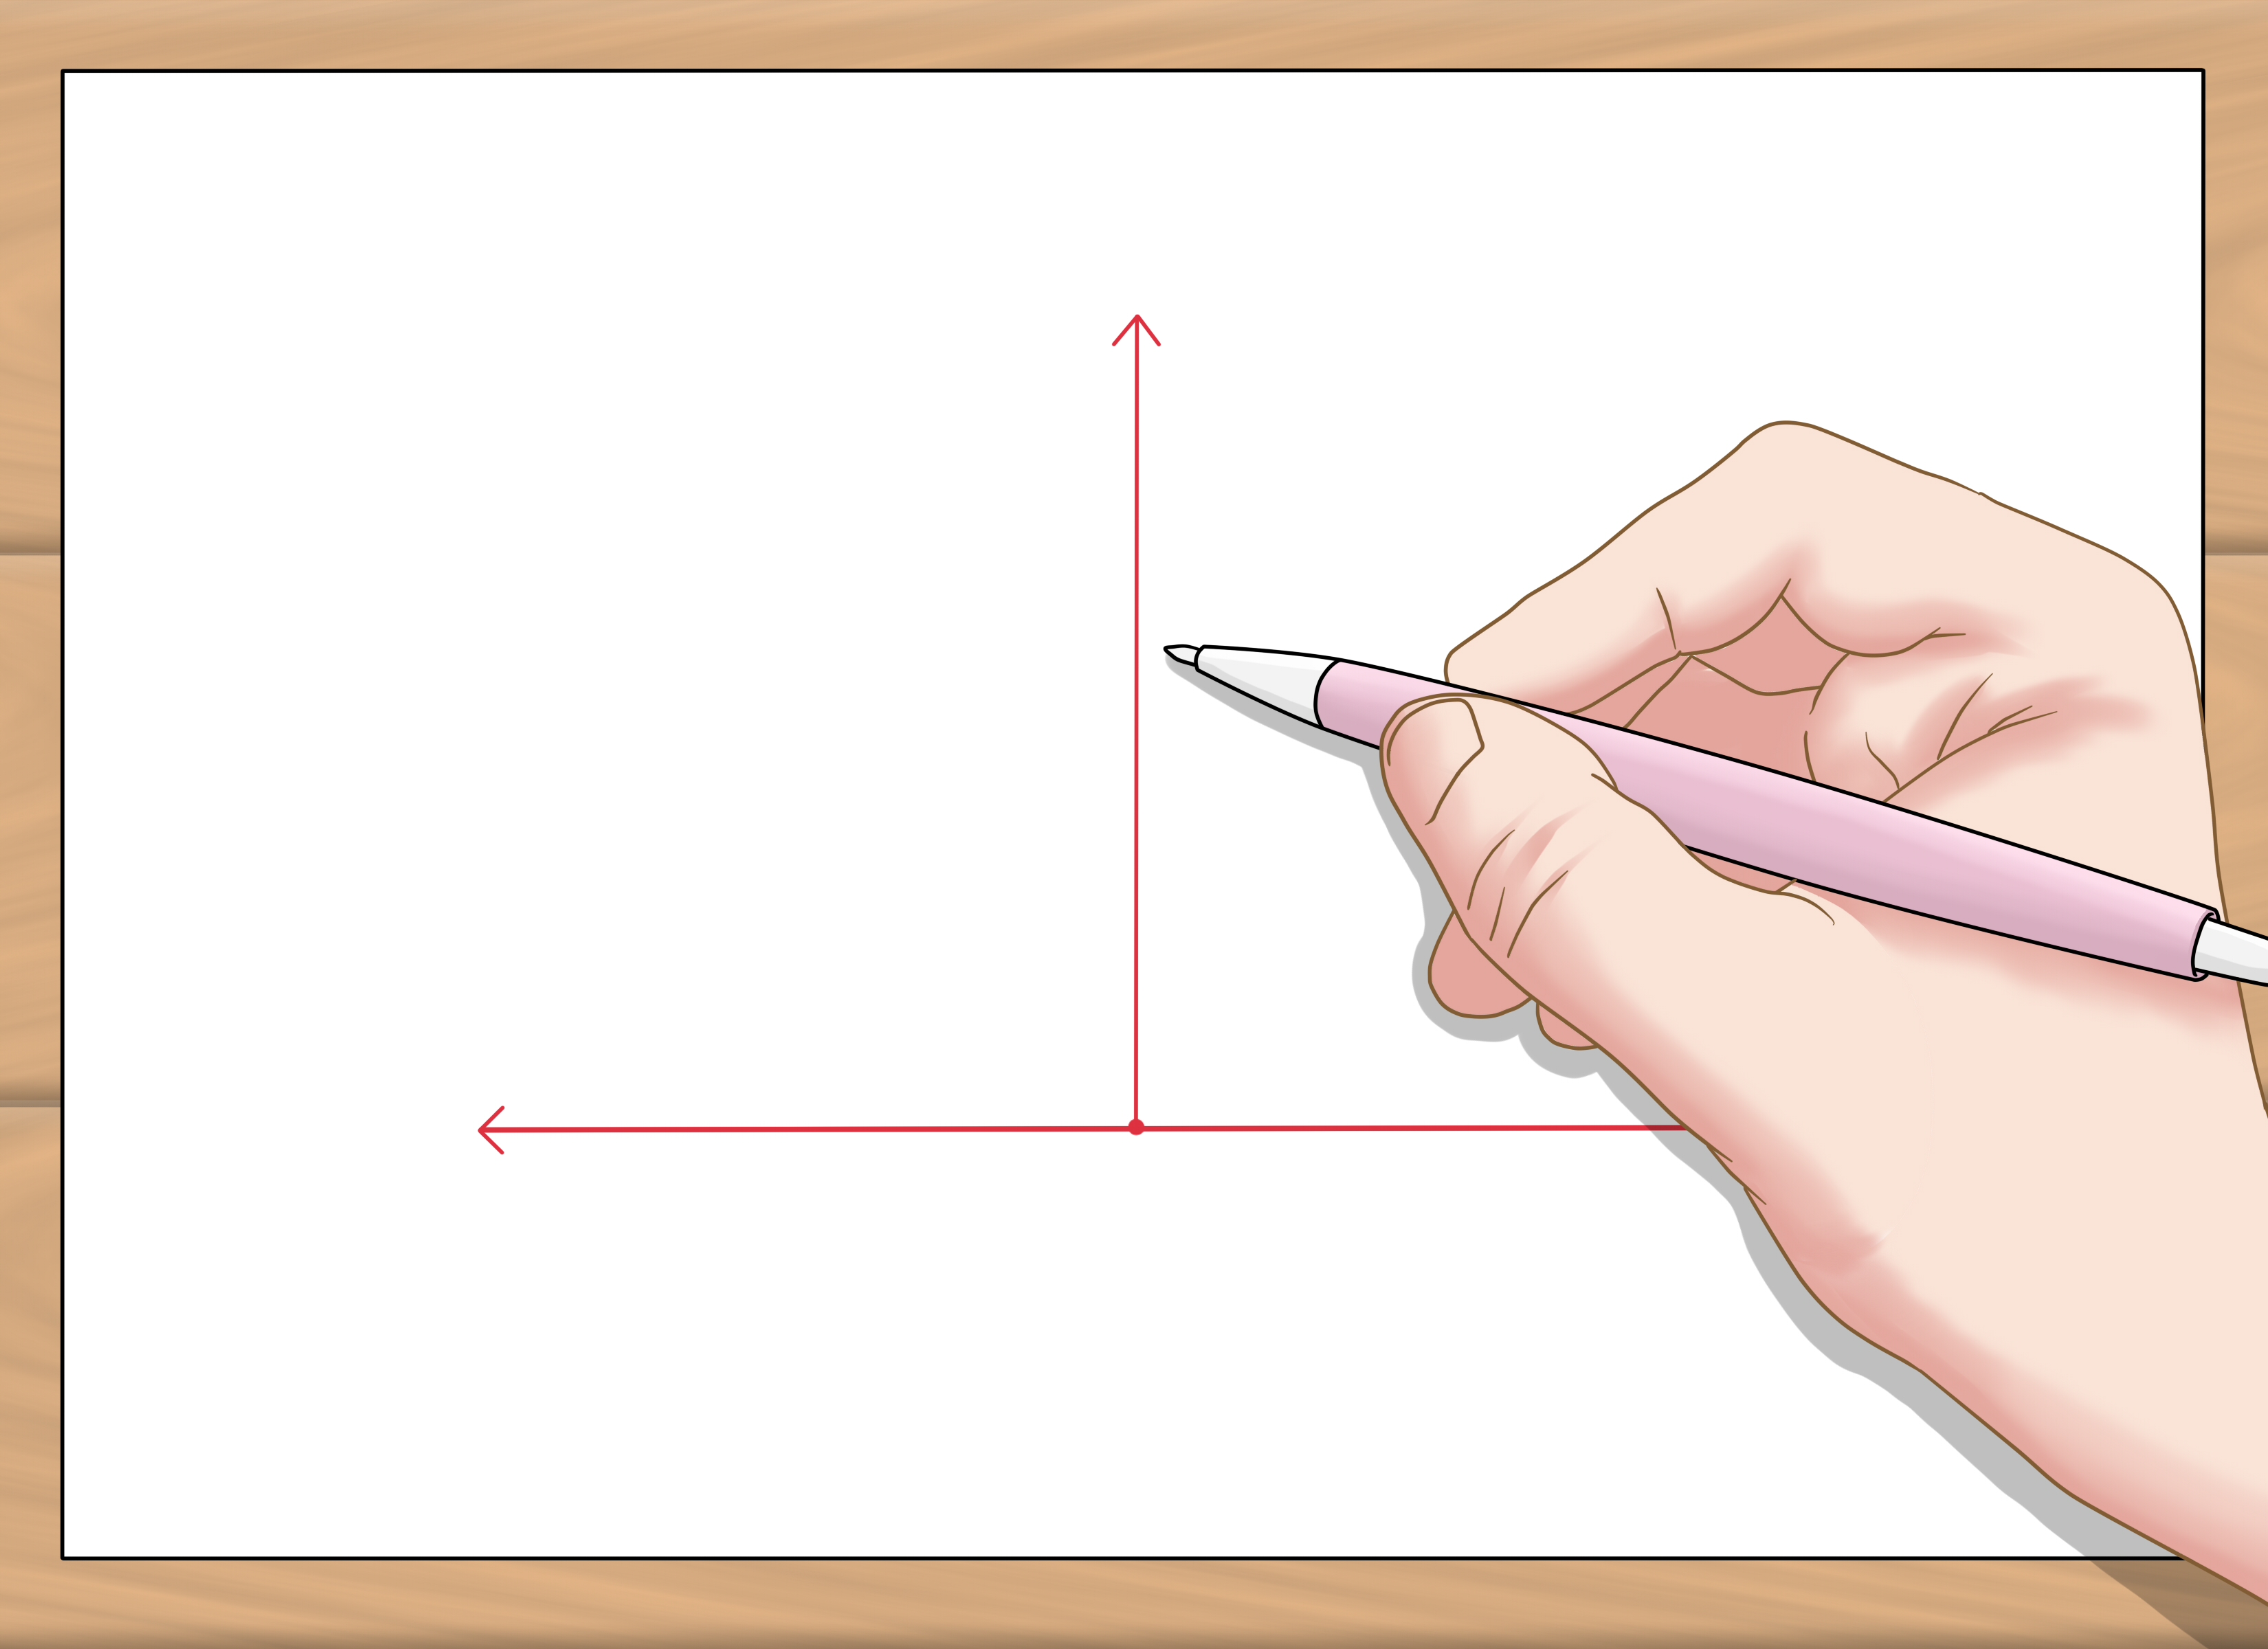
Constructing a perpendicular line may sound like the kind of geometry task that wears a tiny academic robe and refuses to smile. But in reality, it is one of the cleanest, most satisfying moves in classical geometry. With only a compass and a straightedge, you can draw a new line that passes through a chosen point on an existing line and meets it at a perfect right angle. No calculator. No protractor. No dramatic arguing with your ruler.
This guide explains how to construct a perpendicular line to a given line through a point on the line using the traditional compass-and-straightedge method. You will learn the exact steps, why the construction works, common mistakes to avoid, and how this skill connects to real geometry, drafting, design, and problem solving. Whether you are a student, teacher, parent, tutor, or someone who just discovered that “perpendicular” is surprisingly fun to say, this article will walk you through the process clearly.
What Does It Mean to Construct a Perpendicular Line?
A perpendicular line is a line that intersects another line at a right angle. A right angle measures exactly 90 degrees. If one line is lying flat like a calm sidewalk, a perpendicular line rises from it like a perfectly upright signpost.
In this construction problem, you are given two things:
- A straight line, often named line AB or line ℓ.
- A point on that line, often named point P.
Your goal is to draw a new line through point P so that the new line is perpendicular to the original line. In other words, the new line must pass directly through P and create four right angles where the two lines meet.
Tools You Need
Classical geometric construction uses two main tools: a compass and a straightedge. A compass draws arcs and circles. A straightedge draws straight lines but does not measure. Technically, a ruler has measurement marks, but in pure construction work, you should pretend those marks are invisible. The straightedge is there to guide your pencil, not to do math for you.
Required Materials
- A pencil
- A compass
- A straightedge or ruler
- Paper
- An eraser, because geometry is noble but still human
You do not need a protractor for this construction. That is the beauty of the method. Instead of measuring 90 degrees directly, you create a situation where a right angle must happen because of equal distances and symmetry.
Key Idea Behind the Construction
The construction works by creating two equal points on the original line, one on each side of the given point. Then you draw equal arcs from those two points. Where the arcs meet, you get a point that is exactly centered above or below the original point. Connecting that arc-intersection point to the given point produces the perpendicular line.
Think of it like building a tiny geometry tent. The two base points sit evenly on the original line, and the top of the tent is created by matching arcs. The center pole of that tent runs straight down to your given point. That center pole is the perpendicular line.
Step-by-Step: How to Construct a Perpendicular Line Through a Point on a Line
Let the given line be line AB, and let the point on the line be point P. Your task is to construct a line through P that is perpendicular to AB.
Step 1: Draw or Identify the Given Line
Start with a straight line. Label it line AB if you want a formal diagram. Mark point P somewhere on the line. Point P can be near the middle, closer to one side, or anywhere on the line as long as there is enough room to draw arcs on both sides.
If point P is too close to the edge of your paper, the construction becomes awkward. Geometry has enough drama already, so give yourself some breathing room.
Step 2: Place the Compass Point on P
Put the sharp point of your compass directly on point P. Open the compass to any comfortable radius. The exact radius does not matter, but it should be large enough to cross the given line on both sides of P.
This is an important detail: do not open the compass so small that your arc barely touches anything. You want your arc to intersect the original line in two clear places.
Step 3: Draw an Arc That Crosses the Line Twice
With the compass still centered at P, draw an arc that crosses line AB on both sides of P. Label the two intersection points X and Y. Because the compass was centered at P, the distances PX and PY are equal.
This equal-distance setup is the foundation of the construction. Point P is now the midpoint of segment XY, even if you did not measure anything. The compass quietly did the measuring for you, like a very pointy assistant.
Step 4: Open the Compass Wider
Next, open the compass to a radius greater than half the distance between X and Y. In practical terms, make the compass opening larger than XP or YP. If the radius is too small, the next arcs will not intersect properly.
Keep this compass width unchanged for the next two arc marks. This “do not change the compass width” rule is one of the sacred commandments of geometric construction.
Step 5: Draw an Arc From X
Place the compass point on X. Draw an arc above the line. You may also draw it below the line if you prefer. The location does not matter as long as you have enough space and stay consistent.
This arc should pass somewhere above point P. You do not need to draw a full circle. A clean arc is enough.
Step 6: Draw an Arc From Y With the Same Radius
Without changing the compass width, place the compass point on Y. Draw another arc so that it intersects the arc from X. Label the intersection point R.
Point R is the key point created by equal distances from X and Y. Since R is the same distance from both X and Y, it lies on the perpendicular bisector of segment XY. Because P is also the midpoint of XY, the line through P and R is perpendicular to the original line.
Step 7: Draw the Perpendicular Line
Place your straightedge so it lines up with point P and point R. Draw a straight line through both points. This new line is perpendicular to line AB at point P.
Congratulations. You have constructed a perpendicular line without measuring a single angle. Somewhere, Euclid is nodding approvingly.
Why This Construction Works
The construction is not a magic trick, although it may feel like one the first time the arcs land perfectly. It works because of symmetry, equal distances, and congruent triangles.
When you draw the first arc centered at P, it creates two points, X and Y, on the original line. Since both points were made with the same compass opening, PX equals PY. That means point P is exactly halfway between X and Y.
Then you draw two arcs with the same radius, one centered at X and one centered at Y. Their intersection point R is equally distant from X and Y. So RX equals RY.
Now compare triangle RXP and triangle RYP:
- PX equals PY.
- RX equals RY.
- RP is shared by both triangles.
These matching side lengths make the two triangles congruent. Because the triangles match perfectly, the angles at P are equal. Those equal angles sit on a straight line, so together they measure 180 degrees. If two equal angles add up to 180 degrees, each one must be 90 degrees.
Therefore, line PR is perpendicular to line AB. That is the proof in plain English: equal sides create equal triangles, equal triangles create equal angles, and equal adjacent angles on a straight line create right angles.
Simple Example
Imagine you have a horizontal line labeled AB, and point P is marked near the center. You place your compass on P and draw an arc that crosses AB at X on the left and Y on the right. You now have a balanced segment, XY, with P in the middle.
Next, you open the compass wider, place it on X, and draw an arc above the line. Then you place the compass on Y and draw another arc above the line using the same radius. The arcs meet at R. When you draw a straight line through P and R, the result is a vertical-looking line that meets AB at a right angle.
Even if your original line is diagonal instead of horizontal, the same method works. “Perpendicular” does not mean “up and down on the paper.” It means the new line meets the original line at 90 degrees. A diagonal line can have a perpendicular line too; it will simply lean the other way.
Common Mistakes to Avoid
Changing the Compass Width Too Soon
The most common mistake is changing the compass width between drawing the arc from X and the arc from Y. These two arcs must have the same radius. If they do not, the intersection point will not be properly centered, and your perpendicular line may be slightly off.
Using a Radius That Is Too Small
If your second compass radius is too small, the arcs from X and Y may not intersect. Open the compass wider and try again. In general, the compass opening should be comfortably more than half the distance between X and Y.
Drawing Arcs Too Lightly or Too Messily
Light arcs are fine, but they must be visible enough to identify the intersection point. Messy arcs can make it difficult to know where the true crossing point is. Use a sharp pencil and steady pressure.
Misplacing the Straightedge
When drawing the final line, make sure the straightedge passes exactly through point P and the arc intersection R. A tiny slip can make the final line look close but not accurate. In geometry, “close enough” is sometimes just “wrong wearing a friendly hat.”
Compass and Straightedge Versus Ruler and Protractor
You might wonder why anyone would construct a perpendicular line when a protractor can measure 90 degrees quickly. The answer is that construction teaches geometric relationships instead of just measurement. A protractor tells you where 90 degrees is. A compass-and-straightedge construction shows you why that 90-degree line exists.
In school geometry, construction problems build logical thinking. They help students understand congruent triangles, perpendicular bisectors, symmetry, and the structure of proofs. In design and drafting, the same ideas show up in layouts, grids, technical drawings, and accurate planning.
Where This Skill Is Used
Constructing perpendicular lines is not limited to math homework. It appears in architecture, woodworking, engineering, art, robotics, map design, and computer graphics. Whenever someone needs a square corner, a centerline, a support line, or a precise layout, perpendicular construction is nearby.
For example, a carpenter may need to mark a line at a right angle before cutting. A designer may use perpendicular guides to align shapes. A geometry student may use perpendiculars to construct squares, rectangles, altitudes of triangles, or perpendicular bisectors. Even digital design tools rely on the same basic logic, though the software hides the compass under a shiny button.
How to Check Your Work
If you are allowed to verify your construction, use a protractor or a right-angle corner to check whether the final line forms a 90-degree angle with the original line. In a digital geometry tool, you can use the angle measurement feature.
However, remember that checking is not the same as constructing. The construction itself should not depend on measuring 90 degrees. The proof comes from equal arcs and congruent triangles, not from hoping your protractor had a good day.
Tips for a Cleaner Construction
- Use a sharp pencil so your arcs have clear intersections.
- Do not press too hard with the compass point, especially on thin paper.
- Label your points as you go: P, X, Y, and R.
- Keep the same compass width when drawing matching arcs.
- Draw construction arcs lightly, then darken the final perpendicular line.
- Give yourself enough space above or below the original line.
A neat diagram makes the process easier to understand and easier to grade. Teachers are human too; a clean construction is a small gift to everyone involved.
Related Geometry Concepts
Perpendicular Bisector
A perpendicular bisector is a line that cuts a segment into two equal parts at a 90-degree angle. The method used in this construction is closely related because point P becomes the midpoint of segment XY, and the final line acts as the perpendicular bisector of XY.
Congruent Triangles
Conguent triangles have the same size and shape. In this construction, the equal compass arcs create triangles that match by side lengths. This is why the final angles at P are equal.
Right Angles
A right angle measures 90 degrees. Perpendicular lines always form right angles where they intersect. If two lines meet and produce four equal angles, each angle is a right angle.
Experience-Based Notes: What Learning This Construction Really Feels Like
The first time many students learn how to construct a perpendicular line through a point on a line, they expect it to be harder than it is. The words sound formal, and the diagram may look like something from an ancient textbook guarded by a marble statue. But once you put the compass point on P and swing that first arc, the whole process becomes surprisingly hands-on. It feels less like memorizing geometry and more like building a tiny machine out of pencil marks.
One helpful experience is to practice the construction on lines in different directions. Start with a horizontal line because it is visually simple. Then try a slanted line. This is where the real learning happens. Many beginners accidentally think a perpendicular line must be vertical. When the original line is slanted, the perpendicular line also slants, just in the opposite relationship. Seeing this on paper helps break the “vertical equals perpendicular” misunderstanding.
Another useful habit is to over-label at first. Write P clearly on the given point. Mark X and Y where the first arc crosses the line. Label R where the two larger arcs intersect. Some students skip labels because they want the diagram to look clean. Then, two minutes later, they are staring at five mysterious pencil marks wondering which dot is the hero of the story. Labels prevent that tiny tragedy.
Compass control also improves with practice. Beginners often move the compass width accidentally while drawing the second arc. A good trick is to hold the compass near the hinge after setting the radius, then move it carefully from X to Y. If the compass slips, reset it before continuing. It is better to redraw one arc than to build the final line from an inaccurate intersection.
Teachers often notice that students understand the steps before they understand the proof. That is normal. The construction is visual; the proof is logical. After completing several diagrams, the reason becomes clearer: P is equally spaced from X and Y, and R is also equally spaced from X and Y. The final line connects two points that are centered between X and Y, so it must cut across the original line at a right angle.
In real-world drawing, this construction encourages patience. A rushed perpendicular line often looks close enough, but accurate construction depends on careful arcs. The reward is that satisfying moment when the straightedge connects P and R, and the right angle appears naturally. No guessing. No measuring. Just geometry doing its job with quiet confidence.
Conclusion
Learning how to construct a perpendicular line to a given line through point on the line is one of the essential skills in geometry. The process is simple: draw equal points on the original line, create matching arcs from those points, and connect the given point to the arc intersection. The result is a line that passes through the given point and meets the original line at exactly 90 degrees.
What makes this construction powerful is not just the final line, but the reasoning behind it. The compass creates equal distances. Equal distances create congruent triangles. Congruent triangles create equal angles. Those equal adjacent angles form right angles. That is geometry at its best: practical, logical, and oddly satisfying.
Once you master this construction, you are ready for related skills such as constructing perpendicular bisectors, building squares, drawing altitudes, and creating accurate geometric diagrams. It may begin with a line and a point, but it opens the door to a much larger world of precise mathematical design.














