
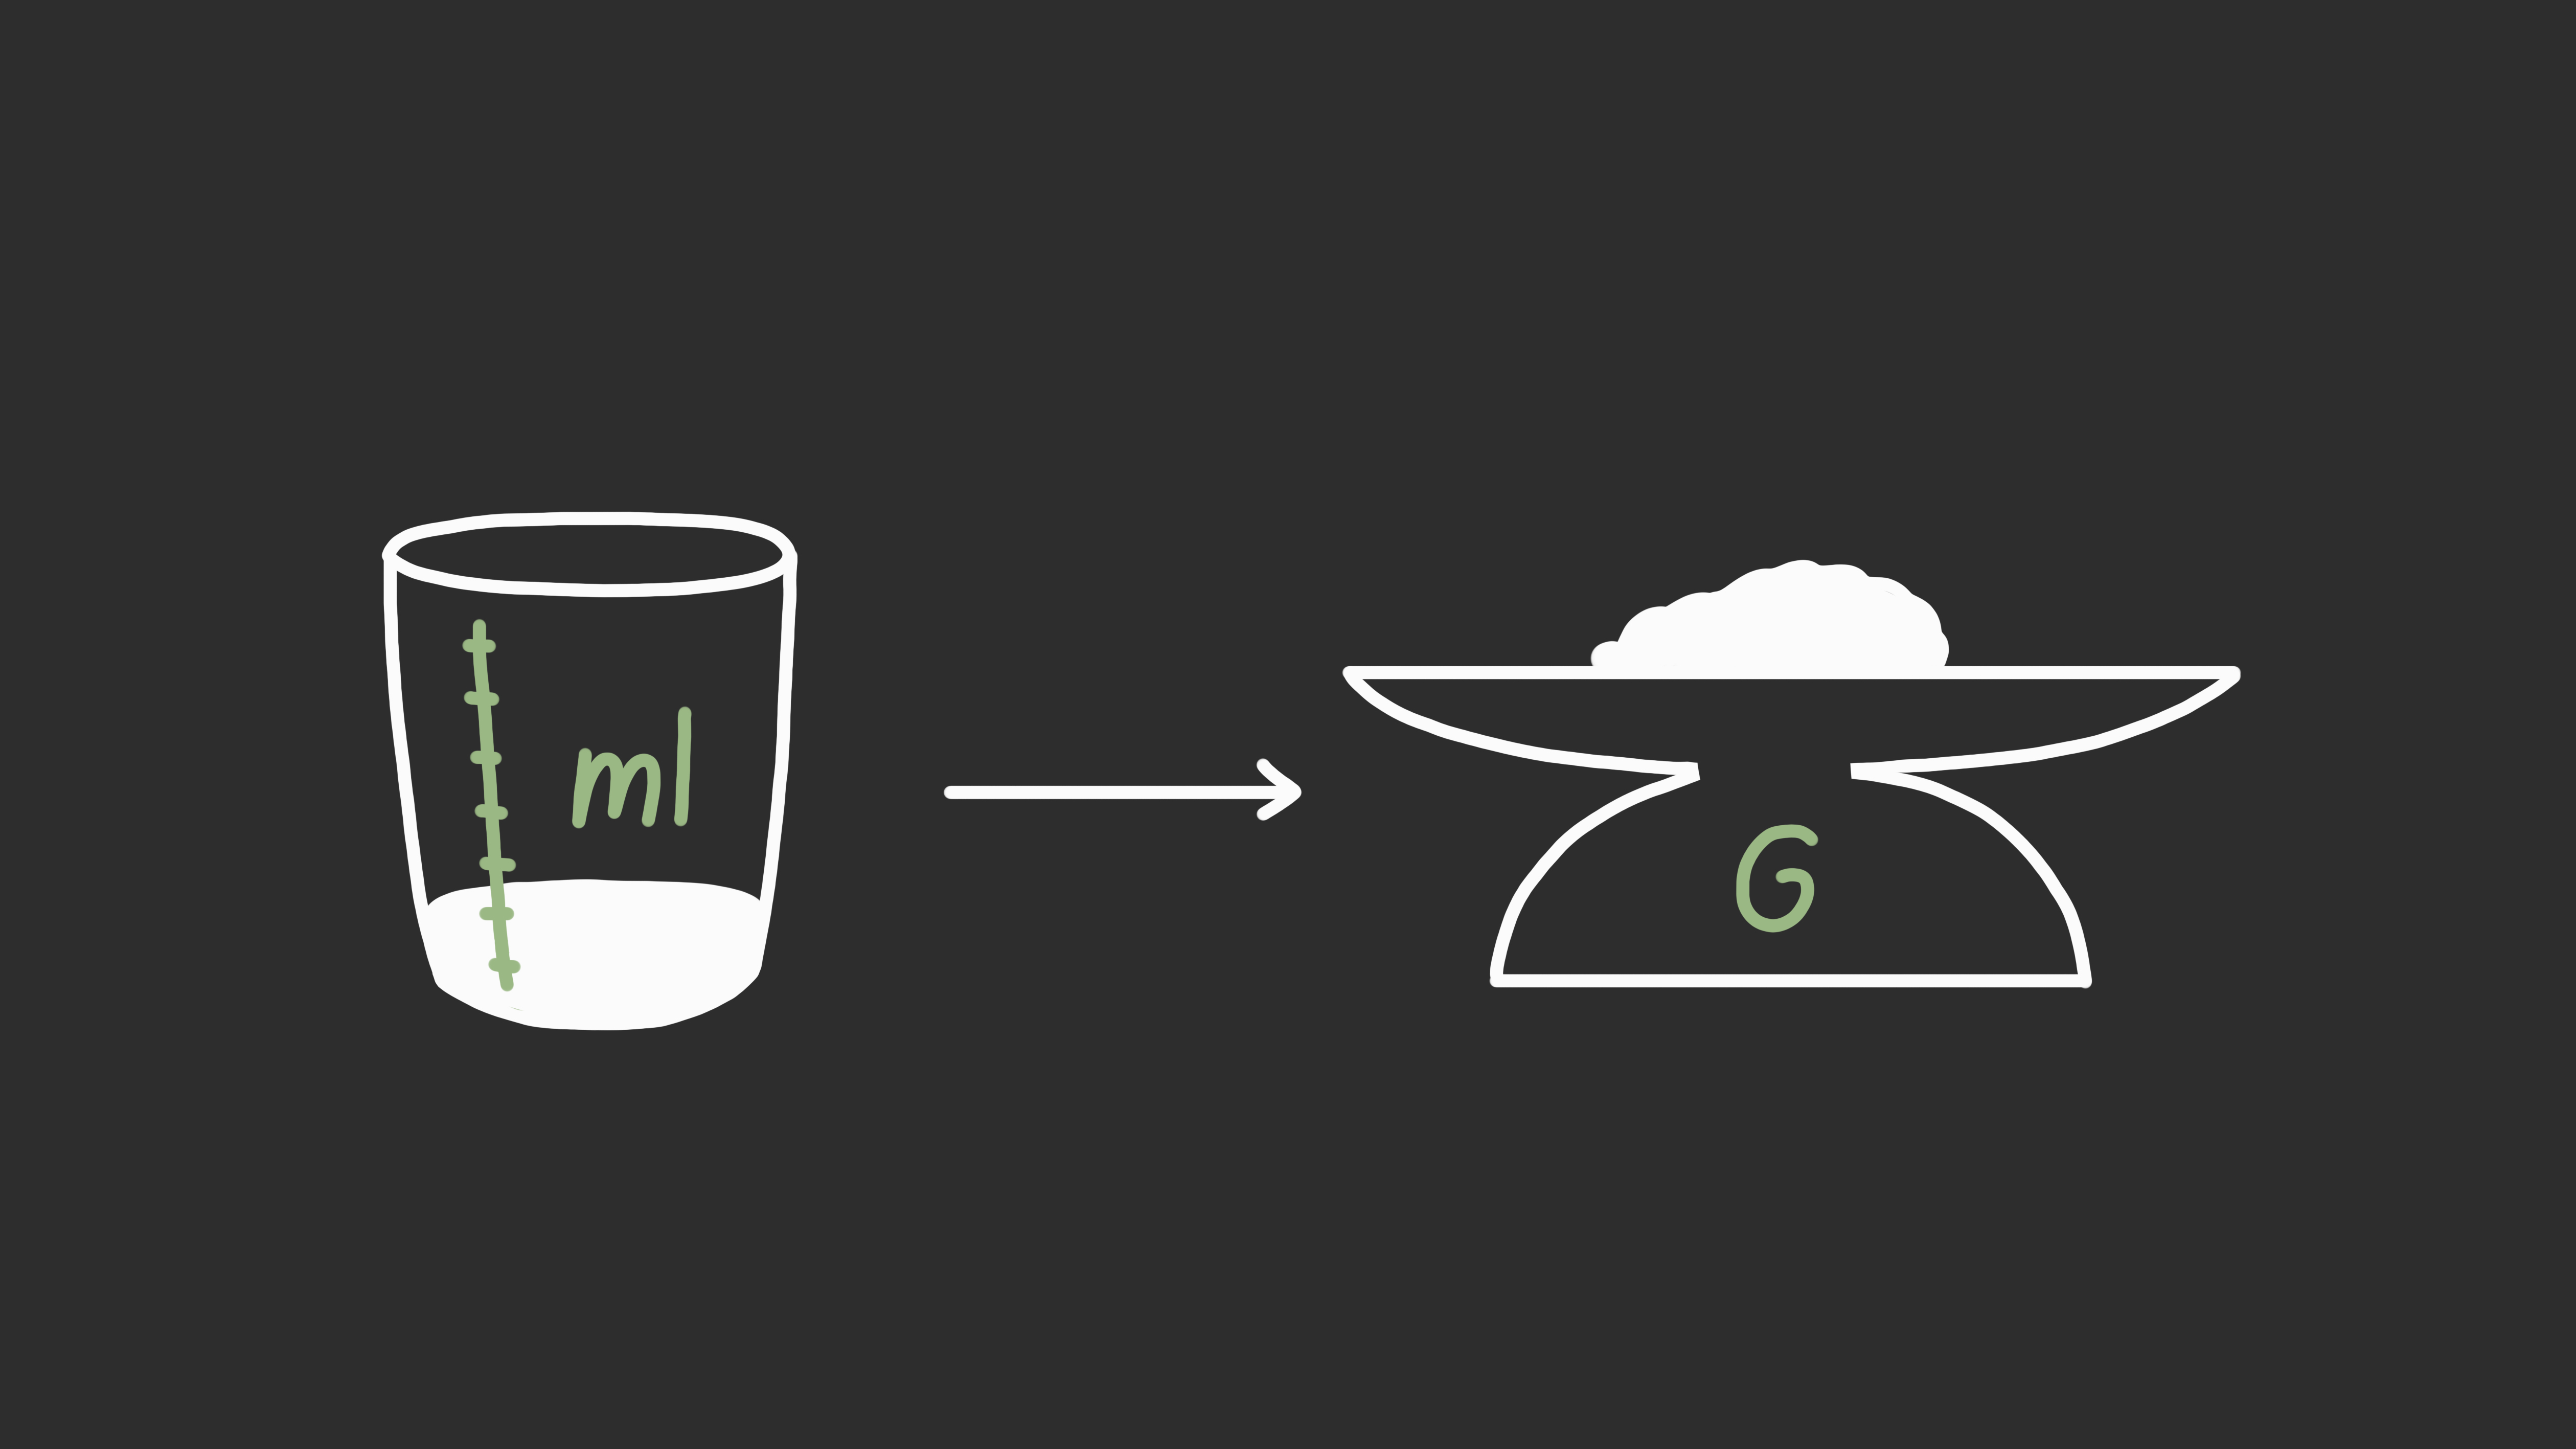
If you have ever stared at a recipe, a lab worksheet, a skincare formula, or a bottle label and thought, “Why can’t this just pick one unit and commit?” welcome to the club. Milliliters and grams often appear in the same conversation, but they are not twins. They are more like cousins who show up to the same family gathering wearing very different outfits.
Milliliters (mL) measure volume, which means how much space a substance takes up. Grams (g) measure mass, which means how much matter is actually there. Because one measures space and the other measures mass, you cannot convert mL to g directly unless you know something else: density.
That sounds more dramatic than it is. Density is simply the bridge between the two units. Once you understand that bridge, converting milliliters to grams becomes much easier, whether you are measuring water, oil, honey, syrup, lotion, or a mystery liquid that looks innocent but weighs like a tiny brick.
In this guide, you will learn 4 practical ways to convert milliliters to grams, when each method works best, where people usually make mistakes, and how to get accurate results without turning your kitchen into a chemistry lab. Although, to be fair, a kitchen is basically a chemistry lab with snacks.
Why mL and g Are Not Automatically the Same
The biggest misconception is that 1 mL always equals 1 g. That is only approximately true for water at everyday temperatures. It is not true for every liquid, and it definitely is not true for every ingredient.
For example, 100 mL of water weighs about 100 g. But 100 mL of oil weighs less than that because oil is less dense than water. Meanwhile, 100 mL of honey or syrup weighs more because those liquids are denser. Same volume, different mass. Same measuring cup, different answer. Science keeps everyone humble.
So before converting mL to grams, always ask one key question:
What substance am I measuring?
Way #1: Use the Density Formula
This is the most accurate and universal method, and it works for nearly any liquid or semi-liquid substance if you know the density.
The formula
grams = milliliters × density
The density is usually written in g/mL. That tells you how many grams fit into 1 milliliter of the substance.
Example 1: Converting 250 mL of a liquid with density 0.92 g/mL
Use the formula:
g = 250 × 0.92
g = 230
So, 250 mL = 230 g for that liquid.
Example 2: Converting 120 mL of a liquid with density 1.25 g/mL
g = 120 × 1.25
g = 150
So, 120 mL = 150 g.
Why this method is the best
- It works for water, oils, syrups, solutions, chemicals, and cosmetics.
- It is the method used in science, manufacturing, and technical work.
- It gives you results that are far more accurate than guessing.
Where to get the density
- Product specification sheets
- Manufacturer data
- Ingredient databases
- Lab tables
- Reliable conversion charts
If the density is listed in a different unit, such as kg/L, make sure to convert it to g/mL first. The good news is that many density values for liquids already appear as g/mL, which keeps the math nice and tidy.
Way #2: Use the Water Shortcut
If the substance is water, or close enough to water for kitchen-level accuracy, you can use the shortcut most people love:
1 mL of water ≈ 1 g
That means:
- 50 mL water ≈ 50 g
- 100 mL water ≈ 100 g
- 500 mL water ≈ 500 g
When this shortcut works well
- Plain water
- Very watery liquids
- Quick cooking estimates
- Basic schoolwork examples
When this shortcut can fail
- Oil
- Honey
- Condensed milk
- Syrups
- Detergents, lotions, and gels
- Strong chemical solutions
The reason is simple: water is special here. Its density is very close to 1 g/mL, especially around room temperature. Other substances may be lighter or heavier per milliliter. So the water shortcut is convenient, but it is not a free pass to use the same answer for everything in your pantry.
Think of it like this: if your ingredient pours like water, that does not automatically mean it weighs like water. Looks can be deceiving. Syrup knows this very well.
Way #3: Use an Ingredient Conversion Chart or Label Data
This is the most practical method for home cooks, bakers, formulators, and anyone who does not want to calculate density from scratch every single time.
Many ingredients already have standard weight-for-volume references. These can come from food databases, product labels, recipe testing resources, or internal company specifications. In other words, someone else already did the hard work, and you are welcome to benefit from it.
How to use this method
- Find the weight for a known volume of your ingredient.
- Convert that reference into grams per milliliter if needed.
- Multiply by your target volume.
Example using a known reference
Suppose a product label or reference tells you that 15 mL weighs 18 g.
First, find density-like weight per milliliter:
18 ÷ 15 = 1.2 g/mL
Now convert 200 mL:
200 × 1.2 = 240 g
So, 200 mL of that ingredient weighs 240 g.
Why this method is helpful
- Great for cooking and baking ingredients
- Useful when a brand already lists serving weight
- Faster than hunting down a technical density table
- More accurate than assuming everything behaves like water
A smart reminder
Ingredient charts are helpful, but they are not magic. Brand formulation, temperature, texture, and air content can change the result. A whipped sauce, a thick syrup, and a room-temperature oil may all behave differently. So use charts for convenience, but use a scale when precision really matters.
Way #4: Measure the Mass Directly with a Scale
This method skips conversion tables entirely and gives you the most practical answer in real life: just weigh the stuff.
If you have a digital kitchen scale or lab balance, you can measure the actual gram weight of a known milliliter amount. This is especially useful for ingredients that vary by brand, for thick products, or for anything where “approximately” is not good enough.
How to do it
- Place an empty container on the scale.
- Tare or zero the scale.
- Measure your liquid in milliliters using a graduated cup or cylinder.
- Pour it into the container.
- Read the grams directly.
Example
You measure 100 mL of a sauce and it weighs 112 g.
Now you know that for this particular product:
100 mL = 112 g
Its effective density is:
112 ÷ 100 = 1.12 g/mL
That means 250 mL of the same sauce would be:
250 × 1.12 = 280 g
Why this method wins in the real world
- It accounts for the exact product you are using.
- It avoids relying on generic charts.
- It is ideal for baking, product development, and batch consistency.
- It helps when density data is unavailable.
This is also why professional kitchens and food production teams prefer working by weight. Volume is convenient, but weight is usually more consistent and easier to reproduce accurately.
Quick Conversion Examples
If density is 1.00 g/mL
- 30 mL = 30 g
- 100 mL = 100 g
- 250 mL = 250 g
If density is 0.90 g/mL
- 30 mL = 27 g
- 100 mL = 90 g
- 250 mL = 225 g
If density is 1.30 g/mL
- 30 mL = 39 g
- 100 mL = 130 g
- 250 mL = 325 g
These examples show why one conversion rule cannot fit every liquid. The same 250 mL can weigh 225 g, 250 g, or 325 g depending on what the substance is.
Common Mistakes to Avoid
Assuming mL and g are always equal
This is the classic mistake. It works for water, then suddenly fails for oil, honey, syrup, or anything thicker or lighter.
Using the wrong density
Density must match the exact substance as closely as possible. “Oil” is not one single thing. Neither is “syrup.” Different formulations can give different results.
Ignoring temperature
Temperature can slightly change density. For everyday cooking, the difference may be small. For lab work, product formulation, or high-precision tasks, it matters more.
Confusing mass with weight language
In everyday conversation, people say “weight” when they mean grams. That is normal. Just remember that grams are technically a unit of mass.
Rounding too aggressively
If you are doing technical work, keep a reasonable number of decimal places until the end. Rounding too early can quietly wreck your final answer.
Which Method Should You Use?
Use the density formula when you need the most accurate calculation.
Use the water shortcut when you are measuring water or something extremely close to it.
Use a conversion chart or label data when you are cooking, baking, or working with common products.
Use a scale when you want the most reliable real-world result and do not feel like arguing with a measuring cup.
If precision matters, the scale is usually your best friend. If speed matters, the formula or chart may be enough. If you are measuring water, congratulations: life is briefly simple.
Final Thoughts
Converting milliliters to grams is not hard once you know the secret: you need density. That is the whole game. Since mL measures volume and grams measure mass, the correct answer depends on what substance you are measuring.
The four best ways to handle the conversion are simple: use the density formula, use the water shortcut when appropriate, check an ingredient chart or label, or weigh the substance directly. Pick the method that matches your situation, and you will get a result that is far more accurate than guessing.
So the next time a recipe, formula, or label throws both mL and g at you like it is hosting a unit-based scavenger hunt, do not panic. Just remember: find the density, choose the right method, and let the math do the heavy lifting. Literally.
Real-World Experiences with Converting mL to g
In real life, most people do not start caring about milliliters and grams because they suddenly fell in love with unit conversion. They care because something went wrong. A cake turned out dense. A sauce became too thick. A skincare mixture separated. A child’s science project looked suspiciously like soup. That is usually when the phrase “Wait, isn’t 100 mL just 100 g?” enters the chat.
One of the most common experiences happens in baking. Someone follows a recipe from one website that lists milk in milliliters and flour in grams, then switches to another recipe that uses cups, tablespoons, and vibes. The result is often edible, but not always glorious. Liquids are usually forgiving, but once you start dealing with sticky ingredients like honey, molasses, yogurt, or syrup, volume-only measuring gets messy fast. A spoonful can be rounded, packed, underfilled, or clinging to the measuring cup like it pays rent there. Weight cuts through that chaos.
Another real-world lesson shows up when people meal prep or track nutrition. A bottle may list a serving in milliliters, while a food database gives values per gram. Suddenly, you are doing kitchen detective work. If you use a rough water-based assumption for something that is actually much denser, your totals can drift more than you expect. It is not always dramatic, but over time those “tiny” errors stop being tiny.
DIY beauty and home projects also teach this lesson quickly. Lotions, serums, liquid soaps, and cleaning mixtures can look similar while having very different densities. Two products can pour at nearly the same speed and still weigh differently. That surprises a lot of people the first time they make a small batch and realize their formula feels off, even though the volume looked right. In those situations, using grams often creates better consistency from batch to batch.
Students run into the same thing in science class. A worksheet may ask them to convert mL to g, and the trick is not the arithmetic. The trick is knowing that the conversion is impossible without density. Once that clicks, the whole topic becomes much less mysterious. It stops feeling like a weird rule and starts feeling logical. Volume tells you how much space something occupies. Density tells you how tightly packed that space is. Multiply the two, and the grams appear like a magician with excellent lab safety habits.
Even in everyday cooking, people eventually notice that weighing ingredients feels calmer. You use fewer dishes, get more consistent results, and avoid scraping half a sticky liquid out of a measuring cup while muttering at it. That is why so many experienced cooks gradually move toward grams, especially for recipes they make often. It is not about being fancy. It is about getting the same result twice in a row, which is honestly one of adulthood’s greatest luxuries.
The practical takeaway from all these experiences is simple: converting mL to g is not just a math exercise. It is a skill that makes recipes more reliable, projects more repeatable, and measurements more honest. Once you start using the right method for the right substance, the confusion fades quickly. And the next time someone says all liquids weigh the same because they all look wet, you can smile politely and keep your scale nearby.














