
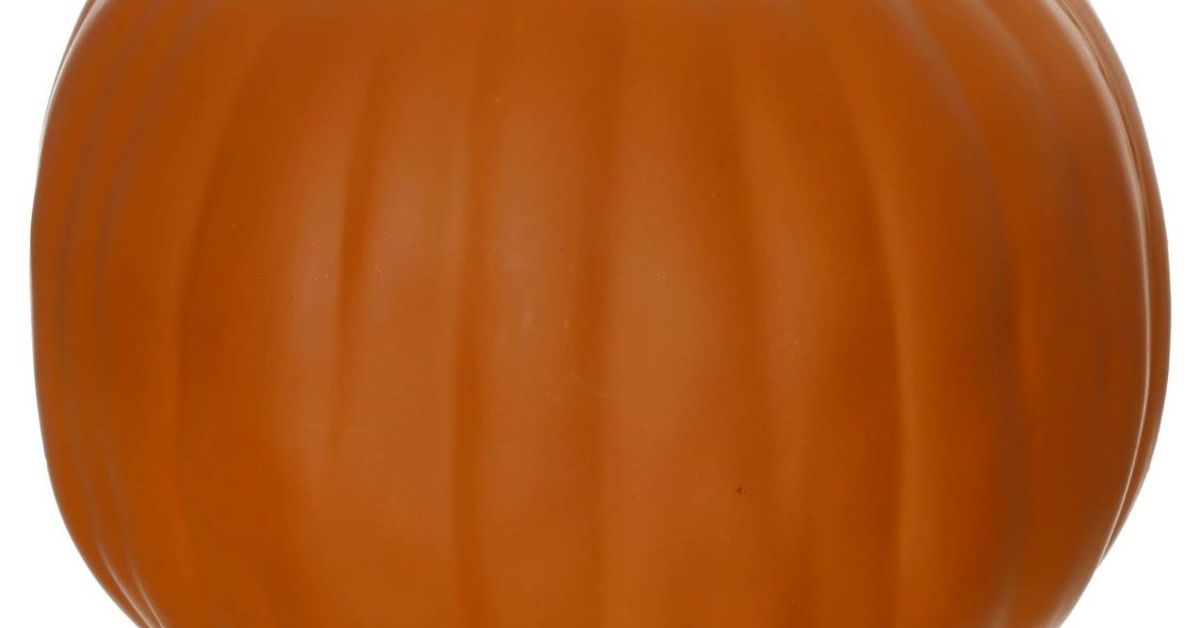
Real pumpkins are charming for about five minutes. Then they get soft, sad, and suspiciously fragrant. That is exactly why carving fake pumpkins has become such a beloved Halloween tradition for people who want the magic of a glowing jkins, or foam pumpkinslet you create detailed designs that can come back every fall like a spooky little reunion.
If you have ever spent hours carving a masterpiece only to watch it collapse into a wrinkled orange tragedy before the trick-or-treaters arrive, fake pumpkins feel like a miracle wearing a stem. They are reusable, cleaner to work with, and ideal for anyone who wants a polished display that lasts through Halloween and beyond. Even better, they are available in different sizes, colors, and materials, so you can go classic, elegant, creepy, whimsical, or gloriously over-the-top.
This guide breaks down how to carve fake pumpkins successfully, what tools work best, which mistakes to avoid, and how to make your finished design look bright, crisp, and professional. Whether you want a simple smiling face or a porch lineup worthy of neighborhood gossip, carving fake pumpkins can absolutely deliver.
Why Fake Pumpkins Are Worth Carving
The biggest advantage of fake pumpkins is simple: they last. A good carvable faux pumpkin can be used year after year, which makes it a smart decorating choice for families, crafters, and anyone who takes Halloween seriously enough to own more than one black cat pillow. Instead of starting from scratch every October, you can build a collection of custom pumpkins that becomes part of your seasonal décor.
They are also much less messy than real pumpkins. There are no slippery seeds, no stringy pulp, and no frantic search for paper towels when your dining table starts looking like a horror-movie set for squash. Many craft pumpkins are lightweight and easy to move, which is especially helpful when decorating mantels, shelves, staircases, porches, and tabletops.
Another major perk is design flexibility. Because faux pumpkins do not rot, you can take your time with the carving process. You can etch, paint, drill, stencil, and light them without worrying that your artwork has a countdown timer attached to it. That makes fake pumpkins perfect for detailed faces, monograms, botanical patterns, haunted-house silhouettes, and more refined fall designs that you may want to display for weeks.
Not All Fake Pumpkins Are the Same
Before you start carving, it helps to know what kind of fake pumpkin you are holding. Some are soft foam or polyfoam, some are plastic, and some are more decorative than actually carvable. This is the first rule of successful faux-pumpkin carving: check the label before you attack it like a caffeinated raccoon.
Foam Craft Pumpkins
These are often the easiest to carve. They usually have enough give for carving tools, hot knives, or etching tools to work smoothly. Many people choose foam pumpkins for classic jack-o’-lantern faces, stencil work, and cutout designs.
Plastic Craft Pumpkins
Some plastic pumpkins are intended more for decorating than true carving, but certain versions are still workable with the right tools. They can be durable and lightweight, though the cut may feel different from foam. If the shell is harder, patience matters more than muscle.
Decorative Faux Pumpkins
These are often beautiful but not necessarily meant for carving. They may be better for paint, vinyl, decoupage, or other no-carve techniques. If your pumpkin has a glossy finish and feels more like décor than a craft blank, treat it accordingly.
The sweet spot is a pumpkin labeled as carvable, craft, or designed for DIY decorating. That wording usually means the material is friendlier to stencils, cuts, and surface etching.
Best Tools for Carving Fake Pumpkins
You do not need a garage full of power tools to carve a fake pumpkin, but choosing the right tool makes the whole project easier and cleaner.
Basic Tools
- Marker or pencil: for sketching your design directly on the pumpkin.
- Stencil and tape: helpful for letters, faces, and more detailed patterns.
- Push pin or tracing tool: to transfer stencil lines with dotted marks.
- Serrated carving saw: useful for standard cut-through designs.
- Detail carving tool: great for smaller shapes and tighter curves.
- Craft knife: handy for trimming edges and refining openings.
Advanced or Specialty Tools
- Linoleum cutter or etching tool: ideal for shaving the surface instead of cutting all the way through.
- Drill and wood bits: perfect for dots, constellation patterns, or “Swiss cheese” style effects.
- Hot knife: especially useful on some foam craft pumpkins for smoother cutting.
- Sandpaper or emery board: good for cleaning up rough edges after carving.
If you are a beginner, start with a stencil, a push pin, and a small serrated saw. If you enjoy details and texture, add an etching tool. If you love drama, a drill can turn an ordinary pumpkin into a lantern with gorgeous dotted light effects.
How to Carve a Fake Pumpkin Step by Step
1. Choose a Design That Matches the Pumpkin Shape
Tall pumpkins work beautifully for vertical faces, words, and house numbers. Wide pumpkins are better for round faces, moon scenes, cats, and sprawling branch patterns. White pumpkins look fantastic with delicate cutouts, birdcage motifs, and painted accents. Black faux pumpkins can look especially striking when paired with metallic paint or glow effects.
2. Plan the Opening
Unlike real pumpkins, faux versions do not need to be scooped clean. If you plan to insert lights or reach inside, decide where the access opening will go. The back is often a smart place for the cut because it keeps the front looking polished and structurally strong. For some designs, the bottom also works.
3. Transfer Your Pattern
If you are drawing freehand, sketch lightly. If you are using a stencil, tape it in place and poke along the lines with a push pin. Remove the paper and connect the dots. This gives you a clean roadmap without turning your pumpkin into a geometry exam.
4. Start Small
Begin with the tiniest details first. It is easier to expand a cut than to undo one. For a fake pumpkin, short controlled cuts usually work better than long aggressive ones. Let the tool do the work. If you are using a hot knife, keep your pace steady and work in a well-ventilated space.
5. Smooth the Edges
Once the major shapes are cut, refine the openings. Trim any jagged spots with a craft knife and lightly sand the edges if needed. This step makes a huge difference, especially for letters, curved smiles, and delicate stencil shapes.
6. Add Etching or Surface Detail
One of the best things about fake pumpkins is that you can combine deep cuts with shallow etching. Use a linoleum cutter or etching tool to shave the outer layer for wood-grain textures, vines, florals, spider webs, or facial details. This creates a more dimensional, custom look.
7. Light It Properly
For faux pumpkins, battery-operated LED tea lights, string lights, or small puck lights are the safer and smarter choice. They create glow without extra heat, and they are much kinder to craft materials than traditional candles. In other words, your pumpkin can be dramatic without literally becoming dramatic.
Creative Carving Ideas for Fake Pumpkins
Once you realize a fake pumpkin does not need to rot on schedule, your design options open up in a big way.
Classic Faces with Cleaner Lines
Triangle eyes and toothy grins are timeless for a reason. On a faux pumpkin, they can look sharper and neater because you are not fighting slippery pulp or collapsing walls.
Monograms and House Numbers
These look elegant on a porch and can stay out for most of the fall season. A carved initial or address number turns a pumpkin into décor that feels both festive and intentional.
Etched Botanical Designs
Leaves, vines, wood grain, and floral patterns are perfect for people who want a sophisticated look instead of a cartoon grin. Etching also works especially well on white, cream, or muted faux pumpkins.
Drilled Light Patterns
Using a drill for dots, stars, moons, and clustered holes creates beautiful lantern effects. This is one of the easiest ways to make a fake pumpkin look upscale while still feeling playful.
Scene Pumpkins
Cut a larger opening in the front and turn the inside into a mini display. Think haunted houses, spooky silhouettes, ravens, candy scenes, or tiny forests. Faux pumpkins are excellent for this because they hold their structure well over time.
Carved-and-Painted Hybrids
Paint the pumpkin first, then etch or carve through selected areas. This combination works wonderfully for faux-bois styles, spiderweb borders, candy-inspired faces, and bold graphic patterns.
Common Mistakes to Avoid
Using the Wrong Pumpkin
If the pumpkin is decorative only, carving may crack or frustrate you. A carvable product saves a lot of grief.
Forcing the Tool
Hack-and-hope is not a real carving method. Slow, steady pressure creates cleaner results and fewer slips.
Skipping the Test Cut
Different materials behave differently. Make a small test cut near the back or bottom before starting the front design.
Overcomplicating the Pattern
Tiny floating pieces and paper-thin bridges can weaken the design. Bold shapes usually glow better and last longer.
Using Real Candles
Fake pumpkins and open flame are not best friends. LED lighting is the better move for safety, heat control, and convenience.
How to Make Fake Pumpkins Look More Realistic
If you want your finished pumpkin to look less “craft aisle at 40% off” and more “fall stylist with excellent taste,” a few details go a long way.
- Add a warm LED light instead of a cold blue-toned one.
- Use a little brown or cream paint around the stem for depth.
- Mix carved pumpkins with real mini pumpkins, gourds, mums, or dried leaves.
- Group pumpkins in odd numbers for a fuller display.
- Combine etched textures with a few full cutouts so the design has dimension.
Also, resist the temptation to carve every single inch. Negative space matters. A design with breathing room often looks more polished than one that screams, “I had three energy drinks and a deadline.”
Storing Your Carved Fake Pumpkins
When Halloween ends, brush off dust, remove the batteries from any lights, and wrap the pumpkin loosely in tissue paper or a soft bag. Store it in a cool, dry place where heavy décor will not crush the carved areas. Because faux pumpkins are reusable, a little care now means you can pull them out next year and feel instantly brilliant.
Final Thoughts
Carving fake pumpkins is one of the smartest ways to get the classic jack-o’-lantern look without the short shelf life of real pumpkins. You get cleaner cuts, more control, longer-lasting results, and the freedom to create everything from cheerful beginner faces to elegant etched showpieces. It is practical, creative, and just dramatic enough to make Halloween decorating feel special.
Best of all, fake pumpkins reward effort. A well-carved faux pumpkin can become part of your yearly tradition, returning each fall like an old friend who never asks to borrow money. So sketch the design, grab the right tools, choose an LED glow, and carve something that deserves a permanent place in your autumn lineup.
Experiences With Carving Fake Pumpkins: What It’s Really Like
There is a very specific kind of satisfaction that comes with carving fake pumpkins, and it is completely different from carving real ones. With a real pumpkin, the experience is urgent. You buy it, you carve it, and then you quietly accept that time is your enemy. With a fake pumpkin, the experience feels calmer and a lot more creative. You are not racing against rot. You are building something you can actually keep.
For many people, the first experience with a faux pumpkin starts with skepticism. It looks too neat. Too perfect. Too craft-store wholesome. Then the carving begins, and suddenly the appeal makes total sense. There is no slippery handful of seeds, no mystery puddle on the counter, no moment when the pumpkin lid caves in and ruins your mood. Instead, there is control. You can stop halfway, come back tomorrow, adjust the design, and keep working until it looks right.
Another common experience is surprise at how different each faux pumpkin feels. Some cut easily and smoothly. Others need more patience. That learning curve becomes part of the fun. After one or two projects, you start understanding which shapes work best, how wide to make openings, and how much detail a material can handle. The process becomes less like random carving and more like actual crafting.
People also tend to get more ambitious with fake pumpkins. A real pumpkin might get a quick face because nobody wants to invest four hours into something with a one-week life expectancy. But a fake pumpkin? Suddenly you are considering a bat silhouette, a constellation design, a house number display, or a witch scene with tiny windows. Reusability makes creativity feel more worthwhile.
Then there is the lighting. The first time a carved faux pumpkin glows with a warm LED from inside, it feels surprisingly polished. The cuts are crisp, the shape holds, and the display can stay up night after night without becoming a sagging orange cautionary tale. Many people end up making one faux pumpkin and then, inevitably, a second and third because the porch starts looking incomplete without a whole carved little family.
Perhaps the best part is emotional, not technical. Carving fake pumpkins often becomes less stressful and more enjoyable than traditional pumpkin carving. It is easier to do with kids around, easier to pause, easier to store, and easier to repeat next year. Instead of remembering the mess, you remember the design. Instead of throwing away your work, you pack it up and look forward to bringing it back. That makes the whole experience feel less like seasonal cleanup and more like building a Halloween tradition that actually sticks around.













