
Laminate flooring is the dependable friend of home improvement: affordable, stylish, and usually low-maintenance. But every now and then, it develops a little attitude. One day your floor looks smooth and seamless; the next day, a narrow dark line appears between two planks like it is trying to send you a tiny distress signal.
The good news? In many cases, you can close gaps in laminate flooring without tearing up the entire room, calling an emergency flooring crew, or emotionally apologizing to your baseboards. Most laminate floors are floating floors, which means the planks lock together and rest over the underlayment rather than being nailed or glued to the subfloor. Because of that, individual boards can sometimes shift, contract, or separate slightly.
This guide explains how to fix laminate floor gaps using three practical methods: a floor gap fixer or suction tool, a tapping block and pull bar, and a filler-or-replacement approach for gaps that refuse to behave. You will also learn why gaps happen, when not to force the planks, and how to prevent the problem from coming back.
Why Do Gaps Appear in Laminate Flooring?
Before you grab a mallet and start negotiating with your floor, it helps to understand why the gap appeared. Laminate flooring is made with a fiberboard core that reacts to indoor conditions. When the room becomes dry, the planks may contract. When humidity rises, they may expand. This natural movement is exactly why installers leave an expansion gap around the room perimeter, usually hidden under baseboards or quarter round.
Common causes of laminate flooring gaps include seasonal humidity changes, poor installation, loose click-lock joints, uneven subfloors, heavy furniture restricting movement, lack of proper acclimation before installation, missing transition strips in large rooms, or damaged locking edges. Sometimes the issue is simple: one plank slid slightly out of place. Other times, the gap is a symptom of a bigger problem, such as moisture damage or a floor that was installed too tightly against walls and cabinets.
When a Gap Is a Simple DIY Fix
A small gap between otherwise flat, undamaged planks is usually a good candidate for DIY repair. If the floor is not swollen, buckled, soft, chipped, or lifting, you can often slide the plank back into position. Think of it as politely scooting a chair back under the table.
When You Should Pause Before Repairing
Do not force laminate planks together if the edges are swollen, crumbly, warped, or raised. That usually means moisture damage or broken locking joints. Also, if gaps appear throughout the entire room, the problem may be related to installation, humidity, subfloor flatness, or blocked expansion space. In that case, one tiny repair may not solve the whole mystery.
Tools and Materials You May Need
You will not need a garage full of professional flooring tools for most small repairs. Depending on the method, gather a floor gap fixer tool or strong suction cup, rubber mallet, tapping block, pull bar, painter’s tape, vacuum, soft cloth, laminate-safe cleaner, wood glue or laminate seam adhesive, color-matched flexible filler, utility knife, pry bar, replacement plank, safety glasses, and knee pads.
One important reminder: laminate planks can chip if you hit them directly with a hammer. Always use a tapping block, pull bar, or tool designed to spread the force. Your goal is “gentle persuasion,” not “flooring demolition derby.”
Method 1: Close Small Gaps with a Floor Gap Fixer or Suction Tool
This is the easiest method for small gaps in floating laminate floors. A floor gap fixer tool grips the surface of the plank, allowing you to tap the tool with a mallet and slide the board back into place. Some tools use adhesive pads; others use suction cups. Either can work as long as the laminate surface is clean and smooth.
Best For
Use this method for narrow end gaps, small plank separations, and boards that have shifted but are still flat and undamaged. It is especially helpful when the gap is in the middle of the room and you do not want to remove baseboards.
Step 1: Clean the Plank Surface
Vacuum the area first. Dirt, crumbs, pet hair, and mysterious floor confetti can prevent the planks from closing fully. Wipe the plank with a laminate-safe cleaner and dry it completely. If you are using an adhesive-style gap fixer, the tool will grip better on a clean surface.
Step 2: Place the Tool on the Plank
Set the gap fixer tool on the plank you want to move. Position it several inches away from the gap, with enough room to tap the tool in the direction that will close the seam. For a suction cup tool, press it down firmly and lock the suction. For an adhesive pad tool, press it securely onto the plank.
Step 3: Tap Gently with a Rubber Mallet
Tap the tool in the direction of the gap. Use light, controlled strikes. The plank should slide gradually toward the neighboring board. If nothing moves after a few taps, stop and check whether furniture, trim, a transition strip, or another row is holding the floor in place.
Step 4: Work the Gap Toward the Wall
Sometimes closing one gap creates another small gap at the opposite end of the same plank or row. That is normal. Continue shifting planks carefully until the open space moves toward a hidden area under the baseboard or transition molding. This is one reason floating floors need perimeter expansion space.
Step 5: Add a Tiny Amount of Glue if Needed
If the same end joint keeps opening, apply a small amount of laminate seam adhesive or wood glue to the locking edge before closing the gap. Use very little. Excess glue can squeeze onto the surface or restrict natural floor movement. Wipe away any residue immediately with a damp cloth, then dry the area.
Method 2: Use a Tapping Block and Pull Bar Near Walls or Doorways
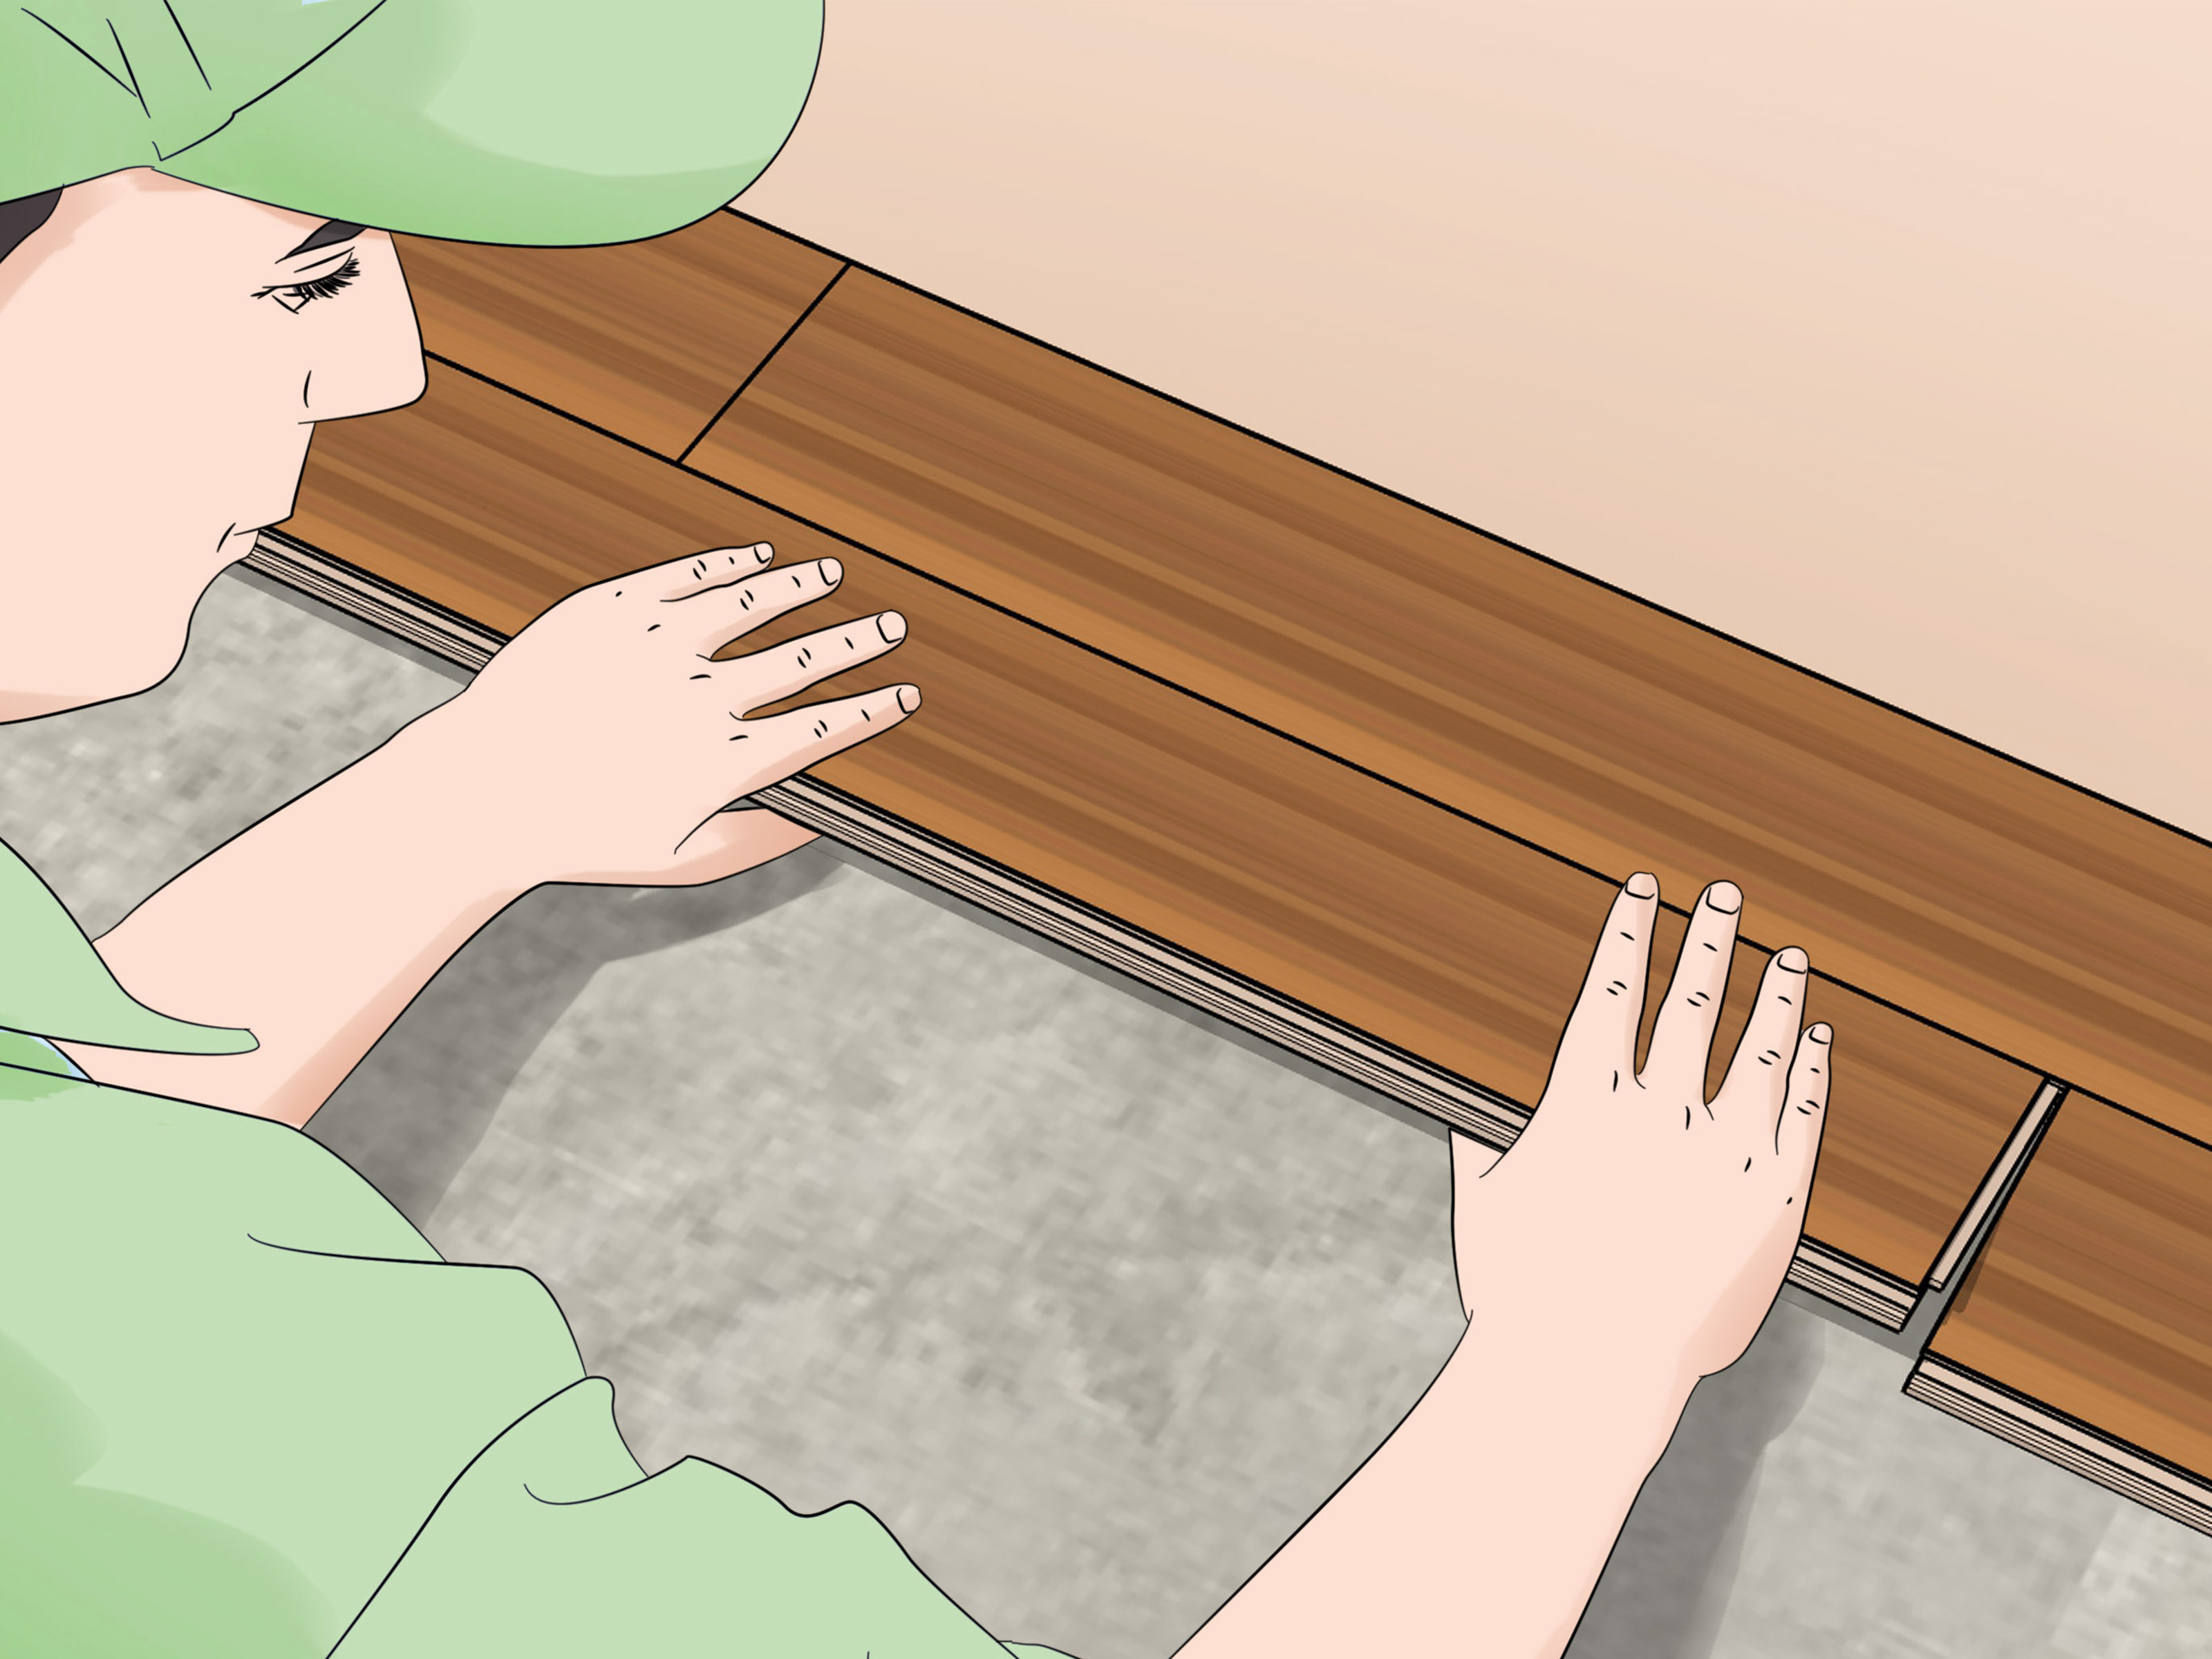
If the gap is close to a wall, doorway, or final row, a tapping block and pull bar may be more effective than a suction tool. These are common laminate installation tools. A tapping block helps close joints without damaging plank edges, while a pull bar lets you tap a plank into place when there is not enough room to swing a mallet directly.
Best For
This method works well for gaps near room edges, last rows, door frames, closets, transitions, and areas where the plank can be accessed after removing trim or molding.
Step 1: Remove the Shoe Molding or Quarter Round
If trim blocks access to the edge of the flooring, gently remove the shoe molding or quarter round with a pry bar. Work slowly so you can reuse the trim. Label pieces if needed, especially if your room has more corners than a detective novel.
Step 2: Check the Expansion Gap
Look at the space between the laminate and the wall. There should be a clear expansion gap. If the floor is tight against drywall, cabinets, pipes, or door frames, the laminate may not be able to move properly. That can cause gaps in one area and buckling in another.
Step 3: Place the Pull Bar
Hook the pull bar over the edge of the plank closest to the wall. Protect the wall with a scrap piece of cardboard or thin wood if needed. The pull bar should sit flat and contact the plank evenly.
Step 4: Tap the Pull Bar
Tap the raised end of the pull bar with a rubber mallet. Use short, controlled taps. The plank should move toward the gap and close the seam. If the joint is long, work gradually along the plank rather than forcing one corner.
Step 5: Reinstall Trim
Once the gap is closed and the floor can still move freely, reinstall the trim. Nail the trim to the wall or baseboard, not through the laminate flooring. Fastening trim into the floor can trap the floating floor and create future movement problems.
Method 3: Fill, Repair, or Replace the Plank When the Gap Will Not Close
Not every gap can be fixed by sliding boards together. If the locking edge is damaged, the plank is swollen, or the space is purely cosmetic and too small to move, you may need to fill it temporarily or replace the affected board.
Best For
Use this method for tiny cosmetic gaps, chipped seams, damaged plank edges, moisture-swollen boards, or gaps that reopen repeatedly after mechanical repair.
Option A: Use Color-Matched Flexible Filler
For a hairline gap that does not affect the floor structure, a color-matched flexible laminate filler may improve the appearance. Clean the gap, apply a small amount of filler, smooth it with a plastic putty knife, and wipe away excess before it dries. Choose a flexible product because laminate moves slightly with humidity changes.
Keep expectations realistic. Filler is a cosmetic fix, not a structural cure. If the planks are separating because the locking system failed, filler may crack, loosen, or look obvious over time.
Option B: Use Silicone Carefully in Wet-Prone Edges
In areas near exterior doors, kitchens, bathrooms, or laundry rooms, some manufacturer instructions recommend specific sealing methods for expansion spaces, often involving backer rod and silicone under trim. However, caulking random gaps between planks is usually temporary. Too much sealant can interfere with natural movement and may make later repairs messier.
Option C: Replace a Damaged Plank
If a plank is swollen, cracked, delaminated, or has a broken locking edge, replacement is the better fix. Depending on where the plank is located, you may be able to remove trim and disassemble rows until you reach the damaged board. Replace it with a matching plank, lock the floor back together, and reinstall the trim.
For a plank in the center of the room, replacement can be more complicated. Some DIYers cut out the damaged plank and modify a replacement, but this requires precision. If the floor is expensive, new, or waterproof-rated, consider hiring a flooring professional so the repair does not become a dramatic sequel.
How to Prevent Laminate Flooring Gaps from Coming Back
Closing the gap is only half the victory. Preventing it from returning is what keeps your floor looking clean and intentional.
Control Indoor Humidity
Laminate flooring performs best in a stable indoor environment. Very dry air can make planks contract, while high humidity can make them swell. Use a humidifier during dry winter months if your indoor air becomes extremely dry. Use ventilation or a dehumidifier in damp rooms. The goal is not to turn your home into a science lab; it is simply to avoid big humidity swings.
Keep the Expansion Gap Clear
Baseboards, quarter round, cabinets, door frames, pipes, and transitions should not pinch the floor. A floating floor needs room to move. If the floor is trapped, stress may show up as gaps, peaks, or buckling.
Avoid Nailing or Gluing the Floor to the Subfloor
Most laminate flooring is designed to float. Do not nail, screw, or glue it to the subfloor unless the specific product instructions say otherwise. Also avoid fastening heavy built-ins directly on top of laminate in a way that restricts movement.
Use Furniture Pads
Heavy furniture can sometimes hold part of a floating floor in place while the rest moves. Place felt pads under furniture legs and avoid dragging heavy items across the floor. Your laminate will thank you silently, which is the only way flooring knows how.
Clean Spills Quickly
Water can damage laminate seams, especially if it sits long enough to reach the fiberboard core. Wipe spills promptly and avoid soaking the floor during cleaning. A lightly damp mop is usually safer than a mop that looks like it just returned from a swimming competition.
Common Mistakes to Avoid
Do not hammer directly on laminate edges. Do not fill large structural gaps with a mountain of caulk. Do not ignore swollen boards. Do not remove all expansion space in an attempt to stop movement. Do not assume every gap is the same. And please, do not use random construction adhesive unless the product instructions specifically call for it.
The biggest mistake is treating the symptom while ignoring the cause. If a gap keeps reopening, investigate humidity, perimeter clearance, plank damage, and subfloor issues. A proper fix should make the floor look better and allow it to keep functioning as a floating system.
When to Call a Professional
Call a flooring professional if gaps appear across multiple rooms, the floor is buckling, the planks are swollen, the subfloor feels uneven or soft, water damage is visible, or the floor is still under warranty. Also consider professional help if you need to replace a plank in the center of the room and do not have spare boards. Matching old laminate can be surprisingly tricky because colors, textures, and locking systems change over time.
Final Thoughts
Learning how to close gaps in laminate flooring is mostly about patience, the right tool, and a little respect for how floating floors move. For small separations, a floor gap fixer or suction tool can slide boards back together quickly. Near walls and doorways, a tapping block and pull bar provide better control. For damaged or stubborn gaps, filler may hide a cosmetic flaw, but plank replacement is often the longer-lasting solution.
The secret is not to bully the floor into submission. Laminate flooring expands, contracts, and shifts slightly as your home’s indoor conditions change. Give it the expansion space it needs, keep humidity reasonably stable, and repair small gaps early before they invite dust, crumbs, and that one tiny pebble that somehow follows everyone indoors.
Extra Experience: Real-World Lessons from Closing Laminate Floor Gaps
After dealing with laminate floor gaps in real homes, one lesson becomes clear very quickly: the smallest-looking gap can have the longest backstory. A narrow opening at the end of one plank may look like a five-minute fix, but it can reveal whether the floor was installed properly, whether the room is too dry, or whether a heavy bookcase has been pinning the floating floor like a wrestling move.
One practical experience is to start with observation before action. Walk the room slowly and mark every gap with painter’s tape. If there is only one gap, the plank may have simply shifted. If the gaps form a line across several rows, the issue may be movement across the entire floating floor. If the gaps are near a doorway, transition strip, fireplace hearth, kitchen island, or built-in cabinet, check whether the flooring is trapped against a fixed object.
Another useful habit is to test movement gently. With clean sneakers or a rubber-soled shoe, some homeowners can nudge a slightly shifted plank back into place by kicking lightly along the plank direction. This is not the most precise method, and it should never involve hard stomping, but it does show whether the board is free to move. If the plank slides easily, a proper floor gap fixer tool will likely work even better. If it does not move at all, forcing it with a mallet may damage the locking edge.
Experience also teaches that cleaning matters more than people expect. Dust and grit inside a gap can act like tiny wedges. Before closing a joint, vacuum the opening carefully and wipe the surface. A plank that would not close yesterday may move neatly today simply because the seam is clean. It is not glamorous, but neither is kneeling on the floor arguing with a crumb.
Humidity is another major lesson. In many homes, laminate gaps become more noticeable during winter, when heating systems dry the indoor air. The repair may work perfectly, only for the gap to return if the room stays too dry. A small indoor humidity monitor can help you understand whether the floor is reacting to seasonal conditions. Stable humidity is boring in the best possible way.
When using a gap fixer tool, gentle taps are better than heroic swings. Start with light pressure and increase gradually. Place the tool securely, tap in the direction of the gap, and watch the seam closely. If the plank moves, continue slowly. If it does not move, stop. The floor is telling you something, and unfortunately it speaks only in resistance.
A final real-world tip: save extra planks whenever laminate is installed. Even one unopened box can be a lifesaver years later. Flooring lines get discontinued, colors change, and “close enough” replacement planks often look very obvious in daylight. If you already have spare boards, a damaged plank repair becomes much easier and more affordable.
In short, closing laminate flooring gaps is not just about hiding a line. It is about helping the floor return to the position it was meant to hold while still allowing it to move naturally. Work slowly, use the right tool, avoid overfilling seams, and pay attention to what caused the gap in the first place. That is how you get a repair that looks clean today and still behaves itself next season.













