
Adjusting exercise bike resistance sounds simple until you climb on, turn the knob, and suddenly feel like you’re pedaling through peanut butter. Or worse, you tap the “+” button expecting a hill and get… a polite suggestion. Resistance is the secret sauce of indoor cycling. It controls how hard your legs work, how much power you produce, and whether your workout feels like a breezy neighborhood ride or a dramatic mountain stage in the Tour de Living Room.
The good news? You don’t need to be a cycling coach, gym technician, or person who says “watts” at dinner parties to get it right. Whether your bike uses a manual tension knob, magnetic resistance, friction pads, digital controls, or app-guided settings, the basic idea is the same: increase resistance to make pedaling harder, decrease it to recover, and match the setting to your fitness goal, cadence, and comfort.
This guide walks you through 11 easy ways to adjust exercise bike resistance, with practical examples, safety tips, and troubleshooting advice. By the end, your bike will stop feeling like a mysterious metal horse and start feeling like a workout tool you actually control.
What Exercise Bike Resistance Actually Means
Exercise bike resistance is the force your legs push against when you pedal. On a real bike, resistance comes from hills, wind, road surface, and your gears. On a stationary bike, resistance is created mechanically or digitally to imitate those challenges indoors.
When resistance is low, your pedals spin easily and your heart rate may stay lower. When resistance is higher, your musclesespecially your quadriceps, hamstrings, glutes, and calvesmust work harder. Add too much resistance, though, and your pedal stroke can become choppy, your knees may complain, and your workout turns into a slow-motion wrestling match.
Common Types of Exercise Bike Resistance
Most home and gym bikes use one of these systems:
- Friction resistance: A felt or leather brake pad presses against the flywheel. Turning the knob usually increases or decreases pressure.
- Magnetic resistance: Magnets move closer to or farther from the flywheel. This creates smooth, quiet resistance without direct contact.
- Digital resistance: Buttons, touchscreen controls, or app commands change the resistance level automatically.
- Air resistance: A fan creates resistance based on how hard you pedal. The faster you go, the harder it gets.
Knowing your bike type helps you adjust resistance correctly and avoid blaming your legs for something the machine is doing.
11 Easy Steps to Adjust Exercise Bike Resistance
1. Start With a Light Warm-Up
Before touching the resistance knob like it owes you money, begin with 3 to 5 minutes of easy pedaling. Keep the resistance low enough that you can speak comfortably. This helps your joints, muscles, and cardiovascular system ease into the workout.
A warm-up also gives you time to notice whether the bike feels normal. If the pedals jerk, grind, squeak, or refuse to turn smoothly, don’t force it. Resistance should feel controlled, not like the bike has entered a personal feud with your knees.
2. Learn Your Bike’s Control System
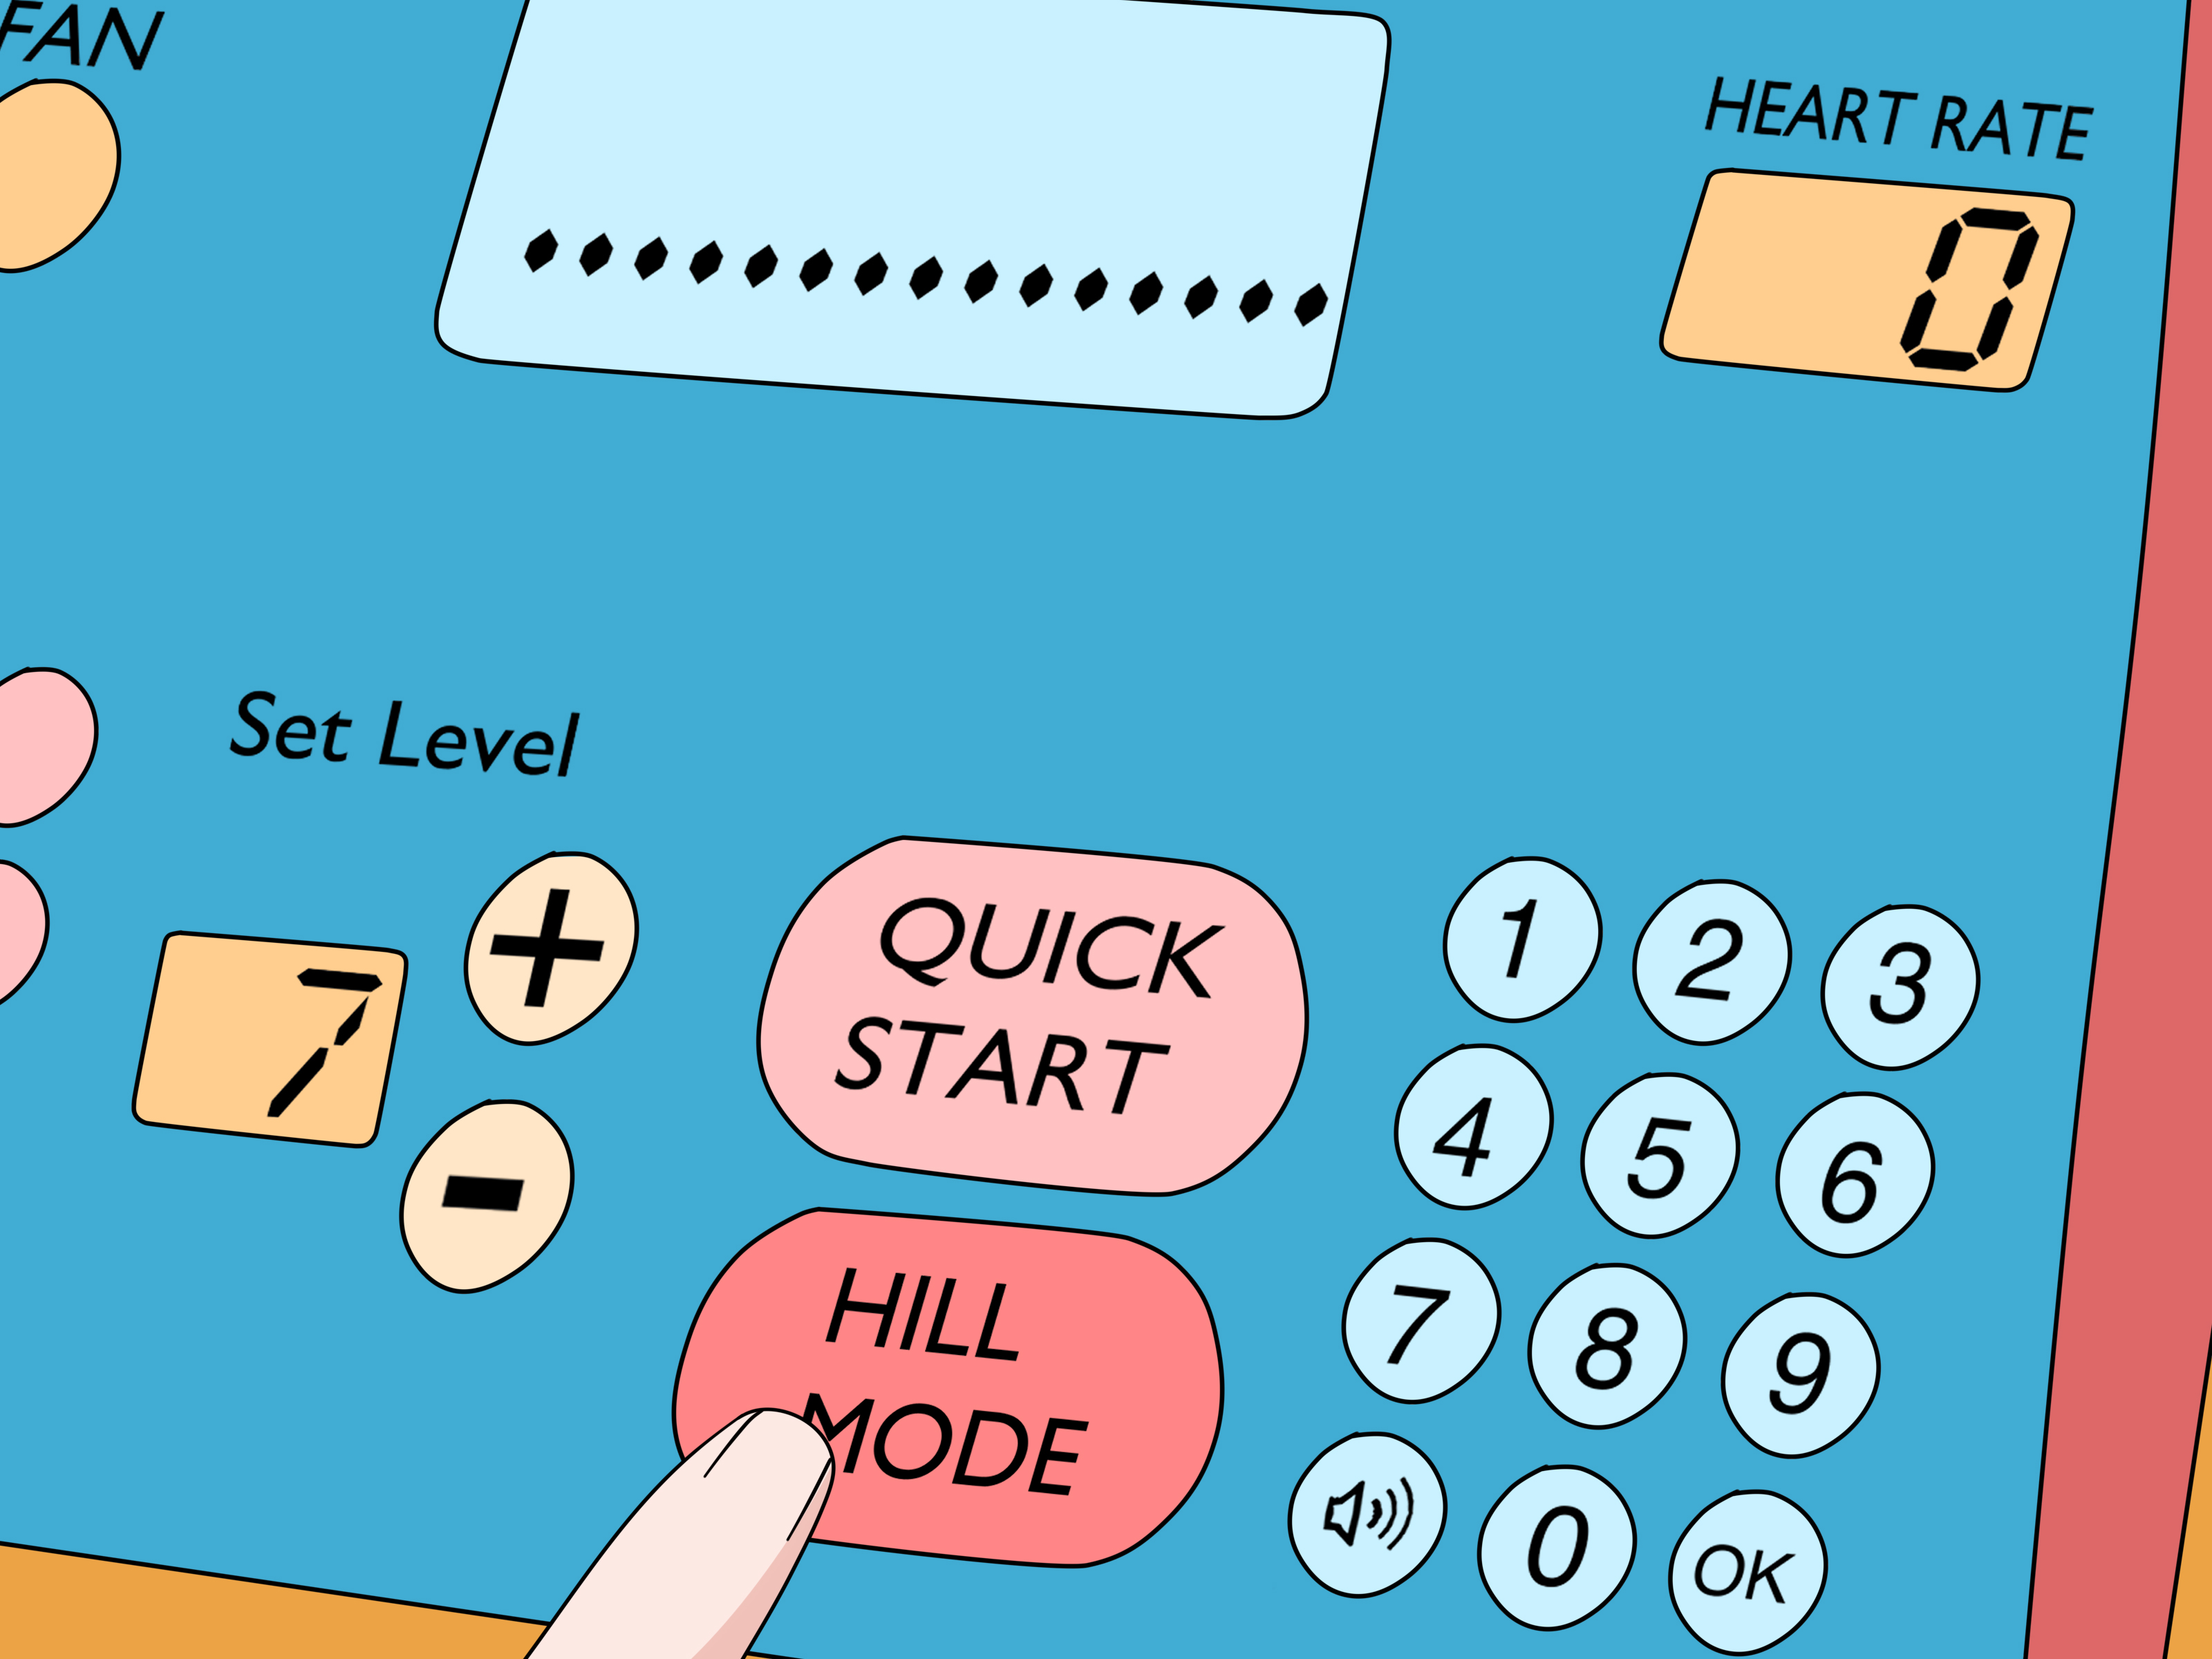
Different exercise bikes adjust resistance in different ways. A spin-style bike may have a large knob between the handlebars and seat. A recumbent or upright bike may use console buttons labeled “Resistance,” “Level,” “+,” or “−.” A smart bike may let an app or class instructor control resistance automatically.
Take a minute to identify your control system before the workout gets intense. Manual knobs usually turn clockwise to increase resistance and counterclockwise to decrease it. Digital bikes typically move in numbered levels, such as 1 to 16, 1 to 24, or 0 to 100. These numbers are not universal, so Level 10 on one bike may feel completely different from Level 10 on another.
3. Adjust Resistance Gradually
The best way to adjust exercise bike resistance is slowly. Add resistance in small increments and pedal for 20 to 30 seconds before deciding whether to change it again. Your legs need a moment to understand what just happened.
On a manual knob bike, try turning the knob a quarter turn at a time. On a digital bike, increase one or two levels at once. Jumping from “easy cruise” to “climbing Mount Doom” can wreck your rhythm, spike your heart rate too quickly, and make the rest of the workout feel miserable.
4. Use Cadence to Find the Right Resistance
Cadence means how fast you pedal, measured in revolutions per minute, or RPM. Resistance and cadence work together. Low resistance with very fast cadence feels like spinning your legs in a cartoon chase scene. High resistance with very low cadence feels like pushing a stalled shopping cart uphill.
For many indoor cycling workouts, a comfortable seated cadence often falls somewhere around 70 to 90 RPM, while climbing efforts may feel natural at a slower cadence with more resistance. Beginners should focus first on smooth pedaling, not chasing heroic numbers on the screen.
Here’s a simple rule: if your hips are bouncing in the saddle, add a little resistance or slow down. If each pedal stroke feels like a leg press machine, reduce resistance and regain control.
5. Match Resistance to Your Workout Goal
Not every ride should feel the same. Adjust your exercise bike resistance based on what you want from the session.
- For recovery rides: Use low resistance and easy breathing.
- For endurance: Choose moderate resistance you can sustain for 20 to 45 minutes.
- For strength: Use higher resistance with controlled cadence, especially during simulated climbs.
- For intervals: Alternate between challenging resistance and easier recovery resistance.
If your goal is general fitness, you don’t need to crush yourself every ride. Moderate effort performed consistently is much more useful than one heroic session followed by three days of walking like a baby giraffe.
6. Use the Talk Test
The talk test is one of the easiest ways to judge whether your resistance is appropriate. During moderate effort, you should be able to talk in short sentences, but not sing. During vigorous effort, speaking more than a few words becomes difficult. During “why did I do this?” effort, you may only communicate through eyebrow movement.
If you cannot talk at all during what is supposed to be a steady ride, lower the resistance. If you can sing a full Broadway number while pedaling, add resistance or increase cadence. Unless your workout goal is musical theater endurance, in which case: impressive.
7. Pay Attention to Perceived Exertion
Rate of perceived exertion, often called RPE, is a simple scale for how hard exercise feels. On a 1 to 10 scale, a very easy ride might feel like 2 or 3, moderate effort might feel like 5 or 6, and hard intervals might reach 8 or 9.
Resistance should match the intended effort. For example:
- RPE 2–3: Light warm-up or cool-down
- RPE 4–6: Steady endurance ride
- RPE 7–8: Challenging climb or tempo interval
- RPE 9–10: Short sprint or very hard finish
Using RPE keeps you honest. Some days Level 8 feels friendly. Other days Level 8 feels like it was designed by a villain. Your body is allowed to have opinions.
8. Keep Your Pedal Stroke Smooth
Correct resistance should allow a smooth, circular pedal stroke. If the pedals jerk, stall, or force you to rock side to side, the resistance is too high. Your upper body should stay relatively calm, your shoulders relaxed, and your hands light on the handlebars.
Imagine scraping mud off the bottom of your shoe at the bottom of each pedal stroke, then lifting your foot smoothly through the back half of the circle. That mental cue helps prevent stomping straight down on the pedals, especially when resistance increases.
9. Adjust Resistance Before Standing
If you plan to stand out of the saddle, add enough resistance first so the pedals do not spin away from you. Standing with too little resistance can feel unstable, like stepping onto an escalator that suddenly got enthusiastic.
For standing climbs, choose a resistance level that supports your body weight while still allowing control. Your hips should hover over the saddle or stay slightly back, not lunge over the handlebars. If you feel pressure in your wrists or your knees shoot forward dramatically, reduce intensity and reset your form.
10. Use Resistance for Intervals, Not Punishment
Intervals are one of the best ways to use exercise bike resistance. Try increasing resistance for 30 seconds to 2 minutes, then lowering it for recovery. This creates a structured workout that challenges your heart, lungs, and muscles without requiring a long ride.
Here is a beginner-friendly example:
- Warm up for 5 minutes at low resistance.
- Ride 1 minute at moderate-hard resistance.
- Recover 2 minutes at easy resistance.
- Repeat 5 to 8 times.
- Cool down for 5 minutes.
The hard parts should feel challenging, not chaotic. If your form falls apart, lower resistance. The goal is training, not proving dominance over a piece of equipment with cup holders.
11. Cool Down by Reducing Resistance Slowly
When the workout ends, don’t slam the resistance to zero and hop off immediately. Gradually lower the resistance and pedal easily for 3 to 5 minutes. A cool-down helps your breathing and heart rate return toward normal and gives your legs a chance to stop sending dramatic text messages to your brain.
On a fixed-gear indoor cycling bike, remember that the pedals may keep moving as long as the flywheel moves. Slow the bike under control, use the brake if your bike has one, and wait until the pedals stop before dismounting.
How to Adjust Resistance on Different Exercise Bikes
Manual Spin Bike
Most manual spin bikes use a resistance knob. Turn it clockwise to increase resistance and counterclockwise to decrease resistance. Pressing the knob down may act as an emergency brake on many models. Make small changes, especially during fast cadence work.
Magnetic Exercise Bike
Magnetic bikes often feel smoother and quieter because magnets create resistance without rubbing directly against the flywheel. Some magnetic bikes use a knob, while others use buttons or a screen. If resistance changes feel delayed, keep pedaling steadily for a few seconds while the mechanism adjusts.
Recumbent Bike
Recumbent bikes usually use digital resistance levels. They are popular for people who prefer back support or a lower-impact cycling position. Use the console buttons to increase or decrease resistance, and avoid pushing so hard that your hips slide around in the seat.
Smart Bike or App-Controlled Bike
Smart bikes may adjust resistance automatically during classes, scenic rides, or programmed workouts. You can usually override the setting manually. This is helpful if the instructor says “moderate climb” but your legs hear “court summons.”
Common Resistance Mistakes to Avoid
Using Too Much Resistance Too Soon
High resistance can build strength, but only when your form stays controlled. Beginners often add too much resistance because it feels more “serious.” Unfortunately, serious does not always mean effective. Start lighter, build gradually, and let your joints adapt.
Pedaling Too Fast With No Resistance
Very low resistance at high speed can make your legs bounce and reduce workout quality. It may also feel unstable. Add just enough resistance to keep the pedal stroke smooth and connected.
Ignoring Bike Fit
Resistance feels worse when the bike is set up poorly. Your seat height should allow a slight bend in the knee at the bottom of the pedal stroke. If the seat is too low, your knees may feel crowded. If it is too high, your hips may rock side to side.
Copying Someone Else’s Resistance Number
Resistance numbers are personal. Your Level 12 is not your friend’s Level 12, and one brand’s Level 12 may not equal another brand’s Level 12. Use cadence, breathing, RPE, and form as your real guides.
How to Know Your Resistance Is Right
Your resistance is probably correct when your breathing matches the workout goal, your pedal stroke stays smooth, and your knees feel comfortable. You should feel effort in your muscles and lungs, not sharp pain in your joints.
For a steady ride, you should be working but in control. For intervals, you should feel challenged during the work segments and able to recover during the easy segments. For climbs, your cadence may slow, but your movement should still feel strong and stable.
Troubleshooting: When Resistance Feels Wrong
The Resistance Does Not Change
If turning the knob or pressing buttons does nothing, check whether the bike is plugged in, the console is awake, or the app is connected. On manual bikes, inspect whether the knob feels loose or disconnected. On magnetic bikes, a motor or cable issue may require service.
The Bike Is Too Hard Even at the Lowest Setting
This may happen if the brake pad is rubbing, the magnetic mechanism is misaligned, or the belt drive has an issue. Stop riding and check the manual. If the bike is under warranty, contact the manufacturer before opening anything.
The Resistance Is Noisy
Friction bikes can make more sound than magnetic bikes, especially if the brake pad is worn or dry. Follow the manufacturer’s maintenance instructions. Do not randomly spray lubricant into the bike like you are blessing it with mechanical holy water.
The Console Number Feels Inaccurate
Some bikes need calibration. Smart bikes and magnetic bikes may display resistance, cadence, watts, or output differently depending on the system. If the numbers seem wildly wrong, check the manual, update the software if applicable, and compare effort by feel.
Sample Resistance Workouts for Beginners
Easy 20-Minute Starter Ride
Warm up for 5 minutes at low resistance. Ride 10 minutes at moderate resistance where you can talk in short sentences. Cool down for 5 minutes at low resistance. This is simple, effective, and unlikely to make you negotiate with your hamstrings later.
25-Minute Hill Builder
Warm up for 5 minutes. Then complete 4 rounds of 3 minutes at moderate-high resistance followed by 2 minutes easy. Cool down for 5 minutes. Keep cadence controlled and focus on smooth pressure through the pedals.
30-Minute Interval Ride
Warm up for 5 minutes. Ride 30 seconds hard, then 90 seconds easy. Repeat 10 times. Cool down for 5 minutes. Increase resistance during the hard efforts, but keep enough control to avoid bouncing or straining.
Personal Experiences and Practical Lessons From Adjusting Exercise Bike Resistance
Anyone who has spent enough time on an exercise bike eventually learns that resistance is less about ego and more about rhythm. The first mistake many riders make is assuming that more resistance automatically means a better workout. It feels logical. Heavy equals hard, hard equals effective, effective equals fitness glory. But indoor cycling is not a medieval strength test. The best resistance is the one that helps you complete the workout with good form, steady breathing, and enough consistency to come back tomorrow.
A useful experience is the “too much too early” lesson. You sit down feeling motivated, crank the resistance high, and within three minutes your legs are sending resignation letters. The rest of the ride becomes survival. A better approach is to start almost too easy, then build. During the first five minutes, the body is still warming up. Once the legs loosen and breathing settles, resistance that felt annoying at minute two may feel perfect at minute eight.
Another real-world lesson is that resistance numbers are not personality scores. Some riders feel embarrassed using a lower level during a class or workout video. That mindset ruins the ride. If an instructor calls for “heavy resistance,” your heavy resistance is whatever feels challenging while you can still pedal smoothly. On one bike, that might be Level 8. On another, it might be Level 35. On a mysterious hotel gym bike from 2009, it might be “button stuck but vibes strong.”
Cadence also teaches humility. Many beginners try to pedal extremely fast with low resistance because the screen rewards movement. But when the legs spin out of control, the workout becomes sloppy. Adding a small amount of resistance often makes the ride feel better, not harder, because the pedals become more stable. It is similar to walking on solid ground instead of slipping across a freshly mopped grocery store aisle.
For home workouts, one of the best habits is keeping a simple resistance note. After each ride, write down the bike, workout length, resistance range, cadence range, and how it felt. For example: “25-minute ride, resistance 4–7, cadence 75–85, felt moderate.” After two weeks, patterns appear. You may notice that morning rides need gentler starts, evening rides allow harder intervals, or certain resistance levels are perfect for endurance but too low for climbs.
Comfort matters too. If resistance always feels awkward, check your seat height before blaming your fitness. A seat that is too low makes resistance feel knee-heavy. A seat that is too high makes you reach at the bottom of each stroke. Once the bike fit improves, the same resistance can feel smoother and more powerful.
The final experience is learning when to back off. Some days your legs feel fresh. Other days they feel like they were assembled from leftover noodles. That does not mean the workout failed. Lowering resistance to match your energy is smart training. Indoor cycling works best when it becomes repeatable. The rider who adjusts resistance wisely will usually progress faster than the rider who turns every session into a dramatic showdown.
Conclusion
Learning how to adjust exercise bike resistance is one of the easiest ways to improve your indoor cycling workouts. Start with a warm-up, understand your bike’s control system, increase resistance gradually, and use cadence, breathing, perceived exertion, and form as your guides. The goal is not to choose the biggest number on the console. The goal is to create the right challenge for your body, your workout, and your fitness level.
Whether you ride a manual spin bike, magnetic bike, recumbent bike, or smart bike, resistance should feel smooth, adjustable, and purposeful. Use it to build endurance, simulate hills, add interval intensity, or recover between hard efforts. When in doubt, choose control over chaos. Your knees will appreciate the diplomacy.
Note: This article is written for general fitness education and is based on widely accepted indoor cycling principles, exercise intensity guidance, and common stationary bike resistance systems.














