
Shinsplints have a special talent for showing up right when you finally feel proud of your running routine. One week you are jogging like a motivational poster. The next week your lower legs feel like they are sending tiny angry emails with every step. The good news? A careful myofascial release self massage can help reduce tightness around the lower leg, improve mobility, and make your recovery plan feel less like punishment and more like maintenance.
Before we roll into itliterallyremember this: myofascial release is not a magic wand. It cannot erase poor training habits, worn-out shoes, or a sudden jump from “casual walker” to “future marathon legend” in three days. But when used correctly, it can be a practical, low-cost tool for managing muscle tension related to shinsplints, also known as medial tibial stress syndrome.
What Are Shinsplints?
Shinsplints usually refer to pain along the inner edge of the shinbone, or tibia. They are common in runners, dancers, military recruits, athletes, and anyone who increases repetitive impact activity too quickly. The discomfort often starts as a dull ache during exercise and may become more noticeable after activity. In some cases, the area may feel tender when pressed.
The main issue is overload. Muscles, tendons, fascia, and bone tissue around the shin are asked to absorb more stress than they are ready for. Imagine asking your calves, ankles, arches, and shins to work overtime without a lunch break. Eventually, somebody files a complaint.
How Myofascial Release May Help
Myofascial release is a self-massage technique that applies controlled pressure to muscles and fascia, the connective tissue that wraps and supports the body’s tissues. For shinsplints, the goal is not to crush the shinbone like a rolling pin attacking pizza dough. The goal is to gently work the surrounding soft tissue: calves, soleus, tibialis anterior, and outer lower-leg muscles.
When done properly, self-myofascial release may help you feel less stiff, improve short-term range of motion, and prepare the lower leg for stretching or light strengthening. It works best as part of a bigger recovery plan that includes rest from painful activity, ice when needed, gradual return to training, supportive footwear, calf mobility, and strengthening exercises.
Before You Start: Safety First
Self massage should feel like “good discomfort,” not “I have made a terrible life choice.” Use a pain scale from 1 to 10. Stay around 3 to 5. If you are grimacing, holding your breath, or bargaining with the universe, back off.
Do Not Roll Directly on the Shinbone
The tibia is bone, not a stubborn knot. Rolling directly over the sharp front or inner edge of the shinbone can irritate sensitive tissue. Instead, angle your body to target the muscles beside the bone.
Know When to Stop
Stop and seek medical advice if pain is sharp, worsening, present at rest, located in one small pinpoint spot, associated with swelling, numbness, weakness, or if you cannot walk normally. These signs may point to something beyond typical shinsplints, such as a stress fracture or compartment-related problem.
Tools You Can Use
You do not need a luxury recovery studio, a dramatic soundtrack, or a gadget that looks like it belongs on a spaceship. Start simple:
- Foam roller: Best for calves, soleus, and the outer front shin area.
- Massage stick: Useful if kneeling on a foam roller feels awkward.
- Tennis ball or massage ball: Good for smaller areas like the arch of the foot or targeted calf tension.
- Yoga mat or soft surface: Helpful for comfort while kneeling or sitting.
Step-by-Step Myofascial Release Self Massage for Shinsplints
Step 1: Warm Up the Tissue
Spend 3 to 5 minutes walking, marching in place, or doing easy ankle circles. Warm tissue usually responds better than cold, stiff tissue. Think of it like warming butter before spreading it on toast. Cold butter fights back. Warm butter cooperates.
Step 2: Roll the Calf Muscles
Sit on the floor with one leg extended. Place the foam roller under your calf. Use your hands to lift your hips slightly and slowly roll from below the knee to above the Achilles tendon. Do not roll behind the knee joint or directly on the Achilles tendon.
Roll for 45 to 60 seconds per leg. Rotate your leg slightly inward and outward to cover different parts of the calf. When you find a tender spot, pause for 10 to 20 seconds and breathe slowly. Add gentle ankle pumps by pointing and flexing your foot while the roller stays under the tight area.
Step 3: Target the Soleus
The soleus is a deeper calf muscle that works hard during running and walking. To reach it, bend your knee slightly while your calf rests on the roller. Move slowly in short strokes along the lower half of the calf.
This area can feel surprisingly tight, especially for runners who train on hills or spend lots of time on their toes. Keep the pressure moderate. More pressure does not always mean better results. Sometimes it just means you are annoying your nervous system.
Step 4: Roll the Tibialis Anterior Area
Come onto your hands and knees. Place the foam roller under the front outside portion of one lower leg, just below the knee. Turn your foot slightly inward so the roller contacts the muscle beside the shinbone, not the bone itself. Slowly glide forward and backward from below the knee toward the upper ankle.
Use your hands and opposite leg to control pressure. This is not a wrestling match. Roll for 30 to 60 seconds on each side. If the area is very sensitive, use a massage stick while sitting instead of putting body weight on the roller.
Step 5: Massage the Outer Lower Leg
The muscles on the outside of the lower leg help control foot and ankle motion. Tightness here can contribute to lower-leg discomfort, especially when training volume climbs too quickly. Lie on your side with the roller under the outer lower leg. Support yourself with your arms and top leg. Roll slowly between the knee and ankle, avoiding bony points.
Spend about 45 seconds per side. Small movements are enough. You are not trying to win a speed contest; foam rolling is one of the few places in fitness where slower usually wins.
Step 6: Release the Foot Arch
Your feet are part of the shinsplints story. Place a tennis ball or massage ball under the arch of one foot while seated or standing with light pressure. Roll from the heel toward the ball of the foot for 60 seconds. Pause on tender spots, then continue.
This can be especially useful if you have tight arches, flat feet, or spend long hours standing. Keep the pressure comfortable. Your foot should feel refreshed afterward, not personally attacked.
Step 7: Follow With Gentle Stretching
After rolling, add gentle calf stretching. Try a straight-knee wall calf stretch for the gastrocnemius and a bent-knee version for the soleus. Hold each stretch for 20 to 30 seconds. Avoid bouncing. Bouncing during a stretch is like repeatedly ringing a doorbell when the muscle already heard you the first time.
How Often Should You Do It?
For mild tightness, try 5 to 10 minutes of myofascial release three to five times per week. Some people prefer shorter daily sessions, especially after runs or long walks. If your shins are actively painful, keep sessions gentle and pair them with reduced impact activity.
A simple routine might look like this:
- Calf roll: 60 seconds per side
- Bent-knee soleus roll: 45 seconds per side
- Outer shin muscle roll: 45 seconds per side
- Foot arch roll: 60 seconds per foot
- Calf stretches: 30 seconds each position
Common Mistakes to Avoid
Mistake 1: Rolling Too Aggressively
Bruising your leg is not a badge of honor. Excessive pressure can irritate already-sensitive tissue. Keep the intensity manageable and breathe normally.
Mistake 2: Only Massaging the Painful Spot
Shinsplints often involve the whole lower-leg system. Work the calves, soleus, outer shin muscles, and feet. The painful area may be the loudest, but it is not always the only contributor.
Mistake 3: Ignoring Training Load
If you keep running through pain while adding mileage, hills, speed work, and hard surfaces, your foam roller may start feeling underappreciated. Reduce or modify the activity that triggers pain while your tissues calm down.
Mistake 4: Skipping Strength Work
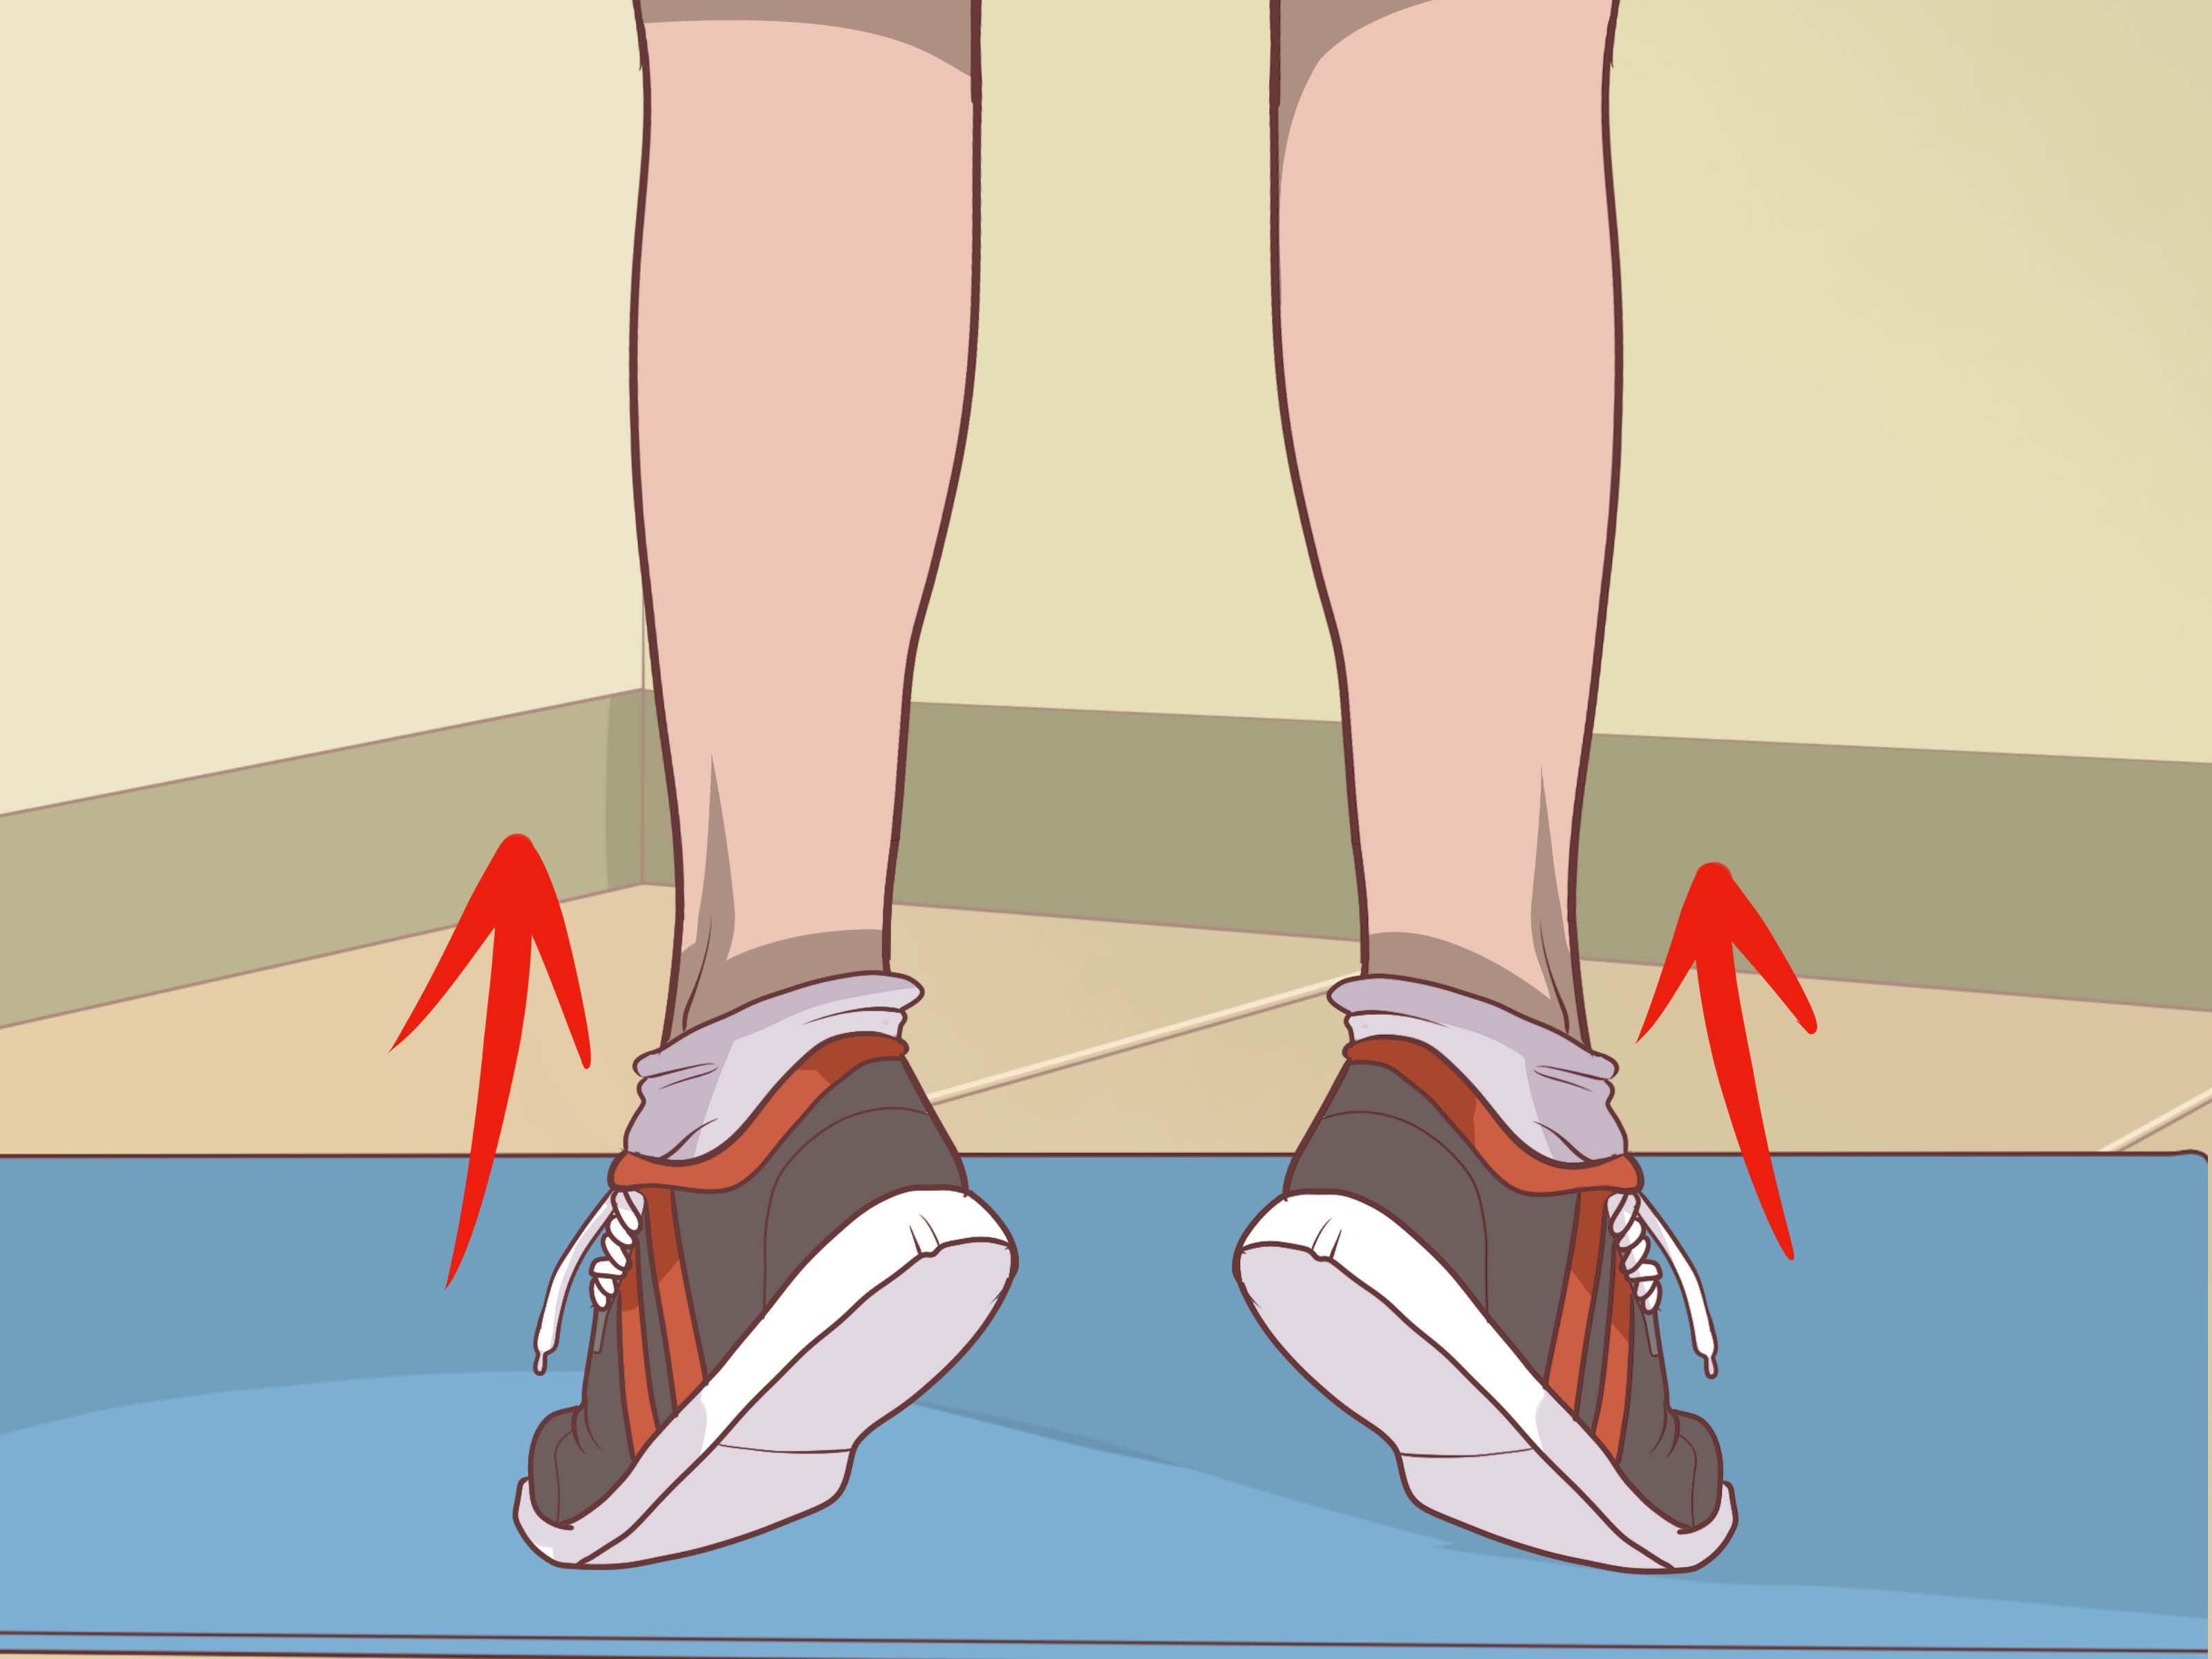
Massage may reduce tightness, but strength helps prevent the same problem from returning. Add exercises such as calf raises, toe raises, heel walks, foot intrinsic work, step-ups, and hip strengthening. Strong hips and feet can reduce unnecessary stress traveling down to the shins.
What Else Helps Shinsplints Heal?
Self massage works best when paired with smart recovery. Rest from painful impact activity is often necessary. That does not mean you must become one with the couch forever. Low-impact options like swimming, cycling, elliptical training, or water running can maintain fitness while reducing shin stress.
Ice may help calm pain after activity. Supportive shoes can reduce unnecessary strain, especially if your current pair has more miles than your car. Gradual training progression also matters. Sudden jumps in distance, intensity, terrain, or frequency are classic shinsplint triggers. Build slowly and let your legs adapt like responsible adults.
When to See a Professional
See a healthcare provider, sports medicine professional, or physical therapist if pain does not improve with rest and self-care, returns every time you resume training, becomes sharp or localized, or affects walking. A professional can check for stress fractures, gait issues, foot mechanics, ankle mobility limits, strength deficits, and training errors.
A physical therapist may also guide manual therapy, progressive loading, return-to-run planning, and exercises tailored to your body. That matters because shinsplints are not always caused by the same thing in every person. Your shins may be complaining about tight calves, weak hips, overpronation, worn shoes, too much speed work, or all of the above having a group meeting.
Real-World Experience: What This Routine Feels Like Over Time
The first time many people try myofascial release for shinsplints, they expect instant relief. Sometimes they do feel lighter right away, especially if the calves were tight. More often, the benefit is gradual. Day one may simply feel like, “Well, my leg met a foam roller and survived.” By the third or fourth session, walking downstairs may feel smoother, ankle motion may improve, and the lower leg may feel less guarded.
A useful experience-based approach is to treat self massage as a daily check-in rather than an emergency rescue mission. For example, a beginner runner with mild shin discomfort might reduce running for a week, switch two workouts to cycling, and use a short rolling routine after each low-impact session. Instead of attacking the sore shin directly, they roll the calves, soleus, outer shin muscles, and foot arches. Then they finish with calf stretches and a few controlled toe raises.
At first, the tender spots may feel dramatic. The calf might feel ropey. The outer shin may feel like it has been storing complaints since middle school gym class. But as pressure becomes more tolerable, the person can add small movements such as ankle pumps during rolling. This often makes the release feel more active and less like simply lying on a tube wondering who invented running.
Another common experience is discovering that one side feels much tighter than the other. That does not mean something is “broken.” It may reflect differences in stride, foot strike, old injuries, hip strength, or daily habits. The key is not to punish the tighter side. Give it patient, consistent attention and track how it feels during normal walking, stairs, and easy training.
The biggest lesson from real-world use is that myofascial release helps most when it changes behavior. If rolling makes you aware that your calves are tight after hill sprints, that is useful information. If your shins calm down when you reduce mileage and add strength work, that is a clue. If pain returns every time you run in old shoes on concrete, your legs are basically writing a product review with nerve endings.
Many people also learn that shorter sessions are easier to maintain. A five-minute routine done consistently beats one heroic thirty-minute session followed by two weeks of forgetting the roller exists. Keep the routine simple, gentle, and repeatable. The best recovery habit is the one you will actually do when life is busy, laundry is judging you, and your running shoes are waiting by the door.
Conclusion
Learning how to do a myofascial release self massage for shinsplints can give you a practical way to manage lower-leg tightness and support recovery. The safest approach is simple: avoid direct pressure on the shinbone, target the surrounding muscles, use moderate pressure, and combine massage with rest, stretching, strengthening, better footwear, and gradual training. Your foam roller is not a miracle worker, but it can be a very useful teammatequiet, cylindrical, and oddly good at making calves confess their secrets.














