
So you have climbed the castle, collected enough Power Stars, survived moving platforms that seem personally offended by your existence, and reached the final showdown: the third Bowser fight in Super Mario 64. Officially, this stage is called Bowser in the Sky. Unofficially, many players know it as “that place where I missed the bomb by two inches and questioned all my life choices.”
The third Bowser battle is the last major test before rescuing Princess Peach. Unlike the first two Bowser fights, this one asks you to hit Bowser into bombs three times, while the arena becomes more dangerous after the second hit. The good news? The strategy is simple once you understand the rhythm: stay calm, grab Bowser’s tail, rotate with control, aim for the bombs, and do not panic when the battlefield turns into a giant star-shaped stress test.
This guide breaks the fight into 15 practical steps, from reaching Bowser in the Sky to landing the final throw. Whether you are playing on Nintendo 64, Super Mario 3D All-Stars, Nintendo Switch Online, or revisiting the game through a modern controller, the core technique remains the same: patience beats button-mashing, and clean positioning beats heroic chaos.
Before You Fight the Third Bowser
In the original Super Mario 64, you need at least 70 Power Stars to reach the top of the endless stairs and access Bowser in the Sky. In Super Mario 64 DS, the requirement is higher at 80 Power Stars. Once you enter the final Bowser stage, you must clear a platforming gauntlet before reaching the green pipe that leads to the final boss arena.
Before jumping into the pipe, take a breath. If Mario’s health is low, use the spinning heart near the end of the stage to recover. This is not the time to enter the final battle with two health wedges and false confidence. Bowser has enough drama prepared already.
How to Beat the Third Bowser in Super Mario 64: 15 Steps
-
Step 1: Reach Bowser in the Sky with enough Power Stars
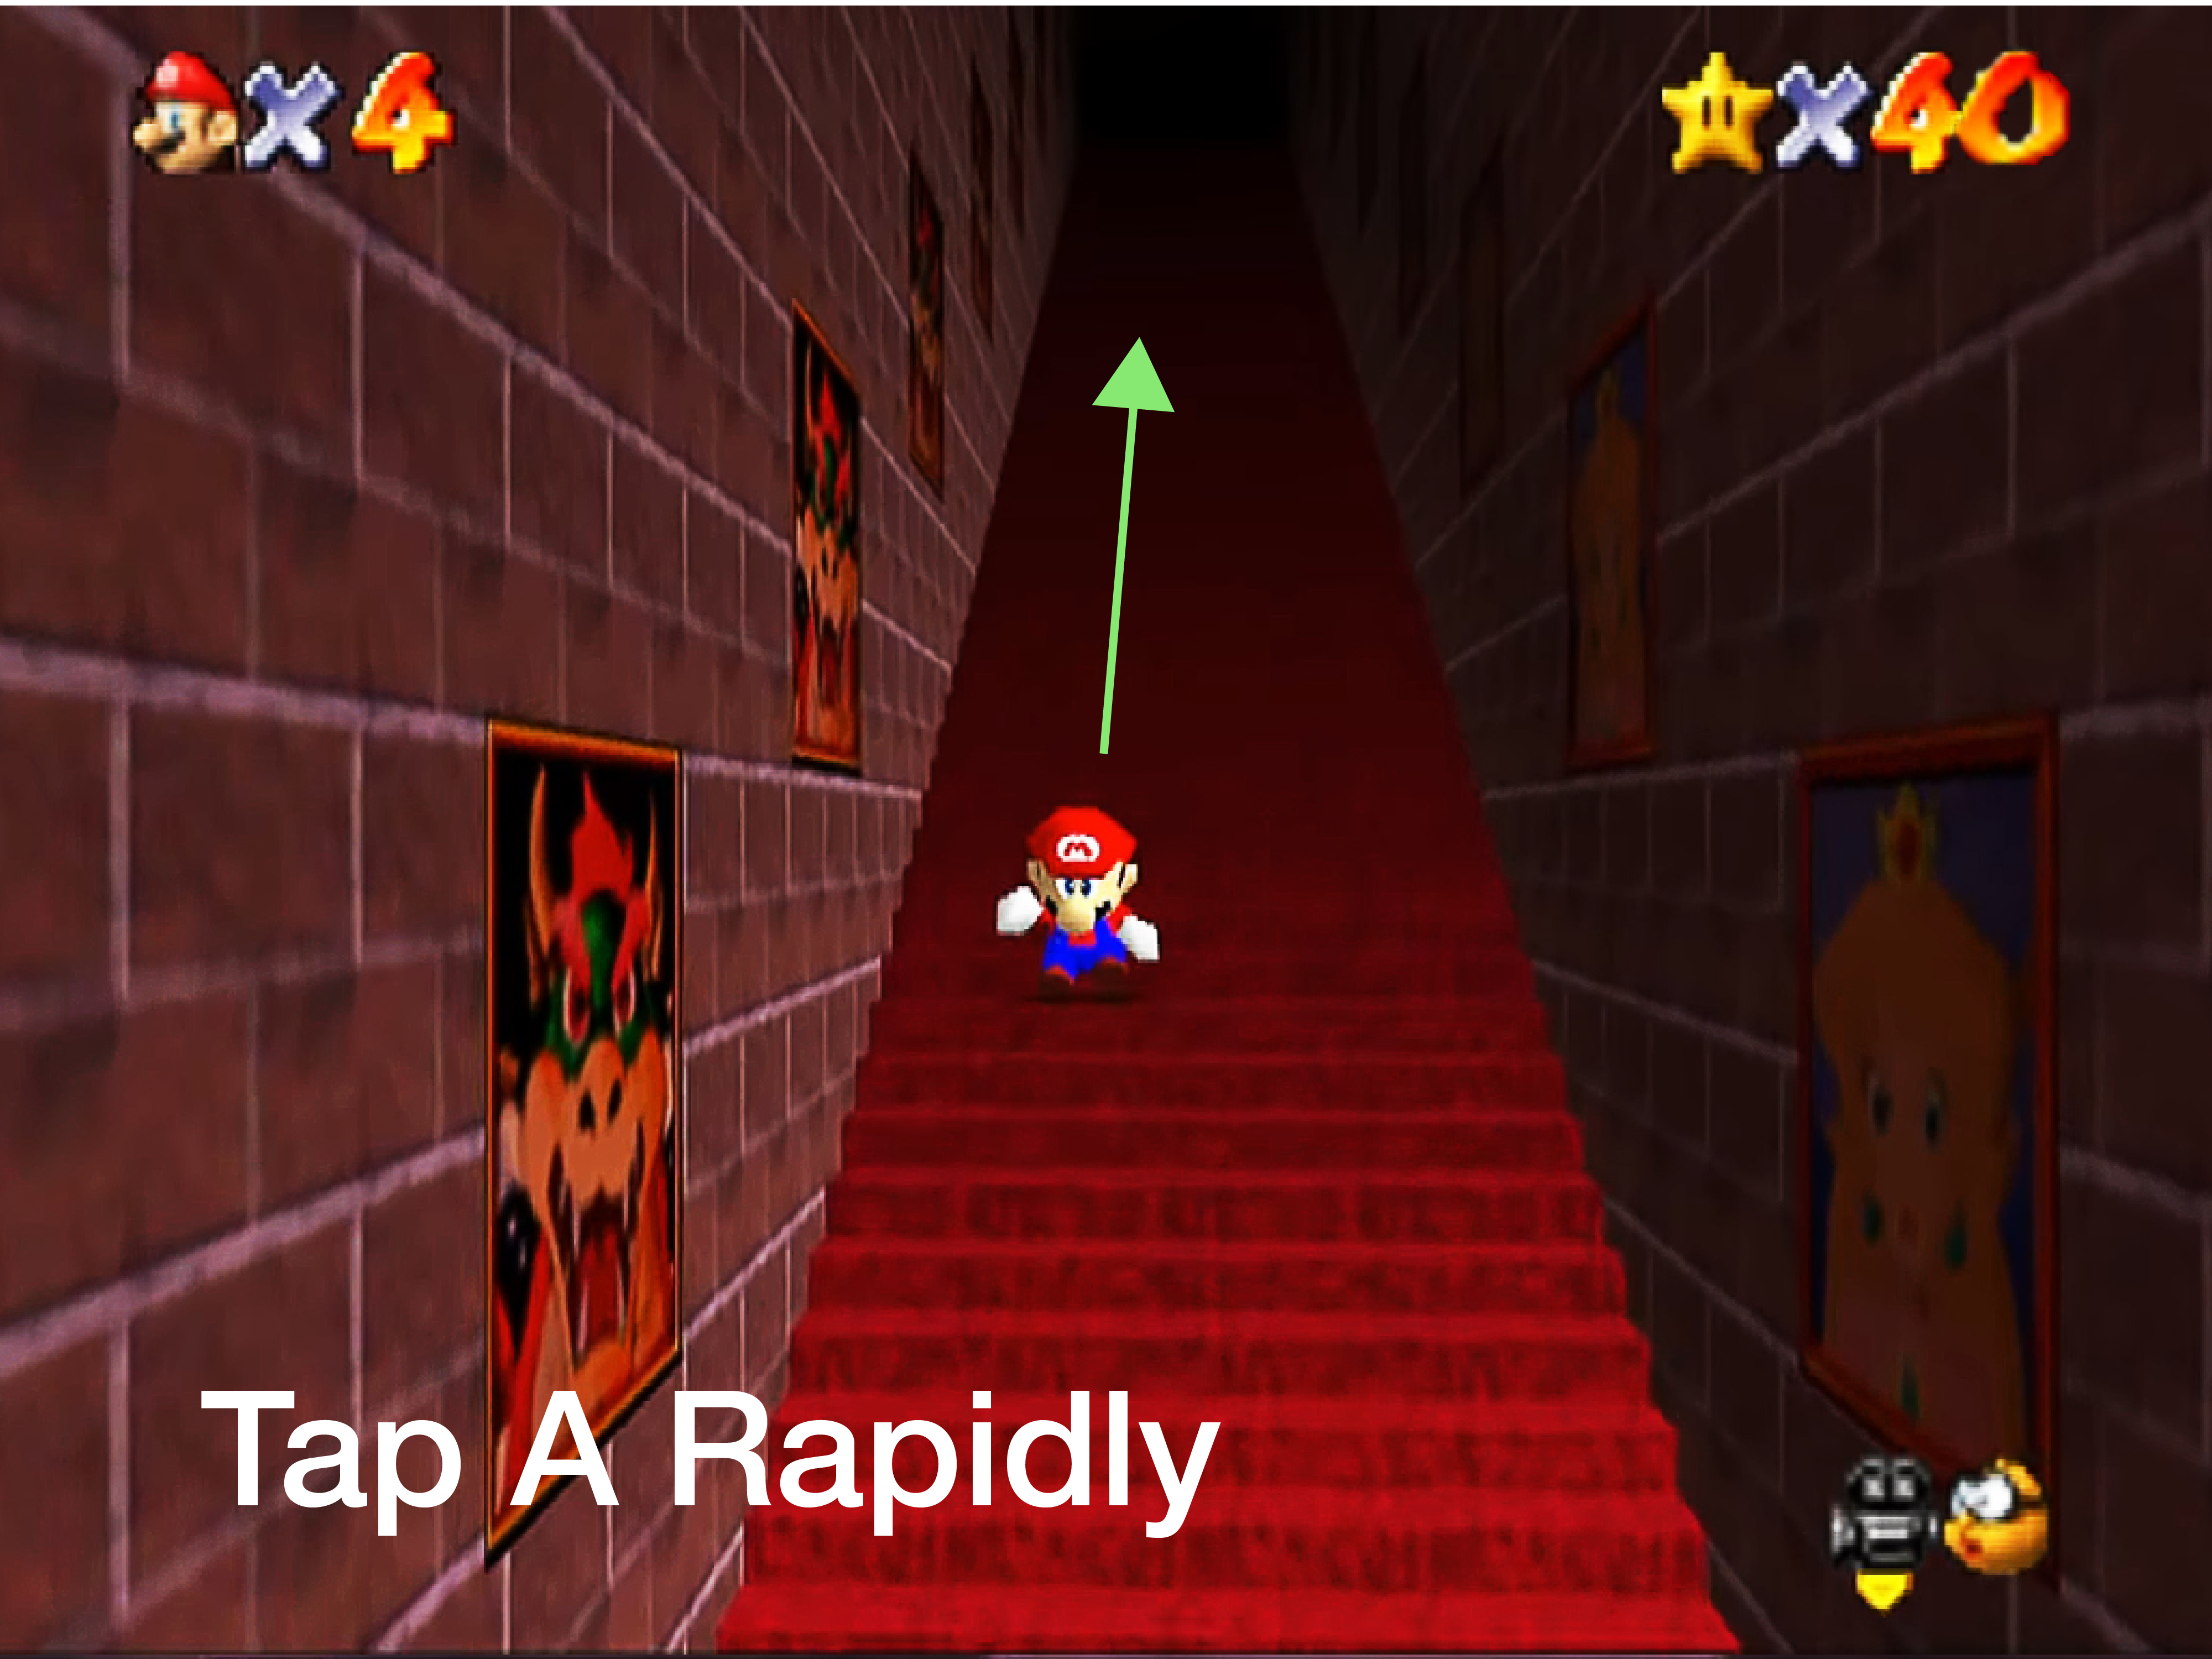
To begin the final Bowser sequence, collect at least 70 Power Stars in the original game. Then go to the upper floor of Princess Peach’s Castle and climb the endless stairs. Once the star requirement is met, the stairs stop looping forever, and Mario can finally reach the entrance to Bowser in the Sky.
If you try to go up too early, the staircase keeps repeating like a magical treadmill designed by someone who hates cardio. Come back after collecting more stars, then proceed to the final stage.
-
Step 2: Take Bowser in the Sky slowly
The level before the boss is not just decoration. It is a final exam in platforming. You will deal with tilting paths, moving platforms, fire obstacles, Bob-ombs, spinning platforms, poles, wind, and narrow ledges. Rushing is the easiest way to turn Mario into a falling red-and-blue comet.
Move with intention. Use the camera to see where you are going, especially on rotating platforms and narrow walkways. If a platform moves in and out, wait for a safe rhythm instead of jumping on hope. Hope is not a controller input.
-
Step 3: Heal before entering the pipe
Near the final stretch of Bowser in the Sky, you can find a spinning heart. Run through it to restore Mario’s health before entering the green pipe. This is especially useful if you took damage from fire, enemies, or one of those late-stage platforming moments where gravity filed a complaint.
Starting the fight with full health gives you room to make mistakes. Since the final battle can last longer than the earlier Bowser fights, extra health means extra practice time.
-
Step 4: Understand the goal of the final battle
The third Bowser fight is won by throwing Bowser into the bombs around the edge of the arena. In this final version, you must hit him into bombs three times. The first two hits happen on a circular platform. After that, Bowser breaks much of the arena, leaving a star-shaped platform for the final throw.
Your job is not to punch Bowser repeatedly. Your job is to grab his tail, spin him, and throw him into the explosive mines. Think less “boxing match” and more “angry turtle discus event.”
-
Step 5: Stay near Bowser, but not too close
When the fight begins, avoid running to the edge immediately. Staying too far away can make Bowser charge, breathe fire, or force you into awkward camera angles. Staying too close can get Mario hit. The sweet spot is a medium distance where you can react to Bowser’s movement and circle behind him.
Watch Bowser’s body language. When he turns, jumps, or charges, he creates openings. The tail is your target, not his face. Mario is brave, but grabbing Bowser by the nose is not on the menu.
-
Step 6: Bait Bowser into a missed attack
One reliable method is to stand in front of Bowser, let him approach, then dodge or jump behind him as he commits to an attack. When he misses, run to his tail. This gives you a safe moment to grab him before he turns around.
If Bowser charges, move out of the way and chase his backside. If he stomps and sends out shockwaves, jump over them and reposition. The fight becomes easier when you stop chasing constantly and start letting Bowser create openings for you.
-
Step 7: Grab Bowser’s tail with the attack button
Once you are behind Bowser, press the attack button to grab his tail. On the original Nintendo 64 controller, this is the B Button. On modern versions, use the equivalent attack/grab button for your platform.
The grab must happen from behind. If Mario punches instead, you are probably too far away, at the wrong angle, or trying to grab too late. Reset your position, circle around again, and try not to take it personally. Bowser’s tail has very strict hiring standards.
-
Step 8: Rotate the control stick smoothly
After grabbing Bowser, rotate the control stick to spin him. Many players fail here because they spin too wildly. Fast spinning can create power, but if you lose control, Bowser may fly in the wrong direction and miss the bomb completely.
Start with steady rotations. Build enough speed to throw him a decent distance, but focus on timing and aim. A clean throw at moderate speed is often better than a frantic throw that sends Bowser into the scenic void.
-
Step 9: Aim before you release
The biggest trick in the final Bowser fight is learning when to release. Bowser flies in the direction he is facing at the moment you let go. Watch the bombs around the edge, line up the angle, and press the throw button when Bowser is aimed toward one.
If you are struggling, do not always try to throw him from the center of the arena. For the first two hits, you can use shorter throws to move him closer to a bomb. This reduces the need for perfect long-distance aim.
-
Step 10: Use short throws for the first two hits
For the first and second bomb hits, the arena is still mostly intact. That means you have enough room to reposition Bowser. If your long throws keep missing, grab his tail, spin gently, and toss him closer to a bomb. Then grab him again and finish the job from a better angle.
This method is slower, but it is beginner-friendly. It turns the battle from a high-pressure carnival game into a controlled setup. Bowser may still roar like a volcano with legs, but you will be the one managing the space.
-
Step 11: Jump over Bowser’s shockwaves
In the final battle, Bowser can stomp the ground and create shockwaves. These rings travel outward and damage Mario if they touch him. The solution is simple: jump over them.
Try not to stand too far away when he stomps. If you are at a comfortable distance, the shockwave is easier to see and jump. If you are panicking near the edge, the shockwave can force you into bad movement. Keep calm, jump cleanly, and get back to tail-hunting.
-
Step 12: Avoid fire without overreacting
Bowser’s fire attacks can spread across the arena. When he breathes fire, move around the flames instead of sprinting blindly. Many players take extra damage because they run away from one flame and straight into another.
Small movements are often enough. If you keep the camera helpful and avoid backing into the edge, the fire becomes manageable. Remember: the arena is dangerous, but panic is usually the real boss.
-
Step 13: Move to the center when Bowser breaks the arena
After the second successful bomb hit, Bowser changes the battlefield. He destroys much of the circular platform, leaving a star-shaped arena. This is the moment where many players freeze, because the safe space suddenly becomes much smaller.
When the platform changes, stay near the center. The star points lead toward the bombs, but the gaps between them are dangerous. Use the center as your home base, then move carefully along a point of the star when you need to line up the final throw.
-
Step 14: Make the final throw from a star point
The third and final hit is the hardest because the arena is smaller and the bombs are farther away from the center. You can no longer rely on the same easy repositioning strategy from the first two hits. Instead, grab Bowser, spin him, and aim from one of the star-shaped platform’s points.
Positioning matters more than speed. If you throw from the wrong angle, Bowser may miss. If you stand too close to the edge, Mario may fall after the throw or during the setup. Find a safe point, face the bomb, rotate steadily, and release when the angle is right.
-
Step 15: Stay patient until the final hit lands
The final throw may take several attempts. That is normal. Even experienced players miss sometimes because the camera, angle, and distance can be tricky. Do not rush the grab. Do not throw just because you are tired of holding Bowser. Wait for the alignment, then commit.
Once Bowser hits the third bomb, the battle ends. Mario earns the final grand star, Bowser admits defeat for the moment, and the game moves into its ending sequence. Congratulations: you have beaten the third Bowser in Super Mario 64, and you did it without needing to mail your controller to a therapist.
Common Mistakes Players Make Against the Third Bowser
Trying to throw too hard every time
Many players think the final Bowser fight is all about maximum spin speed. It is not. Power helps, but aim matters more. A slightly weaker throw that hits the bomb is better than a dramatic high-speed launch that sends Bowser into the wrong zip code.
Ignoring the camera
The camera in Super Mario 64 is part of the challenge, especially by modern standards. Adjust it whenever possible so you can see Bowser, the edge, and the nearest bomb. If the camera is fighting you, pause your attack plan and fix your view before grabbing the tail.
Standing too close to the edge
The final arena has no mercy for careless footwork. After Bowser breaks the platform, the star-shaped battlefield creates more chances to fall. Stay central whenever you are not actively setting up a throw.
Panicking after missing a bomb
Missing a throw is not failure. It is feedback. Look at where Bowser landed, adjust your position, and try again. The fight rewards repetition and rhythm. Once your hands learn the timing, the final battle feels much less mysterious.
Best Strategy for Beginners
If you are new to the fight, use this simple plan: for the first two hits, do short controlled throws to move Bowser closer to bombs. Do not worry about looking flashy. Once the platform becomes star-shaped, use the center to stay safe, then move toward a star point for the final throw. Jump over shockwaves, avoid fire calmly, and only grab Bowser when you clearly have access to his tail.
This beginner strategy is not the fastest, but it is reliable. Speedrunners may use sharper angles, cleaner spins, and aggressive positioning, but casual players should prioritize consistency. Bowser does not care whether you look cool. The game only cares whether he hits the bomb.
Advanced Tips for Cleaner Bowser Throws
Once you understand the basics, you can improve your throws by watching Bowser’s rotation instead of Mario’s animation. The release direction is everything. Try to imagine a line from Bowser to the bomb. When his body lines up with that path, release.
You can also practice slower rotations to learn how Bowser’s weight feels. The more you understand the timing, the less you need wild spinning. On modern controllers, the analog stick may feel different from the original Nintendo 64 stick, so spend a few attempts learning the sensitivity. Smooth circles usually work better than frantic grinding.
Another useful trick is to stand near a bomb, bait Bowser toward you, then dodge behind him. This shortens the distance needed for the throw. Be careful, though: standing near the edge is risky, especially after the arena changes shape.
Experience Notes: What Beating the Third Bowser Feels Like
Beating the third Bowser in Super Mario 64 is one of those gaming moments that feels simple after you finally do it and impossible five minutes before that. The fight has a funny way of making players doubt skills they have been building for the entire game. You have triple-jumped across lava, wall-kicked through vertical nightmares, chased rabbits, surfed shells, and somehow trusted a penguin with your emotional stability. Then Bowser shows up, asks you to throw him into a bomb, and suddenly your hands forget geometry.
The most common experience is missing the first few throws by a tiny amount. Bowser sails past the bomb, lands with a thud, and Mario stands there as if pretending this was all part of the plan. It was not part of the plan. But that miss teaches you something important: the fight is not random. Every missed throw shows whether you released too early, too late, too weak, or from a bad position.
The second phase is usually where confidence grows. Once you hit Bowser into the first bomb, you realize the battle is not about overpowering him. It is about setup. You begin to notice how his attacks create openings. You learn that shockwaves are not terrifying if you jump calmly. You learn that fire is manageable if you do not sprint into it like Mario has suddenly joined a barbecue competition.
Then the arena breaks, and the game says, “Nice confidence you have there. Would be a shame if the floor became a star.” This is the real emotional checkpoint. The smaller platform makes every movement feel expensive. The gaps look wider. The bombs look farther away. Even Bowser seems heavier, although he is probably just enjoying the drama.
The best feeling comes when you stop rushing. You return to the center. You wait for Bowser. You dodge, grab the tail, rotate the stick, and watch the angle. For a second, everything lines up: Mario, Bowser, the star point, and the bomb. You release. Bowser flies. This time he does not miss. The explosion lands, the fight ends, and the tension breaks like someone opened a window in a very sweaty castle.
That is why the third Bowser battle remains memorable decades later. It is not the longest boss fight, and it is not mechanically complicated by modern standards. But it demands a specific kind of patience. You cannot mash your way through it. You cannot simply jump on Bowser’s head and call it a day. You have to understand spacing, timing, camera control, and your own tendency to panic when a giant turtle king starts stomping the floor.
For many players, beating the third Bowser is also the moment when Super Mario 64 fully clicks. The game has spent hours teaching movement in 3D space, and the final fight asks you to use that knowledge under pressure. When you finally win, it feels earned. Not because Bowser is unfair, but because you became better. Also because you successfully weaponized his tail, which is not a life skill most schools cover.
If you are struggling, take breaks. Practice the first two throws. Learn to jump shockwaves without overcorrecting. Use the center of the arena as your safe zone. Most importantly, accept that missing is part of learning. Every great final Bowser victory is built on a small pile of embarrassing throws that nobody needs to know about. Your secret is safe with the castle walls.
Conclusion
The third Bowser fight in Super Mario 64 is challenging because it combines everything the game has taught you: movement, timing, camera awareness, patience, and controlled aggression. To win, reach Bowser in the Sky with enough Power Stars, heal before the pipe, grab Bowser’s tail from behind, rotate smoothly, and throw him into bombs three times. Use short throws for the first two hits, stay centered when the arena breaks, and make the final throw from a star point.
Once you stop treating the fight like a frantic wrestling match and start treating it like a positioning puzzle, Bowser becomes much easier to handle. He may be huge, loud, and very committed to ruining cake plans, but he is also predictable. Keep your cool, line up your throws, and the final grand star is yours.










