
Marble has a funny personality. On one hand, it looks elegant enough to make a bathroom vanity feel like it belongs in a boutique hotel. On the other hand, it chips, cracks, stains, and generally acts dramatic the second you treat it like ordinary tile. Cutting marble is not impossible, but it does require patience, the right blade, steady water, and a calm attitude. Think “careful craftsperson,” not “weekend warrior wrestling a rock.”
This guide explains how to cut marble tile and small marble pieces safely and cleanly, using practical methods that professionals and experienced DIYers rely on. The main keyword here is simple: how to cut marble. But the real goal is even simpler: get a smooth cut without turning your expensive stone into a sad pile of designer gravel.
Important note: Marble cutting involves sharp blades, electricity, water, flying debris, and stone dust. This information is for adult DIYers and educational use. Minors should not operate wet saws, angle grinders, or other power tools. For large slabs, countertops, structural stone, or complicated cutouts, hire a qualified stone fabricator.
Why Marble Is Different From Ceramic or Porcelain Tile
Marble is a natural stone formed from limestone under heat and pressure. That gives it beautiful veining, color variation, and depth, but it also makes each piece slightly unpredictable. Some marble tiles are dense and stable; others have soft veins, tiny fissures, or brittle corners that chip if you look at them with too much confidence.
Unlike ceramic tile, which is manufactured to be fairly consistent, marble can change from one tile to the next. A blade may pass smoothly through one piece and then cause tiny chips on the next because the vein pattern is weaker. This is why cutting marble requires a wet saw, a diamond blade, careful measuring, and a slow feed rate.
Best Tool for Cutting Marble
The best tool for most marble tile cuts is a wet tile saw with a continuous-rim diamond blade. The water cools the blade, reduces friction, controls dust, and helps prevent chipping. A continuous-rim diamond blade creates a smoother edge than a segmented blade, which is more aggressive and better suited for rough masonry cuts.
For straight cuts, a wet saw is the cleanest choice. For small notches or curved cuts, an angle grinder with a diamond blade may be used by experienced adults, but it is harder to control and creates more dust if used dry. For thick slabs or countertops, professional fabrication equipment is strongly recommended.
Tools and Materials You Will Need
- Wet tile saw with a stable table or sliding tray
- Continuous-rim diamond blade rated for marble or natural stone
- Measuring tape or ruler
- Grease pencil, painter’s tape, or washable marker
- Clamps or supports for larger pieces
- Safety glasses or face shield
- Hearing protection
- Cut-resistant gloves for handling stone edges
- Respiratory protection suitable for stone dust when needed
- Water source or filled wet saw reservoir
- Rubbing stone, diamond hand pad, or fine-grit wet/dry sandpaper
- Clean towels and a sponge
Step 1: Plan the Cut Before Touching the Saw
Before you cut marble, measure twice, mark once, and avoid guessing. Marble is not the material for “close enough.” A tiny measurement error can create a gap near a wall, cabinet, toilet flange, or shower niche. That gap will stare at you forever. It may even wink.
Measure the area where the marble will fit, then transfer that measurement to the tile. Account for grout joints, expansion gaps, trim pieces, and any edge that will be hidden under baseboard or molding. If the cut edge will be visible, mark carefully and plan to polish the edge after cutting.
Pro Tip for Cleaner Marks
Apply painter’s tape along the cut line and mark on top of the tape. The tape makes the line easier to see and can help reduce small surface chips. It also gives the marble a tiny bit of emotional support, which marble clearly needs.
Step 2: Inspect the Marble for Veins and Weak Spots
Turn the tile over and look at both sides. Check for cracks, hairline fractures, heavy veins, or corners that already look fragile. If possible, avoid placing a narrow cut directly through a weak vein. A thin strip of marble with a dramatic vein running through it can break before it ever reaches the wall.
When cutting several pieces for a project, cut the most visible tiles first while you have the best material available. Save pieces with unusual veining or minor defects for hidden cuts, corners, or areas under trim.
Step 3: Set Up the Wet Saw Correctly
Place the wet saw on a flat, stable surface. Make sure the water reservoir is filled or the water feed is connected, depending on your saw model. The blade should receive a steady flow of water before it touches the marble. If the blade is dry, stop. Dry cutting marble creates more heat, more dust, and more chipping.
Check that the blade is secure, clean, and appropriate for natural stone. A dull or incorrect blade can wander, burn the stone, or chip the surface. If the saw has a fence or guide, set it so the blade aligns exactly with your marked line.
Safety Setup Matters
Keep cords away from water, use a GFCI-protected outlet, and never reach across a moving blade. Wet saws combine electricity and water, which is not exactly a friendship bracelet. Follow the manufacturer’s instructions for your specific saw.
Step 4: Position the Marble on the Saw
Place the marble face up on the wet saw table unless your blade or saw manual recommends otherwise. Align the marked line with the blade. Support the entire tile so it does not vibrate or hang off the edge. For larger pieces, use extra support on both sides so the stone remains level during the cut.
Do not force a warped, cracked, or unsupported piece through the saw. Movement causes chips. Vibration causes cracks. Rushing causes the kind of language you do not want neighbors to hear.
Step 5: Start the Saw and Let It Reach Full Speed
Turn on the wet saw and allow the blade to reach full speed before beginning the cut. Confirm that water is flowing across the blade. A consistent water stream keeps the blade cooler and helps control stone dust.
Hold the marble firmly with both hands, keeping fingers away from the blade path. Your job is to guide the stone, not wrestle it. Let the diamond blade do the cutting. If you push too hard, the blade may deflect, the edge may chip, or the tile may crack.
Step 6: Cut Slowly and Steadily
Feed the marble into the blade at a slow, controlled pace. Do not shove. Do not stop halfway unless necessary. Keep the tile flat against the tray or table and tight against the guide. The smoother your movement, the cleaner the cut.
For delicate marble, some installers make a shallow scoring pass first, then complete the cut on a second pass. This can help reduce chipping on fragile stone. Another method is to cut almost all the way through, then rotate the tile and finish from the opposite end to prevent breakage at the exit point.
How to Reduce Chipping
- Use a sharp continuous-rim diamond blade.
- Keep water flowing at all times.
- Cut slowly without forcing the tile.
- Use painter’s tape over the cut line.
- Support the tile fully on both sides.
- Finish fragile ends carefully instead of snapping them.
Step 7: Turn Off the Saw Before Removing the Piece
After the cut is complete, push the marble fully past the blade if the saw design allows it. Then turn off the saw and let the blade stop spinning before reaching near the cut area. Remove the marble carefully because the fresh edge can be sharp.
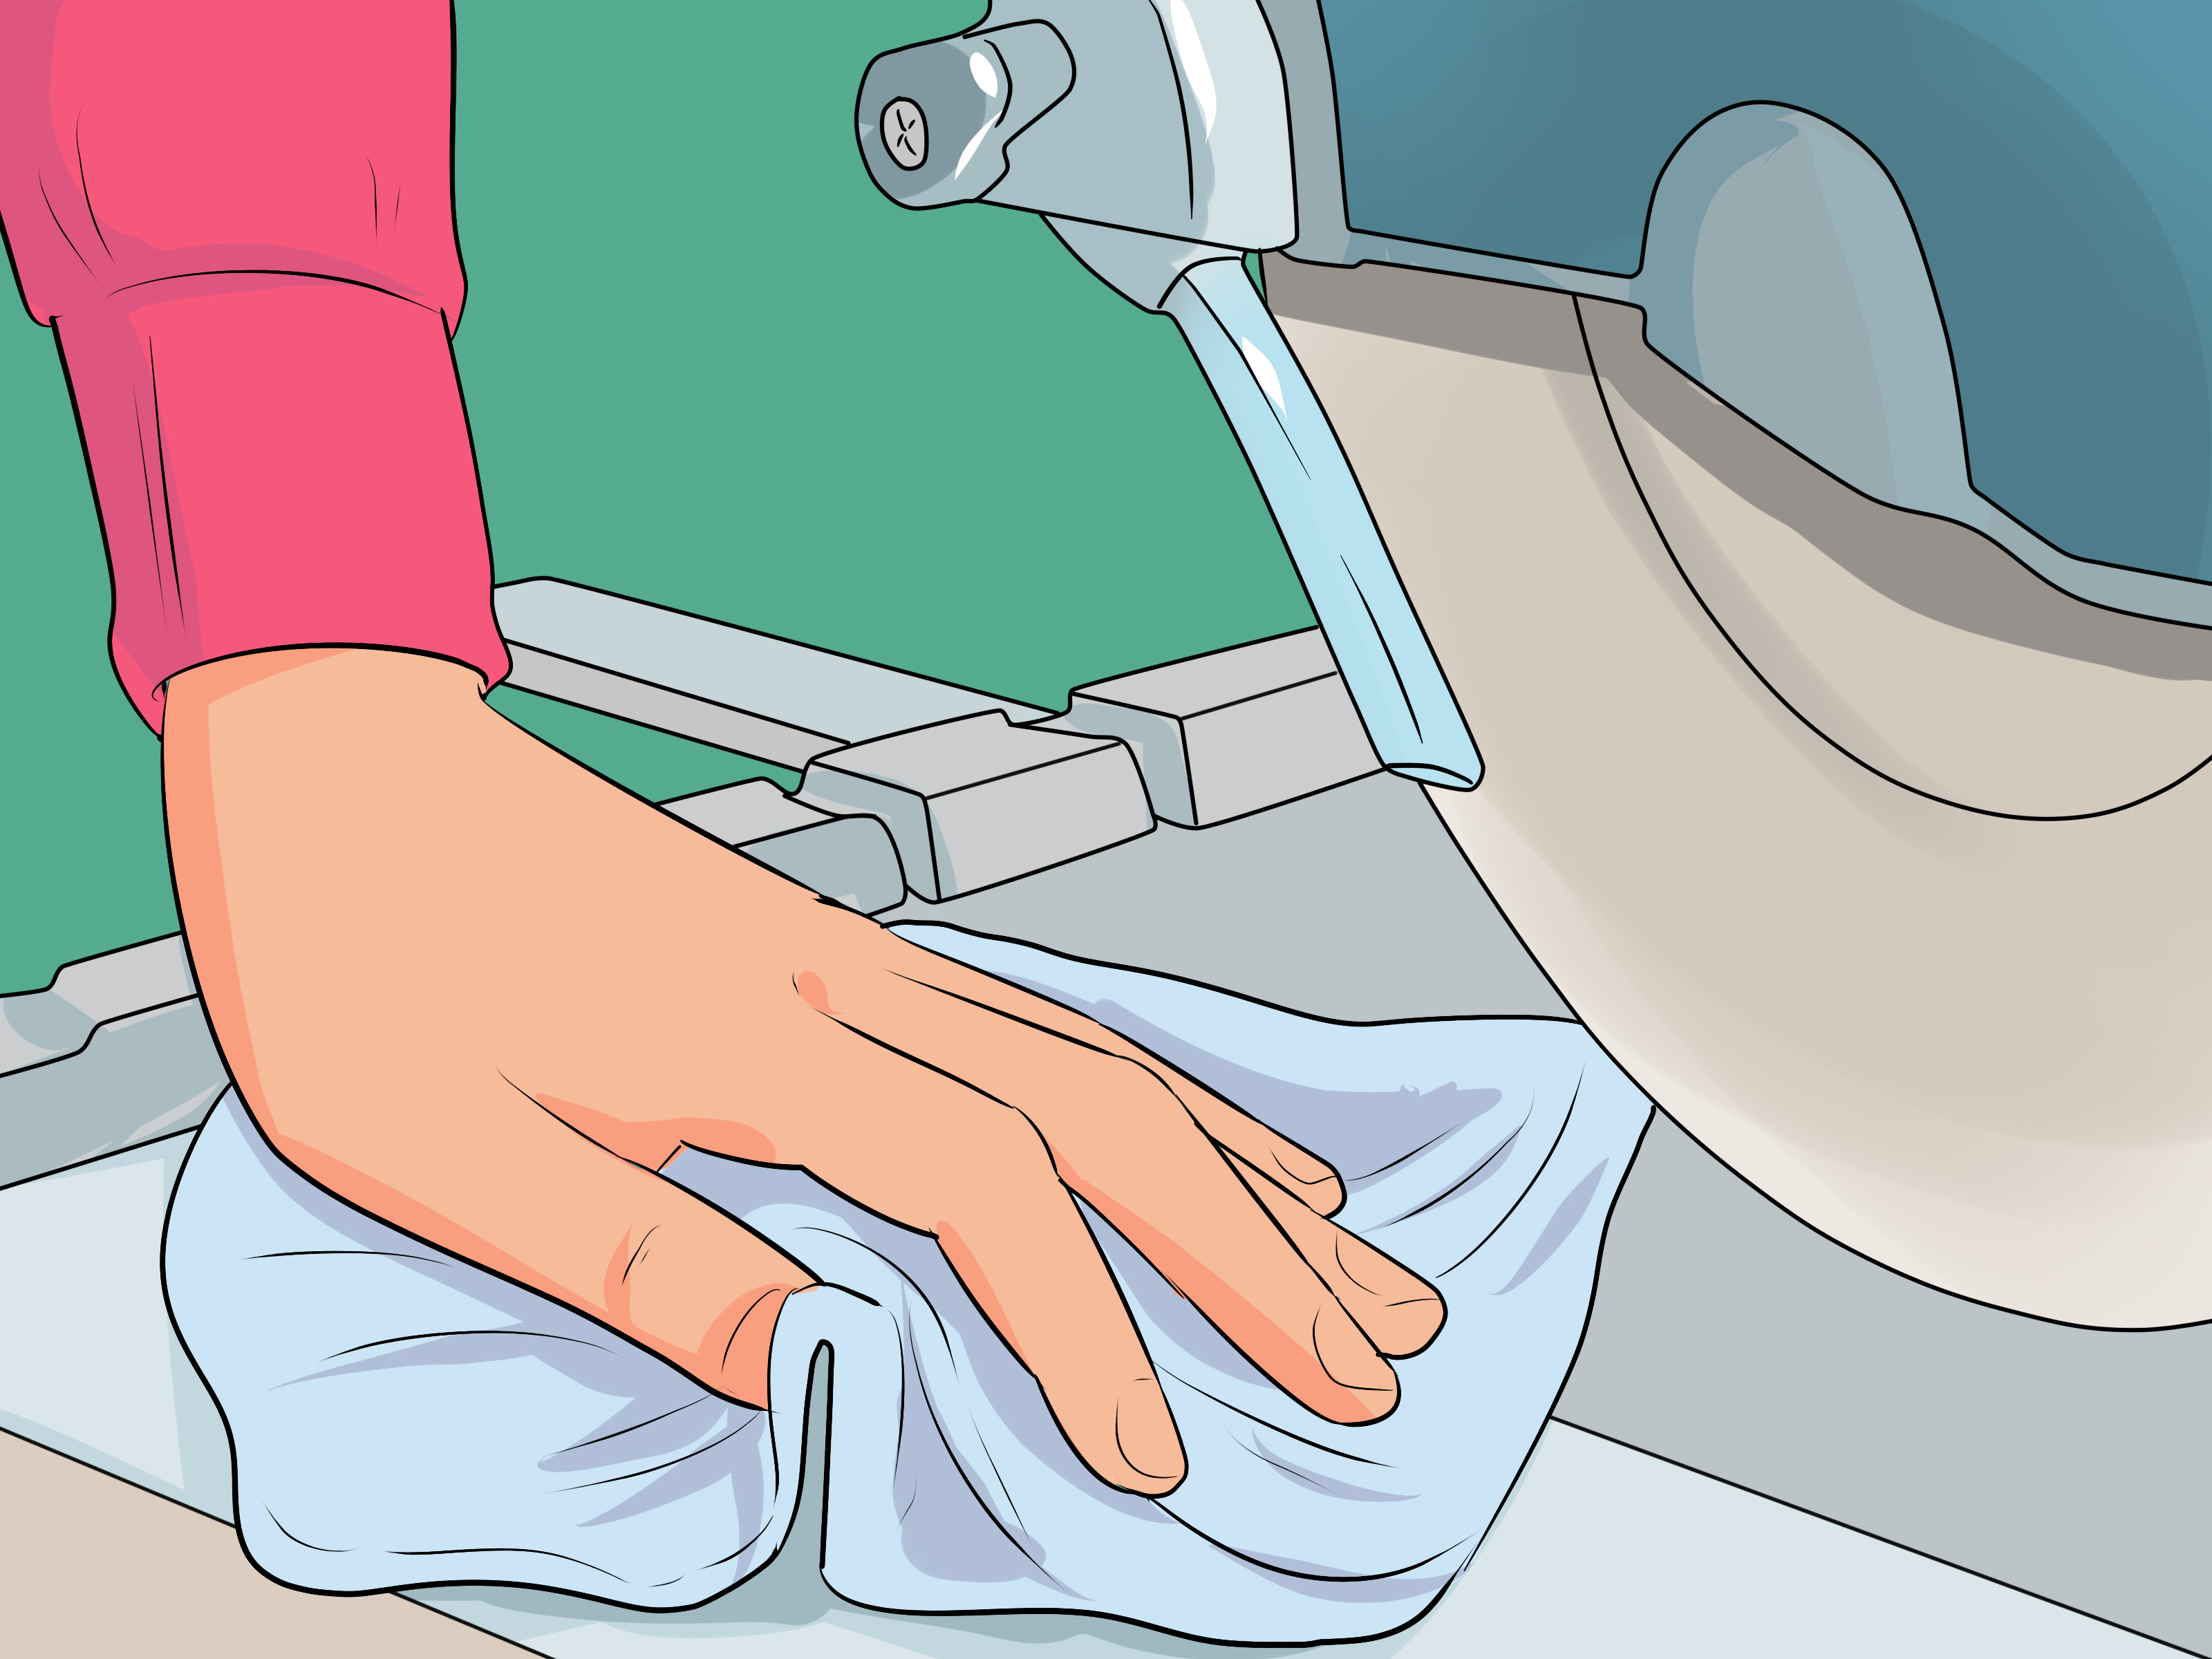
Wipe the stone clean with a damp sponge or towel. This lets you inspect the edge and remove slurry before it dries. Marble slurry is basically stone mud, and while that sounds like an expensive spa treatment, it is not something you want drying on a polished surface.
Step 8: Smooth the Cut Edge
Freshly cut marble edges may feel rough or slightly sharp. If the edge will be hidden by trim, a quick smoothing pass with a rubbing stone may be enough. If the edge will be visible, use diamond hand pads or wet/dry sandpaper, working from coarser to finer grits until the edge matches the finish you need.
For polished marble, edge finishing takes patience. Start gently, keep the surface wet, and avoid rounding the top edge unless that is the intended look. A small bevel can make the edge safer and less prone to chipping, especially on shelves, thresholds, and exposed tile edges.
How to Cut a Notch in Marble
Notches are common around door jambs, cabinet corners, pipes, and outlets. Mark the notch carefully, then use the wet saw to make several straight relief cuts up to the marked line. Break away the small strips gently with tile nippers or pliers, then smooth the edge with a diamond hand pad.
For L-shaped cuts, avoid cutting too far past the inside corner. Overcuts can show after installation. If the inside corner needs to be crisp, drill a small relief hole at the corner first or finish the last bit carefully with a grinder handled by an experienced adult.
How to Cut Curves or Holes in Marble
Curved cuts are more difficult than straight cuts. For gentle curves, make multiple straight relief cuts with a wet saw and then shape the edge gradually. For holes, such as plumbing penetrations, use a diamond hole saw rated for natural stone with water for cooling.
Do not use a regular wood hole saw on marble. It will not end well for the tool, the stone, or your mood. Natural stone requires diamond abrasives because the cutting action is more like grinding than slicing.
Common Mistakes When Cutting Marble
Using the Wrong Blade
A rough masonry blade can chip marble badly. Use a continuous-rim diamond blade designed for marble, granite, or natural stone. The smoother the rim, the cleaner the cut.
Cutting Too Fast
Speed is the enemy of clean marble cuts. If the blade starts to chatter, slow down. If the tile vibrates, stop and support it better.
Skipping Water
Water cools the blade, reduces dust, and improves cut quality. Dry cutting marble is dusty, messy, and more likely to chip the stone.
Ignoring the Veins
Marble veins are beautiful, but some are weak points. Cutting a skinny strip through a heavy vein can cause cracking. Inspect before cutting.
Expecting Every Cut to Be Perfect
Even experienced installers get occasional chips. Buy extra tile, practice on scrap pieces, and place less-than-perfect cuts where trim or fixtures can hide them.
Can You Cut Marble Without a Wet Saw?
Technically, yes, but it depends on the type of cut and the size of the marble. A manual tile cutter may work on some thin marble tiles, but it is not reliable because marble does not snap as predictably as ceramic tile. An angle grinder can make small cuts, notches, or curves, but it is harder to control and can create hazardous dust if used dry.
For most homeowners, renting or borrowing a wet tile saw is the best option. It offers better control, cleaner edges, and less dust. For expensive marble, the cost of renting the right saw is usually cheaper than replacing broken tiles and pretending you meant to create “rustic charm.”
When to Hire a Professional
Hire a professional stone fabricator if you are cutting marble countertops, thick slabs, sink openings, long seams, shower benches, fireplace surrounds, or any piece that is expensive, heavy, or difficult to replace. Slabs require specialized support and equipment. A mistake on a marble tile is annoying; a mistake on a marble countertop can become a very expensive lesson in humility.
Professional fabricators use bridge saws, water-fed tools, templates, polishing systems, and dust-control practices. They also know how to handle fragile stone without cracking it during transport or installation.
Cleaning Up After Cutting Marble
After cutting, clean the saw tray, work area, and marble surface. Do not let slurry dry on polished marble. Use clean water and a soft sponge. Avoid acidic cleaners such as vinegar or lemon juice because marble is calcium-based and can etch when exposed to acid.
Dispose of stone slurry according to local rules. Do not pour heavy sediment down household drains, where it can settle and cause clogs. Let the slurry settle in a bucket, pour off the clear water, and discard the solids properly.
Extra Experience: Lessons Learned From Cutting Marble in Real Projects
The first practical lesson about cutting marble is that confidence should arrive after preparation, not before it. Many people assume marble behaves like ceramic tile because both are square, shiny, and sold in boxes. Then the first cut chips, the second cut cracks, and suddenly the project feels less like home improvement and more like negotiating with a glamorous rock. The best experience-based advice is to practice on a scrap piece before cutting anything that matters. One test cut tells you how the blade behaves, how fast the tile wants to move, and whether the marble is brittle along its veins.
Another useful lesson is to organize the cutting order. Do not start with the most complicated piece. Begin with a simple straight cut that will be hidden near a wall or under trim. This lets you warm up, check the saw setup, and confirm the blade is cutting cleanly. Once the saw, water flow, and feed rate feel predictable, move on to visible cuts. This small habit saves material and reduces stress. Marble can sense panic. That is not scientifically proven, but anyone who has cut it badly will understand.
Water control is also a bigger deal than beginners expect. A wet saw should keep the blade wet, but too little water causes heat and dust, while too much splash can hide the cut line. Keep a towel nearby, wipe the surface often, and make sure your marks remain visible. Painter’s tape helps because pencil marks can vanish under water and slurry. A grease pencil also works well on polished stone.
Support matters just as much as blade quality. Long marble pieces can break from their own weight if they hang off the saw table. Use a helper, roller stand, or temporary support surface so the stone stays level from start to finish. The final inch of a cut is often where breakage happens because the offcut starts to droop. Slow down near the end and keep both pieces supported.
For edge finishing, patience beats pressure. A diamond hand pad used lightly with water can turn a rough cut into a neat edge. If the edge will be visible, work through multiple grits instead of trying to fix everything with one aggressive pad. The goal is not to bully the marble into looking good. The goal is to persuade it, gently, like convincing a cat to leave your keyboard.
Finally, buy extra marble. Natural stone varies in color and veining, so replacing one broken tile later may be difficult. A good rule is to purchase more than the exact square footage, especially when the layout includes diagonal cuts, corners, niches, or plumbing holes. Extra material gives you room to make mistakes, match veining, and keep future repair pieces from the same batch.
Conclusion
Learning how to cut marble is mostly about respecting the material. Use a wet saw, choose a continuous-rim diamond blade, keep water flowing, support the stone, cut slowly, and smooth the edge afterward. Marble rewards patience with a clean, elegant finish. Rush it, and it rewards you with chips, cracks, and a sudden interest in cheaper tile.
For marble tile, small thresholds, shelves, and simple home projects, careful adult DIYers can achieve professional-looking results with the right setup. For large slabs, countertops, sink openings, or expensive stone, bring in a professional. There is no shame in hiring someone with the right tools. In fact, your marble may quietly thank you.













