
Drilling into brick looks simple until the wall starts growling at your drill, the bit overheats, and the hole ends up looking like a tiny meteor crater. The good news? Brick is tough, but it is not unbeatable. With the right preparation, a masonry bit, a steady hand, and a little patience, you can hang shelves, mount house numbers, install outdoor lights, or secure a bracket without turning your wall into a renovation regret.
This guide explains how to drill into brick safely and cleanly, what tools you need, whether to drill into brick or mortar, how to choose anchors, and which mistakes to avoid. Think of it as your friendly field manual for making holes in brick without making enemies with your wall.
Understanding Brick Before You Drill
Brick is a masonry material made to handle compression, weather, and decades of architectural drama. It is harder than drywall and more brittle than wood, which means ordinary drill bits are not invited to the party. A standard twist bit may scratch the surface, heat up, dull quickly, or simply give up and reconsider its career choices.
To drill into brick properly, you need to grind and chip through the material rather than slice it like wood. That is why masonry drill bits are designed with carbide tips. These bits can handle brick, stone, concrete block, and mortar when paired with the correct drill speed and technique.
Should You Drill Into Brick or Mortar?
One of the biggest questions homeowners ask is whether it is better to drill into the brick itself or into the mortar joint between bricks. The answer depends on the project.
Drill Into Mortar When Appearance Matters
Mortar is usually easier to drill and easier to patch later. If you are hanging something lightweight or temporary, such as a small decoration, cable clip, address plaque, or seasonal hook, mortar may be the smarter target. When the item comes down, patching gray mortar is usually less noticeable than trying to disguise a hole in red, tan, or painted brick.
Drill Into Brick for Stronger Support
For heavier loads, brick often provides a stronger hold than aging or crumbly mortar. Mounting a handrail, large shelf, security camera, or exterior fixture may require drilling into the brick face and using a proper masonry anchor. However, not all brick is equal. Old brick, soft brick, damaged brick, and historic brick can crack or crumble if drilled aggressively.
Quick Rule of Thumb
Use mortar for lighter, removable installations. Use brick for stronger fastening when the brick is solid and in good condition. If the wall is historic, cracked, bowed, or already flaking, pause the drill and consult a masonry professional. Your wall may be trying to tell you something, and unlike a smoke alarm with low batteries, it is worth listening.
Tools and Materials You Need
Before you drill into brick, gather everything first. Brick dust has a talent for appearing everywhere, and stopping midway to hunt for an anchor is how projects become “I’ll finish this next weekend” legends.
Essential Tools
- Hammer drill or standard drill with enough power
- Carbide-tipped masonry drill bits
- Painter’s tape or masking tape
- Tape measure
- Pencil or marker
- Level
- Depth stop or tape wrapped around the bit
- Shop vacuum, dust brush, or compressed air bulb
- Masonry anchors, plugs, sleeves, or concrete screws
- Screwdriver or driver bit
- Safety glasses
- Dust mask or respirator suitable for masonry dust
- Hearing protection, especially when using a hammer drill
Best Drill for Brick
A hammer drill is the best choice for most brick drilling tasks. It combines rotation with a rapid hammering action, helping the masonry bit chip through brick more efficiently. A standard cordless drill can work for shallow holes in softer brick or mortar, but it will be slower and may struggle. For larger holes, frequent masonry work, or very hard material, a rotary hammer with SDS bits is the heavy-duty option.
For typical home projects, such as installing anchors for shelves, brackets, outdoor lights, or house numbers, a hammer drill and carbide-tipped masonry bit will usually do the job well.
Choosing the Right Masonry Drill Bit
The drill bit matters more than many beginners realize. You can own a powerful drill, but if the bit is wrong, dull, or too small, your project will quickly become a brick-based workout.
Use a Carbide-Tipped Masonry Bit
Choose a bit labeled for masonry, brick, concrete, or stone. Carbide tips are designed to handle hard, abrasive materials. For hammer drills, make sure the bit is rated for hammer-drilling. Some masonry bits are intended for rotary-only drilling, while others can take the extra impact.
Match the Bit Size to the Anchor
Always check the anchor package. Masonry anchors and concrete screws usually specify the exact pilot hole diameter. If the hole is too small, the anchor may not fit. If it is too large, the anchor may spin, loosen, or fail. Brick is not fond of guesswork.
Use the Correct Bit Length
Your bit should be long enough to drill slightly deeper than the anchor or screw requires. Many masonry screws need extra depth so dust has somewhere to go at the bottom of the hole. If dust packs into the hole, the screw may stop before it seats properly.
Preparation: Do This Before Drilling
Preparation is the difference between a clean, professional-looking installation and a wall that looks like it lost a fight with a power tool. Take a few minutes to plan the hole before making it permanent.
1. Check What Is Behind the Wall
Before drilling, think about what may be hidden behind the brick: electrical wiring, plumbing, gas lines, or structural components. This is especially important around exterior lights, outlets, kitchens, bathrooms, utility rooms, and fireplaces. Use a detector when appropriate and avoid drilling directly above or below outlets and switches unless you know the wall layout.
2. Inspect the Brick and Mortar
Look for cracks, loose mortar, spalling, dampness, or powdery surfaces. Strong brick should feel solid. If the surface flakes away easily or the mortar crumbles under light pressure, choose another location or use a different fastening method. A wall that is already weak will not become stronger because you yelled “just one more hole” at it.
3. Mark the Hole Carefully
Use a tape measure, pencil, and level to mark the drilling point. For multiple holes, such as a shelf bracket or TV mount, measure twice and mark all holes before drilling. A paper template can help maintain spacing.
4. Add Tape to Reduce Wandering
Place painter’s tape over the drill mark. Tape helps the bit grip the surface at the start and reduces minor chipping. It also gives you a visible marking surface if the brick color makes pencil marks hard to see.
5. Set Your Drilling Depth
Use the drill’s depth stop if it has one. If not, wrap a piece of tape around the drill bit at the required depth. This simple trick helps prevent drilling too shallow or going deeper than necessary.
How to Drill Into Brick Step by Step
Once the surface is marked and the correct bit is installed, you are ready to drill. The method below works for most small-to-medium home projects.
Step 1: Put on Safety Gear
Wear safety glasses before drilling. Brick dust and tiny chips can fly outward without warning. A dust mask or respirator is also important because masonry dust may contain fine particles you do not want in your lungs. Hearing protection is wise when using a hammer drill indoors or for more than a few quick holes.
Step 2: Insert the Masonry Bit Securely
Place the masonry bit into the chuck and tighten it firmly. If your drill has hammer mode, turn it on for brick. If drilling into softer mortar, you may start without hammer mode and switch it on only if needed.
Step 3: Start Slowly
Position the bit perpendicular to the wall. Start at low speed to create a small guide point. Do not begin at full power unless you enjoy watching the bit skate across the brick like it is auditioning for an ice show.
Step 4: Apply Steady Pressure
Let the drill and bit do the work. Apply firm, even pressure, but do not force the drill. Too much pressure can overheat the bit, enlarge the hole, crack the brick, or stall the tool. If progress slows, pull the bit out occasionally to clear dust.
Step 5: Keep the Drill Straight
Maintain a 90-degree angle to the surface unless your project specifically requires an angled hole. A crooked hole can make anchors seat poorly and cause brackets to sit unevenly. For visible hardware, crooked holes are the kind of small mistake that somehow becomes the only thing you see forever.
Step 6: Clear Dust From the Hole
After drilling, remove dust using a vacuum, brush, or air bulb. A clean hole allows the anchor or screw to grip properly. This step is often skipped, but it matters. Masonry dust left in the hole can prevent fasteners from seating fully.
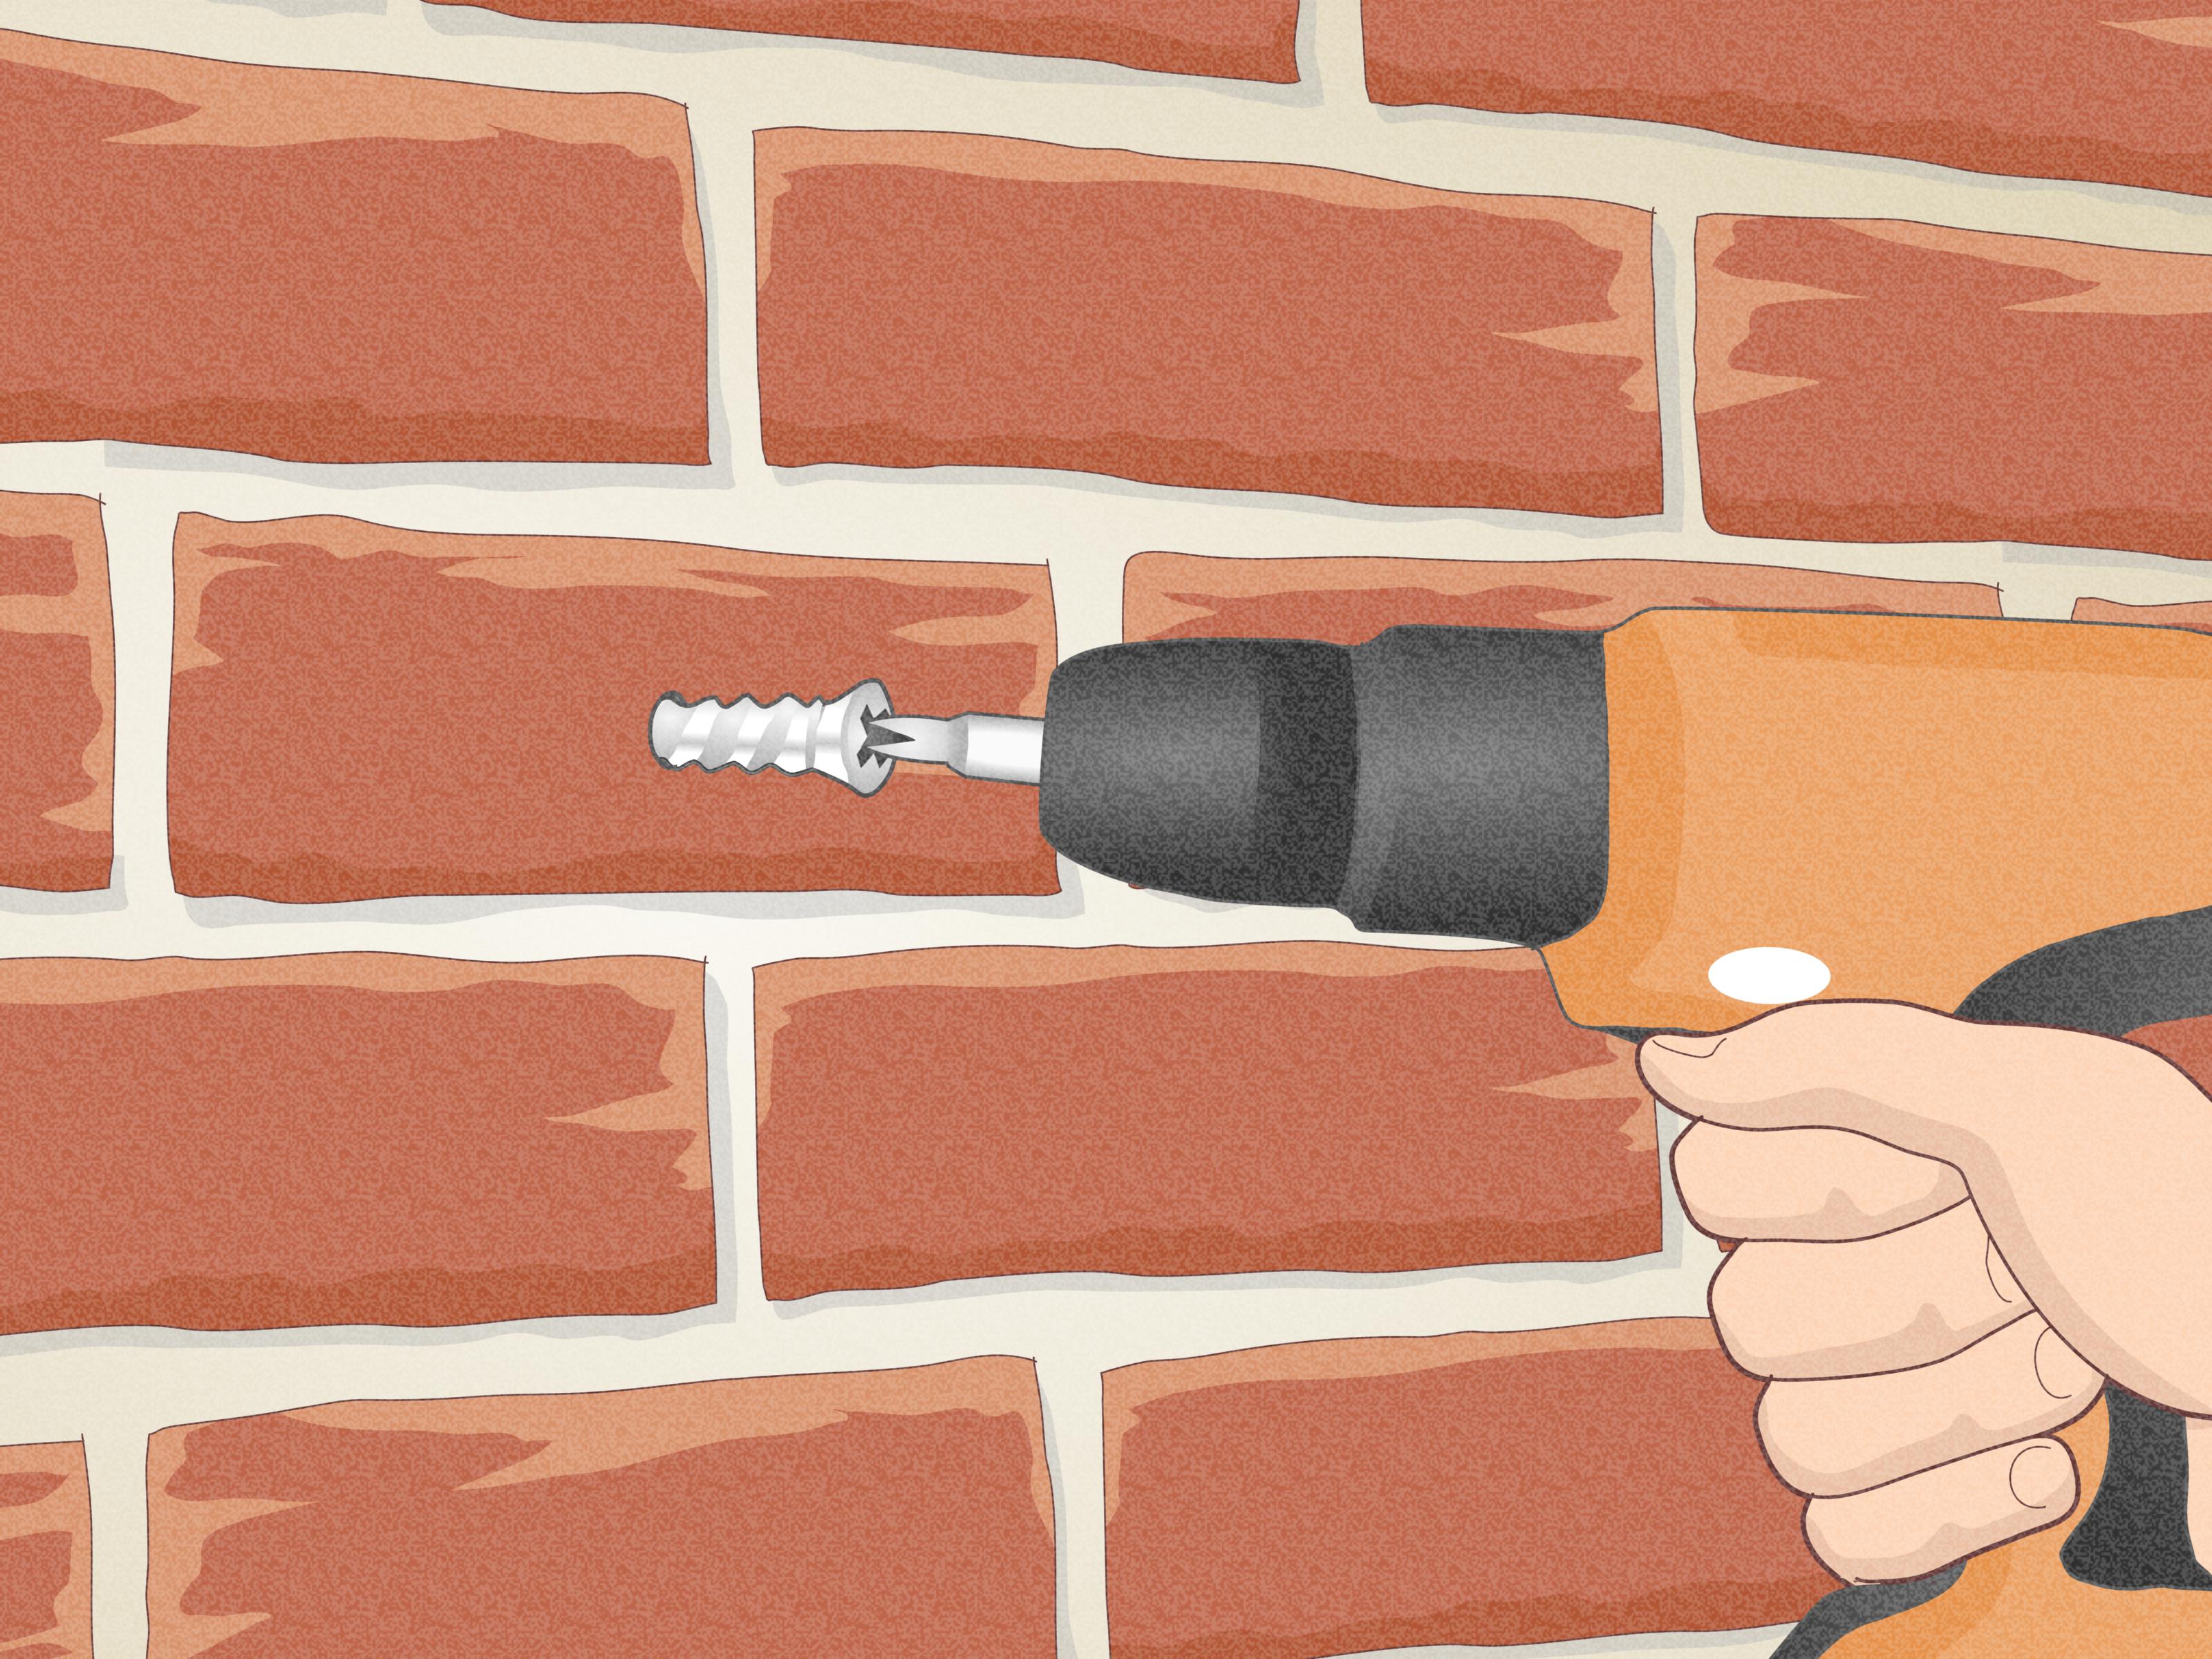
Step 7: Insert the Anchor or Screw
Install the anchor according to the manufacturer’s instructions. Plastic masonry plugs, sleeve anchors, lead anchors, and concrete screws all work differently. If using a masonry screw, drive it slowly and avoid overtightening. If the screw spins freely, the hole may be too large or the surrounding material may be too weak.
Best Anchors for Brick
The best anchor depends on the load, wall condition, and whether the installation is indoors or outdoors.
Plastic Masonry Anchors
Plastic masonry anchors are useful for light-duty tasks like small signs, picture frames, cable clips, or decorative hooks. They are easy to install and affordable, but they are not ideal for heavy shelves or high-stress fixtures.
Concrete Screws
Concrete screws, often called masonry screws, are popular because they cut threads into the drilled hole. They work well in solid brick, concrete, and block when the pilot hole is the correct size and depth. They are a good option for brackets, exterior fixtures, and medium-duty mounting.
Sleeve Anchors
Sleeve anchors expand inside the hole as the nut is tightened. They can provide strong holding power in solid brick but should be used carefully because expansion pressure can crack weak or brittle brick.
Lag Shields
Lag shields are used with lag screws and can provide a strong hold for heavier applications. They require a larger hole and are better suited to solid masonry than fragile brick.
When to Avoid Expansion Anchors
If the brick is old, soft, hollow, cracked, or decorative, aggressive expansion anchors may do more harm than good. In those cases, consider lighter-duty fasteners, mortar joints, adhesive systems designed for masonry, or professional help.
Common Mistakes When Drilling Into Brick
Brick drilling mistakes are usually preventable. Here are the big ones to avoid.
Using the Wrong Bit
Wood bits and general-purpose twist bits are not made for brick. They dull quickly and may damage the surface. Use a masonry bit, preferably carbide-tipped.
Drilling Too Fast
High speed can overheat the bit and create excess dust. Start slow, increase gradually, and keep the drill controlled.
Forcing the Drill
If the bit is not cutting, forcing it will not magically improve the situation. It may mean the bit is dull, the drill lacks power, or the material is harder than expected.
Skipping Dust Removal
Dust inside the hole can stop screws from seating and reduce anchor grip. Clean the hole before installing the fastener.
Overtightening Screws
Once a masonry screw is snug, stop. Overtightening can strip the hole or crack the brick.
Ignoring Load Limits
Not every brick wall can hold every item. Heavy shelves, TVs, handrails, and cabinets need careful anchor selection. When safety is involved, do not guess.
Safety Tips for Brick Drilling
Drilling masonry creates dust, noise, vibration, and flying debris. This is not the time to be casual. Safety glasses are non-negotiable. A dust mask or respirator is strongly recommended, especially for repeated drilling or indoor work. Use a vacuum near the hole to control dust as you drill.
If working outside, be aware of ladders, cords, weather, and unstable footing. If using a corded hammer drill, keep the cord away from the bit and your feet. If drilling above shoulder height, take breaks. Hammer drills are helpful tools, but they are not gentle spa equipment.
Indoor vs. Outdoor Brick Drilling
Indoor Brick
Indoor brick fireplaces, accent walls, and exposed brick surfaces often have appearance concerns. Use tape, drill carefully, and consider mortar joints for lighter items. Keep a vacuum nearby to control dust. If drilling into a fireplace, avoid areas that may be exposed to high heat unless your fasteners and anchors are rated for that environment.
Outdoor Brick
Outdoor installations must handle moisture, temperature changes, and wind. Choose corrosion-resistant screws or anchors, especially for exterior lights, mailboxes, hose reels, or house numbers. Seal around exterior penetrations when needed to reduce water intrusion.
How to Patch a Hole in Brick or Mortar
If you remove an anchor later, patching depends on where the hole is. Mortar holes can often be filled with matching mortar repair caulk or patching compound. Brick holes are trickier because color and texture vary. For small holes, you can use masonry repair filler tinted to match the brick. For highly visible areas, save a little brick dust from drilling and mix it into the patch material for a closer blend.
The patch may never disappear completely, but with patience, it can become far less noticeable. The wall does not need to look brand new; it just needs to stop announcing, “A shelf used to live here.”
Real-World Examples
Mounting House Numbers
For lightweight metal house numbers, drill pilot holes into brick or mortar using a small masonry bit. Insert plastic masonry anchors or use the mounting hardware included with the numbers. Keep holes level and evenly spaced by using a paper template.
Installing an Outdoor Light
For an exterior light fixture, turn off power first and confirm the mounting surface is sound. Use corrosion-resistant masonry screws or anchors. Seal around the fixture where appropriate to prevent water from getting behind it.
Hanging a Shelf on an Interior Brick Wall
For shelves, consider the loaded weight, not just the empty shelf. Books are basically tiny bricks with opinions. Use anchors rated for the expected load and drill into solid brick if the shelf will carry significant weight.
Extra Experience: Lessons From Drilling Into Brick the Smart Way
The first lesson of drilling into brick is that confidence is good, but overconfidence owns a lot of cracked masonry. Many DIY projects go sideways because people treat brick like slightly spicy drywall. It is not. Brick rewards preparation and punishes rushing. If you slow down, choose the right bit, and let the tool work, the project usually feels surprisingly manageable.
One practical habit is to test your setup on an inconspicuous area if possible. This is especially useful with older brick. Some brick drills cleanly and feels dense. Some brick turns powdery almost immediately. Some mortar joints are firm; others crumble like a cookie that spent too much time in a backpack. A small test can tell you whether your chosen anchor will hold or whether you need a different plan.
Another useful experience-based tip is to keep extra bits on hand. Masonry bits wear down, especially when drilling multiple holes or working with hard brick. A dull bit makes you push harder, and pushing harder creates heat, mess, and mistakes. If the drill suddenly seems less effective, the bit may be the problem, not your technique.
Dust control is also more important than it seems. A helper holding a vacuum nozzle near the drilling point can make indoor work much cleaner. If you are working alone, pause often and vacuum the hole and surrounding area. Brick dust spreads like gossip in a small town. It gets on floors, baseboards, shelves, shoes, and somehow the dog, even if the dog was not invited.
For visible projects, use templates. A paper template for house numbers, brackets, or hardware can prevent uneven spacing. Tape the template to the wall, check it with a level, mark the holes, then drill. This simple step can save you from the classic DIY moment where the item is technically installed but visually leaning into another zip code.
When installing anchors, pay attention to how the fastener feels. A good anchor usually feels snug and controlled. If it slides in too easily, spins, or refuses to tighten, do not ignore it. Remove it and reassess. You may need a larger anchor, a different style of fastener, a new hole, or a stronger section of wall. The worst time to discover a bad anchor is after the shelf is full.
Finally, know when to stop. If the brick cracks, the drill hits something unexpected, the wall sounds hollow, or the project involves heavy loads above people, call a professional. DIY should make your home better, not turn gravity into a co-author. The best method for drilling into brick is not just about making a hole. It is about making the right hole, in the right place, with the right hardware, and enough patience to keep the wall looking good when the job is done.
Conclusion
Learning how to drill into brick is a valuable DIY skill for homeowners, renters with permission, and anyone who likes the idea of shelves staying attached to the wall. The process is straightforward: inspect the surface, choose the right spot, use a carbide-tipped masonry bit, drill slowly and straight, clean out the dust, and install the correct anchor for the load.
The biggest secret is not brute force. It is control. Brick may be hard, but the best results come from careful marking, proper tools, steady pressure, and respect for the material. Do that, and your next brick-drilling project can look clean, secure, and professionalwithout the wall filing a complaint.
Note: Always follow the instructions for your specific drill, masonry bit, and anchor system. For heavy structural installations, damaged brick, historic masonry, or unknown wall conditions, consult a qualified professional before drilling.













