
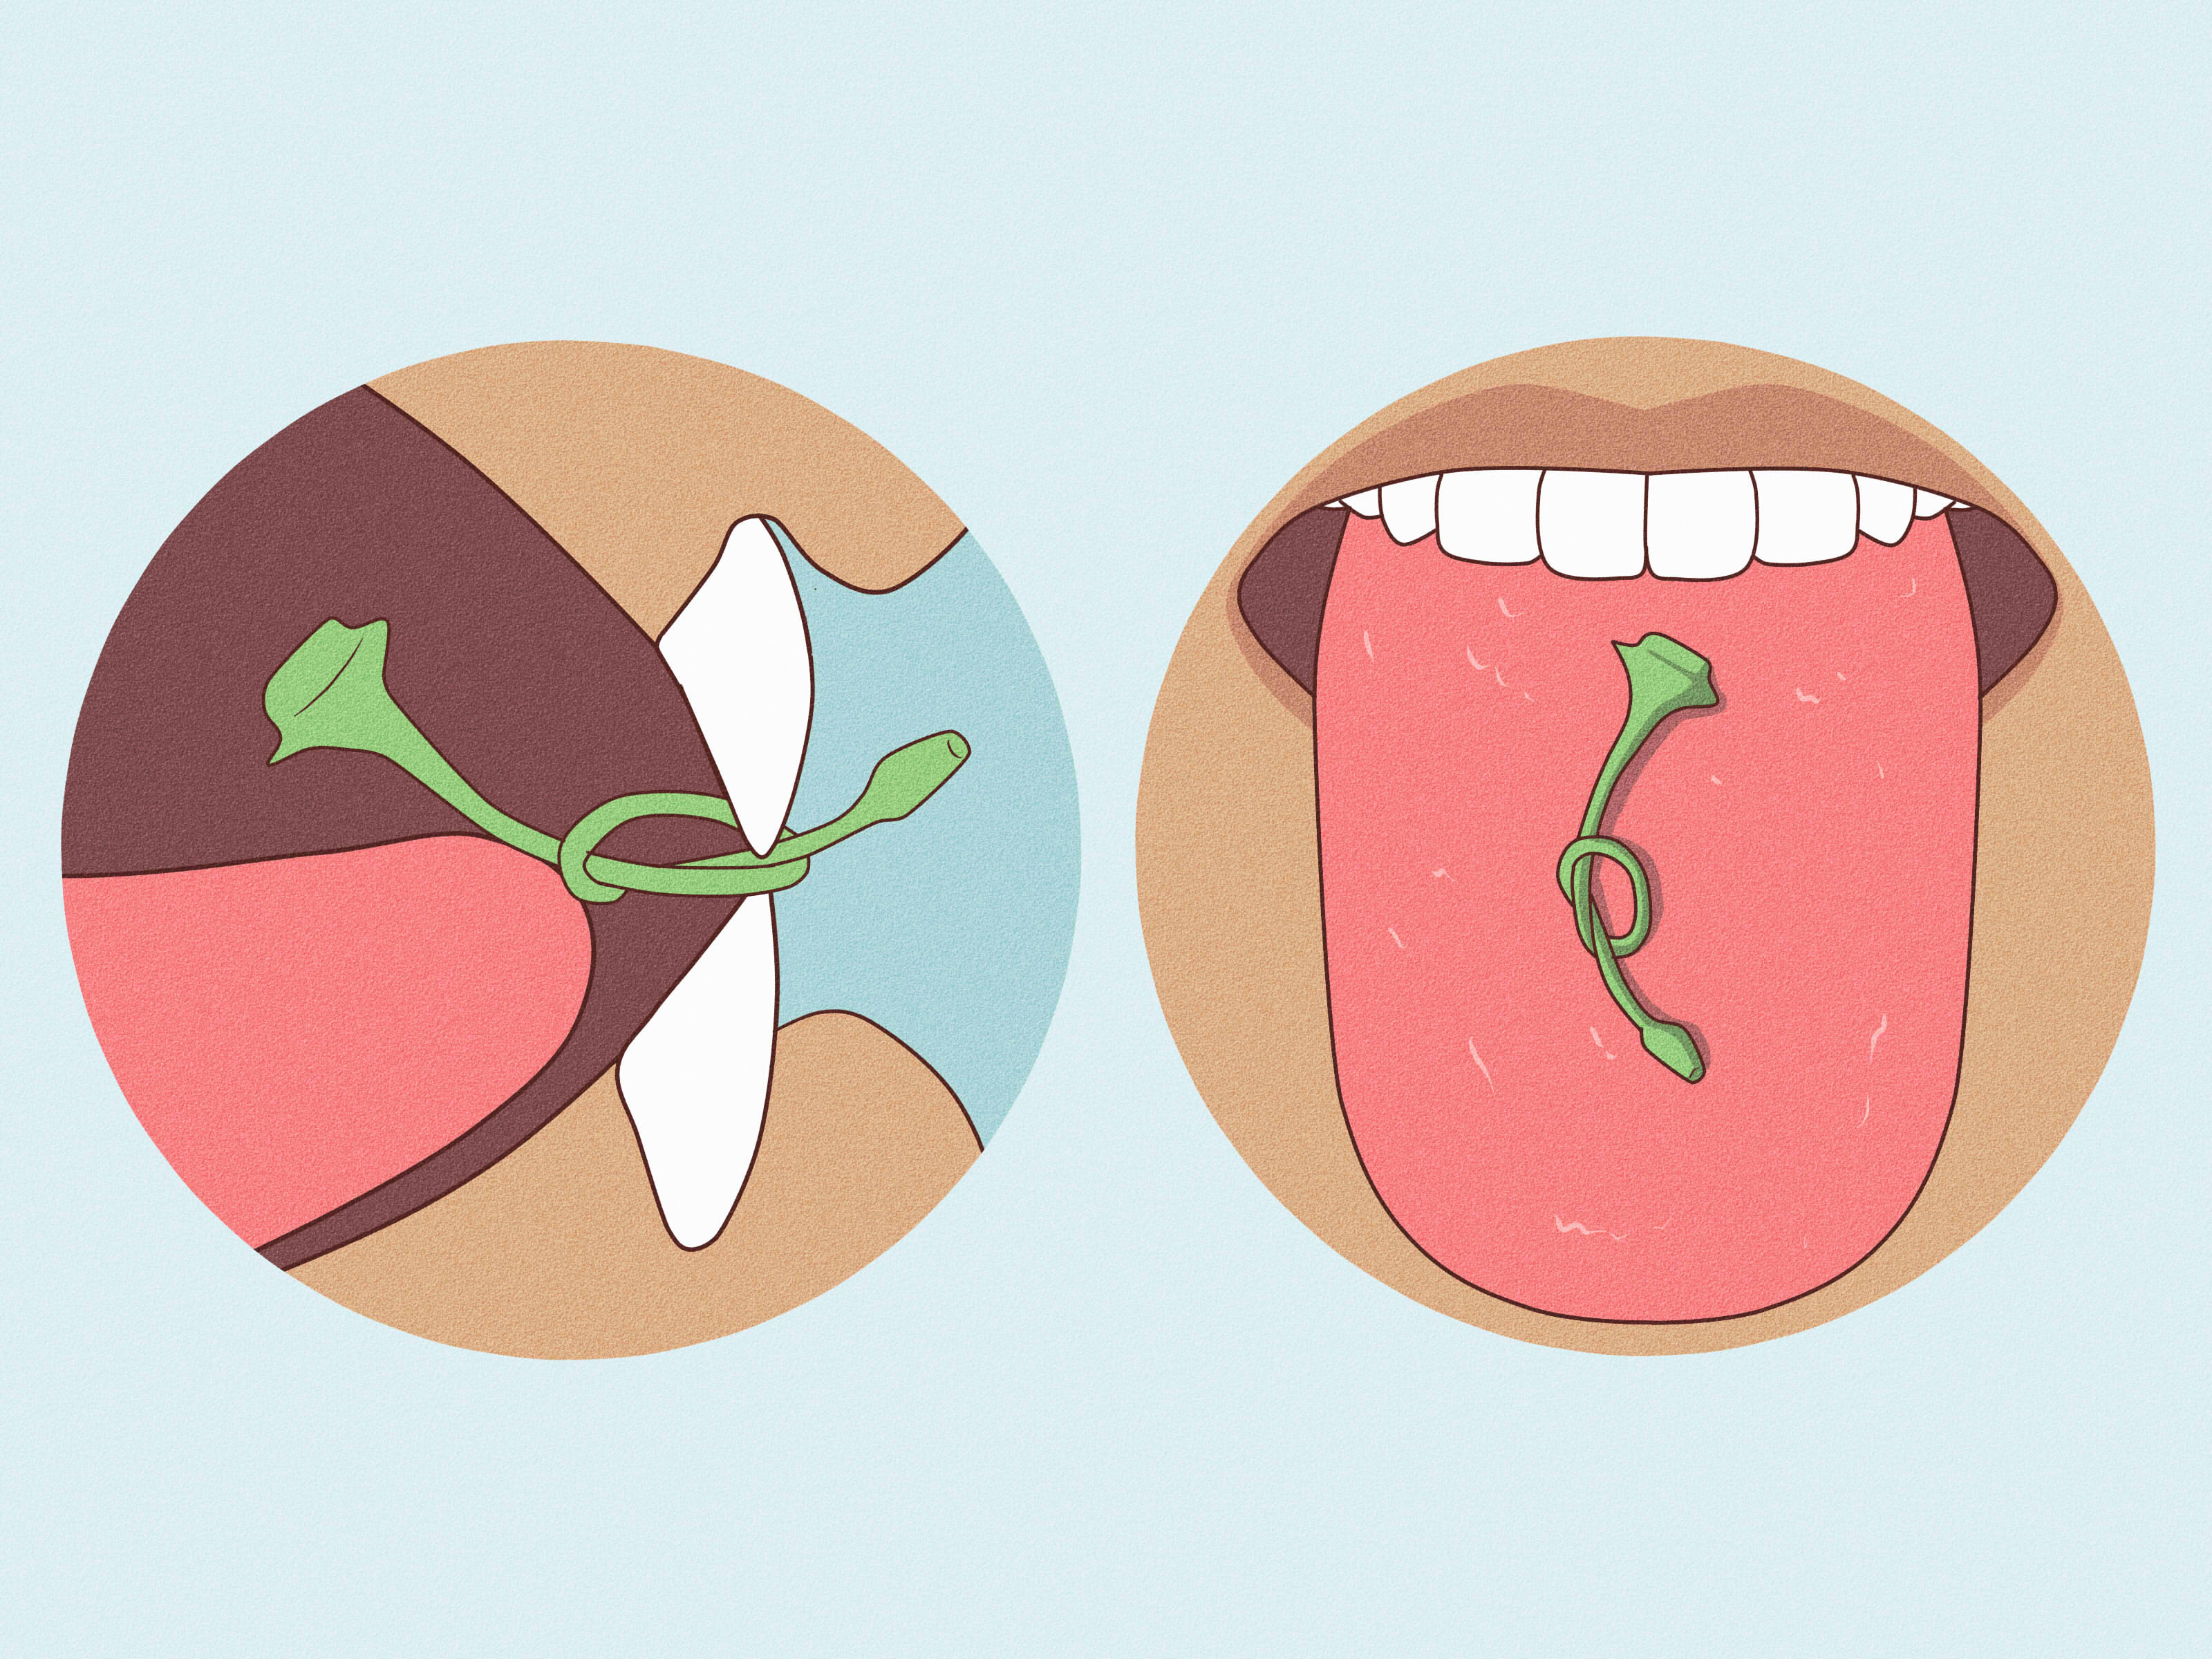
Tying a knot in a cherry stem with your tongue sounds like the kind of skill invented by someone who had too much time, a bowl of cherries, and a heroic commitment to being mildly impressive. Yet this tiny party trick has survived for decades because it sits in the perfect zone between “surely impossible” and “wait, I think I can do that.” The good news? You do not need a magic tongue, secret circus training, or a dramatic soundtrack. You need a flexible cherry stem, patience, clean hands, and a willingness to look a little ridiculous while practicing.
This guide explains three practical ways to tie a cherry stem knot using your tongue and teeth. Each method uses the same basic idea: soften the stem, bend it into a loop, guide one end through the loop, then tighten the knot. The difference is in how you create and control that loop. Some people prefer using the front teeth as a “workbench.” Others rely more on tongue pressure. Beginners often do best with a softer maraschino cherry stem before graduating to fresh cherry stems, which can be stiffer and more stubborn than a shopping cart with one bad wheel.
Before you start, remember that this is a harmless food trick, not a race. Use washed cherries, remove the fruit and pit, choose a long flexible stem, and stop immediately if you cough, gag, or feel uncomfortable. The goal is a neat little knot, not a dental adventure.
Why Cherry Stem Knot Tying Works
A cherry stem is thin, flexible, and slightly fibrous. When it is moistened, it becomes easier to bend without snapping. Your tongue provides pressure and direction, while your teeth help anchor the stem. In other words, your mouth becomes a tiny knot-tying workshop. Very glamorous. Very strange. Very effective.
The key is not brute force. If you chew the stem too hard, it may split or become mushy. If you rush, you will lose track of which end is where. The trick depends on three small skills: feeling the shape of the stem, keeping the loop open, and tightening slowly once an end slips through. Once you understand that sequence, the impossible suddenly becomes a snack-sized puzzle.
Before You Begin: Pick the Right Cherry Stem
Choose a Long, Flexible Stem
Length matters. A very short stem is harder to bend into a loop and nearly impossible to guide through itself. Look for a stem that is at least one and a half to two inches long. Longer stems give beginners more room to work, much like learning to tie shoes with real laces instead of two angry pieces of thread.
Fresh vs. Maraschino Cherry Stems
Fresh cherry stems are firmer, drier, and more challenging. Maraschino cherry stems are usually softer because they have been sitting in liquid, making them a forgiving choice for first attempts. If you want to learn quickly, start with maraschino stems. If you want bragging rights, move on to fresh cherry stems later.
Cleanliness and Safety First
Wash fresh cherries under running water before eating or handling them. Remove the fruit and pit before attempting the trick. Do not use stems that are moldy, sharp, brittle, or splintered. Avoid practicing while lying down, laughing, walking, or talking. If you wear braces, retainers, or have sensitive gums, be extra gentle or skip the trick entirely.
Method 1: The Classic Loop-and-Pull Method
This is the most common way to tie a knot in a cherry stem with your tongue. It uses your tongue and front teeth to form a loop, then guides one end through that loop. It is beginner-friendly because the teeth help hold the stem in place while your tongue does the steering.
Step 1: Place the Stem Across Your Tongue
Put the cherry stem horizontally on the front half of your tongue. Let it rest there for a few seconds so it softens. You can gently press it against the roof of your mouth, but do not chew it like gum. The stem should become bendy, not shredded.
Step 2: Bend the Stem Into a U Shape
Use the tip of your tongue to push the center of the stem upward against the back of your upper front teeth. This should bend the stem into a U shape. Think of making a tiny horseshoe inside your mouth. The two ends should point upward or slightly forward.
Step 3: Cross One End Over the Other
With the U shape formed, use your tongue to move one end across the other, creating an X shape. This is the moment when most beginners lose control and wonder if the stem has entered another dimension. Stay calm. Use your teeth lightly to keep one side stable.
Step 4: Push One End Through the Loop
Now guide one end of the stem through the loop. This is the hardest part. Use the tongue tip like a tiny forklift. Press gently, feel for the opening, and nudge the end through. Once even a little bit passes through the loop, you are close.
Step 5: Tighten the Knot
Hold one end with your teeth and use your tongue to push or pull the other end. The knot should tighten gradually. Do not yank. A cherry stem is not a rope on a pirate ship. When the knot feels snug, carefully remove it and admire your work like you have just solved a fruit-based Rubik’s Cube.
Method 2: The Tongue-First Fold Method
The tongue-first fold method is useful if you do not want to rely too much on your teeth. It gives your tongue more control from the start. This approach may feel more natural for people who can curl or lift their tongue easily.
Step 1: Soften the Stem Longer
Place the stem in your mouth and let it soften for 20 to 30 seconds. Move it gently around with your tongue. The stem should feel flexible enough to bend without cracking. If it feels stiff, give it more time.
Step 2: Fold the Center Downward
Instead of pushing the center upward into your teeth, use your tongue to fold the stem downward against the floor of your mouth. This creates a loop that sits closer to the lower teeth. It may feel odd at first, but it can make the next step easier because gravity is not fighting you as much.
Step 3: Pin One End Against the Lower Teeth
Use your tongue to hold one end of the stem near your lower front teeth. This gives you an anchor point. With the other end free, use your tongue to sweep it across and toward the loop.
Step 4: Thread the Free End
Slowly push the free end through the loop. Imagine threading a needle, except the needle is invisible and you are not allowed to use your hands. Yes, it is as silly as it sounds. But once the tip goes through, the rest becomes easier.
Step 5: Tighten With Tongue Pressure
Press one side against your lower teeth and use the tongue to push the opposite side away. The knot should cinch into place. If it collapses, do not panic. That usually means the loop closed too soon or the stem was too short.
Method 3: The Beginner-Friendly Soft Stem Method
If the first two methods make you feel like your tongue has filed a formal complaint, try the soft stem method. This version is ideal for beginners because it uses a maraschino cherry stem or a very soft fresh stem. The softer the stem, the easier it is to bend, loop, and tighten.
Step 1: Select a Soft, Long Stem
Choose a maraschino cherry with a long stem. Remove the cherry and keep only the stem. If the stem is sticky, rinse it lightly and pat it dry. You want it flexible, not slippery enough to escape like a tiny eel.
Step 2: Pre-Bend the Stem Naturally
Without tying anything by hand, you can gently curve the stem by pressing it against your tongue and palate. This helps the stem “remember” a rounded shape. Avoid making a hard crease, because a sharp bend can block the end from sliding through the loop.
Step 3: Make a Wide Loop
Use your tongue and teeth to form the largest loop you can. Beginners often make the loop too tight too early. A wider loop gives you a bigger target when threading the end through.
Step 4: Guide, Don’t Force
Use small tongue movements to guide one end into the loop. If you push too hard, the whole stem may fold flat. Think “nudge, pause, feel, nudge again.” This is not a wrestling match. It is more like convincing a stubborn noodle to cooperate.
Step 5: Finish Slowly
Once an end passes through, tighten the knot gently. If the knot is loose, that still counts for practice. A clean, tight knot comes with repetition. The first successful attempt may look less like a knot and more like a confused pretzel, but that is progress.
Common Mistakes When Tying a Cherry Stem Knot
Using a Stem That Is Too Short
Short stems are advanced-level chaos. Beginners should use longer stems because they provide more room to form a loop and thread the end. If every attempt fails, the stem length may be the problem, not your tongue.
Chewing the Stem Too Much
A little softening helps. Too much chewing turns the stem into pulp. Once the fibers split, the stem becomes harder to guide and may feel unpleasant. Keep the pressure gentle.
Losing Track of the Loop
The biggest challenge is spatial awareness. You cannot see what is happening, so you must feel it. Pause often and notice where the two ends are. If the loop disappears, restart rather than battling a mystery shape.
Tightening Too Early
Many people accidentally close the loop before one end passes through. Keep the loop open until the threading step is complete. Only tighten after you are sure one end has gone through.
How Long Does It Take to Learn?
Some people tie a cherry stem knot on the first day. Others need several practice sessions. Most beginners improve quickly once they understand the shape they are trying to make. Practice with five to ten stems at a time, then take a break. If your tongue feels tired, congratulations: you have discovered one of the world’s least expected workouts.
Do not compare yourself to record holders or viral videos. Those people have practiced far more than they admit, and probably have a level of patience normally found in watchmakers and cats waiting beside closed doors. Your goal is simply to learn a fun trick, not to become the Olympic champion of fruit stems.
Best Practice Tips for Faster Success
Start With Maraschino Stems
They are softer, easier to bend, and less likely to snap. Once you can tie them consistently, move to fresh stems for a harder challenge.
Use Your Front Teeth as Anchors
Your teeth should not crush the stem. They should lightly hold it in place while your tongue moves the ends. Think of them as helpful bookends.
Practice the Shape Outside Your Mouth First
Use your fingers to tie a cherry stem slowly while watching the steps. Notice the U shape, the crossing motion, and the threading step. Then try to recreate that sequence with your tongue.
Stay Relaxed
Tension makes your tongue movements clumsy. Relax your jaw, breathe through your nose, and take your time. A calm mouth is a more coordinated mouth, which is a sentence nobody expected to read today.
Is This Trick Actually Impressive?
Yes, in a wonderfully silly way. Tying a knot in a cherry stem with your tongue is impressive because it is unexpected. It combines coordination, patience, and a little mystery. People enjoy watching the final reveal because they cannot see the process. You place a straight stem in your mouth, wait a moment, and produce a knot. It has the energy of a magic trick performed by someone who forgot their cards.
That said, keep it casual. The trick works best when it feels playful, not like a dramatic audition. A simple “I learned this weird cherry trick” is enough. Then reveal the knot and let the table react. If it fails, laugh and try again later. Half the charm is that the trick is harder than it looks.
Extra Experience: What Practicing This Trick Feels Like
The first experience most people have with tying a cherry stem knot is confusion. You place the stem in your mouth, fully convinced that your tongue is a reasonably capable body part. Then, within ten seconds, the stem vanishes into a position that can only be described as “somewhere near the left side of regret.” You move it around, try to fold it, and suddenly realize that doing simple tasks without sight is much harder than expected.
The second stage is overconfidence. After a few attempts, you form something that feels like a loop. This is exciting. You think, “I have cracked the code.” Then you remove the stem and discover it is not tied at all. It is merely bent in a way that suggests it survived a minor accident. This is normal. Every beginner produces several almost-knots before the real thing happens.
The third stage is learning to slow down. Once you stop attacking the stem and start feeling its shape, progress comes faster. You notice the difference between a soft curve and a sharp crease. You learn that the tongue tip is better for precision, while the wider middle of the tongue is better for pressure. You discover that your teeth can hold the stem gently without biting it apart. Suddenly, the trick becomes less mysterious and more mechanical.
A useful practice routine is to start with three stems. Use the first stem only to practice making a U shape. Do not even try to tie it. Use the second stem to practice crossing one end over the other. Use the third stem to attempt the full knot. This removes pressure and helps your mouth learn each movement separately. It is the same idea as learning a song one section at a time instead of smashing every piano key and hoping jazz happens.
Another helpful experience is practicing with different stem types. A fresh Bing cherry stem may feel springy and firm. A maraschino stem may feel soft and almost floppy. A very thin stem may fold too sharply, while a thicker one may resist bending. Over time, you will develop a preference. Most beginners like long, soft stems because they are easier to control. More experienced cherry stem knotters often enjoy the challenge of firmer stems because the final knot looks cleaner.
Socially, this trick is best treated as a lighthearted moment. It fits at picnics, family gatherings, diners, summer parties, or anywhere cherries appear and people are already in a cheerful mood. The reveal is the fun part. Place the finished knot on a napkin or in your palm, and let everyone inspect it. Someone will usually say, “No way.” Someone else will immediately try it and fail. A third person will claim they used to be amazing at it in high school. This is the natural life cycle of the cherry stem trick.
The most satisfying moment is the first real knot. It may not be tight. It may lean to one side. It may look like a tiny lasso that gave up on its career. But it counts. After that, your confidence grows. You begin to understand how the loop feels before it is visible. You can sense when the end has slipped through. You tighten with more control. The trick becomes repeatable, and that is when it turns from a weird experiment into a reliable party skill.
In the end, tying a knot in a cherry stem with your tongue is not about perfection. It is about patience, coordination, and enjoying a small challenge that makes people smile. It is low-tech entertainment in the best possible way: no app, no charger, no subscription, just a cherry stem and a few minutes of determined silliness.
Conclusion
Learning how to tie a knot in a cherry stem with your tongue is easier when you stop treating it like a mystery and start treating it like a step-by-step coordination trick. Choose a long flexible stem, soften it gently, form a loop, guide one end through, and tighten slowly. The classic loop-and-pull method is the best all-around option, the tongue-first fold method gives you more tongue control, and the soft stem method is perfect for beginners.
Practice matters more than natural talent. Start with maraschino cherry stems, keep your movements small, use your teeth as gentle anchors, and do not rush the threading step. With enough attempts, that awkward little stem will finally become a knotand you will have earned the right to look mildly triumphant over a piece of fruit.
Note: This article is written for safe, general entertainment and is based on real public information about cherry stem tying methods, produce handling, cherry varieties, oral-care caution, and documented cherry-stem knot records.














