
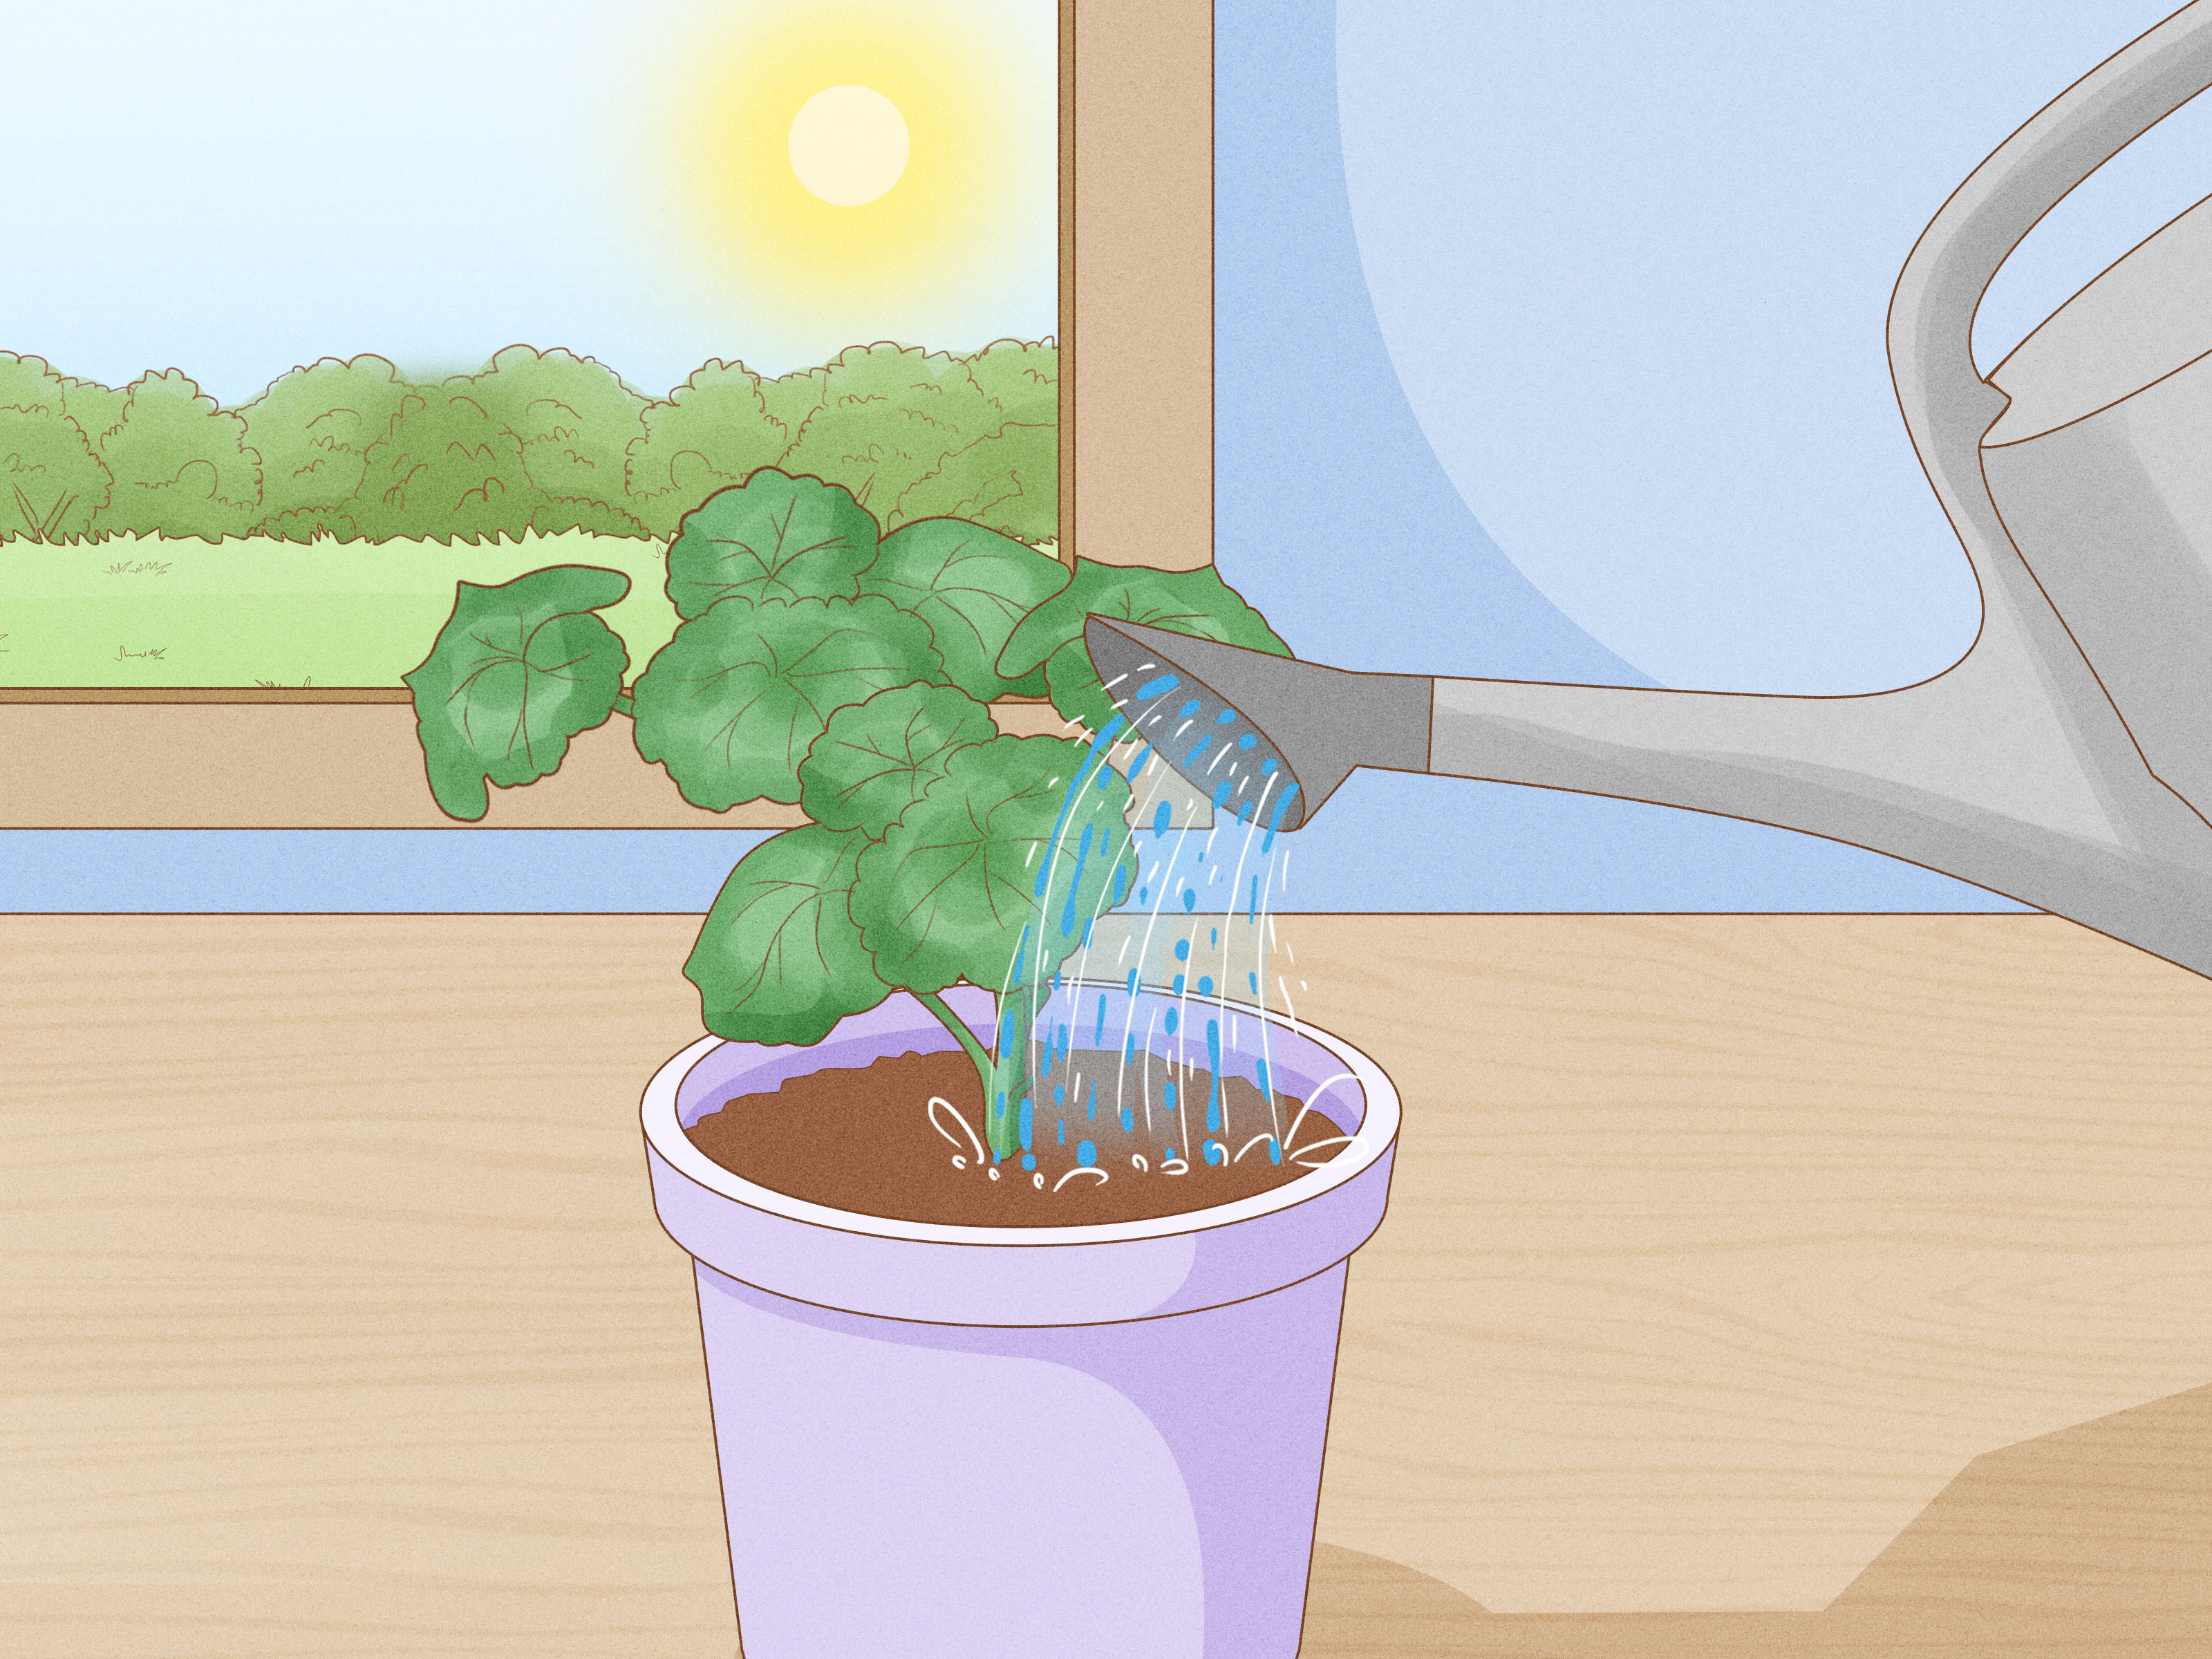
Geraniums are the cheerful overachievers of the garden world. Give them sun, decent drainage, and the occasional pep talk, and they will reward you with bright blooms that look like they dressed up for a neighborhood parade. Even better, you do not have to buy new plants every season. Learning how to propagate geraniums from cuttings lets you turn one healthy plant into several new ones with very little cost, very little equipment, and only a modest amount of “please root, little buddy” optimism.
Most plants sold as annual geraniums in the United States are technically Pelargonium, not true hardy geraniums. Gardeners still call them geraniums because language is messy and flowers are forgiving. These popular bedding and container plants root well from stem cuttings, which means you can preserve a favorite flower color, leaf pattern, scent, or especially vigorous plant. Seed-grown geraniums may vary, but cutting-grown geraniums are clones of the parent plant. In other words, if your red geranium is the Beyoncé of the porch, a cutting gives you backup dancers with the same moves.
This guide walks you through 11 practical steps for taking geranium cuttings, rooting them, potting them up, and growing them into sturdy plants for containers, window boxes, hanging baskets, or garden beds. The method works especially well in late summer or early fall before frost, but indoor gardeners can also take cuttings whenever the parent plant is actively growing and healthy.
Why Propagate Geraniums from Cuttings?
Propagating geraniums from cuttings is one of the easiest ways to save money, overwinter favorite plants, and keep a reliable variety going year after year. It is also faster than growing many geraniums from seed. Because cuttings come from stem tissue, they carry the same traits as the parent plant: flower color, growth habit, leaf markings, and fragrance.
This is especially useful for scented geraniums, ivy geraniums, zonal geraniums, and fancy-leaf types. If you love a plant because it blooms heavily, handles heat well, or has unusually pretty variegated leaves, cuttings are your best bet for keeping that exact plant in your collection.
Best Time to Take Geranium Cuttings
The best time to take geranium cuttings is late summer to early fall, before cold weather damages outdoor plants. This gives the cuttings time to root indoors and grow into small plants before spring. You can also take cuttings in spring or early summer from actively growing stock plants.
Avoid taking cuttings from stressed plants during extreme heat, drought, pest outbreaks, or disease problems. A cutting is not a magic wand; it cannot turn a sick parent plant into a prize-winning child. Start with clean, vigorous growth and your success rate improves dramatically.
What You Need Before You Start
- A healthy geranium parent plant
- Sharp scissors, snips, or a clean knife
- Rubbing alcohol or a mild bleach solution for sanitizing tools
- Small pots or cell packs with drainage holes
- Fresh rooting medium such as perlite, vermiculite, seed-starting mix, or a peat-and-perlite blend
- Optional rooting hormone powder or gel
- A pencil or dibber for making planting holes
- A clear plastic bag or humidity dome
- Plant labels, because “mystery geranium” is fun only once
How to Propagate Geraniums from Cuttings: 11 Steps
Step 1: Choose a Healthy Parent Plant
Start with a geranium that looks strong, pest-free, and disease-free. Look for firm stems, good leaf color, and active growth. Skip plants with yellowing leaves, blackened stems, mushy areas, whiteflies, mites, aphids, or suspicious spots. Propagation copies the parent plant, and that includes problems. If the parent plant is carrying disease, your cutting may inherit more drama than a reality TV reunion episode.
Water the plant a few hours before taking cuttings. Hydrated stems are less likely to wilt quickly after being removed. Do not soak the plant into a swamp; just make sure it is not thirsty.
Step 2: Select the Right Stem
Choose a non-flowering stem tip that is about 3 to 5 inches long. The best cutting has several healthy leaves and at least two nodes. A node is the slightly swollen point where leaves join the stem. This matters because roots commonly form from nodes buried in the growing medium.
Avoid stems with flower buds or open blooms. Flowers are charming, but they steal energy. A cutting should focus on root production, not trying to host a floral gala while it has no roots and no life plan.
Step 3: Sanitize Your Cutting Tool
Clean your scissors, knife, or pruners before cutting. Wipe the blades with rubbing alcohol, or use a sanitizing solution and let the tool dry. This small step helps prevent the spread of bacterial and fungal issues, which are among the biggest reasons cuttings fail.
Sanitation is not glamorous, but neither is watching a tray of cuttings collapse into mush. Clean tools are one of the simplest ways to keep propagation boring in the best possible way.
Step 4: Take the Cutting Below a Node
Cut the stem just below a node. Make a clean slice rather than crushing the stem. A clean wound heals and roots more efficiently than a ragged one. If the cutting is too long, trim it to about 3 to 4 inches. A compact cutting loses less moisture and is easier to support in the rooting medium.
Keep cuttings cool and out of direct sun while you work. If you are taking several cuttings, place them in a plastic bag with a slightly damp paper towel until they are ready to stick. Do not leave them baking on a patio table unless your goal is geranium jerky.
Step 5: Remove Lower Leaves and Flower Buds
Remove leaves from the lower third to half of the cutting. Any leaves buried in the medium may rot, inviting fungus and bacteria to the party. Leave two or three healthy leaves at the top so the cutting can photosynthesize.
Pinch off any flower buds. This redirects energy toward root formation. If a large top leaf looks likely to wilt, you can trim part of it, but do not remove all foliage. The cutting needs some leaves to make food, even while it is building its new underground plumbing system.
Step 6: Let the Cutting Rest Briefly
Some gardeners plant geranium cuttings immediately. Others let the cut end rest for a few hours, or even overnight, so the surface dries slightly. This brief rest can help reduce rot, especially with fleshy stems. Do not leave cuttings exposed for days. You want a lightly dried cut surface, not a botanical fossil.
If your environment is very dry, shorten the resting time. If your geranium stems are especially succulent, a little drying time can be helpful. The goal is balance: fresh enough to root, dry enough to resist rotting.
Step 7: Prepare a Light, Well-Drained Rooting Medium
Fill a small pot or cell pack with moistened rooting medium. Good choices include perlite, vermiculite, seed-starting mix, or a sterile peat-and-perlite blend. The medium should hold moisture but also drain freely. Heavy garden soil is not ideal because it may compact, stay too wet, and contain pathogens.
Moisten the medium before inserting the cutting. It should feel damp like a wrung-out sponge, not soggy like a forgotten beach towel. Containers must have drainage holes. Geraniums enjoy moisture, but they do not appreciate sitting in a tiny indoor swamp.
Step 8: Apply Rooting Hormone, If Desired
Rooting hormone is optional for geraniums, because many types root readily. Still, it can improve consistency, especially if conditions are less than perfect. Pour a small amount into a separate dish rather than dipping cuttings directly into the original container. This avoids contaminating your whole supply.
Dip the cut end lightly and tap off excess powder. More hormone is not better. A thick clump can inhibit rooting or create a messy paste around the stem. Think seasoning, not frosting.
Step 9: Stick the Cutting into the Medium
Use a pencil or dibber to make a hole 1 to 2 inches deep. Insert the cutting so at least one node is below the surface. Firm the medium gently around the stem so the cutting stands upright. Do not cram multiple cuttings too closely together. Crowding reduces airflow and increases disease risk.
Label each pot with the variety, color, or parent plant location. You may think you will remember which one is “salmon-pink porch geranium with fancy leaf,” but three weeks later every label-free pot will look like a tiny green witness protection program.
Step 10: Provide Humidity, Bright Indirect Light, and Warmth
Water the cutting gently after sticking it. Then place the pot in bright, indirect light. Avoid harsh direct sun until roots form because intense light can overheat the cutting and increase moisture loss. A bright windowsill with filtered light or a spot under grow lights works well.
Cover the pot loosely with a clear plastic bag or humidity dome to reduce wilting. Make sure plastic does not press against the leaves. Open the cover daily for fresh air and check for mold. High humidity helps cuttings survive, but stale, wet air can cause rot. Your cutting wants a spa day, not a mold convention.
Step 11: Check for Roots and Pot Up
Geranium cuttings often root in about four to eight weeks, depending on temperature, light, medium, and plant health. Do not tug aggressively. Instead, give the cutting a very gentle pull after several weeks. Resistance usually means roots are forming. New leaf growth is another encouraging sign.
Once the cutting has a healthy root system, transplant it into a 3- to 4-inch pot filled with well-drained potting mix. Water thoroughly, let excess water drain, and place the young plant in bright light. After it begins growing, pinch the tip to encourage branching and a fuller shape.
Aftercare for Newly Rooted Geranium Cuttings
Newly rooted geraniums need steady care, not fussing every ten minutes. Keep them in bright light, water when the top of the mix begins to dry, and avoid overwatering. Geraniums prefer to dry slightly between waterings. Constantly wet soil can lead to root rot, edema, and general plant sulking.
Do not fertilize heavily right away. Once the cutting is rooted and actively growing, use a diluted balanced fertilizer. Too much fertilizer too soon can damage tender roots. As the plant grows, pinch back leggy stems to encourage compact growth.
Before moving indoor-grown cuttings outdoors in spring, harden them off. Place them outside in a protected, shaded spot for a few hours a day, gradually increasing light and outdoor exposure over 7 to 10 days. Plant them outdoors only after all danger of frost has passed and the soil has warmed.
Common Mistakes When Propagating Geranium Cuttings
Using Diseased Parent Plants
This is the biggest mistake. If a geranium has bacterial blight, stem rot, or pest pressure, propagation can spread the problem. Always start with clean, vigorous plants.
Overwatering the Cuttings
Cuttings need moisture, but they do not have roots yet. A soggy medium can suffocate the stem and encourage rot. Keep the medium evenly damp, not drenched.
Putting Cuttings in Direct Sun
Strong sun can cause fast wilting before roots develop. Use bright, indirect light until the cuttings are established.
Skipping Airflow
A plastic cover can help maintain humidity, but it should not create a sealed terrarium forever. Open it daily and remove it gradually once the cutting perks up and begins rooting.
Expecting Instant Results
Geranium cuttings may take several weeks to root. Resist the urge to dig them up every three days. Root development is a quiet process. Let the plant do its underground paperwork in peace.
Water Rooting vs. Soil Rooting
Some gardeners root geranium cuttings in water, and it can work. A cutting placed in a glass of water may produce roots, especially in a warm spot with filtered light. However, roots formed in water are often more delicate than roots formed in a porous medium. When moved into potting mix, water-rooted cuttings may need extra time to adjust.
For the strongest transition, many gardeners prefer rooting cuttings directly in perlite, vermiculite, or seed-starting mix. This encourages roots that are already adapted to a soil-like environment. If you use water, change it regularly, keep leaves above the waterline, and pot the cutting once roots are about 1 inch long.
Troubleshooting: Why Your Geranium Cutting Is Not Rooting
If your cutting wilts immediately, it may have lost too much moisture before being stuck. Use fresher cuttings, reduce leaf area, and increase humidity. If the base turns black or mushy, the medium may be too wet, the tool may not have been clean, or the parent plant may have carried disease. Discard rotted cuttings quickly so they do not spread problems.
If the cutting stays green but does not root, check temperature and light. Cool rooms slow rooting. Dim light weakens the cutting. Bright indirect light and moderate warmth usually produce better results. Also check that at least one node is below the medium surface. A stem stuck too shallowly may stay alive for a while but fail to build a proper root system.
How to Use Your New Geranium Plants
Once rooted and growing, geranium cuttings are wonderfully versatile. Plant them in porch pots, window boxes, hanging baskets, mixed annual containers, or sunny garden beds. Zonal geraniums make bold upright accents. Ivy geraniums spill beautifully from baskets. Scented geraniums are excellent near patios or walkways where their leaves can be brushed and enjoyed.
Give outdoor geraniums at least four to six hours of sun in many climates, with afternoon shade helpful in very hot regions. Use well-drained soil, water deeply when needed, and allow the surface to dry somewhat between waterings. Remove faded blooms to keep plants tidy and encourage more flowers. Pinch young plants for a bushier habit.
Real-World Experience: What Geranium Cuttings Teach You
The first thing you learn from propagating geraniums is that plants are tougher than they look, but they are not interested in your impatience. A fresh cutting may look dramatic for the first day or two, especially if it was taken on a warm afternoon. The leaves may droop slightly, and you may feel the emotional need to apologize to it. Usually, if the medium is damp, the light is gentle, and humidity is steady, the cutting perks back up. The secret is to observe without overreacting. Gardeners often kill cuttings with kindness: too much water, too much sun, too much fertilizer, too much “let me just check the roots again.”
One useful habit is to take more cuttings than you think you need. If you want three new geraniums, take five or six cuttings. This is not pessimism; it is gardening math. Some stems root faster, some slower, and one may decide to become compost despite your best manners. Having extras also lets you choose the strongest young plants later. The same approach works well when saving a favorite geranium before winter. Instead of dragging a huge container indoors and trying to keep it attractive in a dry living room, you can root several small cuttings and overwinter them on a bright windowsill or under lights.
Another lesson is that labels matter. Red, pink, salmon, white, ivy, scented, variegatedeverything looks obvious when you take the cutting. A month later, when the plants are all small green starts, memory becomes unreliable. A simple label with the date and parent plant description saves confusion. It also helps you learn which varieties root quickly and which need more patience.
Cleanliness also becomes more important after one bad batch. If a cutting rots, remove it immediately. Wash reused pots. Use fresh medium. Keep leaves off the soil surface. Avoid splashing water onto foliage. These steps sound fussy until you see how quickly one mushy stem can spoil the mood in a propagation tray.
Finally, geranium propagation is satisfying because the results feel personal. A plant you rooted yourself is different from one you bought in a plastic six-pack. You notice its first new leaf. You remember the parent plant. You feel oddly proud when it blooms, as though you personally negotiated the flower contract. And in a way, you did. You gave a small stem the right conditions, resisted the urge to drown it, and waited long enough for it to become a plant. That is gardening in miniature: part science, part patience, and part standing near a windowsill whispering, “You’ve got this.”
Conclusion
Propagating geraniums from cuttings is simple, inexpensive, and deeply rewarding. Start with a healthy plant, take a clean 3- to 5-inch stem cutting below a node, remove lower leaves, use a light rooting medium, provide humidity and bright indirect light, and wait for roots to form. Once rooted, pot the young geranium into well-drained mix and grow it in bright light until it is ready for containers or garden beds.
The process is beginner-friendly, but it still rewards good habits: clean tools, disease-free stock plants, moderate moisture, patience, and labels. Follow these 11 steps and you can multiply your favorite geraniums season after season. Your porch will look fuller, your garden budget will breathe easier, and your friends may begin casually asking why you have so many “extra” plants. That is when you smile, hand them a rooted cutting, and pretend you had a plan all along.














