
Alfalfa sprouts are tiny, curly, crunchy little greens that somehow make a sandwich feel like it went to a spa. They are fresh, mild, slightly nutty, and surprisingly easy to grow at home. You do not need a garden bed, grow light, greenhouse, or the patience of a tomato farmer in July. You need seeds, clean water, good drainage, and a few minutes of attention twice a day.
But before we turn your kitchen counter into a miniature sprout farm, let’s be honest: sprouts are not just “set it and forget it” food. The same warm, moist conditions that help alfalfa seeds wake up and grow can also help unwanted bacteria multiply. That does not mean you should panic and throw your mason jars into the yard. It means you should grow alfalfa sprouts thoughtfully, cleanly, and in small batches.
This guide explains how to grow alfalfa sprouts three best ways: in a mason jar, in a tray sprouter, and in a sprouting bag or colander setup. You will also learn how to choose seeds, rinse properly, avoid moldy smells, harvest at the right time, store sprouts safely, and use them in meals without turning lunch into a science experiment with questionable supervision.
What Are Alfalfa Sprouts?
Alfalfa sprouts are the young shoots of alfalfa seeds, usually harvested within three to six days of sprouting. Unlike microgreens, which are often grown in soil or a growing mat and cut above the root, sprouts are typically grown with water only. You eat the tender shoots, roots, and tiny leaves together.
The flavor is mild and grassy, which makes alfalfa sprouts easy to add to sandwiches, wraps, omelets, grain bowls, avocado toast, and salads. They bring crunch without shouting over the rest of the dish. Think of them as the polite guest at the food party: refreshing, useful, and not trying to dominate the guacamole.
Before You Start: Important Sprout Safety Basics
Growing alfalfa sprouts at home is simple, but it is not the same as growing basil on a windowsill. Sprouts are often eaten raw, and raw sprouts have been linked to foodborne illness outbreaks. Children under 5, adults 65 and older, pregnant people, and anyone with a weakened immune system should avoid raw sprouts. Cooking sprouts thoroughly reduces risk.
To grow alfalfa sprouts more safely at home, follow these rules:
- Buy seeds labeled for sprouting, preferably from a reputable supplier that tests for pathogens.
- Do not use garden seeds, field seeds, or seeds treated with fungicides or coatings.
- Wash your hands before touching seeds, jars, trays, lids, bags, or finished sprouts.
- Sanitize equipment before each batch.
- Use clean, drinkable water for soaking and rinsing.
- Rinse and drain at least every 12 hours.
- Avoid standing water, because soggy sprouts spoil quickly.
- Keep sprouts away from raw meat, dirty sinks, pets, and high-traffic kitchen mess zones.
- Dry sprouts well before refrigeration.
- Store finished sprouts at 40°F or below and use them within a few days.
Supplies You Need to Grow Alfalfa Sprouts
You do not need fancy equipment, although sprouting lids and trays make life easier. Here is the basic starter kit:
- Organic or pathogen-tested alfalfa sprouting seeds
- Clean water
- Wide-mouth mason jar, sprouting tray, or sprouting bag
- Mesh sprouting lid, cheesecloth, or fine strainer
- Clean bowl or rack for angled draining
- Paper towels or a clean kitchen towel for drying
- Clean storage container for the refrigerator
For a quart-size jar, start with 1 to 2 tablespoons of alfalfa seeds. That looks like nothing. Do not be fooled. These tiny seeds expand like they have big dreams and no respect for jar capacity.
Quick Growing Timeline for Alfalfa Sprouts
| Day | What Happens | What You Do |
|---|---|---|
| Day 0 | Seeds are soaked | Rinse, soak 6 to 12 hours, then drain |
| Day 1 | Seeds swell and begin to crack | Rinse and drain twice daily |
| Day 2 to 3 | Tiny roots appear | Keep rinsing and draining well |
| Day 4 to 5 | Sprouts lengthen and leaves form | Give indirect light for greening |
| Day 5 to 6 | Sprouts are ready | Final rinse, dry, refrigerate, or cook |
Method 1: How to Grow Alfalfa Sprouts in a Mason Jar
The mason jar method is the classic choice for beginners. It is inexpensive, easy to monitor, and perfect for small household batches. If you are learning how to grow alfalfa sprouts for the first time, start here.
Step 1: Sanitize the Jar and Lid
Wash the jar, lid, and any mesh or ring parts with hot, soapy water. Rinse thoroughly. You can also sanitize the jar according to safe kitchen-surface sanitizing directions, then rinse with clean water and allow it to air-dry. A clean setup is not optional; it is the foundation of better sprouts.
Step 2: Rinse the Seeds
Add 1 to 2 tablespoons of alfalfa sprouting seeds to a quart jar. Cover with cool water, swirl gently, and drain. Repeat once or twice to remove dust or loose hulls.
Step 3: Soak the Seeds
Fill the jar with enough cool water to cover the seeds by several inches. Let them soak for 6 to 12 hours at room temperature. Overnight works beautifully. The seeds will swell, soften, and begin their dramatic transformation from “tiny pebbles” to “sandwich confetti.”
Step 4: Drain Thoroughly
After soaking, drain all the water through the mesh lid or cheesecloth. Then place the jar upside down at a 45-degree angle in a bowl or dish rack. The goal is airflow plus drainage. Sprouts like moisture, but they do not want to sit in a swamp.
Step 5: Rinse Twice Daily
Rinse the sprouts with cool water every morning and evening. Swirl gently, drain completely, and return the jar to its angled position. If your kitchen is warm, a third rinse can help keep sprouts fresh. Always drain well after each rinse.
Step 6: Give Them Indirect Light Near the End
For the first few days, keep the jar in a dark or low-light spot. Once the sprouts have grown and tiny leaves appear, move the jar to indirect light for several hours. This helps the leaves turn green. Avoid direct hot sun, which can heat the jar and stress the sprouts.
Step 7: Harvest, Dry, and Store
When the sprouts are 1 to 2 inches long and have tiny green leaves, they are ready. Give them a final rinse, remove loose hulls if you like, and spread the sprouts on a clean towel to dry. Refrigerate in a clean container lined with a paper towel. Use within a few days for best quality.
Method 2: How to Grow Alfalfa Sprouts in a Tray Sprouter
A tray sprouter is excellent if you want a flatter, more even batch. It is also handy when growing more than one type of sprout at a time. Tray sprouters usually stack, drain neatly, and keep sprouts from clumping as much as they sometimes do in a jar.
Step 1: Clean the Tray
Wash and sanitize the tray, lid, and drainage base before use. Pay attention to corners and grooves where moisture can hide. Sprouts are small, but food safety details are not.
Step 2: Soak Seeds Separately
Soak 1 to 2 tablespoons of alfalfa seeds in a clean jar or bowl for 6 to 12 hours. After soaking, drain and rinse them well.
Step 3: Spread Seeds Evenly
Transfer the soaked seeds to the tray and spread them into a thin, even layer. Do not pile them up. Crowding traps moisture and reduces airflow, which can lead to sour smells or uneven growth.
Step 4: Rinse and Drain
Rinse the tray twice a day with cool water, then allow it to drain completely. Many trays are designed to drain through the bottom, but you should still check that water is not pooling. If water collects under the tray, empty it.
Step 5: Green and Harvest
By day four or five, the sprouts should be long, crisp, and beginning to leaf out. Place the tray in indirect light for a short greening period. Harvest when the sprouts look fresh and smell clean. Rinse, dry well, and refrigerate.
Method 3: How to Grow Alfalfa Sprouts in a Sprouting Bag or Colander
The sprouting bag method is compact, breathable, and useful if you do not want jars rolling around your counter like glass bowling pins. A clean hemp or cotton sprouting bag works well, but a fine colander can also do the job for small batches.
Step 1: Soak the Seeds
Rinse and soak the alfalfa seeds in a clean bowl or jar for 6 to 12 hours. Drain well after soaking.
Step 2: Move Seeds to the Bag or Colander
Transfer the soaked seeds into the sprouting bag or fine colander. If using a bag, hang it over a bowl or sink area where it can drip without sitting in water. If using a colander, set it over a bowl and cover lightly with a clean towel.
Step 3: Rinse Often
Rinse the bag or colander thoroughly twice daily. Let water run through the seeds, then shake gently to remove excess moisture. The bag should feel damp, not drenched.
Step 4: Encourage Airflow
Airflow is the big advantage of this method. Keep the bag hanging or the colander elevated so water can escape. If sprouts smell sour, feel slimy, or look discolored, discard them and start over with cleaner equipment and better drainage.
Step 5: Finish and Store
Once the sprouts are ready, give them a final rinse and spread them on a clean towel until mostly dry. Store in a clean, covered container in the refrigerator.
Which Method Is Best?
The best method depends on your kitchen and your habits. The mason jar method is easiest for beginners because you can see what is happening. The tray method is best for even growth and larger batches. The sprouting bag or colander method is ideal for airflow and compact storage.
If you are new to homegrown sprouts, choose the jar method first. It teaches the rhythm: rinse, drain, breathe, repeat. Once you understand that rhythm, trays and bags become easy variations.
Common Mistakes When Growing Alfalfa Sprouts
Using Too Many Seeds
More seeds do not always mean more success. Overcrowding creates damp pockets and poor airflow. Start small. A tablespoon or two can produce a generous batch.
Not Draining Enough
Poor drainage is the fastest way to ruin sprouts. After every rinse, drain until no water is pooling. In a jar, keep it angled. In a tray, empty the base. In a bag, let it hang freely.
Forgetting a Rinse
Sprouts need regular moisture. If they dry out too much, they stall. If they sit wet too long, they spoil. Twice a day is the sweet spot for most kitchens.
Growing in Direct Sun
Alfalfa sprouts do not need bright sun. A little indirect light near harvest helps green them up, but hot direct sunlight can warm the container and damage the batch.
Ignoring Bad Smells
Fresh sprouts smell clean and mild. If they smell sour, musty, rotten, or swampy, do not taste-test them like a brave but doomed cooking-show contestant. Throw them away.
How to Harvest Alfalfa Sprouts
Harvest alfalfa sprouts when they are about 1 to 2 inches long, crisp, and lightly green. This usually happens around day five, though temperature, seed freshness, and rinse habits can shift the timing.
To harvest, rinse thoroughly with cool water. Some hulls will float. You can skim them off, but you do not need to remove every single one. Drain the sprouts well, then spread them on a clean towel or paper towels. Drying matters because wet sprouts spoil faster in the refrigerator.
How to Store Alfalfa Sprouts
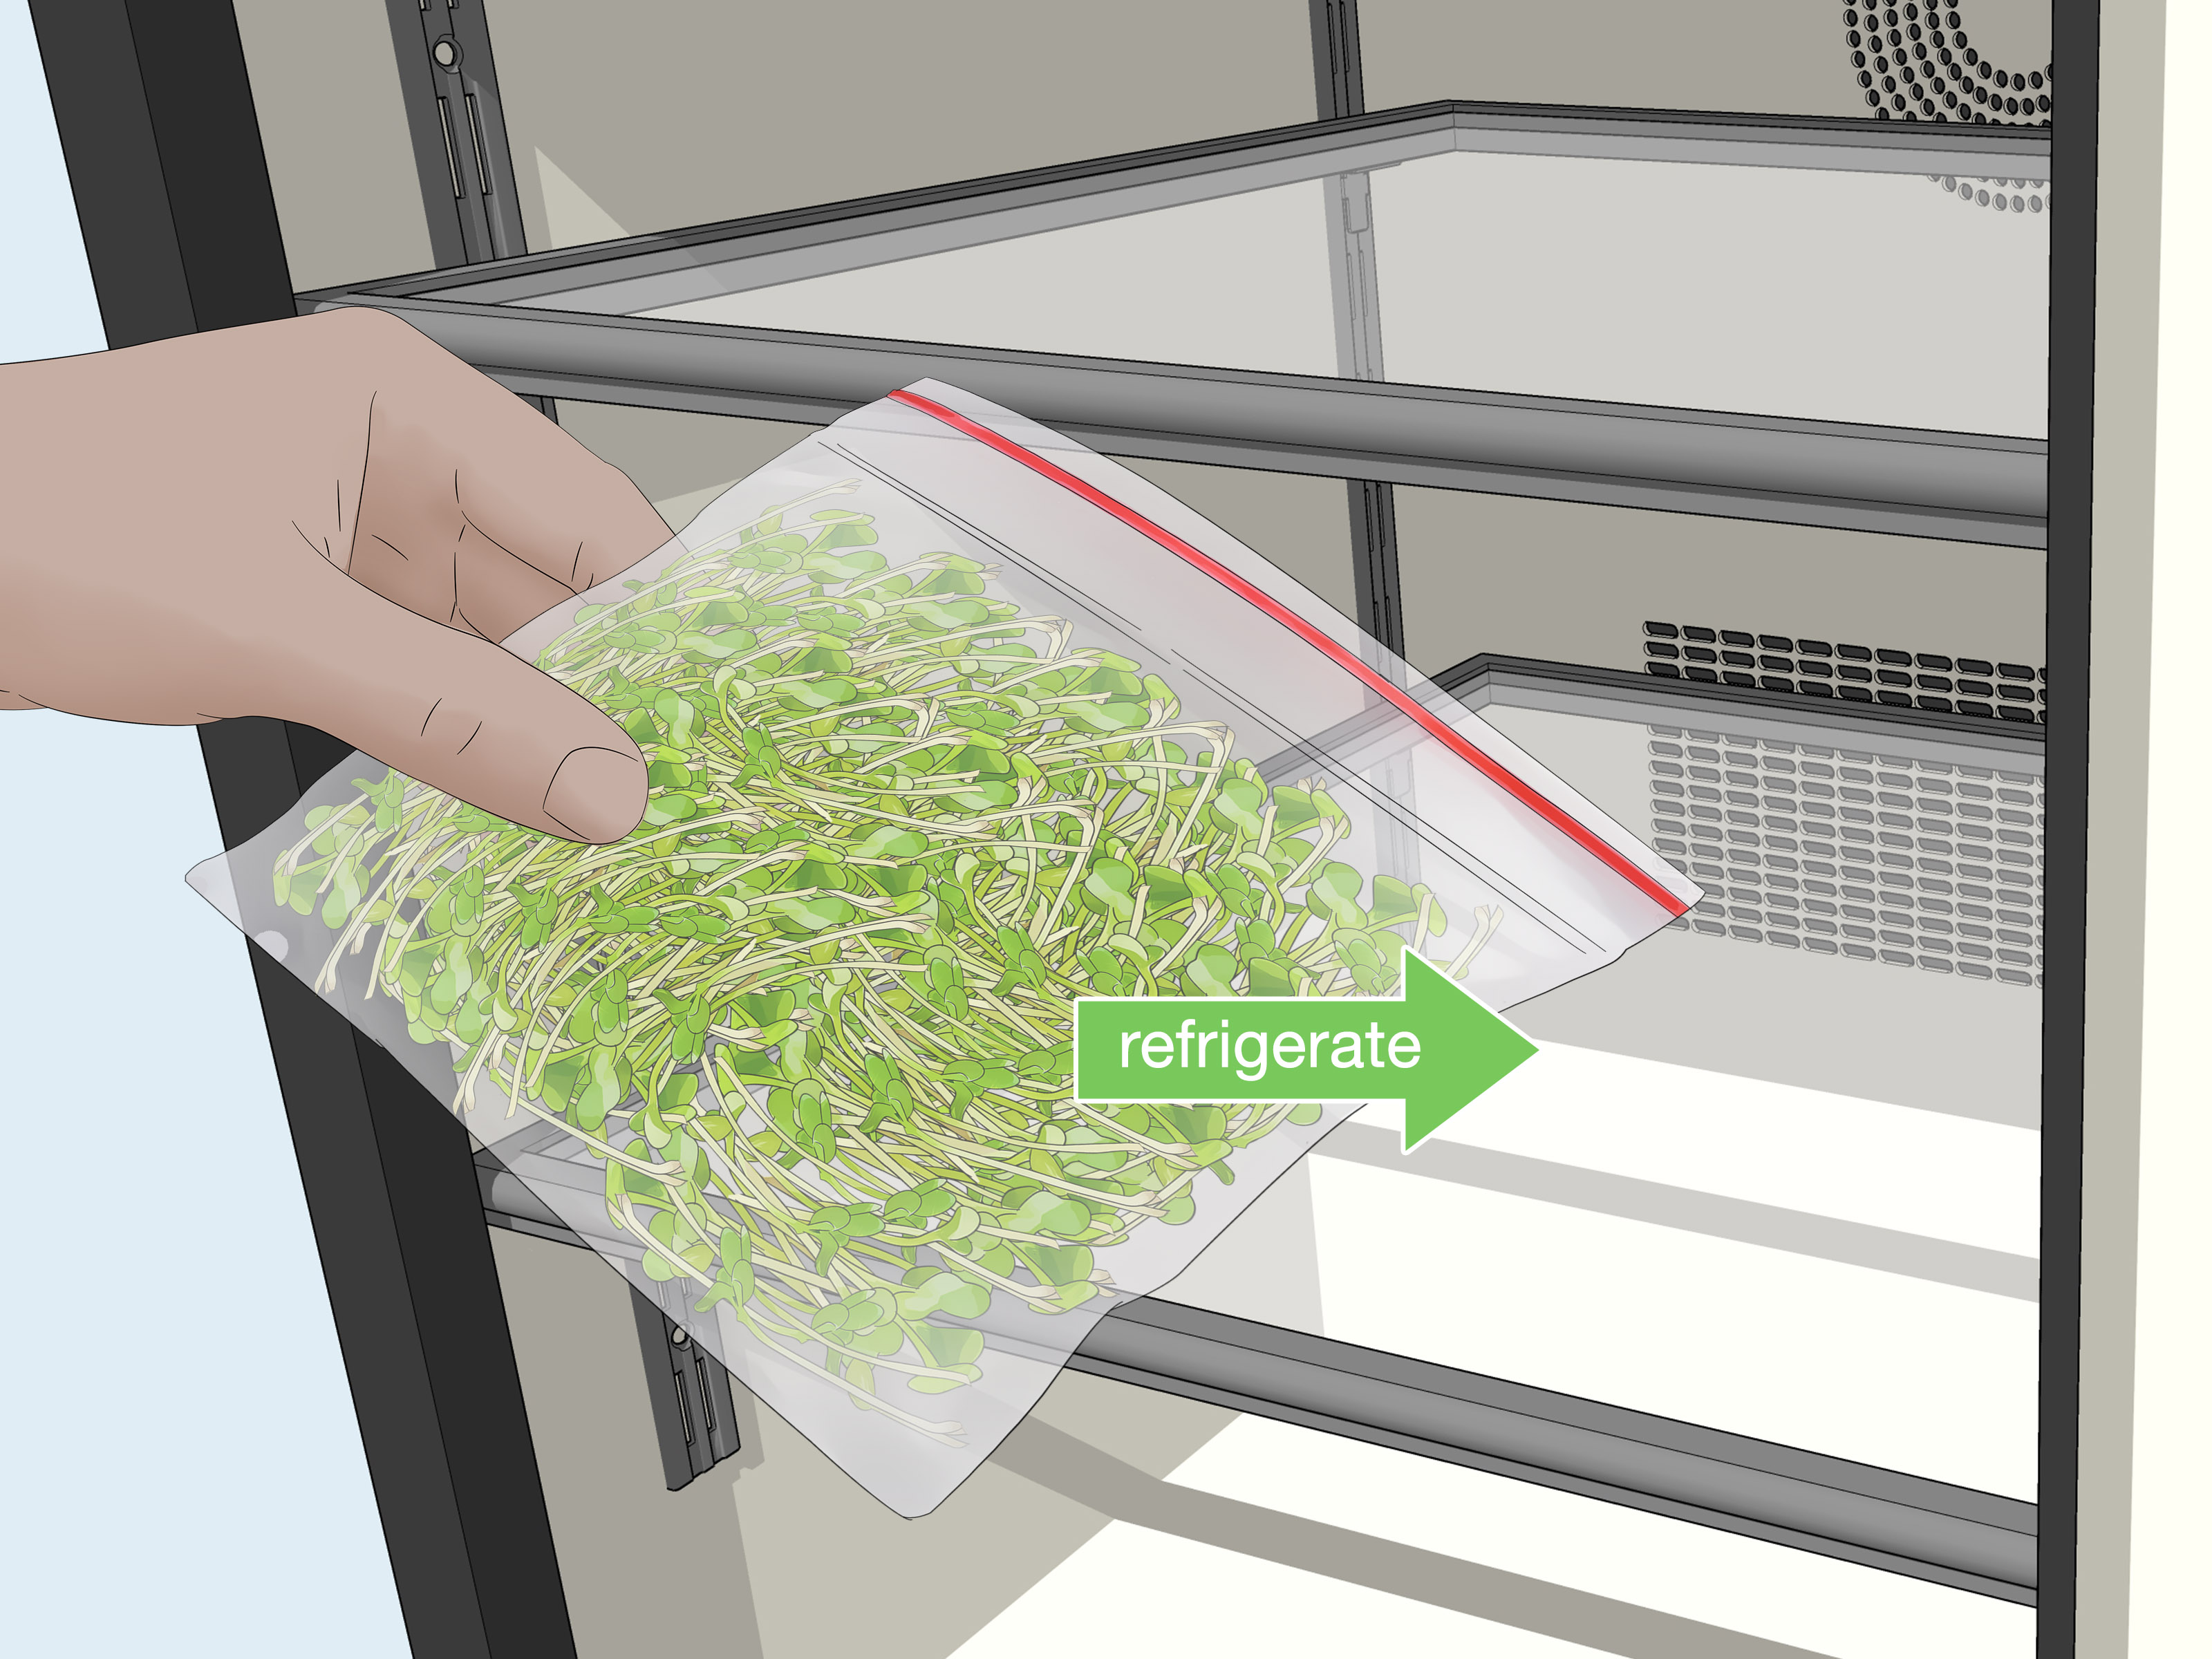
Place dry sprouts in a clean container lined with a paper towel. Keep them refrigerated at 40°F or below. Replace the paper towel if it becomes very wet. For best texture and freshness, use sprouts within three to four days, though some guidance allows up to four to six days when sprouts are properly refrigerated and still look and smell fresh.
Never store sprouts at room temperature after harvest. Also avoid sealing wet sprouts tightly in a container. They need to be cool and dry enough to stay crisp.
How to Use Alfalfa Sprouts in Meals
Alfalfa sprouts are famous in deli sandwiches, especially with turkey, avocado, cucumber, tomato, or hummus. They also work in wraps, tacos, veggie burgers, scrambled eggs, soups, and rice bowls. If you are serving someone in a higher-risk group, cook the sprouts thoroughly instead of serving them raw.
Try these easy ideas:
- Add a handful to a turkey and avocado sandwich for crunch.
- Tuck sprouts into a hummus wrap with shredded carrots and cucumber.
- Top a grain bowl with sprouts after cooking, or stir them into a hot bowl to wilt.
- Add cooked sprouts to omelets or fried rice.
- Use them as a fresh garnish for tacos or veggie burgers.
Troubleshooting: Why Did My Alfalfa Sprouts Fail?
My Sprouts Are Slimy
Sliminess usually means too much moisture, poor drainage, overcrowding, or old sprouts. Discard the batch. Next time, use fewer seeds and drain more aggressively.
My Sprouts Smell Bad
A bad smell is a warning sign. Fresh sprouts should not smell rotten or sour. Throw out the batch, wash and sanitize everything, and start with fresh seeds.
My Sprouts Are Not Growing
The seeds may be old, not intended for sprouting, too dry, or exposed to extreme temperatures. Use fresh sprouting seeds and keep them at comfortable room temperature.
My Sprouts Turned Brown
Browning can happen from age, heat, rough handling, or spoilage. If the sprouts look tired or smell off, discard them.
Extra Experience Notes: What Growing Alfalfa Sprouts Teaches You
The first thing you learn when growing alfalfa sprouts is that tiny seeds have no sense of scale. You pour a tablespoon into a jar and think, “That cannot possibly become much.” Then a few days later, the jar looks like it is wearing a green wig. This is why small batches are not just safer and fresher; they are more practical. Unless you are feeding a family of rabbits with refined sandwich preferences, one quart jar at a time is usually enough.
The second lesson is that drainage is everything. In many home sprouting failures, the problem is not the seed, the jar, or the moon phase. It is water sitting where it should not sit. After rinsing, take a few extra seconds to shake out the water and set the jar at a real angle. “Mostly drained” is not the same as drained. Sprouts are like guests after a pool party: damp is fine, but nobody wants to sleep in a puddle.
Another useful experience is learning your kitchen’s temperature personality. Some kitchens are cool and calm; sprouts grow slowly there but often stay crisp. Other kitchens are warm, especially near dishwashers, sunny windows, ovens, or refrigerators that blow warm air. In a warmer kitchen, rinse more often and pay closer attention to smell and texture. If a spot feels warm to your hand, it is probably not the best place for sprouts.
Light is also easy to overthink. Alfalfa sprouts do not need a dramatic grow-light setup. For most of the sprouting period, indirect or low light is fine. Near the end, a little indirect light helps the tiny leaves turn green. Do not place the jar in blazing sunlight like you are trying to tan it before vacation. Too much heat can quickly turn a promising batch into compost with confidence issues.
Finally, homegrown sprouts teach you to trust your senses. Fresh alfalfa sprouts should look lively, feel crisp, and smell clean. If they smell musty, sour, or unpleasant, do not rinse them five more times and hope for a redemption arc. Discard them. A failed batch costs only a spoonful of seeds; an upset stomach costs much more in regret, ginger tea, and dramatic couch time.
The best routine is simple: start small, keep everything clean, rinse on schedule, drain thoroughly, harvest promptly, dry before storing, and eat or cook the sprouts while they are fresh. Once that routine becomes automatic, growing alfalfa sprouts feels less like a project and more like a tiny daily kitchen ritual. It is quick, satisfying, and just quirky enough to make you feel like you are doing homesteading in miniature.
Conclusion
Learning how to grow alfalfa sprouts is one of the easiest ways to bring fresh, crunchy greens into your kitchen without soil, outdoor space, or expensive equipment. The mason jar method is perfect for beginners, the tray method is tidy and scalable, and the sprouting bag or colander method gives excellent airflow in a compact setup.
The secret is not complicated: choose quality sprouting seeds, keep your equipment clean, rinse regularly, drain completely, and harvest while the sprouts are young and crisp. Just as important, respect sprout safety. Raw alfalfa sprouts are not the best choice for everyone, especially people at higher risk of foodborne illness. When in doubt, cook them thoroughly.
With a little care, you can grow fresh alfalfa sprouts at home in less than a week. Your sandwiches will crunch louder. Your wraps will look fresher. And your kitchen counter will have a tiny green project that makes you feel productive before you have even finished your coffee.













