
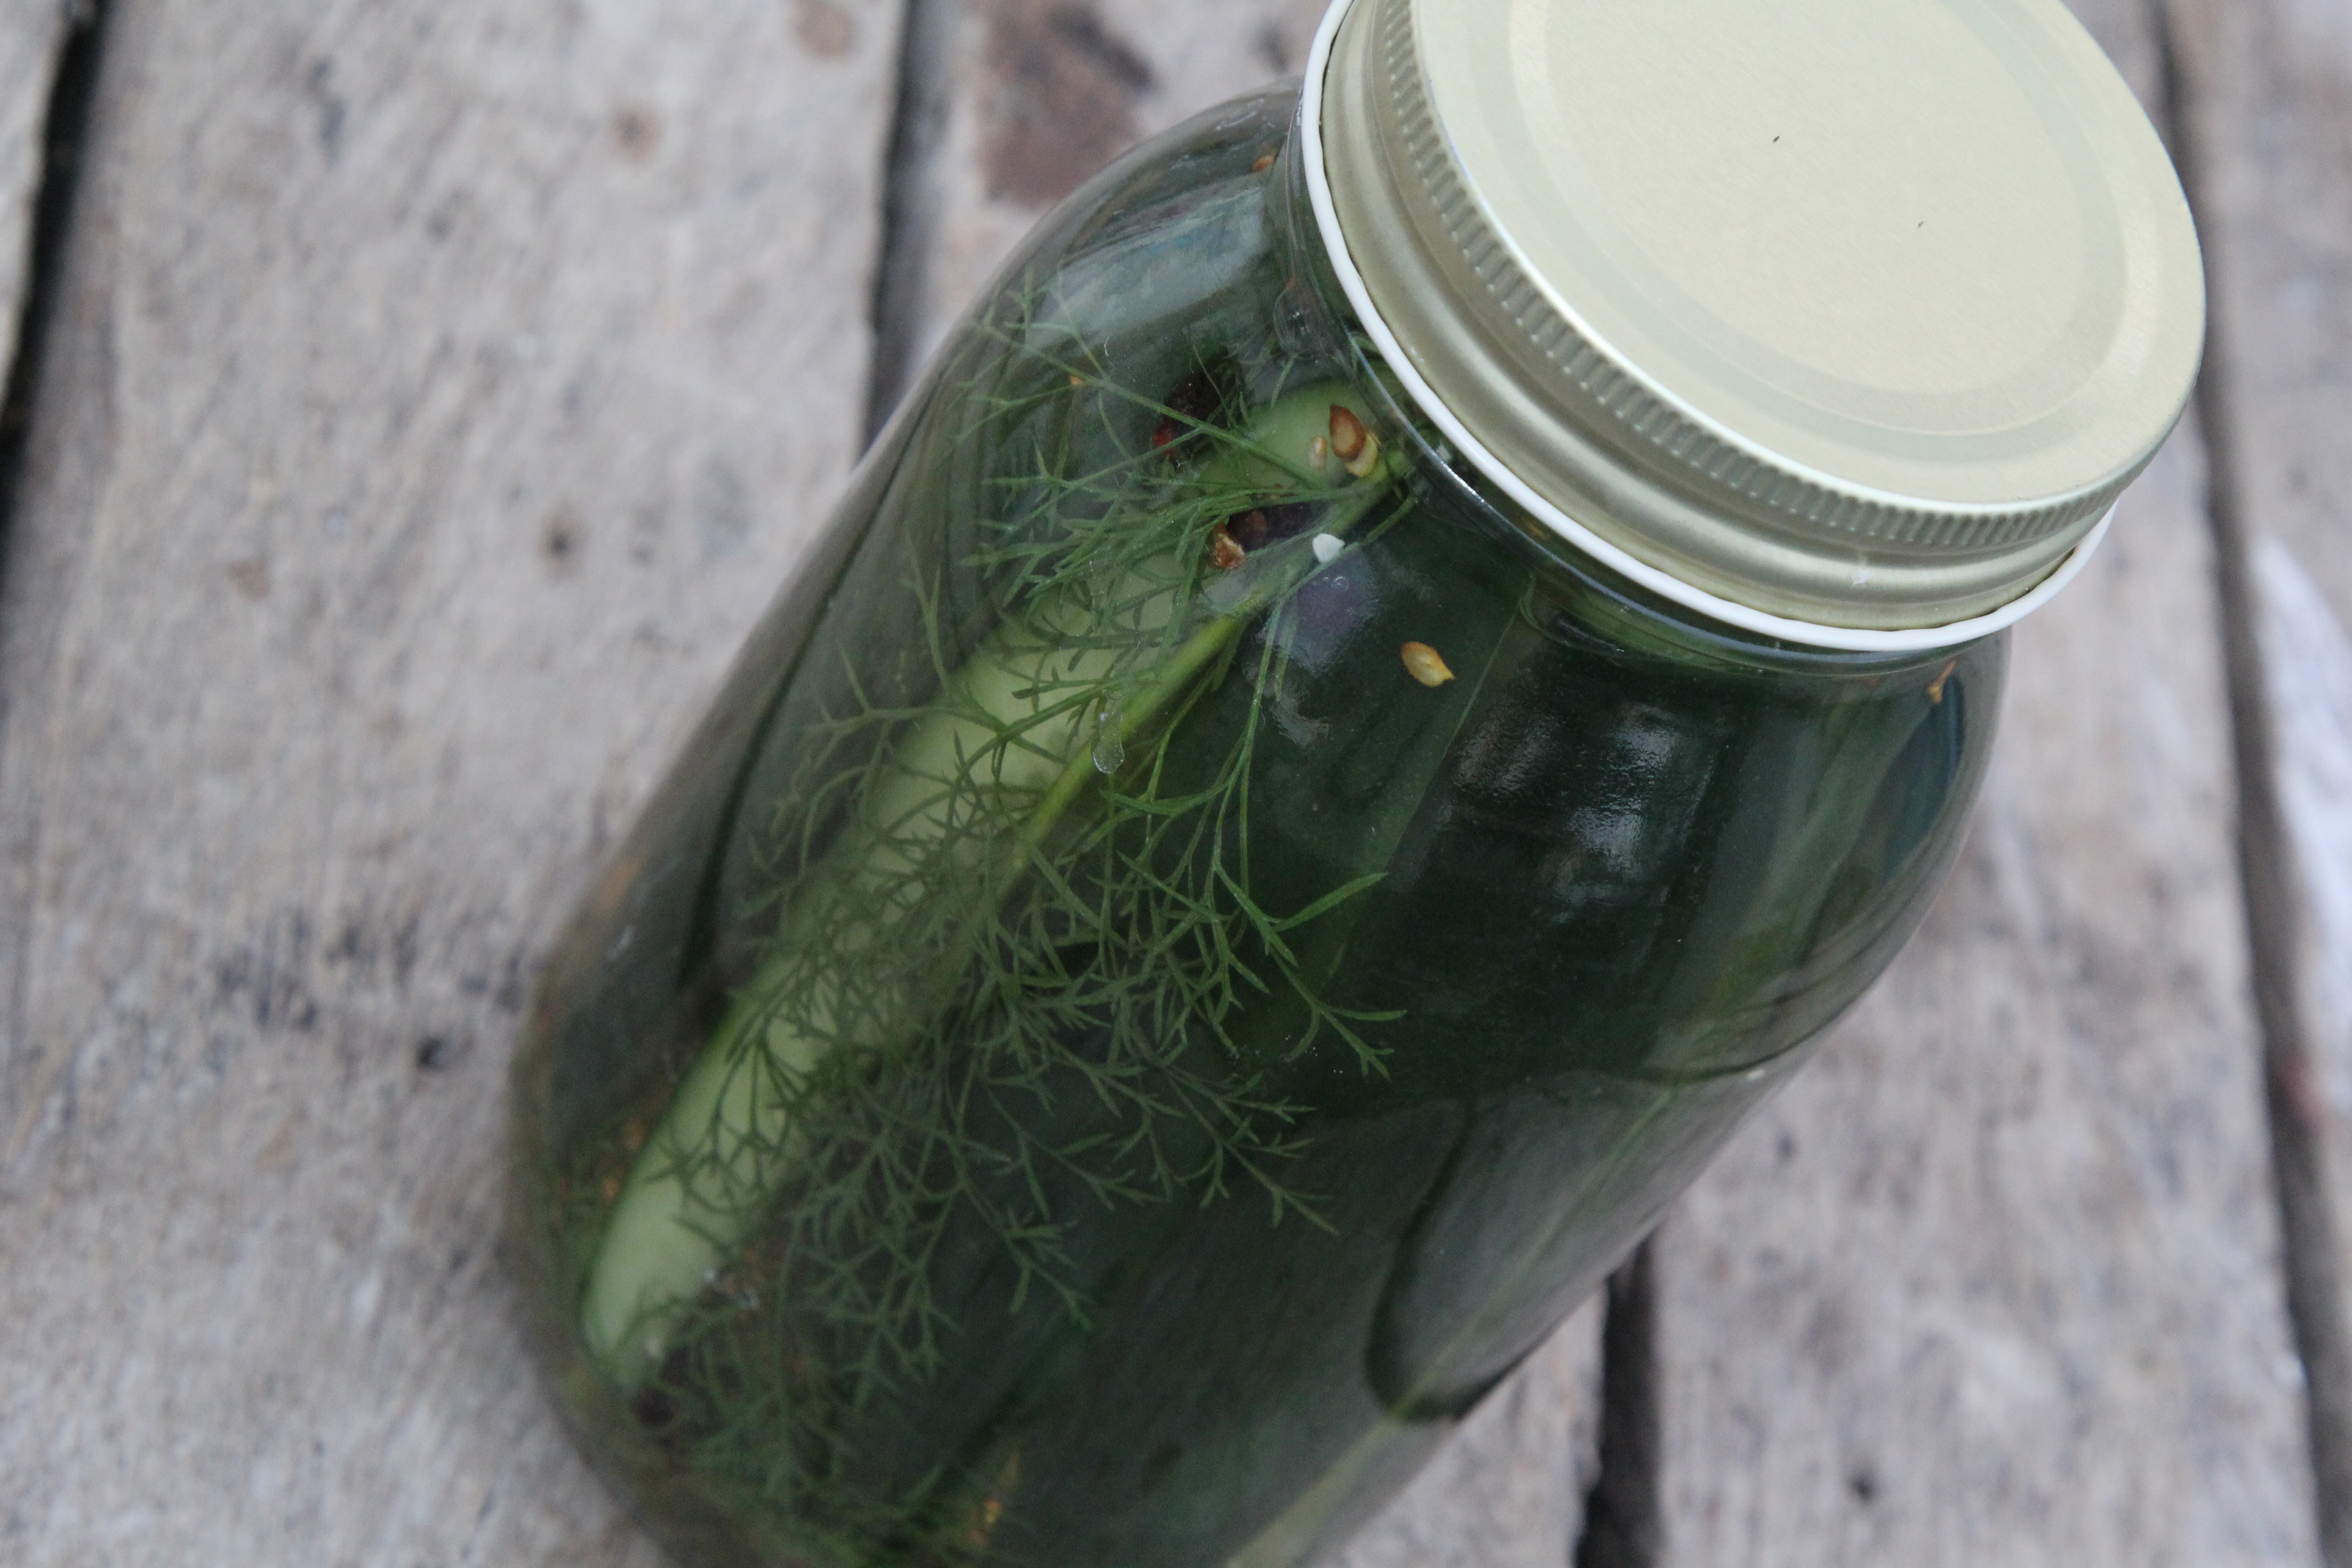
There is a dramatic difference between a great dill pickle and a disappointing one. A great pickle snaps when you bite it, delivers a bright burst of garlic and dill, and leaves behind just enough tang to make you reach for another. A disappointing pickle bends like a tiny green pool noodle and tastes mostly of regret.
Fortunately, learning how to make crispy dill pickles is less mysterious than it appears. The secret is not dumping half the spice cabinet into a jar. Crunch depends primarily on choosing the right cucumbers, preparing them correctly, using a balanced brine, and avoiding unnecessary heat.
This guide focuses on easy refrigerator dill pickles because they offer excellent texture without requiring a canner. You will also learn why pickles turn soft, how to adjust their flavor, and what changes are safe when working with a shelf-stable canning recipe.
Important note: The recipe below produces refrigerator pickles, not shelf-stable canned pickles. Keep the finished jars refrigerated. For pantry storage, use a current, research-tested canning recipe and follow its vinegar proportions, jar size, processing time, and altitude adjustments exactly.
Why Homemade Dill Pickles Sometimes Lose Their Crunch
A cucumber is mostly water held inside a delicate network of plant cells. Once it is harvested, that structure gradually weakens. Heat, age, microbial activity, improper brine, and natural enzymes can accelerate the softening process.
That means crisp pickles begin at the produce stand, garden, or grocery storenot when the vinegar hits the saucepan. A limp cucumber cannot be transformed into a championship-level pickle. Vinegar is useful, but it is not a vegetable chiropractor.
The most common causes of soft pickles
- Using old, oversized, waxed, or soft cucumbers
- Choosing slicing or “burpless” cucumbers instead of pickling varieties
- Leaving the blossom end attached
- Allowing cucumbers to become warm before pickling
- Pouring extremely hot brine over them unnecessarily
- Using weak vinegar or altering a tested canning formula
- Storing refrigerator pickles above a safe refrigerator temperature
- Processing canned pickles longer or hotter than the tested recipe specifies
The Seven Rules of Crispy Dill Pickles
1. Start with pickling cucumbers
Kirby cucumbers and other small pickling varieties are ideal because they have firm flesh, thin skins, small seeds, and a compact shape. Look for cucumbers that are uniformly green, unwrinkled, and very firm. Avoid specimens with soft spots, yellow areas, or large mature seeds.
Smaller cucumbers usually produce better whole pickles and spears. Cucumbers no more than about two inches in diameter are a practical target. Larger ones can still become pickle chips or relish, but they are less likely to deliver that dramatic deli-style snap.
2. Use them as soon as possible
Freshly harvested cucumbers make the crispest pickles. Ideally, pickle them on the day they are picked or purchased. If that is impossible, refrigerate them and use them within a day or two.
Do not leave cucumbers in a warm kitchen while you spend the afternoon alphabetizing your spice rack. Keep them cold until preparation begins.
3. Remove the blossom end
Slice approximately 1/16 inch from the blossom end of every cucumber. The blossom end is opposite the stem end and may contain enzymes and microorganisms associated with softening.
When you cannot identify the blossom end confidently, trim a thin slice from both ends. You will sacrifice a tiny amount of cucumber but gain considerable peace of mind.
4. Give the cucumbers an ice-water bath
Soak the trimmed cucumbers in a large bowl of ice water for four to five hours before packing the jars. This step helps rehydrate the vegetables and firms their cellular structure.
Keep the bowl refrigerated or add more ice as necessary. Drain the cucumbers thoroughly before cutting or packing them.
5. Use vinegar labeled 5% acidity
Distilled white vinegar produces a clean, bright flavor and clear brine. Apple cider vinegar creates a slightly softer, fruitier flavor but may darken the cucumbers and liquid.
Whatever variety you select, check the label for 5% acidity. Do not use homemade vinegar or a product with unknown acidity in a canning recipe. For refrigerator pickles, consistent acidity still improves flavor and keeping quality.
6. Use pickling salt
Pickling or canning salt dissolves cleanly because it does not contain the anti-caking additives commonly found in table salt. Those additives are not necessarily dangerous, but they can make the brine cloudy.
Avoid substituting flaky kosher salt by volume unless the recipe provides a weight. Crystal sizes vary among brands, so one tablespoon of one salt may contain considerably less sodium than a tablespoon of another.
7. Control the heat
Heat softens vegetables. For refrigerator dill pickles, heat the brine only enough to dissolve the salt and sugar, and then cool it before pouring it over the cucumbers.
Shelf-stable canned pickles are different. They must receive the heat processing specified by a tested recipe. Do not reduce a validated processing time simply to chase a crunchier pickle.
Crispy Refrigerator Dill Pickle Recipe
This recipe makes approximately two quart jars, depending on the size and shape of the cucumbers. Spears are easy to pack, while chips absorb flavor more quickly.
Ingredients
- 2 pounds small, firm pickling cucumbers
- 2 cups distilled white vinegar labeled 5% acidity
- 2 cups filtered water
- 2 tablespoons pickling or canning salt
- 1 tablespoon granulated sugar, optional
- 4 to 6 large sprigs fresh dill or 2 dill flower heads
- 4 garlic cloves, peeled and lightly crushed
- 2 teaspoons mustard seeds
- 2 teaspoons whole black peppercorns
- 1 teaspoon dill seeds, optional
- 1/2 teaspoon red pepper flakes, optional
- 2 bay leaves, optional
- Calcium chloride pickle-crisping granules, optional, used according to the package directions
Equipment
- Two clean quart-size glass jars with lids
- Medium saucepan
- Large bowl
- Ice
- Sharp knife
- Cutting board
- Wide-mouth funnel, optional
Step-by-Step Instructions
Step 1: Wash and trim the cucumbers
Rinse the cucumbers under cool running water and rub away any soil. Do not scrub so aggressively that you damage the skin.
Cut approximately 1/16 inch from the blossom end. Leave the cucumbers whole if they are small, or cut them into halves, quarters, spears, or 1/4-inch chips. Try to make the pieces similar in size so they pickle evenly.
Step 2: Soak them in ice water
Place the prepared cucumbers in a large bowl and cover them completely with ice water. Refrigerate or keep well iced for four to five hours.
When the soaking time is complete, drain the cucumbers and pat away excess surface water. They should already feel firmer and colder.
Step 3: Prepare the brine
Combine the vinegar, filtered water, pickling salt, and optional sugar in a saucepan. Warm the mixture over medium heat, stirring until the salt and sugar dissolve.
The brine does not need a prolonged boil. Remove it from the heat and allow it to cool to room temperature. Using cooled brine helps protect the cucumbers from heat-related softening.
Step 4: Add the seasonings
Divide the dill, garlic, mustard seeds, peppercorns, dill seeds, red pepper flakes, and bay leaves between the two clean jars.
For a classic flavor, use plenty of fresh dill without overwhelming the jar with garlic. Two cloves per quart provide a noticeable savory note. Garlic enthusiasts may add another clove, although the pickles will become more assertive as they rest.
Step 5: Pack the jars
Pack the cucumbers snugly into the jars without crushing them. Position spears vertically and fit smaller pieces into open spaces. Leave enough room at the top for the brine to cover everything.
Add calcium chloride granules at this point when using them. Follow the manufacturer’s measurement rather than estimating. More does not automatically mean crunchier; too much may create an unpleasant mineral taste.
Step 6: Add the cooled brine
Pour the cooled brine over the cucumbers until they are fully covered. Gently tap the jars or slide a clean nonmetallic utensil around the inside to release trapped air bubbles.
All cucumber pieces should remain below the liquid. A small food-safe fermentation weight can help, although tightly packed spears often stay submerged without assistance.
Step 7: Refrigerate before tasting
Close the jars and refrigerate them immediately. Allow at least 24 hours for the first taste, although the flavor becomes better integrated after 48 to 72 hours.
Chips pickle faster than whole cucumbers. Whole pickles may need five to seven days before their centers taste fully seasoned.
Keep the jars refrigerated and use clean utensils whenever removing pickles. For the best texture and quality, enjoy them within three to four weeks. Discard the contents if you notice mold, unusual bubbling, a foul odor, sliminess, or other signs of spoilage.
How to Customize the Flavor
Make garlic dill pickles
Add one or two extra crushed garlic cloves per quart. Crushed cloves release flavor faster than whole cloves, while sliced garlic produces an even stronger result.
Make spicy dill pickles
Add red pepper flakes, a dried chile, or several fresh jalapeño slices to each jar. Begin modestly. The heat can intensify during storage, and it is much easier to add spice than to negotiate with a furious cucumber.
Create deli-style pickles
Increase the black peppercorns and mustard seeds, add a small pinch of coriander seeds, and include a strip of fresh horseradish. Coriander is powerful, so use it as a background flavor rather than allowing it to take over the jar.
Make lightly sweet dill pickles
Increase the sugar to two or three tablespoons for a softer sweet-and-sour balance. Because these are refrigerated pickles, modest flavor adjustments are flexible. Do not make comparable changes to the vinegar, water, or vegetable proportions of a tested canning recipe.
Fresh Dill Versus Dill Seed
Fresh dill contributes a grassy, herbal aroma, while dill seed provides a warmer, more concentrated flavor. Dill flower heads are especially traditional because they contain both aromatic foliage and developing seeds.
Using both fresh dill and dill seed creates the fullest flavor. When fresh dill is unavailable, dill seed alone works well. Dried dill weed is less ideal because it floats throughout the brine and can make the jars look as though a lawn mower sneezed into them.
Do Grape Leaves Make Pickles Crisp?
Grape, oak, cherry, and horseradish leaves have traditionally been added to pickle crocks because their tannins may help slow certain softening reactions. A clean grape leaf can contribute a subtle earthy note, but it cannot rescue poor-quality cucumbers or an incorrect recipe.
For dependable crunch, prioritize fresh pickling cucumbers, blossom-end removal, cold soaking, correct acidity, and controlled heat. Consider a grape leaf an optional supporting actor, not the superhero of the jar.
What About Alum or Pickling Lime?
Modern refrigerator pickles generally do not require alum or pickling lime. Fresh ingredients, an ice-water soak, and optional food-grade calcium chloride provide a simpler route to firm texture.
Pickling lime appears in some research-tested traditional recipes, but it must be measured and rinsed away exactly as directed. Improper use can interfere with acidity. Do not casually add lime to a recipe that was not designed for it.
How to Make Shelf-Stable Crispy Dill Pickles
Refrigerator pickles and canned pickles are not interchangeable. Shelf-stable dill pickles require a validated recipe containing an established amount of 5% acidity vinegar, along with specified jar sizes, headspace, processing methods, and altitude adjustments.
Never reduce the vinegar, add extra water, pack substantially more vegetables into each jar, or shorten the processing time. These changes may affect safety, not merely flavor.
For better texture in canned pickles, choose a tested recipe that permits low-temperature pasteurization, or use calcium chloride when the recipe or product instructions allow it. Low-temperature pasteurization requires close temperature control and should be used only when explicitly included in the recipe.
Troubleshooting Homemade Dill Pickles
Why are my pickles soft?
The cucumbers may have been old, too large, poorly chilled, or exposed to excessive heat. Failure to remove the blossom end can also contribute to softening. Begin with smaller, fresher cucumbers and use the ice-water soak next time.
Why is the brine cloudy?
Table salt additives, hard water, ground spices, or sediment from dried herbs can make brine cloudy. Use pickling salt, filtered water, and whole spices for a clearer appearance.
Cloudiness alone is not always a sign of spoilage, especially in fermented pickles. However, refrigerator pickles with mold, slime, unpleasant odors, or unexplained gas production should be discarded.
Why do the pickles taste too salty?
They may need another day or two for the vinegar and seasonings to balance the salt. If they remain too salty, use slightly less salt in a future refrigerator batch. Do not reduce salt in a fermented pickle recipe, where salt concentration helps control fermentation.
Why is the garlic blue or green?
Garlic can react with acids and naturally occurring compounds, producing a blue-green color. The color may look surprising, but it does not automatically mean the garlic is spoiled. Freshness, variety, minerals in the water, and storage conditions can all influence the reaction.
Why are the pickles hollow?
Hollow centers are often associated with overgrown cucumbers, rapid growth, or cucumbers that were held too long before pickling. Select smaller, dense cucumbers with immature seeds.
Experiences and Lessons from Repeated Pickle-Making
The most useful lesson from making dill pickles repeatedly is that complicated recipes do not necessarily produce better results. Early batches often involve a heroic collection of spices, multiple soaking methods, special leaves, and enough garlic to make the kitchen legally vampire-free. Yet the simplest jars frequently turn out best: fresh cucumbers, dill, garlic, mustard seed, peppercorns, and a well-balanced brine.
Freshness creates the most noticeable difference. Cucumbers bought directly from a farm stand and pickled the same afternoon remain remarkably firm. The same recipe made with cucumbers forgotten in the refrigerator for four days can produce acceptable flavor but a less exciting texture. The brine did not fail; the cucumbers had already begun surrendering.
The ice-water soak also earns its place. It may feel like a fussy pause between washing and packing, especially when everyone wants pickles immediately. However, side-by-side batches reveal a real improvement. Cold-soaked spears usually feel denser and maintain a cleaner snap after several weeks.
Cutting style matters more than many beginners expect. Thin chips taste ready within a day because the brine reaches them quickly, but they soften sooner. Thick chips and spears require more patience while rewarding it with better crunch. Whole cucumbers have the most impressive texture but need several days for the flavor to reach the center.
Another practical lesson concerns garlic. Four cloves may look modest when they are sitting innocently on the cutting board, but garlic grows louder in acidic brine. A jar that tastes politely garlicky after 24 hours may become bold and spicy by the end of the week. Lightly crushing the cloves accelerates that transformation. Whole cloves provide a slower, smoother flavor.
Temperature control is equally revealing. Pouring boiling brine directly over refrigerator-pickle cucumbers makes the process feel official, but it can partially cook their outer layers. Letting the brine cool produces brighter color and firmer texture. Canned pickles are an exception because safe heat processing must take priority over experimentation.
It is also worth labeling every batch. Write down the date, cucumber source, cutting style, amount of garlic, and any optional ingredients. Without notes, every successful jar becomes a delicious mystery that is difficult to repeat. A piece of masking tape and a pen can become the most valuable pickle-making equipment in the kitchen.
Finally, patience improves nearly every jar. Freshly assembled pickles taste mostly like cucumbers wearing vinegar as a hat. After two or three days, the dill, garlic, salt, and acidity begin working together. By the end of the first week, the flavor becomes deeper and more balanced. The difficult part is not making crispy dill pickles. It is leaving them alone long enough to become excellent.
Conclusion
Learning how to make crispy dill pickles comes down to protecting the cucumber’s natural firmness. Choose fresh pickling varieties, remove the blossom ends, soak the cucumbers in ice water, use 5% acidity vinegar and pickling salt, and avoid unnecessary heat when making refrigerator pickles.
Once the basic method is reliable, adjust the dill, garlic, pepper, and sweetness to create your ideal jar. Whether you prefer classic deli spears, fiery chips, or garlic-heavy pickles capable of introducing themselves from across the room, the same principles apply: start fresh, keep things cold, and give the flavors time to develop.













