
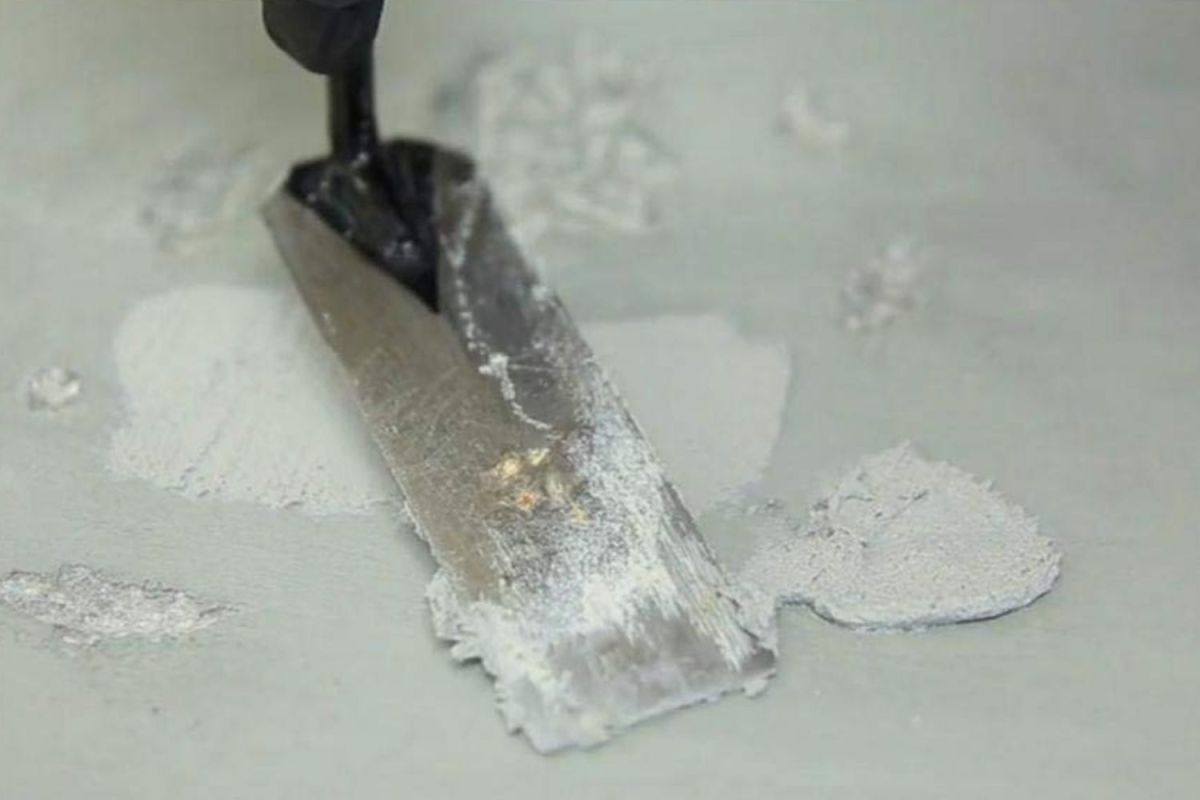
Concrete is tough. Concrete is also dramatic. Give it one winter, a little water, and a sprinkle of “someone parked a truck here because it was convenient,” and suddenly your slab looks like it lost a bar fight.
The good news: most chips, spalls, pitted spots, and cracks are fixable with the right concrete patch. The bad news: the “right” patch depends on what you’re repairing. Use the wrong one and you’ll get that classic DIY sequel: Patch II: The Crumble Returns.
We dug through manufacturer data sheets, big-box how-to guides, and field-proven repair advice to find concrete patch products that actually match real-life problemshairline cracks, shallow surface damage, deeper holes, fast-turnaround repairs, and “my garage floor ate a chunk” situations. Below are our favorites, plus a simple decision guide so you buy once and patch once.
How We Researched (So You Don’t Have To)
We focused on products you can realistically find in the U.S. (online or at major retailers), and weighed them on:
- Use case fit: thin cosmetic repairs vs. deep rebuilds vs. crack sealing vs. resurfacing.
- Bond and durability: polymer modification, adhesion claims, shrink resistance, and weather/freeze-thaw considerations.
- Workability: feather-edge finishing, vertical/overhead capability, and whether it fights you like wet oatmeal.
- Time-to-service: set time, cure time, and when you can walk/drive/pretend it never happened.
- Realistic application ranges: thickness limits, layering rules, and surface prep requirements.
Quick Reality Check: “Patch” Isn’t One Product
Concrete repairs usually fall into five buckets. The trick is matching the bucket to the problem:
- Cosmetic surface fixes: small spalls, shallow divots, minor cracks (often ready-mix acrylic patches).
- Thin cementitious overlays: feather-edge to about 1/8″ for pitting, scaling, and light surface damage (vinyl/polymer cement mixes).
- Deep structural-ish repairs: 1/4″ to several inches, including edges, steps, corners (repair mortars).
- Cracks that move: expansion joints and active cracks (flexible sealants, not rigid patch mortar).
- Full resurfacing: when the whole slab is ugly but mostly sound (resurfacers, squeegee/trowel overlays).
Our Favorites: The Best Concrete Patches by Scenario
Best Overall for Thin Repairs and Surface Damage: QUIKRETE Vinyl Concrete Patcher
If you want the “most likely to succeed” patch for common driveway/sidewalk surface damage, vinyl concrete patchers are hard to beat. They’re cement-based (so they feel like real concrete), but modified with vinyl/polymer resins to improve adhesion and reduce the heartbreak of edge chipping.
What we like about this option: it’s designed for thin repairs and can be feathered to a very fine edge, which matters when you’re blending old and new concrete. That feathering ability is the difference between a repair that disappears and a repair that announces itself from space.
- Best for: spalls, pitting, worn spots, small chips, shallow cracks on horizontal surfaces.
- Why it wins: strong adhesion + feather-edge finishing + widely available.
- Pro tip: prep is everythingremove loose concrete, scrub clean, and dampen (not soaking) before placement.
Best for Deep Repairs (1/4" to Several Inches) and Fast Turnaround: Sakrete Pro-Mix Concrete Repair
When you’re rebuilding missing concreteedges of steps, chunked corners, deeper voidsyou need a repair mortar that can be placed thick without slumping, shrinking, or taking two days to stop being a liability.
This category shines for vertical, overhead, and “real repair” situations. The standout features here are the wide application range (from a quarter-inch up to multiple inches) and a very fast setgreat for busy households, impatient homeowners, and anyone who would like to use their stairs again before next season.
- Best for: steps, corners, structural edges, deeper holes, vertical/overhead repairs.
- Why it wins: heavily polymer modified for bond strength; fast set and early strength.
- Watch-out: fast set means you must stage tools, water, and mixing before you start.
Best “Fast-Set Fix Anything” Cement Repair: Rapid Set Cement All
Some repair materials have one job. Cement All has a résumé. It’s known for fast setting and broad utility: general and structural repairs, feather-edge to thicker placements, vertical and horizontal work, and even anchoring/doweling in the right contexts.
This is the product you pick when you need speed and versatility, and you’re okay with mixing precisely and moving with purpose. It’s also a smart choice when you want a cement-based repair that’s comfortable in wet environmentsbecause concrete doesn’t always wait for perfect weather.
- Best for: quick repairs where strength matters; mixed-depth patches; general repairs with tight timelines.
- Why it wins: fast set time with early strength and wide thickness range.
- Pro tip: mix small batches. If you mix a big bucket, it may turn into a bucket-shaped rock.
Best Ready-Mix Patch for Small Spalls and Touch-Ups: Sikacryl Ready-Mix Concrete Patch
If your damage is shallowthink little chips, surface spalls, cosmetic defectsand you’d rather not mix powder, ready-mix acrylic patches are a friendly lane. They’re easy, water cleanup is simple, and they’re often formulated to resist shrinking and cracking in thin sections.
We like this pick because it’s designed for both vertical and horizontal surfaces and aims to blend with concrete texture. It’s also practical for small repairs where opening a 40-pound bag would be… emotionally excessive.
- Best for: small spalls, shallow surface repairs, quick cosmetic fixes, vertical touch-ups.
- Why it wins: convenience + workable texture + good small-job efficiency.
- Watch-out: don’t expect it to rebuild a missing stair nose. It’s a patch, not a miracle.
Best Ready-to-Use for Cracks and Spalls Up to About 1/4" Deep: QUIKRETE Concrete Patching Compound
This is a classic trowel-applied acrylic latex patch for small-scale, non-structural repairscracks and spalls where “quick, clean, and good enough” is exactly the assignment. It’s designed to dry to a tough, flexible finish and is textured to blend with common concrete surfaces.
- Best for: small cracks/spalls on walks, patios, driveways; minor cosmetic repairs.
- Why it wins: ready-to-use + flexible finish + easy application.
- Pro tip: for best appearance, feather the edges and match the surrounding texture with a damp sponge or brush.
Best for Small Repairs When You Want “Drive On It Tomorrow”: DAP Ready Mixed Concrete Patch
Another ready-to-use option, this one is popular for filling holes, cracks, and surface defects, and it’s often chosen because it’s straightforward: open container, apply, smooth, walk away like you have better things to do. It’s also commonly described as paintable after it sets up (timing depends on humidity), which matters if you’re matching adjacent surfaces.
- Best for: small holes, cracks, defects; spot leveling; quick repairs without mixing.
- Why it wins: very accessible workflow for beginners.
- Watch-out: allow enough dry time before trafficespecially vehicles.
Best for Cracks and Holes on Floors That Need a Super-Hard Repair: Rust-Oleum EPOXYShield Concrete Patch & Repair
Epoxy patches are the “different species” in this roundup. They don’t behave like cementitious mortar. They bond aggressively, cure into a very hard mass, and are especially useful on concrete floors where you want a repair that can stand up to abrasion and future coatings.
If you’re patching a garage floor before painting/coating itor repairing a crack/hole that keeps spalling under trafficepoxy can be the right kind of overkill.
- Best for: garage floors, interior slabs, repairs that will be coated, high-abrasion spots.
- Why it wins: very hard cured surface; strong bond; shrink resistance typical of epoxy systems.
- Watch-out: surface prep is non-negotiable. Epoxy hates dust almost as much as it hates your confidence.
Best for Making an Old Slab Look New Again: QUIKRETE Re-Cap (Concrete Resurfacer)
Sometimes the problem isn’t “a crack.” The problem is “this whole driveway looks like the surface of the moon.” If the concrete is structurally sound but cosmetically roughpitted, scaled, stainedresurfacing puts a thin new layer over the top and refreshes the look.
The winning move is using a resurfacer where it makes sense: over sound concrete, with proper cleaning and prep, and within the product’s thickness limits and timing. A resurfacer is not a magic blanket for unstable slabs, but it’s excellent at turning “embarrassing” into “respectable.”
- Best for: widespread pitting/scaling, ugly-but-sound driveways, patios, sidewalks.
- Why it wins: efficient coverage per bag and a faster path to a uniform finish.
- Pro tip: plan your workflowworking time is limited, and you don’t want a half-finished driveway mid-set.
A Simple Buying Guide: Pick the Right Patch in 30 Seconds
| Problem | Best Type | What to Choose |
|---|---|---|
| Hairline or shallow cracks on a slab | Concrete crack repair or thin patch | Use a crack repair product for narrow cracks; use a thin patcher for shallow surface defects. |
| Small chips/spalls < 1/4" deep | Ready-mix acrylic patch | Great for cosmetic fixes and quick touch-ups. |
| Spalls/pits you want to feather smooth | Vinyl/polymer-modified cement patch | Feather-edge products blend best into existing concrete. |
| Deep voids, corners, steps, edges | Repair mortar | Choose a product rated for thicker placements and vertical repairs. |
| Garage floor holes before coating | Epoxy patch | Hard, durable surface; great under coatings (with proper prep). |
| Whole slab looks rough but is sound | Resurfacer | Best for widespread pitting/scaling and cosmetic renewal. |
How to Patch Concrete So It Actually Lasts
Step 1: Diagnose the crack (yes, really)
If a crack is widening, heaving, or offset (one side higher), that’s movementnot just “surface damage.” Patching won’t stop active movement. For significant structural movement, consult a pro. For stable hairline cracks and cosmetic issues, proceed.
Step 2: Remove weak concrete like you mean it
“Patch over loose stuff” is the #1 recipe for failure. Chip out crumbly edges, remove delaminated concrete, and create a sound repair boundary. Tapping with a hammer can help you find hollow/loose areas.
Step 3: Clean like you’re prepping for surgery
Remove dust, grit, grease, and anything that prevents bonding. Sweep, vacuum, rinse, scrub. If there’s oil, use an appropriate degreaser. Let the surface reach the moisture condition recommended by your patch type (many cementitious patches like a dampened surface; many epoxies want it clean and dry).
Step 4: Match the product to the thickness
Don’t ask a thin patch to do a thick job. Ready-mix acrylic patches shine in shallow repairs; repair mortars handle depth. Many deep repairs require layering or forming to hold shapeespecially on vertical faces.
Step 5: Place, compact, and finish
For cement-based patches, press firmly to eliminate voids (air pockets love to become future chips). Trowel smooth, then match texture (broom finish, sponge, or light stippling) to blend with the surrounding slab.
Step 6: Cure the way the product wants
Cure time is not a vibe. It’s chemistry. Protect the repair from rain, direct blasting sun, freezing temperatures, and early traffic. When a product says “walk on in X hours,” take it seriouslyespecially if “walking” means a 90-pound dog doing parkour.
Common Mistakes (A.K.A. Why Patches Fail)
- Skipping prep: dust and loose concrete are bond breakers.
- Wrong product for movement: rigid mortar in a moving joint will crack again.
- Going too thin with a non-feather product: edges pop off first.
- Overwatering mixes: easier spreading can mean weaker repair.
- Rushing traffic: early use can permanently weaken a patch before it gains strength.
- Ignoring temperature: hot weather shortens working time; cold weather slows cure and can cause failure.
FAQs
Can I patch concrete in winter?
You can, but it’s tricky. Many products have minimum application temperatures, and freezing ruins repairs. If it’s consistently cold, wait for a warmer window or use products specifically rated for lower temps (and follow the data sheet).
Do I need a bonding agent?
Some systems use bonding agents to improve adhesion, especially for certain mortars and repairs on older concrete. Many polymer-modified products are designed to bond well on their ownbut always follow the manufacturer’s guidance and the retailer how-to steps.
Should I use caulk for concrete cracks?
For expansion joints or cracks that move, a flexible sealant (often urethane) can be a better solution than a rigid patch. For stable, shallow cracks on a slab surface, a patch or crack repair product can work well.
When should I resurface instead of patch?
If you’re chasing dozens of little flaws across the whole slab, resurfacing can be faster and cleaner than doing 47 individual patches. Resurfacing is best when the concrete is basically sound but cosmetically rough.
Our Real-World Experience (Yes, We Made a Mess So You Can Learn)
Research is great, but concrete has a way of turning theory into “why is my trowel glued to this?” very quickly. So here’s what tends to happen in real life, and what we learned the hard way (so you don’t have to).
1) The driveway pitting situation: thin patchers are the MVP
Our favorite surprise was how much a thin, feather-edge patch changes curb appeal. Pitted concrete doesn’t always need demolitionit needs a product that can go thin without crumbling at the edges. Vinyl/polymer-modified cement patchers handled this best because you can press them into shallow defects and pull the edges to practically nothing. The key move was prepping aggressively: we removed every loose pebble and flake (and yes, that took longer than the patching).
The other lesson: don’t chase perfection on pass one. It’s better to place a tight first coat that bonds well, let it firm up, and then do a finesse pass where needed. When we tried to “finish finish” immediately on a wide area, we ended up dragging material and creating ridges that needed sanding. Concrete patch doesn’t care about your schedule.
2) Chipped concrete steps: depth and vertical hold matter
Steps are where bad patches go to be embarrassed. Edges take impact, water, and freeze-thaw cycles like it’s their full-time job. This is where a true repair mortar earns its keepespecially one rated for thicker applications. We had the best results when we undercut loose edges slightly (so the patch had a mechanical “lock”), cleaned thoroughly, and then packed the repair firmly to eliminate voids.
The funniest (in hindsight) moment: we tried a shallow, ready-mix patch on a step corner because it felt “easier.” It looked great for a week. Then the first freeze-thaw cycle turned it into a tiny exfoliating event. Moral: if it’s an edge or a corner, pick a product made for rebuilding, not just smoothing.
3) Garage floor cracks and holes: epoxy is a different animal
For a garage floor that was headed for a coating, we tested an epoxy patch approach. The difference is immediate: epoxy doesn’t feel like concrete while you’re applying it. It feels like a thick compound that wants a clean, dust-free surface and a disciplined mix ratio. Once it cured, though, it was impressively hardexactly what you want under a floor coating or in high-abrasion spots.
But epoxy is unforgiving about prep. Dust left behind becomes a bond breaker. If you’re using epoxy, vacuum like your reputation depends on it, because it does.
4) The “whole slab is ugly” patio: resurfacing saves time (if the slab is sound)
Resurfacing was the biggest “efficiency win” when the concrete was structurally okay but cosmetically rough. Instead of spot-patching a hundred little defects, a resurfacer gave a more uniform finish with less visual patchwork. The trick was planning the workflow: resurfacing materials often have limited working time, and you want a wet edge as you move so you don’t create visible seams.
Also: don’t resurface a slab that’s actively failing. If the concrete is scaling deeply, delaminating, or moving, a new skin won’t fix the underlying problem. In our tests, resurfacing looked best when the slab was stable and properly cleaned.
5) What we’d do differently next time
- Buy one better brush: matching texture matters more than most people think.
- Mix smaller batches: especially for fast-setting repair mortars.
- Stage everything first: water, tools, form boards, gloves, cleanup bucket. Fast set products are not here to socialize.
- Protect the cure: the best patch can still fail if it’s soaked, frozen, or driven over too soon.
Final Take: Your Best Concrete Patch Depends on the Job
If you remember one thing, make it this: concrete patch success is mostly selection + prep. Pick a thin patcher for thin repairs, a repair mortar for deep rebuilds, epoxy for ultra-hard floor repairs, and a resurfacer when the whole slab needs a facelift. Clean thoroughly, remove weak concrete, follow the thickness rules, and let it cure properly.
Do that, and your concrete stops looking like it’s auditioning for a disaster movieand starts looking like the calm, boring slab it was always meant to be.













