
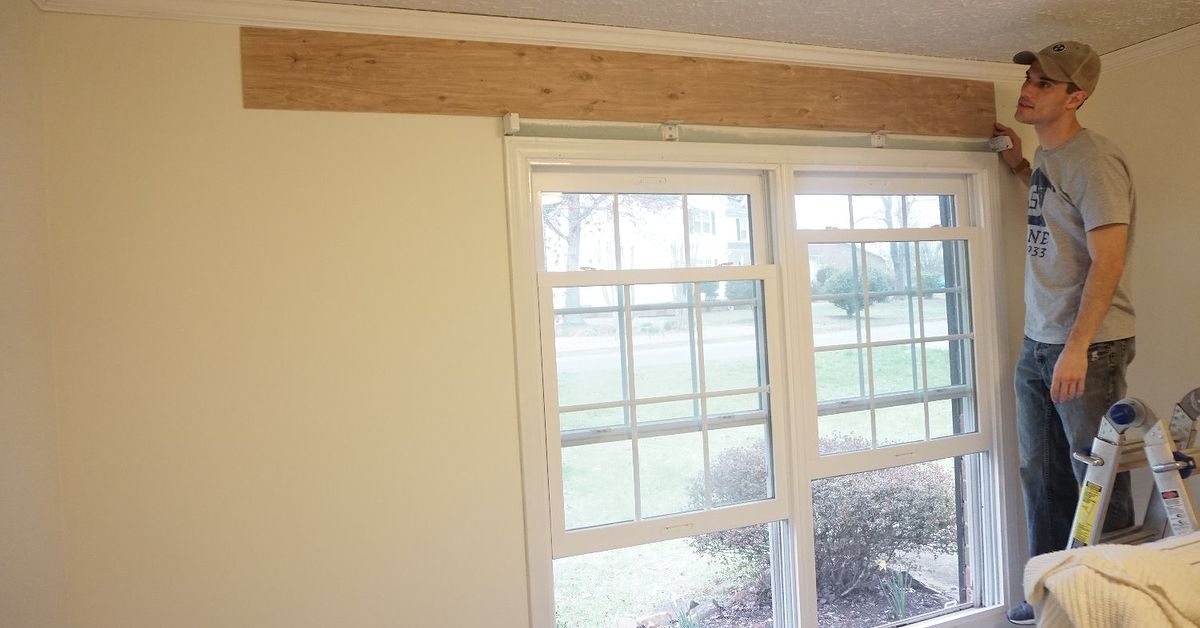
Shiplap has one of those “I swear my house is calmer now” reputations. Add a few clean lines to a blank wall and suddenly your room looks styled, finished,
and suspiciously more expensive than it actually was. The best part? You don’t need artisan-milled boards shipped from a mountain cabin. You can build a
budget-friendly modern shiplap wall with basic tools, realistic materials, and a plan that won’t make you cry into your stud finder.
This guide focuses on a modern take (crisp reveals, minimal fuss, fewer “farmhouse cosplay” vibes) and a budget approach
(smart material choices, fewer specialty tools, and finishing tips that hide beginner mistakes like a pro). Let’s turn that boring wall into a featurewithout
turning your bank account into a “before” photo.
What “Modern Shiplap” Actually Means (And Why Your Wallet Should Care)
Traditional shiplap uses overlapping rabbets (little step-like grooves) so boards stack neatly with a consistent reveal. In modern interiors, the look often
leans cleaner: straighter lines, consistent spacing, fewer knots, and paint colors that feel intentional (not “I found this white in the garage”).
Budget-friendly modern shiplap usually falls into one of three categories:
- Real wood shiplap boards (pine, poplar, etc.): beautiful, pricier, and sometimes knotty/dramatic.
- Faux shiplap strips (ripped plywood/underlayment): very affordable and surprisingly legit once painted.
- Panel products (MDF shiplap panels or peel-and-stick): fast installation, predictable results, and great for beginners.
Pick Your Budget-Friendly Shiplap Material
Option A: Ripped Underlayment or Plywood Strips (Best “Wow per Dollar”)
If you want the biggest impact for the fewest dollars, ripping 1/4-inch underlayment or plywood sheets into planks is the classic budget hack. Once
installed and painted, it reads as a polished DIY plank wall with modern rhythmespecially if you keep plank widths consistent
(like 5–8 inches) and your seams intentional (staggered but not chaotic).
Pros: inexpensive, easy to paint, easy to customize plank width.
Cons: thin material can telegraph wall imperfections; edges need attention (prime, sand, or both).
Option B: MDF Shiplap Panels (Best for Super-Straight, Paint-Perfect Walls)
MDF is smooth and uniform, which is why painted shiplap made from MDF can look incredibly “finished.” The catch: standard MDF and moisture don’t get along.
If you’re doing a bathroom, laundry, basement, or any space that sweats during summer, choose carefully and seal thoroughlyor pick a more moisture-tolerant
product.
Pros: very smooth finish, fewer knots, predictable lines.
Cons: can swell with moisture if not properly protected; heavier than thin plywood strips.
Option C: Peel-and-Stick Shiplap-Style Paneling (Best for Speed and Low Mess)
Want the look with fewer power tools? Peel-and-stick wood paneling (or shiplap-look alternatives) can deliver a shiplap vibe quickly, often with minimal
cutting. This is especially appealing for renters or anyone who prefers “DIY” to mean “Do It Yesterday.”
Just remember: adhesion depends on wall texture, cleanliness, humidity, and the product itself. Translation: it can be amazingor it can slowly slide down
your wall like it’s trying to escape.
Design Choices That Make It Look Modern (Not “Magnolia Museum Gift Shop”)
1) Choose Your Orientation
- Horizontal: classic, makes a room feel wider, great for living rooms and bedrooms.
- Vertical: sharper and more contemporary, adds height, looks great in entryways and behind vanities.
- Half wall: modern and practical (especially in hallways, mudrooms, and kids’ rooms).
2) Control the Gap (The Reveal Is the Whole Point)
A consistent reveal is what separates “designer detail” from “my boards are arguing.” Many DIYers aim for about a 1/8-inch gap for a crisp
shadow line. Spacers can be simple: nickels, plywood scraps, tile spacersanything consistent.
3) Color Like a Modern Person with Wi-Fi
White is popular because it’s forgiving and bright, but modern shiplap also shines in:
- Soft warm whites (less clinical than pure bright white)
- Greige and putty tones (quiet, elevated, hides dust better)
- Deep charcoal or near-black (dramatic, modern, and surprisingly cozy)
Tools and Supplies Checklist (Budget-Smart Edition)
You can do this with a small tool lineup. Borrow or rent what you don’t ownyour wall does not care whether your saw is “premium.”
- Stud finder and pencil (your studs are your best friends)
- Level or laser level (a must for clean lines)
- Measuring tape
- Miter saw or circular saw (for cuts)
- Brad nailer + nails or hammer + finish nails
- Construction adhesive (optional but helpful)
- Spacers (nickels, tile spacers, scrap wood)
- Wood filler/spackle, sandpaper
- Paintable caulk
- Primer + paint (satin or semi-gloss often cleans easier than flat)
Step-by-Step: How to Build a Budget-Friendly Modern Shiplap Wall
Step 1: Prep the Wall Like You Mean It
Remove outlet covers, wall hooks, picture hardwareanything that will get in your way. If you’re planning to remove baseboards, do it now. If you’re
leaving them, plan your first plank so the bottom edge looks intentional and level.
Step 2: Find and Mark Your Studs
Use a stud finder and mark studs from top to bottom. Snap chalk lines if you want a clear nailing guide. Attaching boards into studs gives you a sturdier,
longer-lasting installation (and fewer future regrets).
Step 3: Decide Your Start Line (And Don’t Trust Your Ceiling)
Here’s the truth nobody wants to hear: your ceiling probably isn’t level. Your floor might not be either. So choose what your eye will notice most and
build from there.
- Horizontal install: many people start at the bottom and work up, checking level often.
- Vertical install: start at the most visible corner and keep planks plumb.
Step 4: Cut Your Planks and Plan Your Seams
For a modern look, stagger seams with intention. Avoid repeating the same seam pattern every other row (that screams “DIY”). A simple approach:
- Row 1: full-length board (if possible)
- Row 2: half board + full board
- Row 3: 2/3 board + remainder
Always try to end seams on studs when you can. If you’re using thin plywood strips, this matters even more for a solid feel.
Step 5: Install the First Board Perfectly (Because Every Board After Will Copy Its Attitude)
Set the first plank, check level (or plumb), then tack it in place. If you’re using adhesive, apply it in a wavy bead on the backdon’t go full peanut
butter sandwich unless you never want to remove it.
Nail into studs. If using a nailer, a couple nails per stud (top and bottom of the board where possible) helps prevent movement over time.
Step 6: Keep Spacing Consistent
Place spacers between boards for the reveal. This is where modern shiplap wins: consistent gaps create crisp shadow lines that look expensive even when your
materials were… let’s call them “economical.”
Step 7: Cut Around Outlets and Obstacles
Measure carefully and cut openings for outlet boxes. If the shiplap adds thickness, you may need box extenders so outlets sit properly (and safely) with
the finished surface. Don’t wing electrical detailsyour wall should look hot, not literally catch fire.
Step 8: Fill, Sand, and Caulk for That “Pro Finish”
Modern shiplap looks best when the finishing is clean. Fill nail holes with wood filler or lightweight spackle. Sand smooth. Then caulk where boards meet
corners, trim, or ceilings for a seamless edge. (Whether to caulk the seams between boards is a style choice; many people leave the reveal crisp and clean.)
Step 9: Prime and Paint (The Makeover Moment)
Prime firstespecially if you’re working with raw wood, knots, or porous cut edges. Then paint using a combo approach:
- Brush the grooves/reveals first
- Roll the flat faces second
- Use thin coats for a smoother finish
If you want a super-modern look, consider a satin finish for subtle sheen and easier cleaning.
Budget Breakdown: Where to Spend and Where to Save
If you’re watching costs, prioritize spending on what you’ll see and touch:
- Spend: primer/paint quality (cheap paint can look streaky and chip sooner)
- Spend: a decent level (or borrow one)
- Save: plank material (underlayment strips can look amazing once painted)
- Save: spacers (coins and scrap wood work perfectly)
A well-planned faux shiplap accent wall can look “custom” without costing “custom.” The finishing stepsfilling, sanding, caulking, primingare where the
magic happens.
Common Mistakes (So You Don’t Become a Cautionary Pinterest Comment)
Skipping acclimation and rushing installation
Wood can expand and contract. Let boards acclimate in the room when possible so your finished wall is less likely to develop surprise gaps later.
Not marking studs clearly
“I thought I nailed into a stud” is the DIY version of “I thought the email sent.” Mark studs clearly and keep your fastening consistent.
Forgetting the first board controls everything
If the first row is off, every row will follow. Take extra time up front. Your future self will thank you in a calm, well-paneled voice.
Using moisture-sensitive materials in damp spaces without protection
Bathrooms, laundry rooms, and basements need extra thought. If you use MDF, seal it carefully, and consider more moisture-tolerant alternatives if the room
gets humid.
Quick Modern Shiplap Ideas You Can Copy
1) The “Clean Entryway” Half Wall
Install vertical shiplap up to chair-rail height, add a narrow ledge shelf, and mount hooks above. It’s modern, functional, and hides scuffs where life
happens.
2) The “Quiet Luxury” Bedroom Accent
Do a horizontal shiplap wall behind the bed in a warm white or putty tone. Keep décor minimal: one oversized art piece, simple sconces, and crisp bedding.
3) The “High Contrast” Office Backdrop
Paint the shiplap deep charcoal and keep everything else light. It reads modern on camera and makes shelves and décor pop.
of Real-World “Been There, Caulked That” Experience
Let’s talk about the part of shiplap DIY that tutorials politely skip: the moments where you stare at the wall and wonder if you accidentally installed
“abstract shiplap,” a bold new style where nothing lines up and every board has feelings.
The biggest surprise for most first-timers is that installation is the easy part. Cutting, nailing, stackingthose steps feel productive
and dramatic. You’re basically a home renovation superhero with a nail gun. The real test is the finishing: filling holes, sanding, caulking, priming, and
painting. That’s where your wall goes from “DIY project” to “Wait, did you hire someone?”
One common “experience lesson” is learning not to trust your house’s geometry. You may assume a ceiling line is straight because… it’s a ceiling. But
ceilings love to be subtly crooked in the exact spot your eye will notice. That’s why starting with a level reference line matters. When you take time to
level the first board, everything that follows becomes calmer. Not perfecthomes aren’t perfectbut calm. Calm is good. Calm looks expensive.
Another lesson: thin plywood strips can be divas. If your drywall has texture or your wall bows slightly, thin strips may flex or show
uneven shadowing. The fix is usually simple: use adhesive thoughtfully, nail into studs, and don’t be afraid to add a couple strategic nails where the board
wants to float. Also, pay attention to cut edges. Priming edges (or at least giving them a quick sanding) prevents fuzzy paint texture that screams,
“I cut this in a hurry because I was hungry.”
The spacing trick (nickels, tile spacers, scraps) feels almost too low-tech to be real, but it’s one of the most satisfying parts of the build. That reveal
line is what makes the look “shiplap.” Consistent gaps create a professional rhythm across the wall. The moment you step back and see straight, repeating
lines, your brain goes, “Ah yes, design.” Even if you did it in sweatpants.
Painting is another rite of passage. The groove wants to collect paint like a tiny ditch, and if you overload it, you can end up with drips that harden
into permanent “texture.” The best approach is slow and steady: brush grooves first, then roll faces lightly. Two thin coats beat one thick coat every time.
And yesfilling nail holes is tedious. Put on music. Accept that you are now a person who owns a tub of spackle and opinions about sandpaper grit.
Finally, there’s the emotional arc of the project: excitement, confidence, mild panic, intense focus, and then the moment it’s donewhere you suddenly want
to shiplap every surface in your home, including possibly the refrigerator. Resist that urge. Or don’t. I’m not your financial advisor.
Conclusion: Your Modern Shiplap Wall, Without the Modern Price Tag
A budget-friendly modern shiplap DIY is mostly about smart choices: affordable materials (like underlayment strips or panels), clean design
decisions (consistent reveal, intentional seams), and finishing steps that make everything look crisp. Take your time with the first board, keep your spacing
consistent, and don’t skip the prep and paint work. The end result is a wall that looks custom, feels modern, and costs way less than it looks.














