
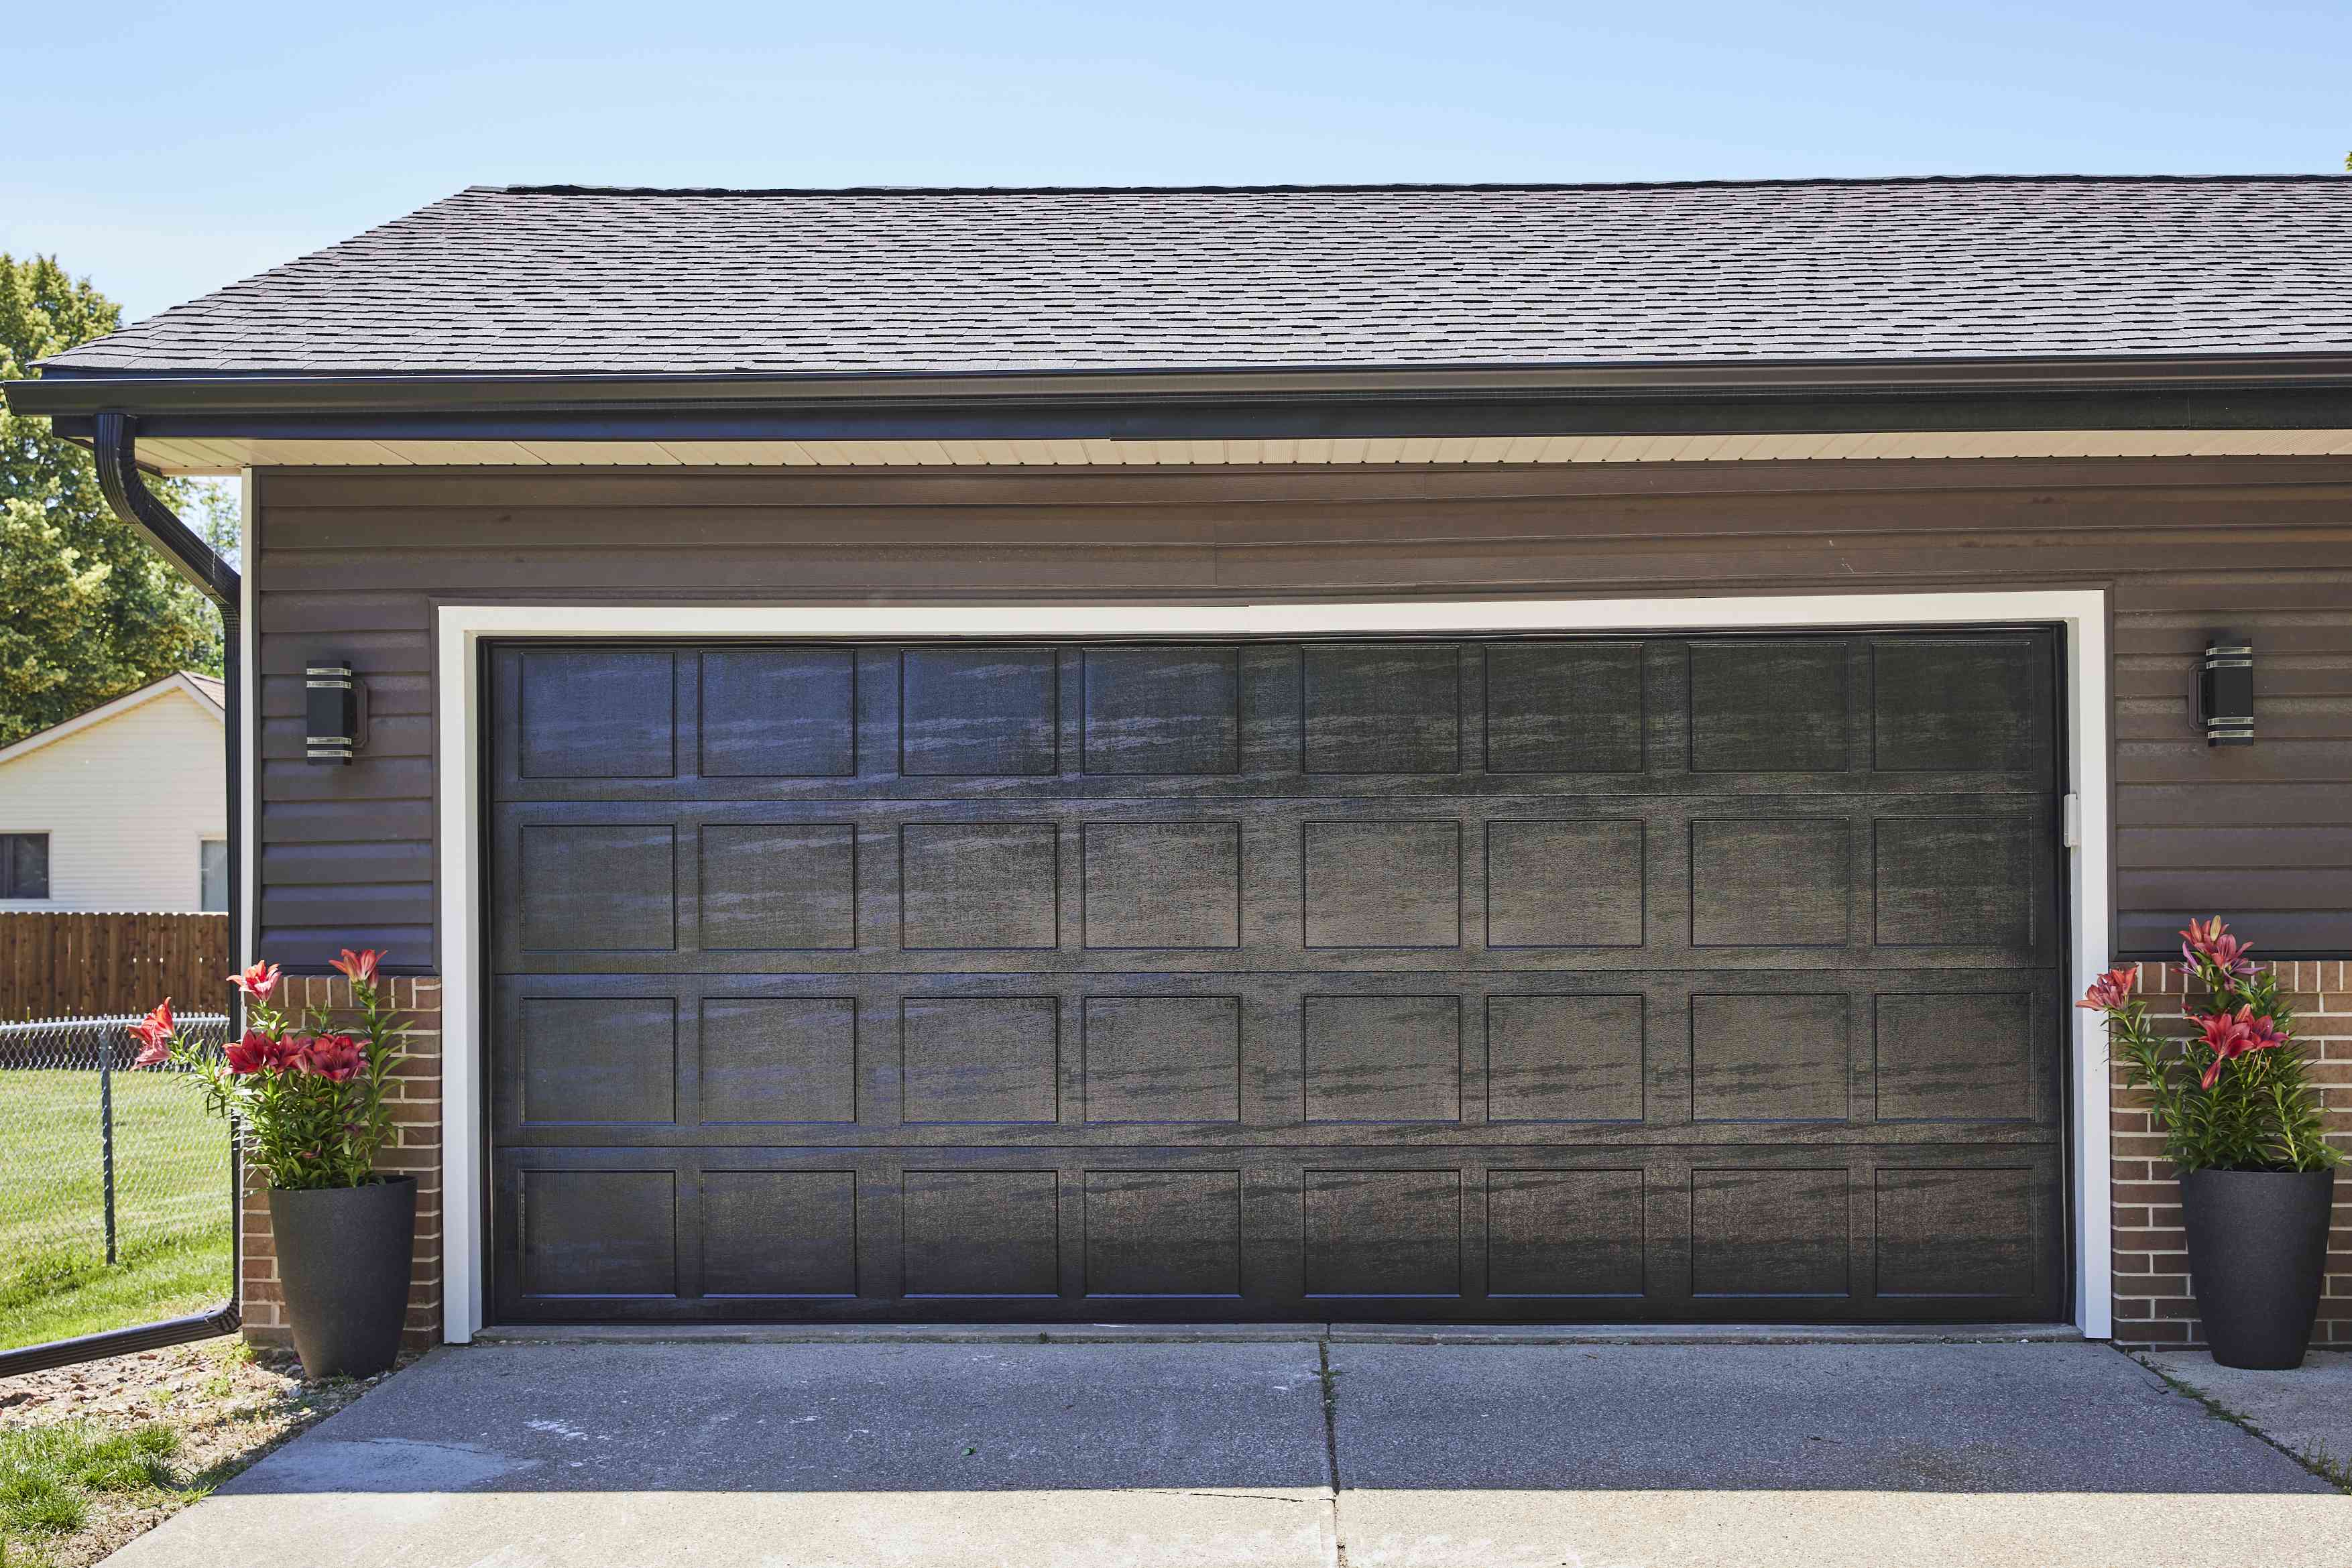
Your garage door is basically the face of your house’s “I have my life together” story. Even if the inside of the garage is a
carefully curated museum of half-used paint cans and seasonal décor you swear you’ll label someday, the door is what everyone sees.
The good news: painting a garage door is one of the highest-impact upgrades you can do in a weekend without needing a reality TV crew.
The secret to a factory-fresh look isn’t “magic paint.” It’s prep, the right primer for your door material, and a painting technique that
prevents brush marks, lap lines, and the dreaded “why does it look streaky at 3 p.m. but fine at 9 a.m.?” phenomenon.
Let’s turn your tired garage door into the shiny, confident entryway it always wanted to be.
What Makes a Garage Door Look “Brand New” After Painting?
A “new door” finish is really three things working together:
- Uniform surface: no peeling edges, chalky residue, rust bloom, or rough patches telegraphing through the paint.
- Correct coating system: primer that bonds (and blocks stains or rust), plus an exterior topcoat that stays flexible.
- Clean application: thin, even coats with a wet edgeso the light hits it like one smooth sheet, not a quilt of roller overlaps.
Before You Start: Identify Your Garage Door Material
Garage doors are commonly steel, aluminum, wood, vinyl, or fiberglass.
The material determines the primer and prep:
Steel (most common)
Steel needs attention to rust and bare spots. If you skip rust prep or use the wrong primer, rust can telegraph back through like a sequel nobody asked for.
Aluminum
Aluminum doesn’t rust like steel, but it can oxidize and get chalky. It also benefits from scuff sanding and a bonding primer where needed.
Wood
Wood doors can look incredible painted, but they’re also drama queens: they swell, shrink, and can bleed tannins. You’ll want good sanding,
repairs, and the right stain-blocking primer if you see knots or discoloration.
Vinyl/Fiberglass
These can be painted, but the rules are stricter: clean thoroughly, scuff lightly, and avoid super-dark colors that can absorb heat and cause warping or surface issues over time.
Tools and Materials Checklist
- Bucket, mild detergent, soft brush or sponge, hose (or gentle pressure washer)
- Degreaser (optional but helpful for grimey lower panels)
- Scraper/putty knife for loose paint
- Sandpaper (common range: 120–220 grit), sanding block or orbital sander
- Rust-removal tools for metal (wire brush, sanding pad)
- Exterior patch/filler (wood filler for wood; exterior-grade filler for dents/dings)
- Painter’s tape, plastic sheeting, drop cloths
- Angled sash brush (1–2″) for edges and details
- High-density foam mini roller or smooth/short-nap roller (for a sleek finish)
- Primer suited to your door material (bonding/rust-inhibitive/stain-blocking as needed)
- Exterior paint (often 100% acrylic exterior latex is a safe, durable choice)
- Paint tray, stir sticks, optional roller extension pole
Step-by-Step: How to Paint a Garage Door Like a Pro
Step 1: Pick the Right Day (This Matters More Than You Think)
Choose a stretch of mild, dry weather so your primer and paint can cure properly.
Avoid painting in direct, blazing sun if possiblepaint can dry too fast, causing lap marks and roller lines.
Morning shade is your friend. And check your paint can for temperature and recoat guidelines, because paint makers don’t print those for fun.
Step 2: Disable the Automatic Opener (Safety and Sanity)
Unplug the garage door opener so the door doesn’t decide to move mid-stroke. You’ll move it manually as needed while working.
Also: keep kids, pets, and curious neighbors away from your drop cloth “tripwire museum.”
Step 3: Wash Like You Mean It
Paint hates dirt. It also hates chalky residue and invisible grime that lives near the bottom panels.
Wash the entire door with mild detergent and water. Use a soft brush for textured areas and panel corners.
Rinse thoroughly and let the door dry completely.
Pro tip: If water beads up oddly or you can wipe the surface and get a dusty/white residue, keep cleaning.
That residue can keep paint from bonding evenly.
Step 4: Scrape Loose Paint and Feather the Edges
If your door is already painted and has peeling spots, remove anything loose. Scrape carefully, then sand the edges so you don’t leave hard ridges.
“Feathering” means tapering the transition so the old paint edge disappears under primer and topcoat.
Step 5: Sand for Adhesion (Not to Punish Yourself)
You’re not trying to sand the door into a new personality. You’re scuffing glossy areas and smoothing repairs.
For many doors, a light scuff with 120–220 grit is enough to help primer and paint grab the surface.
Wipe away dust when you’re done.
Step 6: Fix Dents, Cracks, and Rust
A fresh coat of paint is not a magic eraserimperfections will still show, sometimes with extra confidence.
Take a few minutes to patch and smooth problems:
- Small dents (metal): use an exterior-grade filler, let dry, sand smooth.
- Cracks/holes (wood): use exterior wood filler, sand flush, and spot-prime.
- Rust (steel): wire-brush or sand to remove loose rust, then use a rust-inhibitive primer on the affected areas.
Reality check: If you can’t remove every last speck of discoloration, aim for “stable and sealed.”
Loose rust is the enemy; sealed, primed metal is the goal.
Step 7: Mask Off What You Don’t Want Painted
Tape weather stripping, handles, hinges, windows, and trim edges as needed. Cover nearby siding, brick, and concrete with plastic and drop cloths.
The goal is to paint confidently without constantly whispering, “Please don’t drip, please don’t drip,” like a haunted mantra.
Step 8: Prime (Only Where and When It’s Needed)
Primer isn’t always required for repainting a sound, non-glossy surface in good conditionbut it is crucial when:
- You have bare metal, rust spots, or heavy repairs
- The old paint is chalking or poorly bonded
- You’re painting bare wood or stain-prone areas (knots, tannin bleed)
- You’re changing from a very dark color to a light one (or vice versa) and want a uniform base
Use a primer that matches your surface: bonding primer for slick or tricky substrates, rust-inhibiting primer for rust-prone metal,
stain-blocking primer for wood issues. Let primer dry per label directions.
Step 9: Choose the Right Paint for a Garage Door
Your door expands and contracts with temperature changes, gets blasted with UV light, and gets touched constantly.
That’s why many pros and manufacturers steer people toward high-quality exterior 100% acrylic paints for durability and flexibility.
- Steel/Aluminum: exterior acrylic topcoat over the correct primer; consider satin or semi-gloss for easier cleaning.
- Wood: quality exterior paint with the right primer; satin/semi-gloss highlights details and cleans easier than flat.
- Vinyl/Fiberglass: stick to manufacturer guidance; avoid overly dark colors and prioritize adhesion and flexibility.
Finish choice: Satin is a popular “looks new but not like a plastic toy” option. Semi-gloss can look crisp and cleans easily.
Flat finishes hide flaws but can look dusty on a large door and may show scuffs.
Step 10: Paint in the Right Order (So It Doesn’t Look Patchy)
The easiest way to keep a garage door looking uniform is to paint in a consistent pattern and maintain a wet edge.
If your door has panels, follow this order:
- Recessed panels first (use a brush for edges, then a mini roller for the flat area)
- Horizontal rails
- Vertical stiles
- Edges and trim last (or separately, if you prefer a cleaner cut-in)
Use a brush only where needed; use a foam mini roller (or short-nap roller) for broad areas to reduce brush marks.
Apply paint in thin, even coats. Two coats are common for a uniform, “new door” finish.
Step 11: Work in Sections (Especially for Roll-Up/Sectional Doors)
For sectional doors, you can paint one section at a time while the door is closed, then carefully raise or lower manually to reach comfortable areas.
The key is consistencydon’t let one section dry completely before you blend into the next, or you risk visible lap lines.
Technique note: Roll in smooth, longer passes. Avoid pressing too hard (that creates ridges). Finish each area with light, consistent strokes.
If you see lines forming, lightly “tip off” with the roller while the paint is still wet.
Step 12: Let It Dry and Cure (Don’t Rush the Grand Finale)
Respect dry times. If you close or run the door too soon, weather stripping can stick to fresh paint and peel it right offlike a very petty villain.
Remove painter’s tape carefully (many DIYers do this while the last coat is slightly tacky for cleaner edges), then let the paint cure before heavy use.
How to Avoid Roller Marks, Brush Strokes, and Lap Lines
- Keep a wet edge: Don’t bounce around randomly. Finish one section before moving on.
- Use the right roller: High-density foam mini rollers (or smooth short-nap) help create a sleek finish on doors.
- Don’t overload: Too much paint causes sags and texture. Thin coats look more “factory.”
- Mind the sun and wind: Fast drying = lap marks. Shade and mild weather help.
- Brush smarter: Brush edges and details, then roll the flats. Brushing huge areas invites streaks.
Color Choices That Help It Look New (Not “New…ish”)
If you want brand-new vibes, choose a color that complements your home’s exterior and hides everyday dust.
Mid-tones, warm grays, and soft whites often look polished without broadcasting every smudge.
Vinyl door caution: Super-dark colors can absorb heat and may cause problems on some materials in hot climates.
When in doubt, stay closer to the existing color family or consult the door manufacturer’s guidance.
Common Mistakes That Make a Garage Door Look Worse After Painting
- Skipping cleaning because “it looks fine” (it’s never fine)
- Painting over chalky residue or loose paint
- Ignoring rust and hoping paint will “handle it”
- Using interior paint outdoors (it won’t age gracefully)
- Painting in direct hot sun and wondering why it looks striped later
- Closing/operating the door before paint cures and peeling the finish
Quick Example: A Simple “Brand New” Paint Plan
Let’s say you have a typical steel sectional garage door with minor peeling at the bottom and a couple of rusty freckles:
- Wash thoroughly; rinse; let dry.
- Scrape loose paint; sand edges smooth.
- Wire brush rust; sand the area; wipe clean.
- Spot-prime bare metal and rust areas with a rust-inhibiting primer; prime repairs.
- Paint panels, rails, stiles with two thin coats of exterior acrylic paint using a foam mini roller for flats.
- Let cure before running the opener regularly.
Result: smoother texture, even sheen, and a door that looks like it came with the house… but in a good way.
Real-World Experiences: What People Learn After Painting a Garage Door (500+ Words)
If you ask a handful of DIYers and pros what they remember most after painting a garage door, you’ll hear a surprisingly consistent theme:
the paint was the easy part. The learning happens in the prep and in the tiny “ohhh, that’s why they said to do it this way” moments.
Here are the most common experiences people reportso you can steal the wisdom without earning it the hard way.
1) The Door Was Dirtier Than It Looked
A garage door can look “pretty clean” from the driveway while still wearing a thin film of road dust, pollen, exhaust residue, and old chalky paint.
Many people only realize how much grime was there when the rinse water runs gray or when their sanding paper clogs instantly.
The big takeaway: if the lower panels are darker than the upper panels, that’s not “shadow.” That’s a dirt gradient.
A thorough wash and rinse often makes the door look better before you even open a paint can.
2) Sunlight Can Ruin a Finish in Under an Hour
A common “why does it look streaky?” story starts like this: someone paints midday, in direct sun, and feels proud because it dries fast.
Then the light hits at an angle later and reveals lap linesespecially on large, flat sections.
What people learn: fast drying can be your enemy on big surfaces. Painting in shade (or timing the project so the door isn’t baking)
helps paint level out more evenly and gives you time to maintain a wet edge.
3) The Roller Choice Changes Everything
Many first-timers default to whatever roller they used in a bedroom last year. On a garage door, that can create visible texture or fuzzy edges.
People who switch to a foam mini roller (or a very smooth short-nap roller) often describe the difference as “suddenly it looks professional.”
They still use a brushjust not for the big flat areas. The brush handles corners, panel edges, and trim; the roller makes the flat sections look
like a continuous, factory-coated surface.
4) Primer Feels Optional… Until It Isn’t
Another frequent experience: someone skips primer over a repair or a sanded bare spot, then wonders why the finish coat looks slightly different there.
Primer does more than help paint stickit creates a uniform base so the final sheen and color look consistent.
People also learn that rust spots are not “decorative texture.” If rust isn’t stabilized and sealed with the right primer, it can come back through.
The good news is that you don’t always need to prime the entire door; spot priming the right areas can still deliver a uniform final look.
5) The “Don’t Close the Door Yet” Warning Is Real
Plenty of homeowners have a story involving fresh paint and weather stripping forming a very committed relationship.
They close the door too soon (sometimes because they forget), and when they open it later, the paint pulls or tears along the seals.
What they learn: “dry to the touch” is not the same as “ready for friction.”
Let the paint cure long enough before regular use, especially in humid or cool conditions where drying can take longer.
6) Small Repairs Make the Biggest Visual Difference
People are often surprised that the “brand new” look comes more from smoothing out dents, feathering peeling edges, and sanding properly than from
choosing an expensive color. A garage door is a huge, flat surface; it acts like a billboard for bumps and rough transitions.
The experience many share is that spending an extra hour on scraping and sanding gives a bigger payoff than rushing into the first coat.
When the light hits the door at sunset and it looks smooth from corner to corner, that’s the moment it feels worth it.
Bottom line: the best garage door paint job isn’t about being born with painter genes. It’s about stacking small, smart choicescleaning well,
sanding just enough, priming strategically, and applying thin coats with a roller that behaves. Do that, and your garage door won’t just look better.
It’ll look like it had a glow-up and now wants to be addressed as “Front Elevation.”
Conclusion
Painting a garage door so it looks brand new is a classic “prep pays” project. Clean thoroughly, sand for adhesion, repair what your paint would otherwise highlight,
prime where it matters, and apply two thin coats with a wet edge. Choose an exterior paint system that fits your door material, avoid harsh painting conditions,
and give the finish time to cure before the door returns to its daily workout routine. With the right method, the results can look surprisingly close to a factory finish
and your curb appeal will thank you every time you pull into the driveway.













