
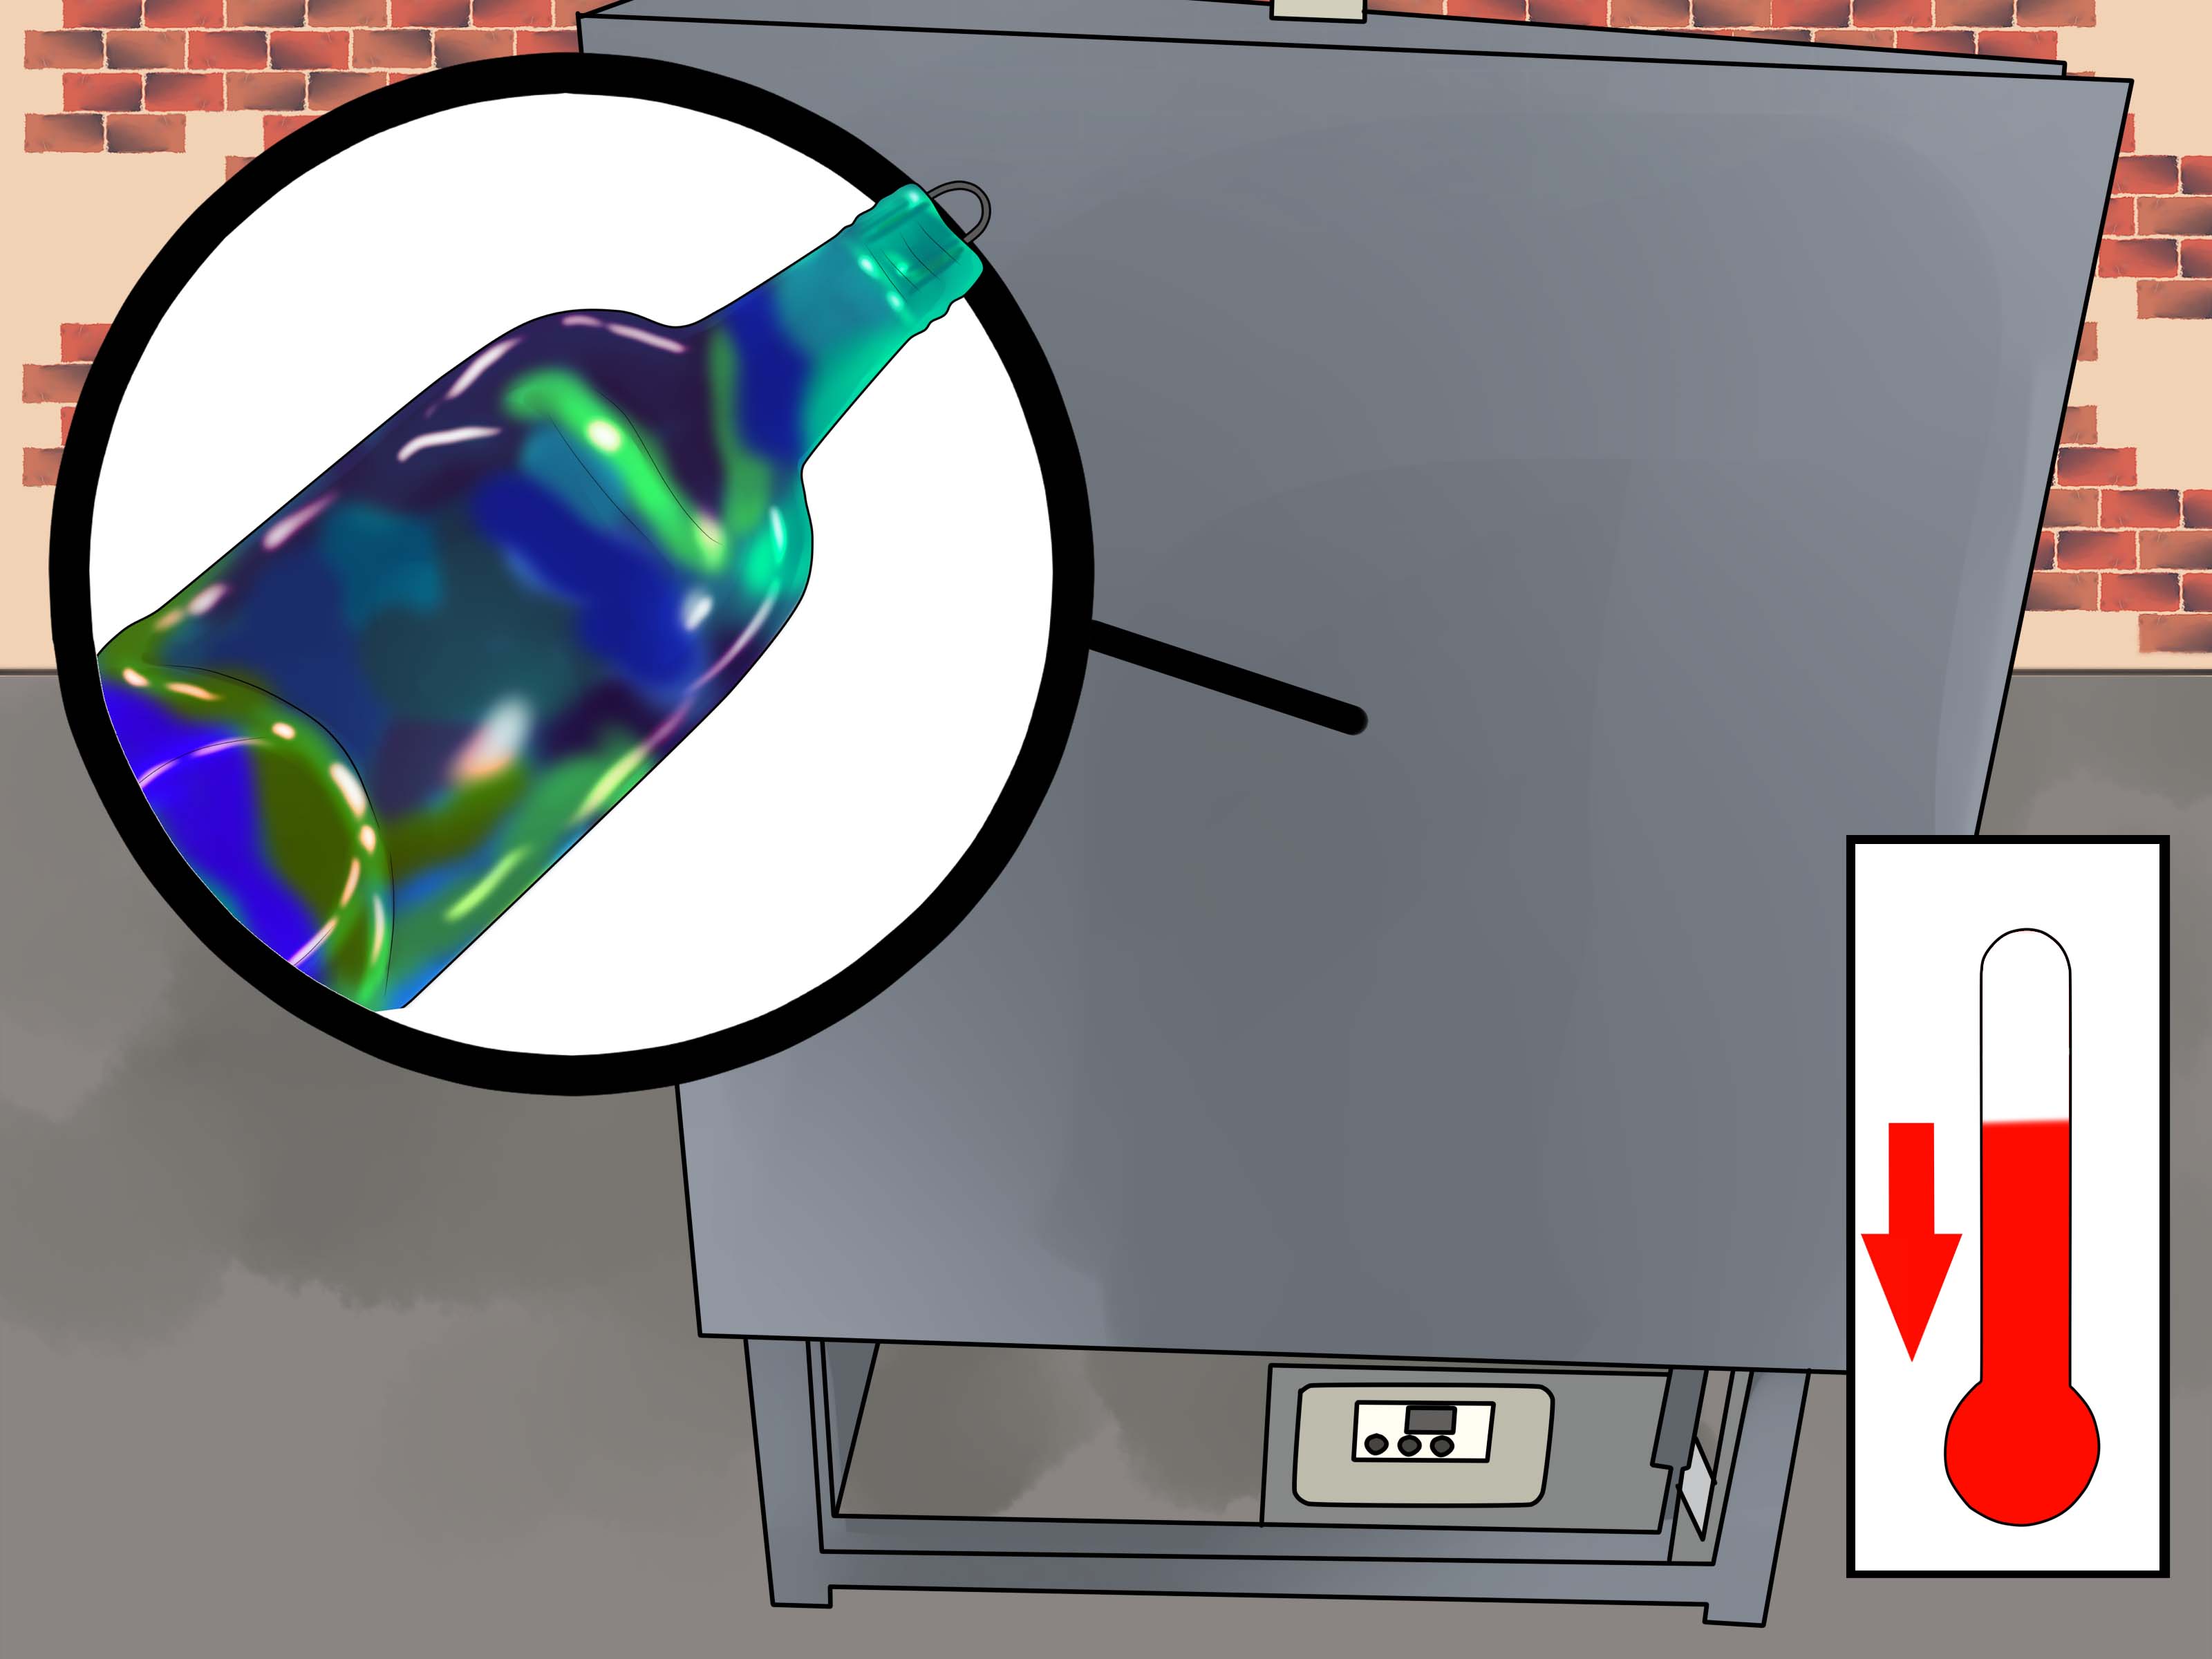
Flattening glass bottles is one of those crafts that looks suspiciously like magic: you place a perfectly ordinary wine, beer, soda, or liquor bottle into a kiln, run a carefully controlled firing schedule, and later open the lid to find a smooth, slumped piece of recycled glass art. Suddenly, last weekend’s empty bottle has a second career as a cheese tray, spoon rest, wall hanging, soap dish, candle base, or conversation starter. Not bad for something that was previously loitering near the recycling bin.
But here is the important part: learning how to flatten glass bottles is not the same as tossing a bottle into your kitchen oven and hoping for Pinterest to happen. Glass bottle flattening, also called bottle slumping, requires a proper glass kiln, heat-safe materials, slow temperature changes, and respect for annealingthe controlled cooling process that keeps the glass from cracking later. Glass may look tough, but when heated incorrectly, it behaves like a dramatic houseguest: unpredictable, fragile, and occasionally explosive.
This guide explains the safe, practical way to flatten glass bottles at home or in a studio. You will learn what equipment you need, how to prepare bottles, what firing schedules generally look like, how to avoid common mistakes, and how to turn flattened bottles into useful, attractive projects. The goal is simple: beautiful recycled glass art without shattered dreams, ruined kiln shelves, or a bottle permanently fused to your mold like it signed a long-term lease.
What Does It Mean to Flatten a Glass Bottle?
Flattening a glass bottle means heating it in a kiln until the glass softens enough to slump under its own weight. The bottle does not usually become a puddle. Instead, gravity slowly pulls it downward, and the final shape depends on the temperature, the hold time, the bottle thickness, and whether it rests on a flat kiln shelf or a shaped mold.
Most flattened glass bottles still keep recognizable features: the neck, mouth, punt, embossing, and sometimes decorative textures. That is part of the charm. A flattened wine bottle can look elegant and handmade, while a flattened beer bottle may become a rustic spoon rest or snack dish. Liquor bottles with embossed logos can create bold display pieces, although painted or coated bottles require extra caution because decorative finishes may burn, stick, discolor, or release unpleasant fumes.
Can You Flatten Glass Bottles Without a Kiln?
Technically, nonot safely or reliably. A household oven does not reach the temperatures required for bottle slumping. Most kitchen ovens top out around 500°F, while bottle glass generally needs temperatures well above 1,200°F to begin slumping in a useful way. An outdoor fire pit, propane torch, grill, or campfire is not a good substitute either. These methods heat unevenly, create thermal shock, and can cause glass to crack, pop, or fail unpredictably.
A glass kiln is designed to heat evenly, hold specific temperatures, and cool slowly. Those three things matter. If the glass heats too fast, it can crack. If it cools too fast, internal stress can remain inside the piece. That stress may not show up immediately, but the finished bottle can break later while being handled, washed, or displayed. Nothing ruins a handmade cheese board faster than it deciding to become modern abstract shrapnel.
Tools and Materials You Need
Before starting, gather everything you need. Bottle slumping is not complicated, but preparation makes the difference between a clean, professional-looking piece and a stuck, cloudy, uneven mystery object.
Essential supplies
- A programmable glass kiln or access to a kiln at a local studio
- Clean empty glass bottles
- Kiln shelf or bottle-slumping mold
- Kiln wash, glass separator, or ceramic fiber paper
- Heat-resistant gloves for kiln work
- Safety glasses
- Respirator or dust mask when handling kiln wash or fiber paper
- Warm water, dish soap, scraper, and scrub pad for label removal
- Optional: wire, bottle hangers, molds, texture mats, or glass-safe decorations
The most important item is the kiln. A digital controller is highly recommended because it allows you to program ramp rates, target temperatures, and hold times. Manual kilns can work, but they require more experience and attention. For beginners, a programmable kiln is less stressful and far more forgiving.
Choosing the Right Bottle
Not all bottles flatten the same way. Bottle glass varies in thickness, color, shape, and composition. Wine bottles, beer bottles, soda bottles, and liquor bottles may all respond differently in the kiln. Even two bottles that look similar may slump at slightly different rates.
For beginners, standard wine bottles are a popular choice because they are long, recognizable, and useful as serving trays. Beer bottles are smaller and usually slump faster. Short, wide bottles often behave more predictably than tall, irregular bottles. Bottles with thick bases may remain raised or bulky after firing, while thin shoulders and necks may flatten more dramatically.
Bottles to avoid
- Painted bottles with heavy coatings or unknown finishes
- Bottles with plastic, metal, or foil still attached
- Cracked or chipped bottles
- Bottles that held hazardous chemicals
- Tempered glass containers unless you know how they behave in your kiln
Clear, green, amber, and blue bottles can all be slumped, but colored glass sometimes shows surface haze or devitrification more noticeably. Devitrification is a cloudy or scummy surface effect that happens when glass crystals form during firing. It does not always ruin the piece, but if you want a glossy finish, bottle selection and firing control matter.
Step-by-Step: How to Flatten Glass Bottles
Step 1: Clean the bottle completely
Remove the label, glue, foil, cap, cork, plastic ring, and any residue. Soak the bottle in warm water with dish soap until the paper loosens. For stubborn adhesive, use a scraper and scrub pad. Some crafters use baking soda paste, citrus adhesive remover, or a small amount of solvent, but the bottle must be washed thoroughly afterward.
Any residue left on the glass can burn, smoke, discolor the surface, or create marks during firing. A clean bottle gives you a cleaner final result. Think of it as sending the bottle to the kiln spa. No sticky labels allowed in the sauna.
Step 2: Dry the bottle fully
Moisture trapped inside the bottle can cause problems as the kiln heats. After washing, place the bottle upside down and let it air dry completely. If water droplets remain inside, give it more time. Patience here is cheaper than replacing kiln furniture later.
Step 3: Prepare the kiln shelf or mold
Never place glass directly on an unprotected kiln shelf or mold. As glass softens, it can stick. Use kiln wash, glass separator, or ceramic fiber paper between the bottle and the surface. Kiln wash is brushed on and dried before firing. Fiber paper is placed under the bottle and can leave a slightly textured back surface.
If you use a ceramic mold, make sure it is designed for glass slumping and properly coated with separator. If you are flattening the bottle completely, a flat shelf may be enough. If you want a gentle curve, spoon rest, taco shape, or tray form, use a bottle-slumping mold.
Step 4: Position the bottle
Lay the bottle on the prepared shelf or mold. Make sure it is stable and not touching other bottles unless you intentionally want them to fuse together. Leave space around each bottle because glass can spread slightly as it softens.
For a flat bottle tray, place the bottle on its side. If the bottle has embossing or a design you want to preserve, position that side facing up. If using a hanger wire, place it carefully near the neck or lip according to your design. Use only materials that are safe for kiln temperatures.
Step 5: Program the kiln
A typical bottle-flattening schedule gradually heats the kiln, holds at a midrange temperature to reduce thermal stress, climbs to a process temperature where the bottle slumps, then cools to an annealing range and holds before cooling slowly. Exact schedules vary by kiln, bottle size, glass thickness, and desired shape.
Many bottle slumping schedules use process temperatures in the general range of about 1,300°F to 1,500°F. A lower temperature may create a soft slump that keeps more bottle shape. A higher temperature or longer hold may produce a flatter bottle. Beginners should start with conservative schedules recommended by their kiln manufacturer, glass supplier, or local studio.
Example beginner firing schedule
| Segment | Ramp Rate | Target Temperature | Hold Time | Purpose |
|---|---|---|---|---|
| 1 | 300°F per hour | 1,000°F | 20 minutes | Gentle heat-up |
| 2 | 500°F per hour | 1,400°F–1,475°F | 10–30 minutes | Slump or flatten |
| 3 | As fast as safe for kiln | 1,000°F | 45–60 minutes | Annealing soak |
| 4 | 150°F–300°F per hour | 700°F–800°F | 0–20 minutes | Controlled cooling |
| 5 | Natural cooling | Room temperature | None | Final cool-down |
This is only an example, not a universal recipe. Your kiln may fire hotter or cooler than expected, and bottles can vary wildly. Keep notes after every firing: bottle type, schedule, mold, separator, result, and what you would change next time. A kiln journal may sound nerdy, but it quickly becomes your best studio sidekick.
Step 6: Let the kiln cool completely
Do not open the kiln too early. The bottle may look finished, but hot glass can crack from sudden air exposure. Wait until the kiln reaches room temperature or a safe unloading temperature recommended by the kiln manufacturer. Opening the lid early because you are excited is understandable, but the kiln does not reward impatience. It rewards people who can resist peeking.
Step 7: Remove and inspect the bottle
Once cool, gently lift the flattened bottle from the shelf or mold. Remove any fiber paper residue with care. Inspect the piece for cracks, sharp edges, cloudy patches, or sticking marks. If the piece has rough edges, you may smooth them with appropriate cold-working tools, such as diamond hand pads or a grinder, while using water and safety protection.
Common Problems and How to Fix Them
The bottle did not flatten enough
The process temperature may have been too low, the hold time too short, or the bottle too thick. Try increasing the top temperature slightly or extending the hold time during the next firing. Make only one major change at a time so you know what worked.
The bottle got too flat or distorted
The kiln may have gone too hot or held too long. Lower the process temperature or reduce the hold time. Some distortion is part of the handmade charm, but if the bottle looks like it had an emotional breakdown, the schedule probably needs adjustment.
The bottle stuck to the shelf
The shelf was not properly protected, the separator failed, or the glass became too hot and fluid. Use fresh kiln wash or fiber paper next time. If glass sticks badly, do not force it off without understanding how to repair the shelf safely.
The surface looks cloudy
Cloudiness can come from devitrification, residue, overfiring, dirty glass, or unsuitable coatings. Clean bottles thoroughly, avoid excessive hold times at high temperatures, and test devitrification spray only when appropriate for your project.
The bottle cracked
Cracking can happen from fast heating, fast cooling, existing damage, uneven thickness, or poor annealing. Slow down the ramp rate, use a longer annealing hold, and inspect bottles before firing. If a bottle is already chipped, skip it. Recycling is noble; firing cracked glass is gambling with sparkly consequences.
Safety Tips for Bottle Slumping
Flattening glass bottles is rewarding, but it is still kiln work. Always operate your kiln in a safe, ventilated area and follow the manufacturer’s manual. Keep flammable items away from the kiln. Wear eye protection when handling glass. Use gloves when working near warm kiln furniture. Avoid breathing dust from kiln wash or fiber paper, and clean up according to safety recommendations.
Do not fire bottles with unknown coatings, heavy paint, plastic labels, metal caps, or mystery residues. Some decorative finishes may produce fumes or stick aggressively to kiln shelves and molds. When in doubt, test one bottle first or choose a simpler bottle.
Also remember that flattened bottles are decorative glass pieces, not automatically food-safe dishes. If you plan to use a flattened wine bottle as a cheese tray or snack server, make sure the surface is clean, smooth, and free of questionable coatings. Avoid using pieces with metallic decorations, unknown enamels, or rough fiber residue for direct food contact.
Creative Ideas for Flattened Glass Bottles
Once you learn how to flatten glass bottles, the project possibilities multiply quickly. A flattened wine bottle can become a cheese board, sushi tray, olive dish, spoon rest, candle base, wall plaque, jewelry holder, or holiday gift. Smaller beer bottles can work as soap dishes, small trinket trays, garden markers, wind chime pieces, or decorative tiles.
You can add wire loops before firing to create hanging art. You can slump bottles over curved molds to make shallow trays. You can use textured molds to create patterns on the back of the glass. Some artists add glass decals, compatible glass powders, or kiln-safe paints after testing. The safest approach is always to test decorations on one bottle before committing to a full batch.
Best Bottles for Beginners
If you are new to bottle slumping, start with ordinary wine bottles in common colors such as clear, green, or amber. They are easy to find, long enough to become useful trays, and predictable enough for learning. Avoid unusual shapes until you understand your kiln. Square bottles, thick-bottomed bottles, and heavily embossed liquor bottles can produce beautiful results, but they often need more testing.
For your first firing, flatten one or two bottles rather than filling the kiln. This helps you see how your schedule behaves. If the bottle does not slump enough, you can adjust. If it over-slumps, you learn without sacrificing a whole collection. A small test firing may feel slow, but it saves time, materials, and possibly your favorite bottle from becoming a glass pancake with identity issues.
How Long Does It Take to Flatten a Bottle?
The full process often takes several hours, and many firings run overnight depending on the kiln and schedule. The active slumping stage may be short, but the heating and cooling stages take time. The annealing stage is especially important because it relieves internal stress. Rushing the cool-down is one of the easiest ways to create a piece that cracks later.
Plan bottle flattening as a slow craft. You prepare today, fire carefully, and unload when the kiln is cool. This is not a microwave popcorn project. It is more like baking sourdough, except the dough is glass and the oven can reach temperatures that make eyebrows nervous.
Extra Experience: Practical Lessons From Flattening Glass Bottles
The first experience most people have with flattening glass bottles is usually a mix of excitement, confusion, and humility. The bottle goes in looking simple, but the kiln has opinions. One green wine bottle may flatten into a graceful tray with a perfect neck curve, while another bottle of nearly the same size may keep a stubborn hump at the base. This is normal. Bottle glass is not manufactured for artists; it is manufactured to hold beverages, survive shipping, and look appealing on a shelf. When you ask it to become home decor, it sometimes negotiates.
One of the most useful lessons is that cleaning matters more than beginners expect. A tiny smear of label glue can become a brown scar. A hidden bit of foil can discolor the neck area. A painted logo can stick, haze, or behave strangely during firing. The best results usually come from boring preparation: soak, scrape, scrub, rinse, inspect, and dry. It is not glamorous, but neither is chiseling a failed bottle off a kiln shelf.
Another lesson is to respect the difference between “slumped” and “flattened.” A slumped bottle may still have raised character, a curved body, and a visible bottle shape. A flattened bottle is usually pushed farther with more heat-work. For serving trays, a slightly slumped shape can be more attractive and practical than an aggressively flattened one. If the bottle gets too flat, it may spread, distort, or lose the details that made it interesting in the first place. Sometimes the best bottle art still looks like a bottle.
Testing is the secret sauce. Keep a notebook with details: bottle brand, color, size, whether it had embossing, shelf or mold type, separator used, top temperature, hold time, annealing hold, and final result. After three or four firings, patterns begin to appear. Maybe your kiln runs hot. Maybe amber beer bottles flatten faster than your green wine bottles. Maybe the thick-bottomed champagne bottle needs a different schedule. Notes turn random experiments into repeatable success.
Spacing also matters. Bottles can spread more than expected, especially at higher temperatures. Leave room between bottles and away from kiln walls. If you are using a mold, make sure the bottle is centered and stable before firing. A bottle that rolls slightly during loading can slump into an awkward position and stay that way forever, like a glass version of falling asleep on an airplane.
One practical trick is to fire similar bottles together. Mixing a thin beer bottle with a thick liquor bottle in the same firing can produce uneven results because each bottle wants a slightly different amount of heat-work. If you want predictable outcomes, group bottles by size, thickness, and shape. Save oddball bottles for test firings or special experiments.
Finally, manage expectations. The beauty of flattened glass bottles comes from their recycled character. Small bubbles, gentle waves, preserved embossing, and slight asymmetry can make the finished piece feel handmade rather than factory-perfect. The goal is not always flawless glass; the goal is safe, attractive, useful art with personality. When a bottle turns out beautifully, it feels like alchemy. When it turns out weird, it becomes a lessonor, at minimum, a very shiny reminder to adjust the firing schedule.
Conclusion
Learning how to flatten glass bottles is a satisfying way to turn ordinary empties into functional recycled glass art. The basic process is simple: clean the bottle, prepare the kiln shelf or mold, program a safe firing schedule, allow proper annealing, and unload only after the kiln has cooled. The skill comes from testing, note-taking, and understanding how different bottles respond to heat.
The most important rule is safety. Use a real glass kiln, protect your shelf with kiln wash or fiber paper, avoid questionable coatings, and never rush heating or cooling. With patience, flattened bottles can become beautiful trays, spoon rests, wall art, gifts, and studio experiments. And yes, it is deeply satisfying to tell guests, “That cheese board used to be a wine bottle.” That is recycling with a dramatic glow-up.
Note: This article is for educational craft guidance. Always follow your kiln manufacturer’s instructions, use proper protective equipment, and test firing schedules carefully because bottles, kilns, molds, and glass thicknesses vary.













