
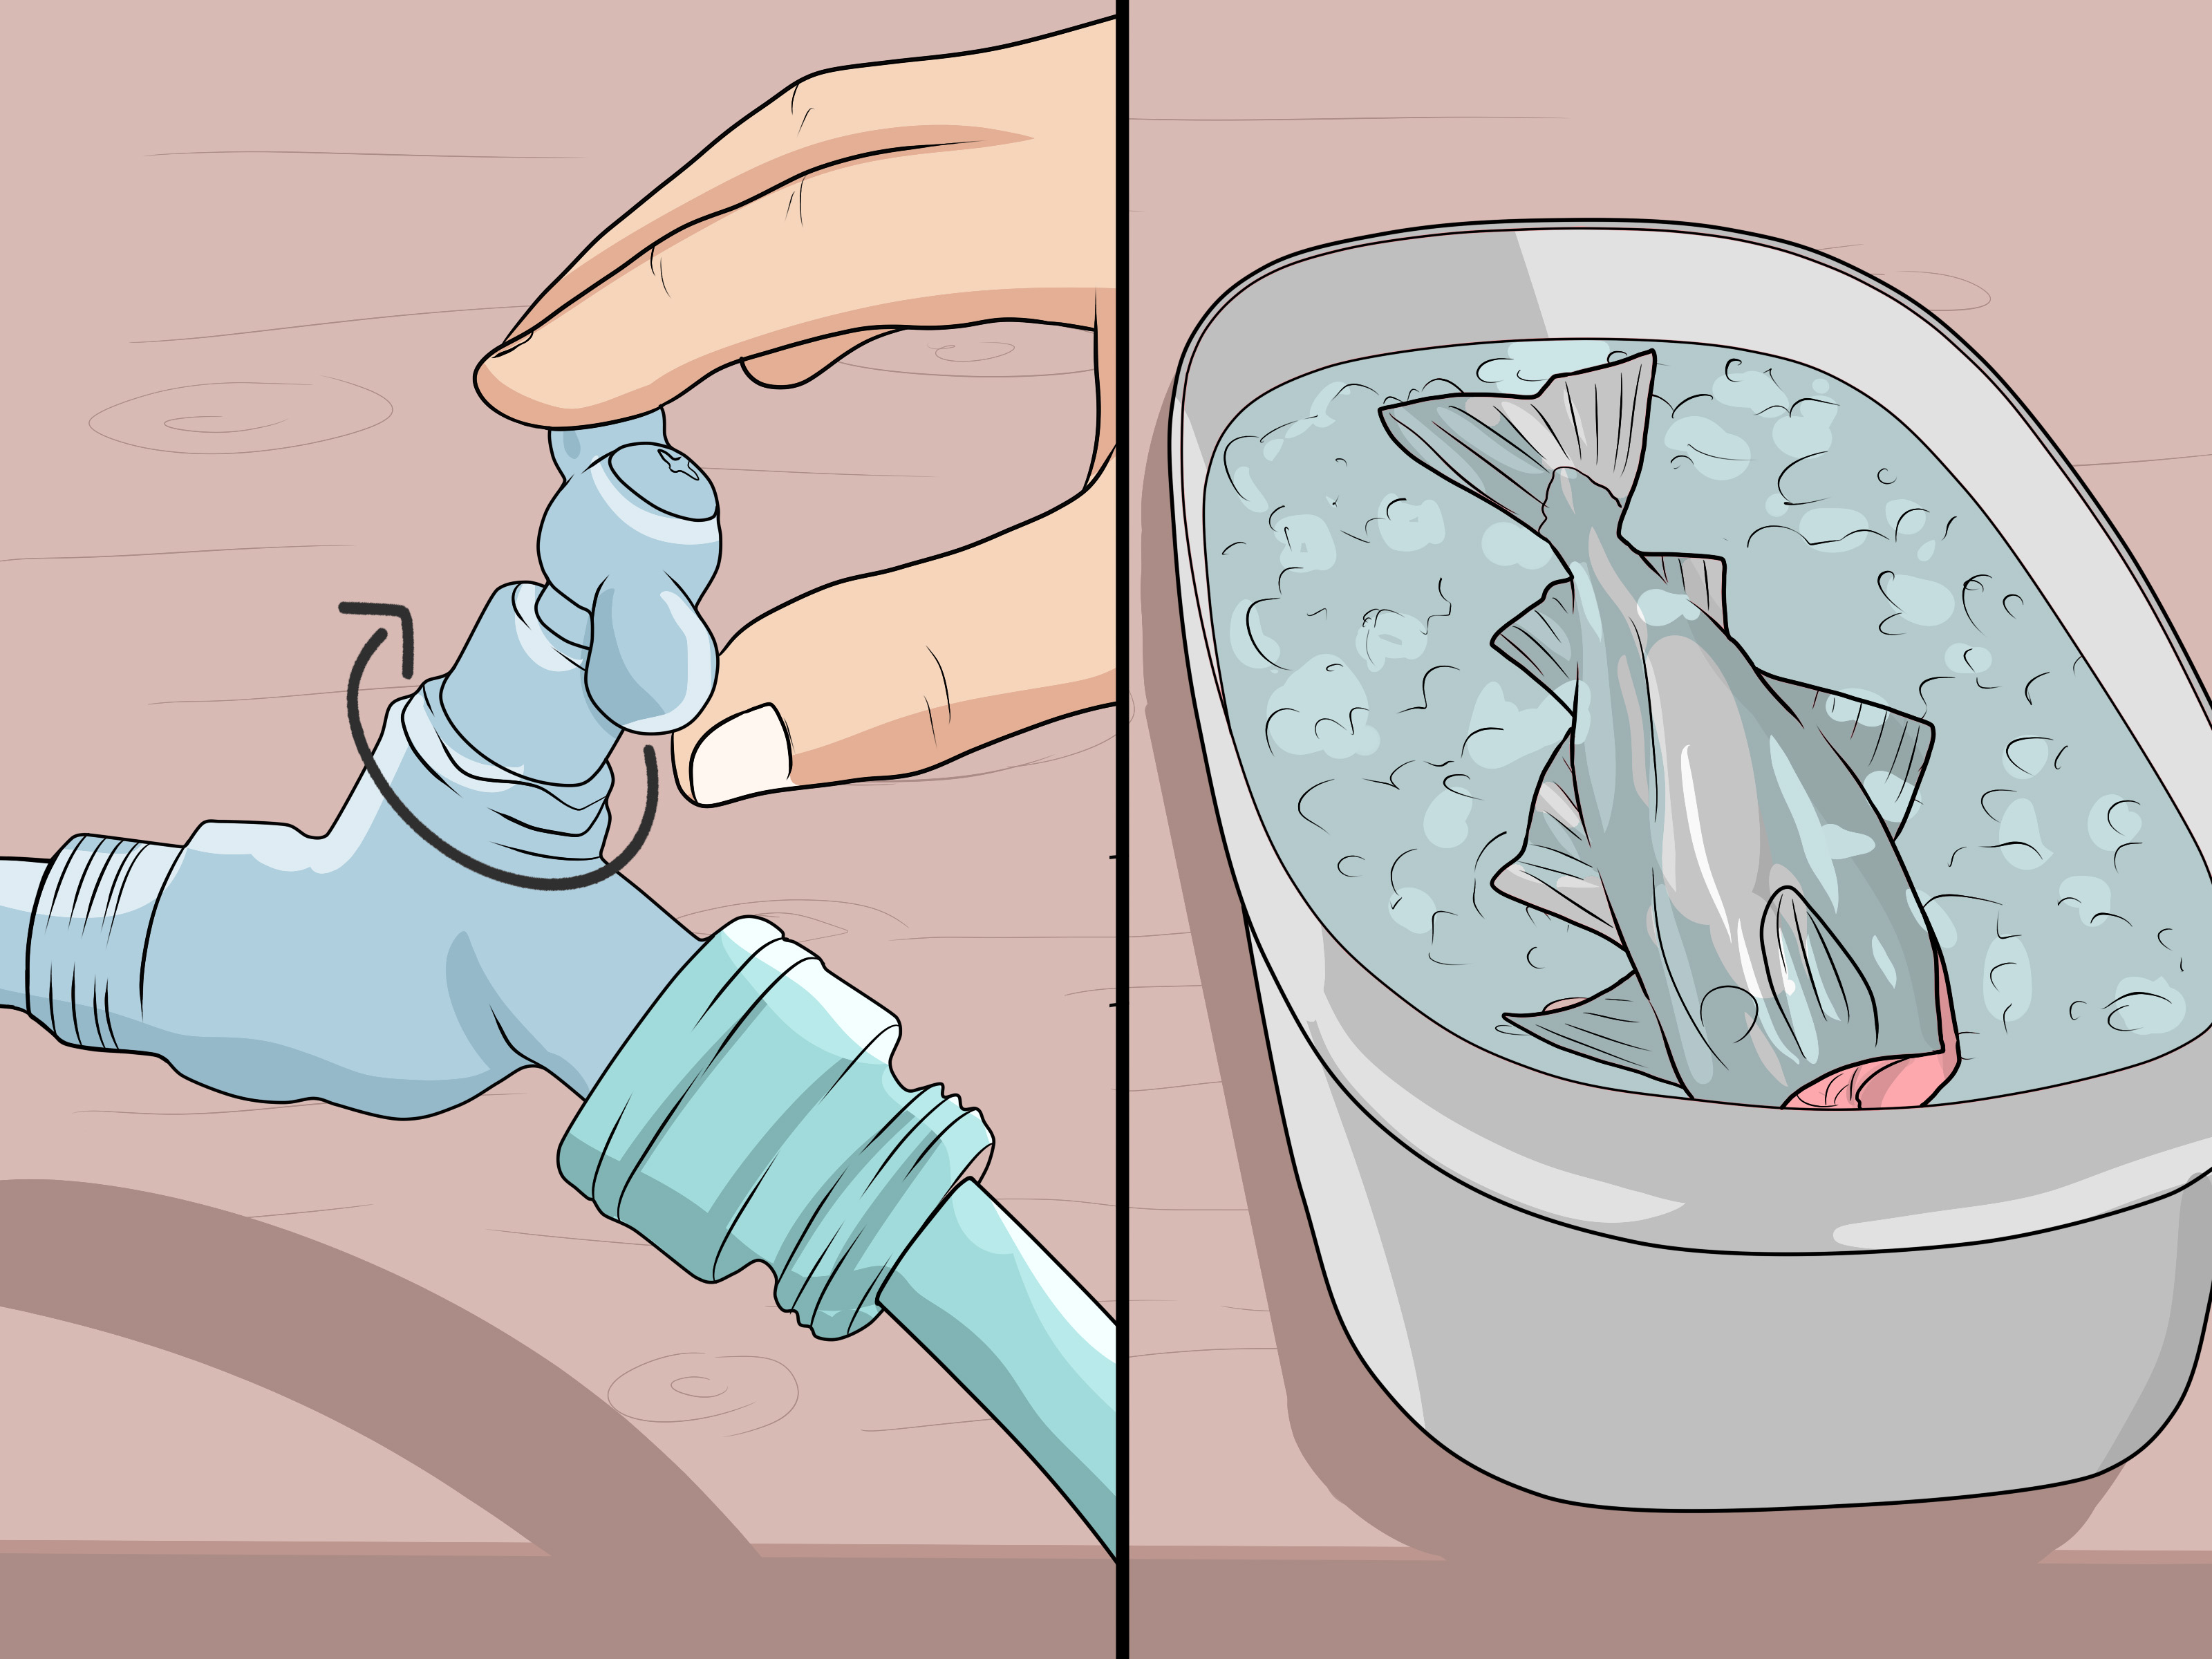
Fresh fish is one of life’s great rewards. You put in the time, outsmart the weather, pretend your “secret spot” is actually secret, and finally bring home a keeper. But what happens in the first few minutes after landing that fish can make the difference between clean, sweet fillets and a dinner that tastes like it spent the afternoon sulking in a tackle box.
Learning how to bleed a fish is a simple skill that improves the flavor, color, texture, and overall quality of your catch. Bleeding helps remove blood from the flesh before it settles into the meat, which is especially useful for oily, strong-flavored, or larger fish such as tuna, mackerel, salmon, bonito, striped bass, bluefish, catfish, and many saltwater species. Even mild freshwater fish can benefit from quick, careful handling.
This guide explains how to bleed a fish in 10 practical steps, from humane dispatch to icing, cleaning, and storage. The goal is not to turn your boat into a crime scene. The goal is better fish, safer handling, and fillets that make people say, “You caught this?” instead of “Are you sure this is edible?”
Why Bleeding a Fish Matters
Fish flesh begins changing immediately after the fish dies. Heat, stress, bruising, enzymes, and bacteria all work against quality. Blood can also carry strong flavors, especially in species with darker meat or a pronounced bloodline. Bleeding the fish quickly helps produce cleaner-tasting fillets, lighter-colored meat, and a fresher smell.
For many anglers, bleeding is part of a larger “care of the catch” routine: dispatch the fish quickly, bleed it, rinse or drain it properly, then chill it fast. That sequence is simple, but it matters. A fish tossed warm into a cooler with barely enough ice to cool a soda is not being preserved; it is being politely introduced to spoilage.
Before You Start: Tools and Safety
You do not need a professional fish-processing station to bleed a fish, but a few basic tools make the job cleaner and safer.
Useful Tools
- A sharp bait knife, fillet knife, or sturdy fishing knife
- Cut-resistant glove or fish-handling glove
- Needle-nose pliers or a fish gripper for toothy species
- A bucket, livewell, bleed box, or stringer
- Plenty of ice or an ice slurry
- Clean water for rinsing tools and hands
- A cooler with drainage or a separate bag for cleaned fish
A sharp knife is safer than a dull one because it requires less force and slips less often. That said, any knife around a wet, moving fish deserves respect. Work slowly, keep your fingers away from the blade path, and do not perform delicate knife work while the fish is thrashing like it has just heard your cooking plans.
How to Bleed a Fish: 10 Steps
Step 1: Confirm the Fish Is Legal to Keep
Before bleeding any fish, make sure it is legal to harvest. Check the species, size limit, bag limit, season, and local rules. Some areas also have rules about keeping fish whole until you return to shore, especially where officers need to identify the species or measure it. Bleeding is usually fine, but filleting or removing the head may not be allowed until later.
This step is not glamorous, but neither is explaining to a conservation officer that you “thought it was probably fine.” Responsible anglers protect the resource and keep themselves out of expensive trouble.
Step 2: Decide Quickly Whether to Keep or Release
If you plan to release the fish, handle it gently and get it back in the water fast. If you plan to keep it, begin the bleeding process as soon as possible. Waiting too long allows stress and blood to affect the flesh. A fish that spends 20 minutes flopping on a deck before being bled will not produce the same quality as one handled immediately.
Quick decisions are especially important in warm weather. Heat speeds deterioration, and fish are highly perishable. The clock starts the moment the fish leaves the water.
Step 3: Dispatch the Fish Humanely
The most respectful way to handle a fish you intend to eat is to kill it quickly before bleeding. A firm blow to the head with a fish bat, priest, or similar tool can stun or dispatch many species. Some anglers use a brain spike method, often called ikejime or iki-jime, which destroys the brain quickly and can reduce stress-related quality loss.
The exact method depends on the species, size, and your experience. The key is to avoid letting the fish suffer unnecessarily or bruise itself by thrashing around. Besides being more humane, a calm, quickly dispatched fish is easier and safer to handle.
Step 4: Position the Fish Securely
Lay the fish on a stable surface, hold it firmly behind the head, or place it in a controlled area such as a bucket or livewell. For smaller fish, a cutting board or cooler lid may work. For larger fish, use the deck, a fish box, or a bleed station if available.
Keep the fish pointed away from your body, especially if it has sharp spines, teeth, gill plates, or a tail powerful enough to slap your confidence into next week. Secure handling prevents cuts, punctures, and messy mistakes.
Step 5: Cut the Gill Arches or Main Blood Vessels
The most common way to bleed a fish is to cut through the gill arches on one or both sides. Lift the gill plate and make a clean cut through the red gill tissue near the base. You can also cut the membrane under the throat where major blood vessels run between the gills and heart. On many fish, this allows blood to drain quickly while the heart continues to pump for a short time.
You do not need to hack at the fish. One or two accurate cuts are better than turning the head into seafood confetti. The goal is to open the main blood flow, not destroy edible meat.
Step 6: Place the Fish in Water or Let It Drain
After cutting the gills or throat area, place the fish head-down in a bucket of clean water, seawater, or a livewell, or let it drain in a controlled spot. Moving water can help flush blood away. On a boat, some anglers use a dedicated bleed bucket or keep the fish near a scupper where the blood can drain safely.
For small and medium fish, a bucket is usually enough. For larger tuna, mackerel, bluefish, salmon, or big bottom fish, you may need a larger bleed box, deck area, or fish hold. Keep the process tidy, and avoid contaminating other food, bait, drinks, or gear.
Step 7: Allow Enough Time for Bleeding
Most fish need several minutes to bleed well. Smaller fish may drain quickly, while larger fish may take longer. The water may turn red at first and then gradually clear. When bleeding slows significantly, the fish is ready for chilling or further cleaning.
Do not rush this step if quality matters. Bleeding is like letting coffee brew: technically you can stop early, but everyone will know something went wrong.
Step 8: Rinse the Fish and Keep It Clean
Once the fish has bled, rinse away loose blood, slime, and debris with clean water. Keep your knife and hands clean as well. Raw fish juices can spread bacteria to other foods, so avoid placing bled fish directly on lunch containers, ready-to-eat snacks, or the family sandwich stash.
If you are on a long trip, separate bled fish from live bait and from fish that have not been cleaned. A little organization in the cooler saves a lot of unpleasantness later.
Step 9: Chill the Fish Immediately
After bleeding, get the fish cold as soon as possible. The best option is usually an ice slurry made from ice and water, which surrounds the fish and chills it quickly. If you do not have a slurry, pack the fish in crushed ice. Keep the cooler shaded and drain meltwater when needed so the fish does not soak in warm, bloody liquid.
Cold handling is one of the most important parts of preserving fish quality. Bleeding improves flavor, but ice protects safety and texture. A perfectly bled fish left warm for hours is still a poorly handled fish.
Step 10: Gut, Fillet, Cook, or Store Properly
When practical and legal, gut the fish soon after bleeding and chilling. Removing the internal organs helps slow spoilage and prevents strong flavors from developing. If regulations require the fish to remain whole, wait until you reach a legal cleaning location.
At home, fillet the fish with clean tools on a sanitized surface. Pat the fillets dry, remove the bloodline if desired, and refrigerate or freeze them promptly. Fresh fish should be kept cold and cooked soon. For freezing, wrap fillets tightly in moisture-proof packaging, vacuum-seal them, or freeze them in water to reduce freezer burn.
Best Fish to Bleed
Almost any fish intended for the table can be bled, but the benefits are most noticeable in species with darker flesh, higher oil content, or stronger natural flavor. These include:
- Tuna
- Mackerel
- Bonito
- Salmon
- Bluefish
- Striped bass
- Catfish
- Wahoo
- Amberjack
- Large trout
- Shark, where legal and properly handled
White-fleshed fish such as crappie, perch, walleye, snapper, flounder, and sea bass may show less dramatic results, but bleeding can still help produce clean, attractive fillets. If you take pride in the meal, bleeding is worth the small effort.
Common Mistakes When Bleeding Fish
Waiting Too Long
The biggest mistake is delaying the process. Bleed the fish while it is fresh and before blood settles into the flesh. The sooner you act, the better the result.
Skipping the Ice
Bleeding without chilling is only half the job. Ice is not decoration. It is the difference between fresh fish and a biology experiment with fins.
Using a Dull Knife
A dull knife makes ragged cuts and increases the chance of slipping. Keep your fishing knife sharp, clean, and easy to reach.
Letting Fish Soak in Dirty Water
Bleed water can become warm and contaminated. Drain, refresh, or transfer the fish to ice after the bleeding is done.
Ignoring Species-Specific Rules
Some fish must remain identifiable until you reach shore. Know your local laws before removing heads, tails, or fillets.
Food Safety Tips After Bleeding a Fish
Good fish handling is a chain, and every link matters. Wash your hands before and after handling raw fish. Keep raw fish separate from ready-to-eat foods. Clean knives, boards, buckets, and coolers with hot soapy water after use. At home, sanitize surfaces that touched raw seafood.
Keep seafood refrigerated at 40°F or below. Do not leave fish or other perishable food at room temperature for more than two hours, or more than one hour when the temperature is above 90°F. When in doubt, remember this simple rule: fish should smell like clean water, not like a dare.
Freshwater vs. Saltwater Fish: Does the Method Change?
The basic method is the same for freshwater and saltwater fish: dispatch, cut the gills or throat vessels, drain, rinse, and chill. The main differences are size, species, and available equipment.
Freshwater anglers often bleed fish in a bucket, on a stringer, or directly before icing them in a cooler. Saltwater anglers may use a livewell, bleed box, scupper, or ice slurry because many ocean species are larger and bloodier. Offshore anglers targeting tuna, wahoo, mahi-mahi, or mackerel often treat bleeding and icing as essential, not optional.
Experience Notes: What Actually Helps in the Real World
The first thing experienced anglers learn about bleeding fish is that preparation beats improvisation. If the knife is buried under three tackle trays, the cooler has one lonely ice cube, and the bucket is still holding yesterday’s bait, the fish will not wait politely while you organize your life. Set up before the first cast. Keep a sharp knife, a bleed bucket, and ice ready. That small habit makes the process calmer, cleaner, and faster.
Another useful lesson is that fish quality starts before the knife ever comes out. A fish that is dragged across dry sand, dropped on a hot dock, or allowed to bounce around the boat will not be at its best. Bruising damages the flesh, and heat accelerates spoilage. Treat the catch like food from the beginning. That sounds obvious, but plenty of anglers handle fish like equipment until they suddenly expect restaurant-quality fillets at dinner.
For small fish, simplicity works. Dispatch the fish, cut the gills, place it in a bucket of clean water for a few minutes, then move it to ice. For larger fish, especially oily species, give yourself more room and more ice. Big fish hold heat, and thick muscle takes longer to chill. If you are fishing in summer, bring more ice than you think you need. The correct amount of ice is usually “more,” followed by “yes, still more.”
One practical trick is to separate jobs in the cooler. Use one area for freshly bled fish and another for fully chilled or cleaned fish. If possible, keep fillets in sealed bags so they do not sit directly in meltwater. Meltwater can wash flavor from the meat and spread blood or bacteria around the cooler. Draining the cooler helps, but do not drain all the cold away if the fish are still chilling. The goal is cold fish, not fish soup.
People also learn quickly that bleeding improves confidence in the kitchen. Clean fillets are easier to trim, season, and cook. The bloodline is more visible, off smells are reduced, and the flesh often looks brighter. This is especially noticeable when grilling stronger fish. A well-bled bluefish, mackerel, or bonito can surprise people who thought those species were automatically “too fishy.” Often, the problem was not the fish. It was the handling.
Finally, bleeding fish teaches respect. Keeping a fish means taking responsibility for it all the way to the plate. That includes a quick dispatch, clean handling, proper chilling, and using as much edible meat as possible. The reward is better food and less waste. Also, there is a quiet satisfaction in serving fish that was handled well from water to skillet. It tastes better, looks better, and gives you one more reason to tell the fishing story at dinner, preferably with only minor exaggeration.
Conclusion
Knowing how to bleed a fish is one of the easiest ways to improve the quality of your catch. The process is simple: confirm the fish is legal, dispatch it quickly, cut the gills or main blood vessels, let it drain, rinse it clean, and chill it immediately. Those 10 steps protect flavor, texture, appearance, and safety.
Bleeding is not just for commercial fishermen or offshore pros. It is a practical skill for anyone who keeps fish for the table. Whether you catch trout from a mountain stream, catfish from a farm pond, salmon from cold coastal water, or tuna offshore, proper catch care shows up on the plate. Your future fish tacos, grilled fillets, chowders, and pan-fried dinners will thank you.
And if your cooler is packed with ice, your knife is sharp, and your fish is handled with care, congratulations: you are no longer just catching dinner. You are treating it like dinner from the very beginning.













