
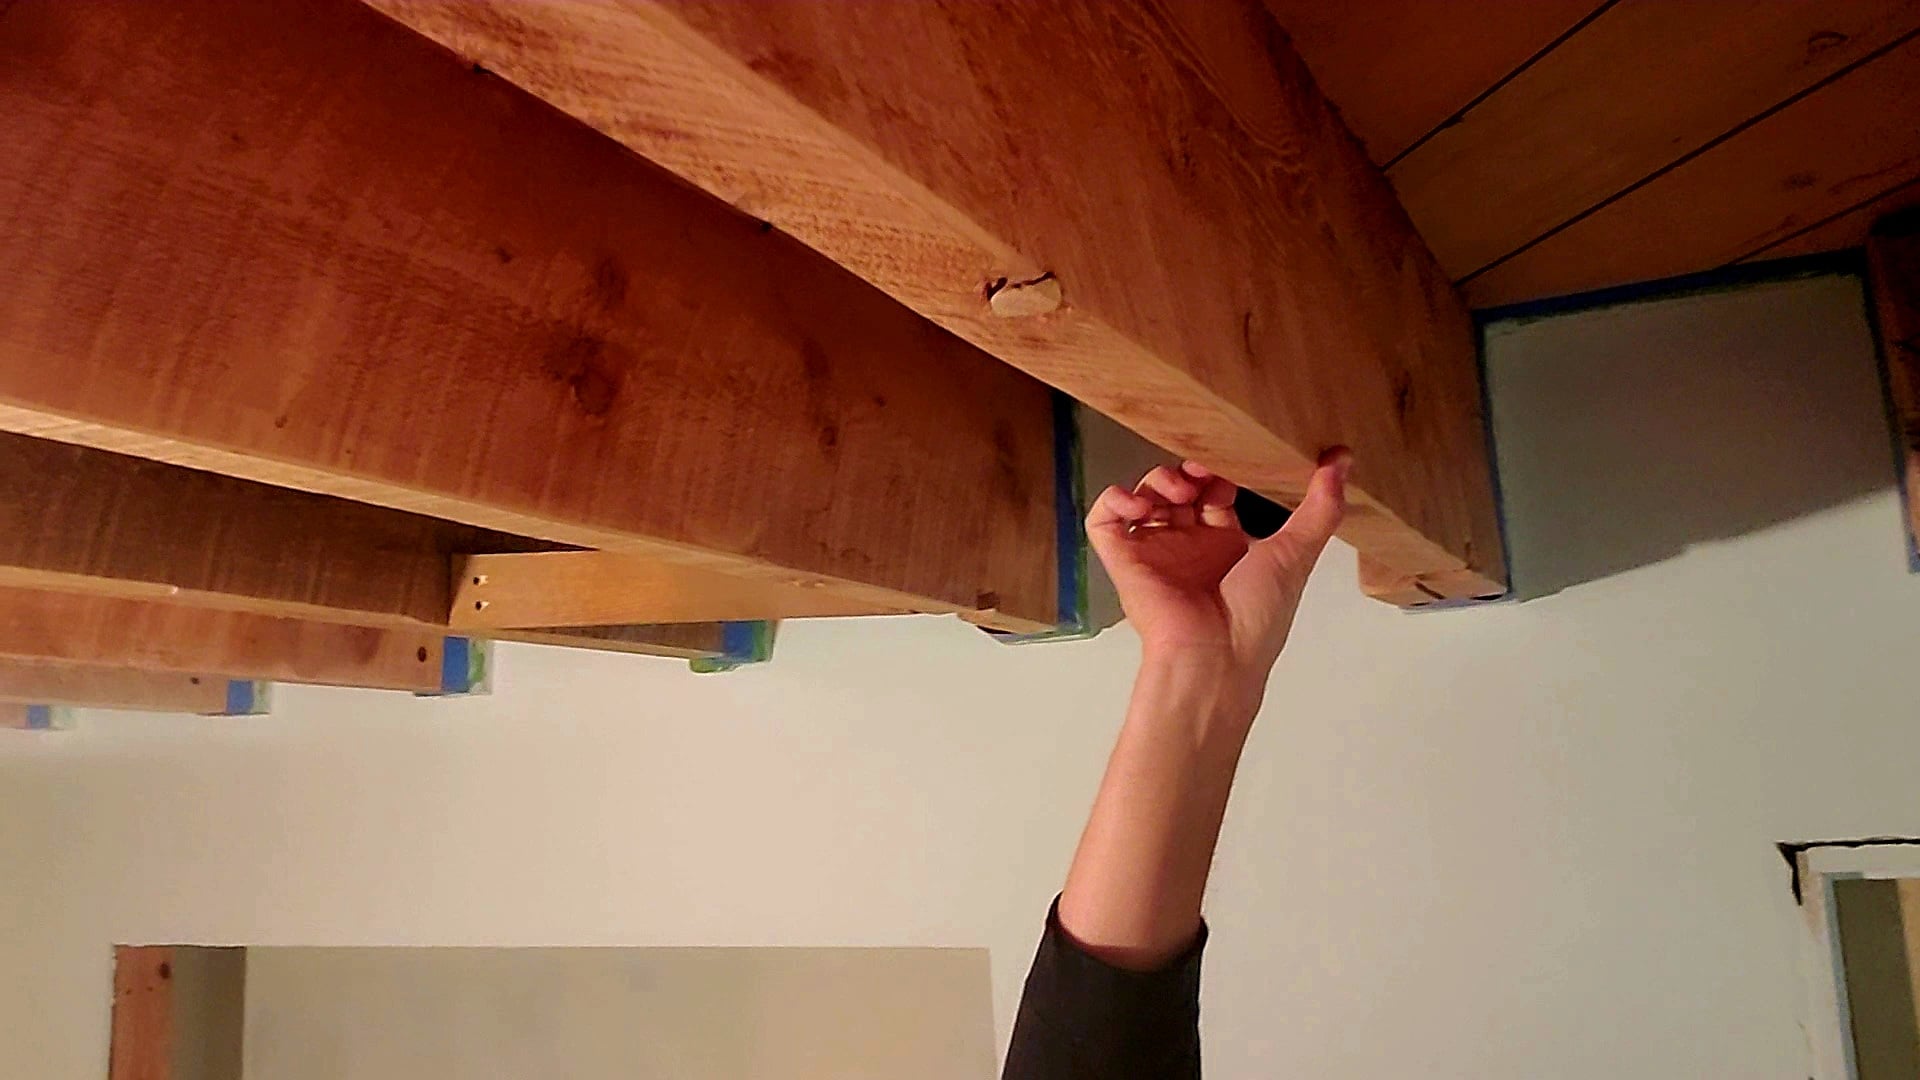
Our basement has officially entered that exciting stage where it no longer looks like a storage bunker, yet it stillre we supposed to be down here?” The answer is yesjust watch your head.
The biggest design decision in this basement remodel update was leaving the ceiling open. Instead of covering the floor joists, plumbing lines, electrical cables, and ductwork with drywall or suspended tiles, we cleaned, organized, primed, and painted the entire overhead structure. The result is a brighter, taller-looking room with an industrial edge and easy access to the home’s mechanical systems.
An exposed basement ceiling is not merely an unfinished ceiling wearing expensive paint. It requires careful preparation, thoughtful lighting, moisture control, and plenty of patience. Here is what has changed, what worked, what caused a few colorful vocabulary moments, and what we would do differently next time.
Why We Chose an Exposed Basement Ceiling
Ceiling height was the deciding factor. Installing drywall beneath the lowest pipes and ducts would have reduced headroom, while a traditional drop ceiling would have lowered it even more. Leaving the joists exposed allowed us to preserve nearly every available inch.
The open ceiling also keeps plumbing shutoffs, electrical junctions, HVAC components, and communication cables accessible. That accessibility may not sound glamorous, but it becomes extremely attractive when a pipe needs attention and nobody has to cut a surprise hole through a newly finished ceiling.
Painted exposed ceilings are commonly used to give basements a cohesive industrial appearance. Light colors can help an underground room feel more open, while darker colors visually blend pipes, wires, and ducts into a single background. Exposed joists can therefore become part of the design rather than something the room is apologizing for.
Research basis: exposed painted ceiling design, preserved height and utility access.
Basement Remodel Progress So Far
Demolition and Cleanup
The old basement contained a mixture of damaged ceiling tiles, abandoned cable, random nails, mysterious brackets, and enough cobwebs to support a small Halloween attraction. Removing those materials immediately made the space feel taller, but it also revealed every shortcut taken during previous repairs.
Before painting, we removed unused fasteners, vacuumed the joist bays, wiped down ducts, consolidated low-voltage cables, and identified plumbing valves that needed to remain visible. Anything questionable was reviewed before it became permanently disguised beneath paint.
Wall Framing and Insulation
The exterior walls received far more attention than the ceiling because below-grade moisture cannot be solved with optimism and a decorative rug. We checked for active leaks, efflorescence, condensation, and musty odors before installing finished wall materials.
Basement insulation performs best when moisture management and air sealing are addressed first. The rim joist area is especially important because gaps around framing and penetrations can allow drafts, moisture, and outdoor air into the house. Depending on the existing assembly and local climate, rigid foam, spray foam, or another code-compliant system may be appropriate.
Research basis: moisture-first basement insulation and rim-joist air sealing. ical and Mechanical Organization
An exposed ceiling puts every cable and pipe on display, so organization matters. We grouped compatible wiring runs, secured loose lines, removed abandoned material where appropriate, and planned fixture locations before spraying anything.
We did not paint over electrical panel labels, shutoff tags, equipment identification, sprinkler components, or anything that needs to move, vent, disconnect, or remain readable. Exposed does not mean casual. Electrical, plumbing, HVAC, and fire-safety work should remain accessible and comply with the locally adopted codes.
Preparing the Exposed Ceiling for Paint
Painting was the dramatic part. Preparation was the part that made the dramatic part possible.
Step 1: Inspect Before Hiding Anything
We inspected the underside of the subfloor, joists, pipes, ducts, fasteners, and wiring. Signs of leakage, corrosion, damaged insulation, pests, or questionable electrical work need correction before primer turns everything into one beautifully uniform mystery.
Step 2: Remove Dust and Debris
Exposed basement ceilings collect years of dust in places that normal cleaning tools were never emotionally prepared to visit. We started with a shop vacuum and brush attachment, followed by compressed air in tight areas and damp wiping on suitable surfaces.
This was also the moment to remove protruding nails, loose staples, dangling cable, and old hooks. Surface preparation may feel slow, but paint sprayed over dust does not become durable paint. It becomes decorative dust.
Step 3: Mask Aggressively
Spraying an open ceiling creates overspray that travels with the confidence of a toddler holding a permanent marker. Floors, walls, windows, equipment, valves, detectors, receptacles, and anything not intended for coating must be carefully protected.
We created plastic barriers around the work zone and temporarily sealed nearby doorways. Proper ventilation and protective equipment were essential throughout cleaning, priming, and painting.
Step 4: Prime Mixed Materials
An exposed ceiling may contain wood, metal, plastic, old stains, new lumber, galvanized ductwork, and previous coatings. One universal coat may not bond equally well to every surface. We used compatible primers where needed, especially over stains, bare wood, and metal components.
Dry-fall coatings are sometimes used on open commercial-style ceilings because airborne droplets are designed to dry as they fall, making cleanup easier under suitable application conditions. Product instructions still matter, and dry fall should not be treated as magical paint that politely refuses to land on furniture.
Research basis: exposed-ceiling coatings and surface preparation considerations.
White or Black Exposed Basement Ceiling?
Why We Selected a Dark Finish
We chose a deep charcoal-black ceiling because the basement will primarily function as a family room, media area, and casual entertaining space. Dark paint visually combines the joists, ducts, and cables, reducing the sense of overhead clutter. It also creates a theater-like atmosphere and gives the lighter walls more contrast.
The tradeoff is light absorption. A black exposed ceiling can make a poorly lit basement feel smaller, so the lighting plan must be stronger than it would be with a white ceiling.
When White Is the Better Choice
White or warm off-white paint reflects more light and can make a low basement feel fresher and more spacious. It works especially well in a home office, craft room, laundry area, or playroom where visual brightness matters more than a dramatic industrial effect.
White also reveals every wire, pipe, shadow, stain, and uneven surface. A light ceiling generally demands more precise prep work, while a dark ceiling is slightly more forgiving. Apparently black paint understands that old houses have secrets.
Research basis: dark ceilings absorb light; white ceilings create a brighter, more open appearance.
Lighting an Exposed Basement Ceiling
Lighting became one of the most important parts of the basement remodel. Most basements receive limited natural light, and a dark exposed ceiling intensifies shadows between joists. One central fixture would have created a bright circle surrounded by four gloomy zip codes.
Layered Lighting Made the Difference
We combined evenly spaced general lighting with task and accent lighting. Low-profile LED fixtures provide broad illumination without hanging too far below the joists. Wall-mounted lamps and under-shelf lighting brighten work areas, while dimmable accent fixtures make the media zone more comfortable.
Flush and low-profile fixtures are especially useful where ceiling clearance is limited. Their positions should be planned around ducts, pipes, beams, doors, and future furniture instead of simply being centered between whatever joists happen to be convenient.
We also divided the lights into zones. The television area, stairway, worktable, and open floor area can now be controlled separately. That flexibility makes the basement useful for movie night, projects, exercise, or the ancient family tradition of searching for a missing charger.
Research basis: basement lighting, layered illumination and fixtures for low ceilings.
Moisture, Ventilation, and Indoor Air Quality
A beautiful basement is still a basement. Soil moisture, foundation leaks, plumbing failures, condensation, and humid air do not stop existing because the room now has matching furniture.
Before installing flooring or finished walls, we corrected visible water-entry problems and checked the foundation after heavy rain. Gutters, downspouts, grading, plumbing, and sump equipment all influence basement moisture. A dehumidifier can manage normal humidity, but it should not be used to disguise an active leak.
Moisture control is also the foundation of mold prevention. Water-damaged materials should be dried quickly, and the source of the moisture should be repaired rather than repeatedly painted over. During remodeling, ventilation is important because dust, coatings, adhesives, and disturbed materials can affect indoor air quality.
Radon testing is another sensible part of planning a regularly occupied below-grade room. Testing and mitigation requirements vary, but a remodel is a useful opportunity to evaluate the basement before new surfaces and furnishings are installed.
Research basis: moisture correction, mold prevention, ventilation and radon awareness.
Flooring and Wall Finishes
With the ceiling visually busy, we kept the rest of the material palette simple. Light walls balance the dark overhead finish, while durable flooring grounds the room without competing with it.
Basement flooring must tolerate the conditions of a concrete slab. We considered carpet, engineered products, tile, sealed concrete, and luxury vinyl plank. Moisture-resistant vinyl was appealing for the main living area because it is easy to clean and available in wood-look designs. In utility zones, sealed concrete remains practical and makes future water problems easier to detect.
No finish should be installed over a slab with unresolved moisture. Product requirements, slab preparation, vapor-control needs, and compatibility with the specific basement should be confirmed before installation.
Research basis: moisture-aware basement flooring and water-resistant finish options.
Sound Control with an Open Ceiling
The main disadvantage of leaving the ceiling exposed is noise. Without a continuous layer of drywall or acoustic tile, conversations, footsteps, television audio, and the occasional dropped toy travel more easily between floors.
We reduced the problem by adding soft furnishings, rugs, fabric window treatments, and upholstered seating. Acoustic wall panels can also control echo within the basement. Where insulation is installed between joists, the assembly must be selected and secured appropriately rather than left loose above an occupied room.
An exposed ceiling will rarely be as acoustically isolated as a carefully designed, insulated, resiliently mounted drywall system. The goal for this project was reasonable comfort, not turning the basement into a recording studio where a potato-chip bag can be opened in total secrecy.
Research basis: acoustic ceiling products and insulation options for noise reduction.
Safety and Code Considerations
A basement remodel may require permits and inspections for framing, electrical work, plumbing, HVAC changes, insulation, or a change in how the space will be used. Requirements differ by state, municipality, house age, and project scope.
Bedrooms and other sleeping spaces may need compliant emergency escape and rescue openings. Smoke and carbon monoxide protection, stairway lighting, guardrails, handrails, ceiling clearance, electrical protection, combustion-air requirements, and access to equipment should all be evaluated before the room is considered complete.
We treated the exposed ceiling as a finish choice, not permission to improvise around utilities. Licensed professionals handled work outside our experience, and the local building department remained the final authority.
Research basis: basement safety, emergency exits and possible permit requirements.
Budget Lessons from the Remodel
Leaving the ceiling exposed eliminated the material and labor required for a full drywall or suspended ceiling, but it was not free. The budget still included electrical corrections, cable management, primer, paint, masking materials, sprayer supplies, lighting fixtures, and an unreasonable number of vacuum filters.
The most useful budgeting strategy was prioritizing systems before decoration. Moisture repairs, electrical safety, insulation, ventilation, and lighting received funding before furniture and accessories. A sofa can wait. A leaking foundation has never once respected a wish list.
We also reserved money for discoveries. Opening an old basement almost guarantees that something unexpected will appear. A contingency fund prevented each surprise from becoming a full household emergency meeting.
What Still Needs to Be Finished
The major construction work is nearly complete, but the room still needs baseboards, door trim, storage cabinets, acoustic treatments, and a few touch-ups around ceiling penetrations. We are also monitoring humidity and checking for water after storms before filling every wall with furniture.
The exposed ceiling will remain accessible. Removable storage and clear pathways around mechanical equipment should make future repairs less disruptive. Once the final lighting adjustments and floor transitions are complete, the basement will be ready for regular use rather than occasional tours involving the phrase, “Imagine this area without all the tools.”
Additional Experience: What This Basement Remodel Actually Felt Like
The most surprising part of this project was how quickly the exposed ceiling changed from an unwanted condition into the feature that gave the basement its personality. During demolition, the joists and ducts looked chaotic. After cleanup, cable organization, primer, and paint, the same materials began to read as one architectural surface.
That transformation required more preparation than expected. We originally imagined that painting the ceiling would be one energetic weekend with a sprayer and a heroic playlist. In reality, cleaning and masking consumed most of the schedule. Every pipe created another edge to protect. Every wire cast a shadow. Every tiny opening in the plastic barrier became an escape route for overspray.
The first practical lesson was to finish overhead work before installing delicate flooring. Even with careful protection, ceiling preparation produces dust, paint flakes, wire clippings, and debris. Working from top to bottom saved the finished surfaces from unnecessary abuse.
The second lesson was to organize the utilities before choosing a paint color. Paint can unify a ceiling, but it cannot make a sagging cable look intentional. Straightening visible runs and removing abandoned hardware had a greater visual impact than applying the final coat.
The third lesson concerned lighting. We temporarily installed a few fixtures before committing to the final layout, then observed the basement at different times of day. That simple test exposed dark corners and harsh glare that were not obvious on the floor plan. Moving a fixture a couple of feet made the room feel more balanced.
Color samples also behaved differently overhead than they did on a wall. The charcoal paint looked medium gray on a sample card but appeared much darker between the joists. Testing a full section prevented us from covering the entire ceiling with a shade that might have made the basement resemble a very stylish cave.
We learned to photograph everything before painting. Clear pictures of plumbing routes, junction locations, cable paths, and structural details provide a useful reference later. Although the ceiling remains exposed, dark paint makes small components less obvious, especially when viewed from the floor.
Another experience involved noise. The unfinished basement initially echoed like an empty gymnasium. Once rugs, furniture, bookshelves, and curtains arrived, the sound became noticeably softer. The exposed ceiling still transfers footsteps from above, but the room itself no longer produces a dramatic echo after every conversation.
The most rewarding moment came when the temporary work lights were removed and the permanent lighting was switched on. The dark ceiling receded, the pale walls reflected the light, and the basement finally felt like part of the house. It was no longer a utility area that happened to contain chairs. It had become a flexible room with a deliberate design.
Would we choose an exposed ceiling again? Yes, particularly in a basement where headroom and mechanical access matter. We would simply begin with more plastic sheeting, more lighting tests, and a much less optimistic estimate of how long it takes to clean fifty years of dust from between floor joists.
Final Thoughts on the Basement Remodel
This basement remodel update proves that an exposed ceiling can be practical, attractive, and budget-conscious when it is treated as a complete design system. Cleaning the framing, organizing utilities, selecting the right finish, and installing layered lighting transformed an awkward overhead area into one of the room’s defining features.
The ceiling is only one piece of a successful basement renovation. Moisture control, safe electrical and mechanical work, insulation, durable flooring, ventilation, emergency access, and local code compliance must come first. Once those essentials are handled, paint and lighting can perform their little renovation miracle.
The basement is not completely finished, but it is close enough that we can see the final room rather than the work still waiting to be done. For now, that counts as progressand progress is much easier to appreciate when it has dimmable lights.














