
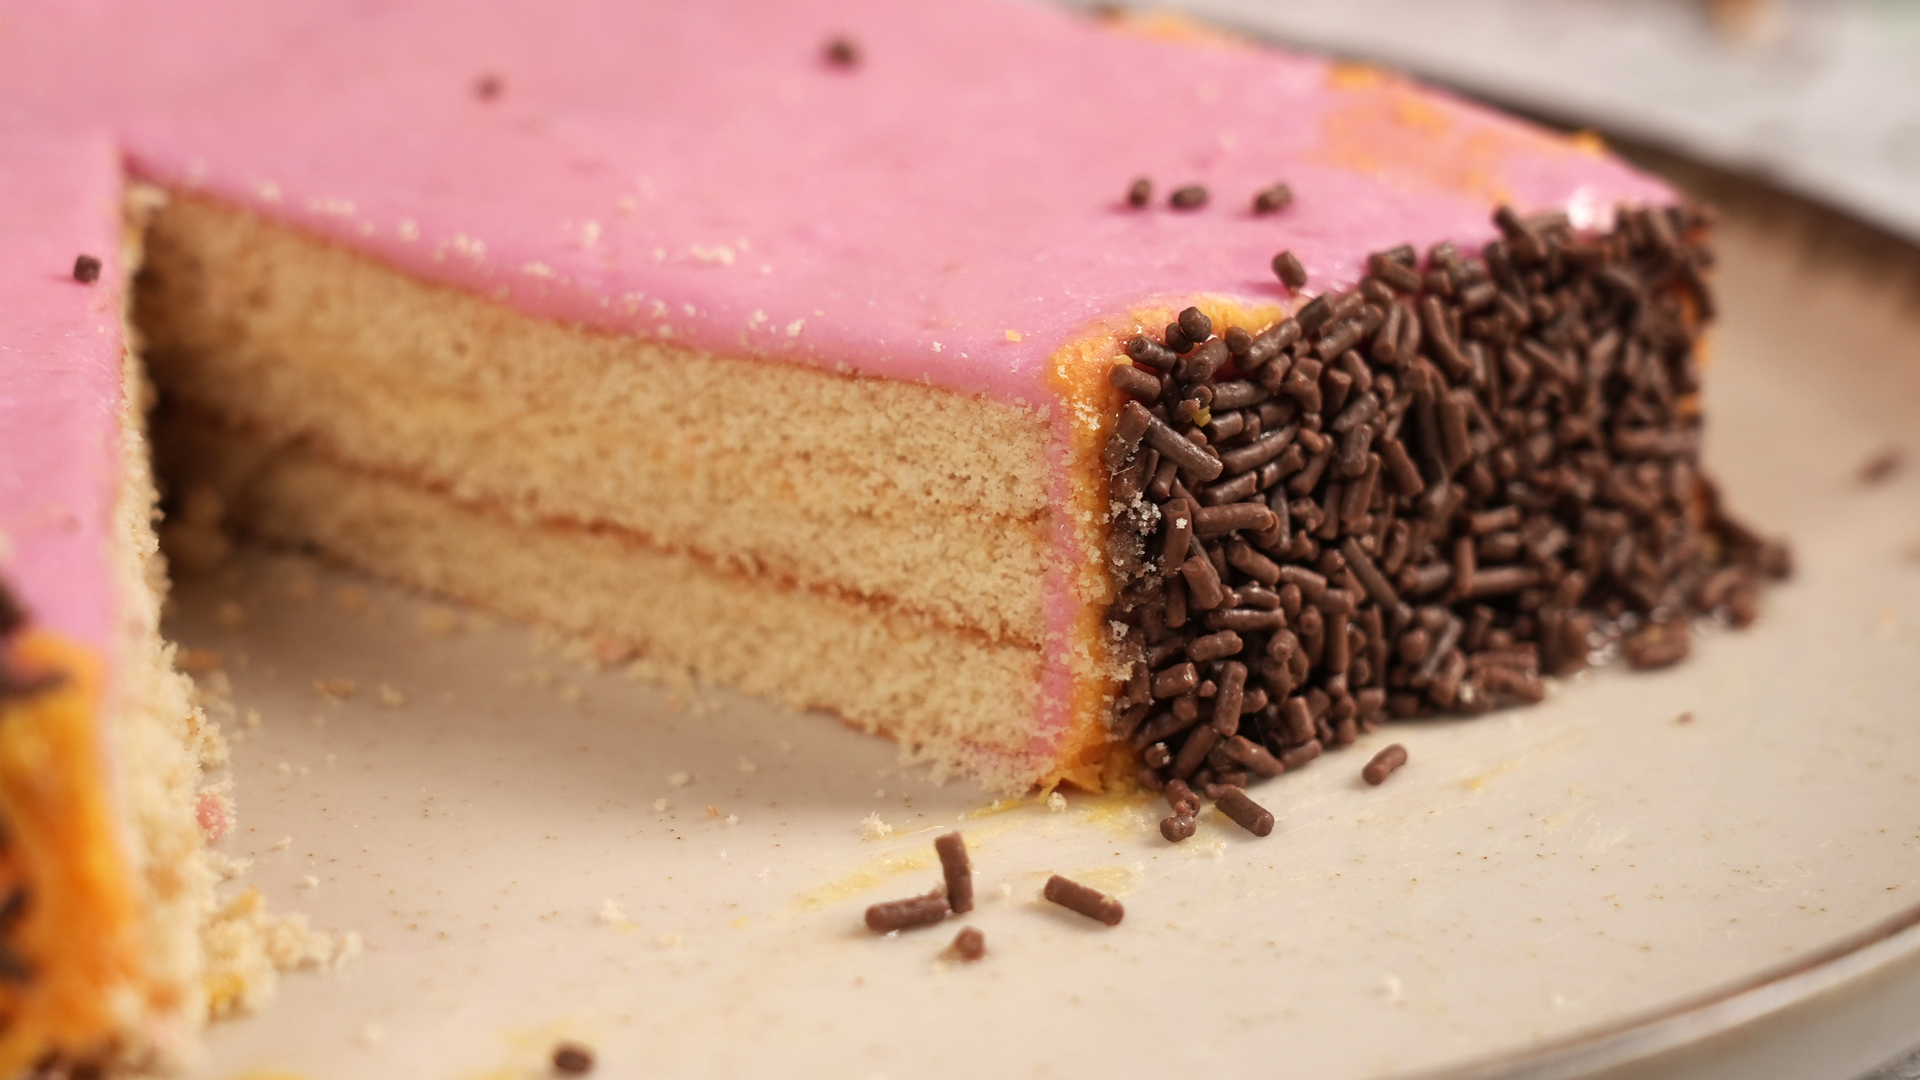
A cake covered in sprinkles has a special talent: it can make an ordinary Tuesday look like a birthday party. The problem is that sprinkles are wonderfully cooperative when you scatter them on top of a cake and surprisingly rebellious when you ask them to stick to a vertical surface. Suddenly, half are on the cake, half are on the floor, and three have somehow traveled into another room.
Fortunately, learning how to put sprinkles on the side of a cake does not require professional pastry-school skills. The secret is choosing a method that matches your cake, frosting, sprinkle size, and tolerance for finding rainbow nonpareils in your kitchen for the next six months.
This guide covers four easy techniques: pressing sprinkles on by hand, using the scoop-and-press method, rolling a chilled cake in sprinkles, and creating controlled sprinkle bands or patterns. Each approach can produce a colorful, bakery-style finish when you start with the right frosting consistency and a properly prepared cake.
Before You Start: Prepare the Cake for Sprinkles
Sprinkle decorating becomes dramatically easier when the cake is stable and the frosting is ready to act like edible glue. A crumb coat is especially useful because it traps loose cake crumbs before the final decorative layer of frosting is added. A smooth, properly prepared outer coat also makes decorating easier and gives the finished cake a cleaner appearance.
Use frosting that is still slightly tacky
Sprinkles need something to hold onto. Fresh buttercream is ideal because its surface remains soft enough for the decorations to sink in slightly. If the frosting has already dried or crusted, many sprinkles will bounce off instead of sticking. Baking guides similarly recommend adding decorative sprinkles while frosting is still soft or wet enough to hold them.
That does not mean the buttercream should be melting. Very warm, loose frosting can slide, dent, or collect sprinkles in lumpy patches. Aim for a cake that is cool and stable with a fresh final coating of buttercream.
Choose the right sprinkles
For full coverage, classic jimmies are generally forgiving because they are easy to grab and press onto frosting. Tiny nonpareils create a dramatic, densely speckled finish but have an impressive ability to escape in every direction. Large confetti shapes, pearls, stars, or specialty sprinkle mixes are often better for selective placement rather than complete coverage.
When working with oversized sprinkles, placing individual pieces onto small dots of frosting gives much more control than trying to throw them at the cake and hoping for a miracle.
Set up a sprinkle-catching station
Place the cake on a turntable or sturdy cake stand and position a rimmed baking sheet, shallow tray, or large piece of parchment underneath. The tray catches the sprinkles that do not stick, allowing you to reuse the clean ones instead of sacrificing half the container to the countertop.
Have more sprinkles available than you think you will need. Full side coverage requires a surprisingly generous amount because some pieces fall away during decorating. Think of the extra as insurance against finishing three-quarters of a rainbow cake and discovering that the rainbow has suffered a sudden supply-chain crisis.
1. Press the Sprinkles on by Hand
The simplest answer to how to get sprinkles to stick to the side of a cake is also the most direct: pick them up and press them into the frosting.
This technique is excellent for beginners, small cakes, partial coverage, and situations in which you want control over exactly where the sprinkles go. Pressing sprinkles gently into freshly frosted cake sides is a widely used decorating approach.
How to do it
- Frost the cake with a final layer of buttercream.
- Place the cake over a tray or parchment-lined work surface.
- Pour a small mound of sprinkles into your palm.
- Bring your hand close to the cake and gently press the sprinkles against the frosting.
- Rotate the cake and repeat until the sides are covered.
- Use your fingertips to fill small bare spots.
The key word is gently. You are not installing tile. Press hard enough for the sprinkles to make contact with the buttercream, but not so hard that you leave hand-shaped craters in the frosting.
Best uses for the hand-press method
This method works especially well when you want sprinkles only around the bottom third of the cake. Start at the base and gradually reduce the number of sprinkles as you move upward to create a scattered or ombré-style effect.
It is also the easiest technique for correcting mistakes. See a bare patch? Add three more sprinkles. Accidentally create a heavy cluster? Balance it with another cluster nearby and confidently call it “intentional texture.” Cake decorating is partly technique and partly excellent public relations.
2. Use the Scoop-and-Press Method for Faster Coverage
The scoop-and-press technique is a faster variation of hand application. Instead of picking up a small amount of sprinkles with your fingertips, use your palm, a small scoop, or a shallow spoon to lift a larger quantity and bring it directly to the cake.
This method is ideal when you want a heavily coated sprinkle cake without turning the decorating process into a three-hour exercise in placing individual sugar rods.
Step-by-step technique
- Place the freshly frosted cake on a turntable over a large rimmed tray.
- Add plenty of sprinkles to the tray or a wide bowl.
- Scoop up a generous handful.
- Hold the sprinkles against the side of the cake and gently push them into the buttercream.
- Let the loose pieces fall back into the tray.
- Rotate the cake a few inches and repeat.
Work from the bottom upward. This gives your hand a natural reference point and reduces the chance of repeatedly brushing against an area you already decorated.
A useful variation: the controlled sprinkle toss
For a more scattered look, hold a handful of sprinkles just an inch or two from the cake and lightly flick them toward the fresh frosting. Do this over a deep tray and use very small movements. Launching sprinkles from across the kitchen may feel dramatic, but it is not a recognized precision decorating technique.
The closer your hand is to the cake, the more control you have. After the first pass, press loose sprinkles gently into place with clean fingertips.
Why this method works well
The scoop-and-press technique provides quick coverage while keeping the cake upright and stable. Unlike techniques that require moving the entire cake, you simply rotate the turntable and work section by section. It is a practical choice for taller cakes, filled layer cakes, or any dessert you would prefer not to hold sideways.
3. Roll a Chilled Cake in Sprinkles
For dramatic, nearly complete coverage, experienced decorators sometimes use a rolling technique. The cake is chilled until very firm, supported securely, turned onto its side, and carefully rolled through a bed of sprinkles.
This can create impressively even coverage, but it requires more preparation than simply pressing sprinkles onto the cake. It is best reserved for sturdy round cakes with firm buttercream and secure cake boards.
How to roll a cake in sprinkles
- Assemble and frost the cake smoothly.
- Chill it thoroughly so the buttercream becomes firm.
- Prepare a clean, rimmed baking sheet with a generous, even layer of sprinkles.
- Make sure the cake is securely supported with appropriate boards before moving it.
- Carefully position the cake on its side.
- Roll the side surface through the sprinkles using slow, controlled movement.
- Return the cake upright and repair any small gaps by hand.
When to avoid the rolling method
Skip this technique when working with a very soft cake, loose filling, whipped-cream frosting, an unusually tall cake, or a dessert that already seems to lean when nobody is looking at it.
For most first-time decorators, the hand-press method is safer. Rolling is useful when you need dense, uniform coverage and the cake is structurally ready for the adventure.
Safety and stability matter more than speed
A cake should never be handled aggressively simply to save a few decorating minutes. Chill it properly, support it carefully, and stop if the layers begin to shift. A slightly uneven sprinkle pattern is much easier to fix than a cake that has attempted an unauthorized escape from the baking sheet.
4. Create Sprinkle Bands, Borders, and Patterns
You do not have to cover every inch of the cake. In fact, controlled sprinkle placement can look more polished than complete coverage and requires fewer sprinkles.
This technique uses fresh buttercream only where you want the decorations to stick. It is excellent for sprinkle borders, stripes, gradients, geometric patterns, or a concentrated band around the base of the cake.
How to make a sprinkle band
- Frost and chill the cake until the main surface is stable.
- Spread or pipe a thin layer of fresh buttercream around the area you want to decorate.
- Immediately press sprinkles into that fresh frosting.
- Rotate the cake until the band is complete.
- Clean up the upper edge with a small spatula if needed.
You can create a narrow band at the bottom, a thick stripe around the center, or multiple sections using different sprinkle mixes.
Use individual placement for large sprinkles
Large stars, hearts, pearls, and confetti shapes are easier to control when attached one at a time. Add a tiny dot of buttercream where you want each decoration, then press it into position. This approach is particularly useful for minimalist cakes where ten carefully placed decorations may look better than ten thousand randomly attached ones.
Try a sprinkle gradient
For an easy gradient, begin with heavy coverage at the bottom of the cake. As you move upward, use fewer and fewer sprinkles. The transition does not need to be mathematically perfect. A little randomness makes the design look natural.
This style is forgiving because there is no exact boundary to maintain. It also allows the smooth buttercream color to remain visible, which is useful when the frosting itself is part of the design.
Which Sprinkle Method Should You Choose?
Each method has a different strength:
- Hand pressing: Best for beginners, small cakes, and maximum control.
- Scoop and press: Best for quick, heavy coverage while keeping the cake upright.
- Rolling: Best for sturdy, thoroughly chilled round cakes and dense all-over coverage.
- Sprinkle bands and patterns: Best for modern designs, gradients, and large specialty sprinkles.
There is no rule saying you must use only one technique. Many attractive cakes combine methods. You might scoop-and-press jimmies around the bottom, hand-place large sugar pearls higher on the cake, and finish with a few sprinkles on piped buttercream swirls.
Common Problems and How to Fix Them
The sprinkles keep falling off
The frosting may have become too firm or dry. Apply a very thin layer of fresh buttercream to the problem area and try again. Avoid adding a thick patch unless you want the side of the cake to develop an unexpected buttercream speed bump.
The frosting is getting dented
You are probably pressing too hard or working with frosting that is too soft. Chill the cake briefly until it becomes more stable, then continue with lighter pressure.
The coverage looks patchy
Do not keep attacking the entire cake with more sprinkles. Focus only on the bare spots. Pick up a small pinch and press it directly into each gap.
Sprinkles are everywhere
This is not exactly a decorating failure; it is more of a universal sprinkle condition. A rimmed tray dramatically reduces the mess. Parchment paper also makes it easier to gather clean leftovers and return them to a bowl.
Large sprinkles slide down
Heavy decorations may need more support than tiny jimmies. Place each large piece on a small dab of fresh, moderately firm buttercream instead of expecting it to cling to a barely tacky surface.
Practical Experience: What Cake Decorators Learn After a Few Sprinkle Cakes
A common beginner experience starts with confidence. The cake is frosted, the sprinkles are colorful, and the plan seems obvious: simply put one on the other. Then the first handful hits the side of the cake, five sprinkles stick, seventy-two bounce onto the counter, and the baker begins reconsidering every decision that led to this moment.
The first practical lesson is that preparation matters more than speed. Trying to decorate a cake directly over a clean countertop creates unnecessary stress because every falling sprinkle feels like waste. Working over a large tray changes the entire experience. The loose sprinkles are no longer escaping; they are simply waiting for another attempt.
The second lesson is that fresher frosting is not always softer frosting. Buttercream that is warm and loose may grab sprinkles beautifully, but it can also deform under your hand. The most comfortable working point is usually when the cake itself is cool and stable while the outer surface of the frosting is still receptive to decorations. That balance makes it possible to press without crushing the smooth finish underneath.
Another lesson appears when comparing sprinkle sizes. A mixed sprinkle blend may look fantastic in a jar, but the ingredients do not necessarily behave the same way on a vertical cake. Tiny pieces fill gaps quickly. Long jimmies are easy to handle. Large pearls and shapes may need individual attention. Separating a few oversized decorations from the mix and adding them later can produce a more balanced design.
It also becomes clear that perfection is easier to achieve when you stop demanding perfect uniformity. Beginners often chase every tiny gap until one side of the cake becomes far more heavily decorated than the other. A better approach is to complete one light pass around the entire cake, step back, inspect it, and then fill only the most obvious bare areas.
Working in sections is another major improvement. Trying to cover the entire side at once encourages awkward hand positions and accidental frosting damage. Covering a few inches, rotating the cake, and continuing creates a much calmer rhythm. A turntable helps, but even a simple cake stand that can be rotated carefully is useful.
One of the most useful real-kitchen discoveries is that partial coverage often looks intentional and elegant. When a full sprinkle coating becomes frustrating, changing the plan to a dense bottom border or upward gradient can rescue the design. What began as “I ran out of sprinkles” can become “I chose a contemporary fade effect.” Nobody at the party needs access to the original project brief.
Decorators also learn to finish the sprinkle work before adding fragile top decorations. Piped swirls, chocolate pieces, candles, or delicate toppers can get in the way when the cake still needs to be rotated and handled. Decorating the sides first generally leaves more freedom to work.
Finally, the biggest lesson is that sprinkles are naturally forgiving. Their entire purpose is visual fun. A cake covered in colorful dots, rods, stars, pearls, or confetti does not need the geometric precision of an architectural blueprint. Small irregularities usually disappear into the overall pattern.
The most successful approach is therefore not necessarily the fanciest one. Use the hand-press method when you want control. Use the scoop-and-press method when you want speed. Roll only when the cake is sturdy enough for it. Use bands and selective placement when you want a cleaner, more deliberate design.
After a few cakes, the process becomes less about fighting gravity and more about working with it. Keep the cake stable, keep the frosting receptive, catch the falling sprinkles, and decorate in manageable sections. The result can look impressively professional even when the technique is wonderfully simple.
Conclusion
Learning how to put sprinkles on the side of a cake is mostly a matter of matching the decorating method to the cake. For beginners, gently pressing sprinkles into fresh buttercream is the easiest and most controlled option. The scoop-and-press method speeds up full coverage, rolling can create an even finish on a sturdy chilled cake, and selective sprinkle bands offer a polished look with less mess.
Whatever method you choose, work over a tray, decorate while the frosting can still hold the sprinkles, and avoid pressing hard enough to damage the buttercream. Start with a broad pass, fill visible gaps afterward, and remember that a little irregularity is part of the charm.
Sprinkles are supposed to make cake decorating more fun, not turn your kitchen into a high-stakes pastry examination. Give them something sticky to cling to, keep a tray underneath, and let the cake become gloriously colorful.
Note: For the cleanest result, test your frosting consistency and sprinkle mix on a small hidden area before covering the entire cake. This guide synthesizes established cake-decorating practices from a broad range of U.S. baking and food resources, including guidance on crumb coating, frosting consistency, simple decorating techniques, and sprinkle application.














