
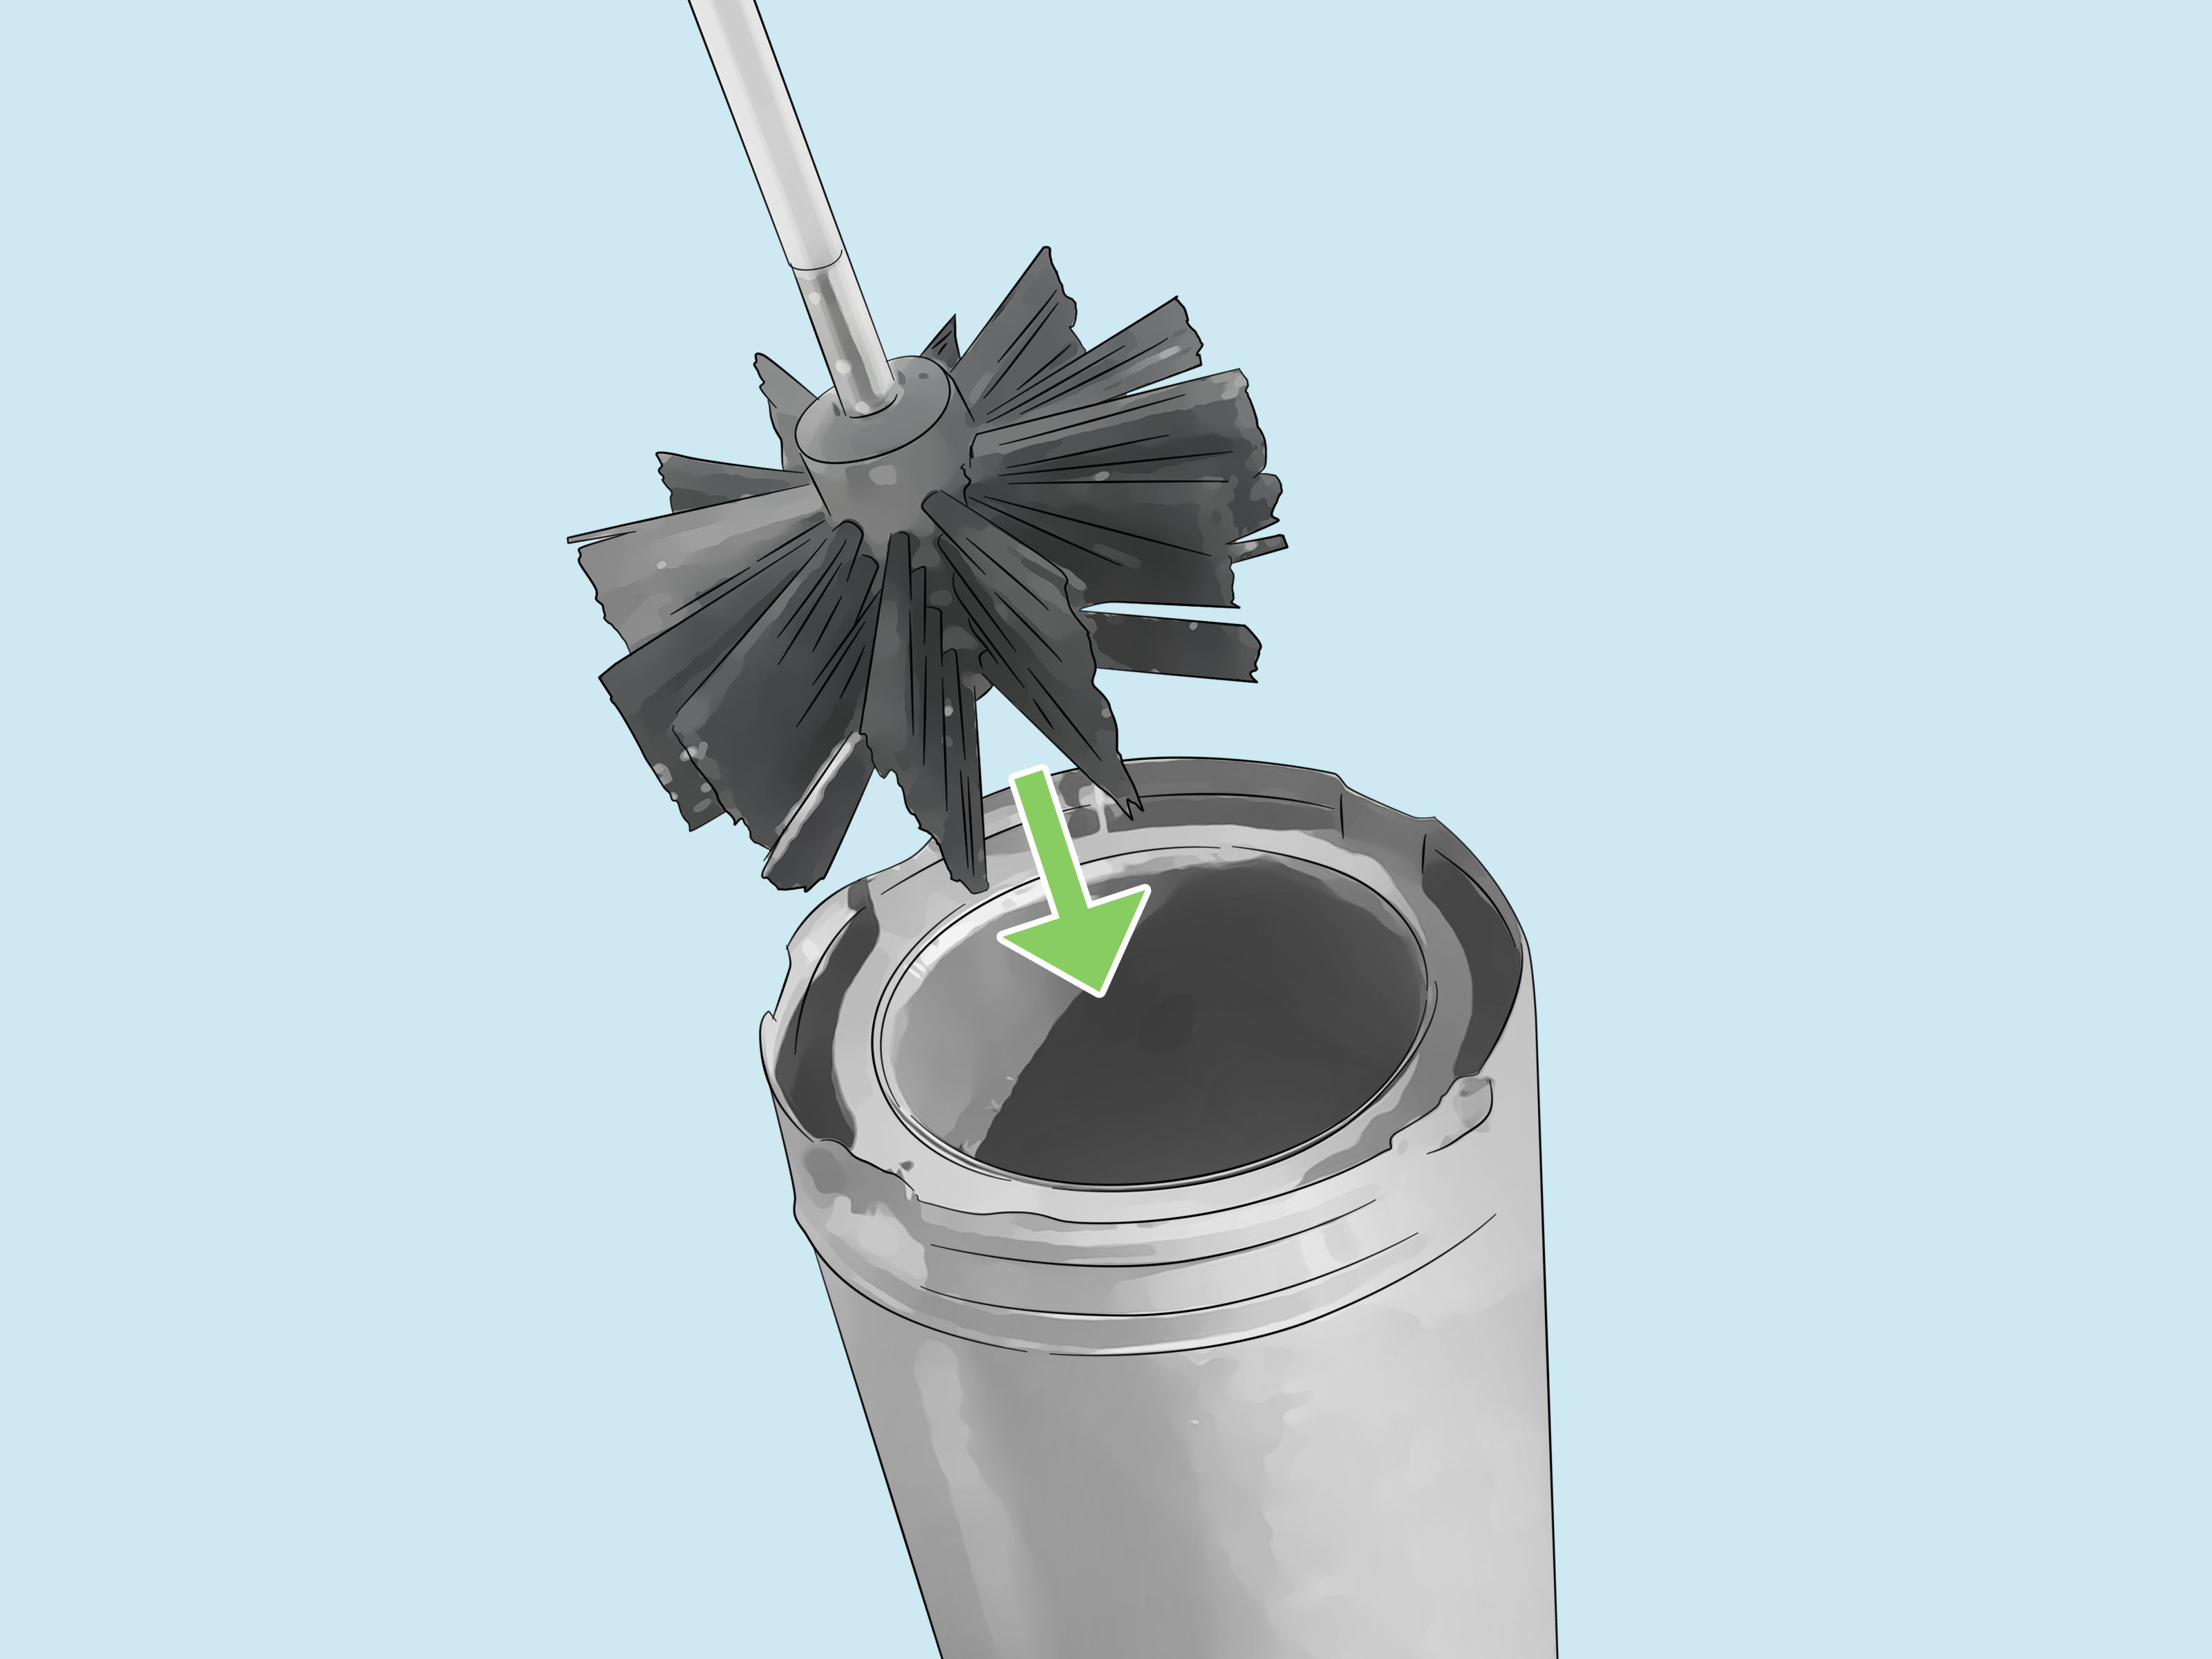
Note: This guide is written for cast iron wood-burning stoves and similar solid-fuel heating stoves. Always check your stove’s owne brush.
A cast iron stove is one of those home features that feels wonderfully old-school: sturdy, beautiful, practical, and about as subtle as a sleeping bear in the living room. But like any hard-working heat source, it needs regular cleaning. Ash builds up. Soot clouds the glass. Rust sneaks onto the surface. The chimney collects creosote. And suddenly your charming stove looks less “cozy cabin” and more “forgotten prop from a haunted farmhouse.”
The good news? Learning how to clean a cast iron stove is not complicated. You do not need a chemistry degree, a medieval blacksmith apprenticeship, or a dramatic cleaning montage. You need patience, the right tools, a cool stove, and a healthy respect for ash safety. A clean stove burns more efficiently, smells better, looks better, and helps reduce fire risks. It also makes your living room feel cared for instead of dusty, smoky, and vaguely judgmental.
Below is a practical 10-step method for cleaning a cast iron wood stove from the inside out, including the firebox, glass door, exterior surface, rust spots, stove polish, gaskets, and chimney maintenance. Let’s get that cast iron beauty looking dignified again.
Why Cleaning a Cast Iron Stove Matters
Cast iron stoves are built to handle heat, but they are not maintenance-free. Over time, ash can restrict airflow, soot can reduce visibility through the glass, and creosote can build up in the chimney or stovepipe. Creosote is a combustible residue produced by wood smoke, and too much of it can increase the risk of chimney fires. That is why regular stove cleaning and annual chimney inspection are not just about appearances; they are part of safe home heating.
Cleaning also protects the stove itself. Cast iron is durable, but it can rust when exposed to moisture. A neglected stove may develop dull patches, orange rust, flaky finish, stiff hinges, leaky gaskets, or poor draft. In plain English: the stove starts acting grumpy. A little seasonal care keeps it efficient, attractive, and ready for the next cold snap.
Tools and Supplies You Will Need
Before you start, gather everything in one place. Nobody wants to be halfway through ash removal and realize the metal bucket is still in the garage behind three bicycles and a suspiciously sticky paint can.
- Drop cloth, old towels, or newspaper
- Heat-resistant gloves or work gloves
- Dust mask and safety glasses
- Metal ash bucket with a tight-fitting lid
- Small metal shovel or ash scoop
- Ash vacuum, if available
- Soft brush and stiff nylon brush
- Fine steel wool or a wire brush for rust
- Microfiber cloths or lint-free rags
- Wood stove glass cleaner or damp newspaper and clean cold ash
- Stove polish for bare cast iron, or high-temperature stove paint for painted finishes
- Manufacturer-approved gasket cement and gasket rope, if replacement is needed
How to Clean a Cast Iron Stove: 10 Steps
Step 1: Let the Stove Cool Completely
Never clean a hot cast iron stove. Not warm, not “probably fine,” not “I only burned one small log.” Cast iron holds heat for a long time, and ashes can hide hot embers long after the fire looks dead. Wait until the stove is completely cool before touching the firebox, glass, ash pan, baffle, or exterior.
For routine ash removal, many stove owners clean in the morning after an overnight burn, when the stove is cool but the chimney may still have enough draft to pull some dust inward. For deeper cleaning, wait longer. If there is any doubt, wait. Your eyebrows deserve a peaceful life.
Step 2: Protect the Area Around the Stove
Ash is sneaky. It floats, smears, and somehow ends up on the far side of the room even when you were “being careful.” Place a drop cloth, old sheet, towels, or newspaper around the stove and hearth. Move nearby rugs, baskets, firewood carriers, toys, pet beds, and anything else that does not need a stylish gray dusting.
Open a nearby window if weather allows, but avoid creating a strong cross-breeze that blows ash into the room. Put on gloves, a dust mask, and eye protection. Cleaning a wood stove is not dangerous when done properly, but fine ash is irritating to breathe and unpleasant in your eyes.
Step 3: Remove Ash Safely
Open the stove door gently. Use a small metal shovel to scoop ash into a metal container with a lid. Do not use plastic buckets, cardboard boxes, paper bags, or your regular trash can. Ashes can contain hidden embers, and combustible containers can ignite. Place the covered ash bucket outdoors, away from the house, garage, deck, woodpile, leaves, and anything else that would be very inconvenient on fire.
Do not remove every speck of ash if your stove manual recommends leaving a thin layer. Many wood stove users leave a shallow ash bed because it can help insulate coals and protect the bottom of the firebox. However, do not let ash pile up so high that it blocks air inlets, interferes with grates, or reaches the loading door. If the ash level looks like a tiny indoor snowdrift, it is time to clean.
Step 4: Clean the Firebox Interior
Once the ash is removed, brush the inside of the firebox with a soft brush or stiff nylon brush. Focus on corners, seams, air channels, grates, and the area around the door opening. If your stove has removable firebricks, baffle plates, burn plates, or secondary air tubes, inspect them according to the owner’s manual. Do not yank parts out just because they look removable; cast iron stoves are not escape rooms.
Look for cracked firebricks, warped baffles, damaged plates, loose fasteners, or anything that appears out of place. These parts help control combustion and protect the stove body from direct heat. If something is cracked, warped, or missing, replace it before heavy use. A clean firebox is good; a clean firebox with healthy internal parts is better.
Step 5: Use an Ash Vacuum Correctly
If you use a vacuum, use an ash vacuum designed for fireplace and wood stove ash. A regular household vacuum is not the right tool. Fine ash can pass through ordinary filters, damage the motor, and blow dust back into your home. Worse, if the ash is not fully cool, a standard vacuum can become a fire hazard.
Start with an empty ash vacuum. Vacuum remaining ash from the firebox, ash pan chamber, and hearth area. After cleaning, move the vacuum outdoors and dispose of the collected ash safely. Even with an ash vacuum, the rule is simple: cool ash only. Hot ash is not a cleaning challenge; it is a bad idea wearing gray makeup.
Step 6: Clean the Stove Glass
Wood stove glass should be cleaned only when it is cold. If the glass is lightly smoky, try a stove glass cleaner made specifically for wood-burning appliances. Spray or apply it to a cloth rather than soaking the gasket area. Rub gently in circular motions, then wipe dry with a clean cloth.
For a traditional low-cost method, dampen crumpled newspaper or a soft cloth, dip it into clean cold ash, and rub the glass gently. The ash acts like a mild abrasive paste. Then wipe the glass clean with a fresh damp cloth and dry it. This method works well on many soot stains, but do not scrub aggressively, and avoid gritty ash that could scratch the glass.
Avoid razor blades, harsh abrasive pads, oven cleaner, ammonia-heavy products, or random household sprays unless your manufacturer specifically allows them. Many stove doors use ceramic glass and gasket materials that can be damaged by the wrong cleaner. Also, if soot returns quickly after every fire, the problem may be wet wood, poor draft, restricted airflow, or low-temperature burningnot lazy glass.
Step 7: Wipe the Exterior Cast Iron Surface
For regular cleaning, wipe the exterior with a dry or slightly damp cloth. Use as little water as possible, because cast iron and moisture are not best friends. If there is stubborn dust, soot, or sticky residue, use a soft brush first, then wipe again. Dry the surface completely.
Do not use all-purpose household cleaners on the exterior unless they are approved for high-heat stove surfaces. Residues can smoke, smell unpleasant, or damage the finish when the stove heats up. If your stove is painted, be especially careful. Painted stove surfaces should usually be cleaned gently and touched up with high-temperature stove paint when needed. Bare cast iron may be protected with stove polish, but polish is not appropriate for every finish.
Step 8: Remove Light Rust Spots
Rust usually appears when moisture meets unprotected cast iron. Light surface rust can often be removed with fine steel wool, a wire brush, or very fine sandpaper. Work gently and avoid gouging the surface. Brush until the orange rust is gone, then vacuum or wipe away the dust.
For small rust spots in textured areas, a soft wire brush can help reach the grooves. If rust is heavy, flaky, deep, or spread across large sections, you may need more serious refinishing, such as sanding and repainting with high-temperature stove paint. If the stove is antique, valuable, or structurally questionable, ask a stove professional before getting heroic with power tools.
Once rust is removed, protect the surface. Bare cast iron should not be left exposed. Depending on your stove’s finish, apply stove polish or use the correct high-temperature paint. The goal is to keep oxygen and moisture from starting the rust party all over again.
Step 9: Apply Stove Polish or Touch Up Paint
If your stove has a bare cast iron finish, stove polish can restore a dark, handsome surface and help protect against dullness and rust. Apply it only to a clean, cool stove. Use a damp cloth or sponge to spread a thin, even coat. Let it dry according to the product directions, then buff it with a clean cloth until the surface has a soft sheen.
Do not slather polish on like frosting. More is not better; it is just messier. Thick polish can streak, rub off, or create fumes when heated. When you light the stove for the first time after polishing, ventilate the room because some products may smoke or smell while curing.
If your stove is painted, use high-temperature stove paint instead of polish. Lightly sand the affected area, remove all dust, mask nearby surfaces, and apply thin coats according to the paint instructions. Let the paint cure properly before regular use. The finish should look refreshed, not like it lost a fight with a spray can.
Step 10: Inspect Gaskets, Door Latch, Stovepipe, and Chimney
Cleaning is the perfect time to inspect the parts that keep your stove operating safely. Check the door gasket, glass gasket, ash pan gasket, and any seams recommended in your manual. Gaskets should be flexible, continuous, and snug. If they are frayed, flattened, brittle, loose, or missing sections, replace them.
A simple test is the dollar-bill test: close the stove door on a dollar bill and gently pull. If the bill slides out with no resistance, the gasket may not be sealing well. Test several points around the door. A weak seal can make the stove harder to control and less efficient.
Also inspect the door latch, hinges, stovepipe connection, flue collar, and visible chimney components. Look for gaps, corrosion, soot stains, loose joints, or signs of smoke leakage. Have the chimney and venting system inspected by a qualified professional at least once a year, and cleaned when needed. If you smell smoke indoors, see excessive soot, hear unusual rumbling, notice poor draft, or suspect a chimney fire, stop using the stove and call a professional.
How Often Should You Clean a Cast Iron Stove?
The right cleaning schedule depends on how often you burn, what kind of wood you use, and how your stove is designed. During full-time heating season, ash may need to be removed every few days. Glass may need weekly attention, especially if you burn cooler fires or use wood that is not fully seasoned. Exterior dusting can be done whenever the stove looks dull or dusty.
A deeper cleaning should be done at the end of the heating season or before the next season begins. This includes removing ash, brushing the firebox, checking baffles and firebricks, cleaning the glass, inspecting gaskets, touching up rust, and arranging chimney inspection. If you use the stove heavily, you may need more frequent professional chimney cleaning.
Common Mistakes to Avoid
Cleaning While the Stove Is Warm
This is the classic shortcut that can turn into a painful lesson. Hot cast iron can burn skin, crack glass if sprayed with liquid, and ignite hidden ash. Wait until everything is cold.
Using a Household Vacuum
Fine ash can damage regular vacuums and spread dust through the room. Use a metal shovel, ash bucket, or a true ash vacuum.
Throwing Ashes in the Trash Too Soon
Ashes can stay hot internally long after they look safe. Store them in a covered metal container outside and away from combustibles.
Burning Wet or Green Wood
Wet wood burns cooler, creates more smoke, dirties the glass faster, and encourages creosote buildup. Use dry, seasoned firewood for cleaner burning.
Using the Wrong Product on the Finish
Stove polish is for certain bare cast iron surfaces, not all painted or coated stoves. High-temperature paint is for painted finishes. When in doubt, check the manual.
Best Maintenance Habits for a Cleaner Stove
The easiest stove to clean is the one that never gets extremely dirty. Burn dry, seasoned wood. Build small, hot fires instead of smoky, smoldering ones. Keep air controls open long enough after reloading to help the fire burn cleanly. Avoid burning trash, plastic, treated wood, glossy paper, painted lumber, or mystery scraps from the garage. Mystery scraps are how stoves develop trust issues.
Keep the hearth area tidy. Store firewood a safe distance from the stove. Check the glass regularly, because light soot is much easier to remove than hardened deposits. Empty ash before it blocks airflow, but leave a thin bed if your stove performs better that way. Schedule annual chimney service before the first cold week, when every chimney sweep in town becomes the most popular person in the county.
Personal Experience: What Cleaning a Cast Iron Stove Teaches You
The first time you clean a cast iron stove, you may think, “This will take twenty minutes.” That is adorable. In reality, it takes as long as it takes, mostly because ash has the personality of glitter. You scoop it carefully, move slowly, breathe gently, and somehow a soft gray film still appears on your sleeve, your drop cloth, and possibly your dog, who was not even in the room five minutes ago.
One of the biggest lessons is that preparation matters more than muscle. When the bucket, brush, gloves, mask, cloths, and glass cleaner are ready before you open the stove door, the whole job feels calmer. When you start cleaning and then go hunting for supplies, ash follows you around like a tiny weather system. A simple setup saves time and keeps the mess contained.
Another lesson is that glass tells the truth. If the stove glass turns black quickly after every fire, it usually means something is off. Maybe the wood is too damp. Maybe the fire is smoldering. Maybe the air control is being closed too soon. Cleaning the glass is useful, but understanding why it gets dirty is even better. A clean-burning stove often keeps its glass clearer for longer, which feels like a small domestic victory every time you walk by and actually see flames instead of a smoky brown mystery panel.
Rust removal is also a humbling experience. Light rust looks scary at first, but most surface rust comes off with gentle abrasion and patience. The key is not to panic and attack the stove like you are sanding a boat hull. Work slowly, wipe often, and protect the surface afterward. The stove does not need to look brand-new to be beautiful. In fact, a cast iron stove with a little age and character often looks better than one that appears untouched. The goal is clean, protected, and functionalnot showroom perfection.
Stove polish can be satisfying, too. Applied correctly, it gives bare cast iron that deep, dark finish that makes the whole room look more intentional. Applied too thickly, it becomes a smudgy reminder that enthusiasm should occasionally read the label. Thin coats win. Buffing matters. Ventilation during the first burn matters. The stove rewards restraint.
The most important experience, though, is learning to respect ash. Ash looks harmless, soft, and dead. But hidden embers can stay hot for a surprisingly long time. Using a covered metal bucket and storing it outdoors away from anything combustible is not overcautious; it is basic stove ownership. Once you build that habit, it becomes automatic.
Cleaning a cast iron stove is not glamorous, but it is deeply satisfying. You begin with soot, ash, dull metal, and cloudy glass. You end with a stove that looks cared for and ready. The room feels cleaner. The next fire burns better. And you get that quiet homeowner pride that says, “Yes, I maintained a solid-fuel heating appliance today,” which is basically the rustic version of winning a trophy.
Conclusion
Knowing how to clean a cast iron stove is part safety routine, part home maintenance, and part relationship counseling with a very heavy piece of metal. Let the stove cool, protect the room, remove ash safely, clean the firebox, use the right vacuum, wipe the glass, care for the exterior, remove rust, refresh the finish, and inspect the gaskets and chimney system. Do those 10 steps regularly, and your stove will reward you with better performance, a cleaner appearance, and fewer smoky surprises.
A cast iron stove does not need pampering, but it does need respect. Keep it dry, clean, well-vented, and professionally inspected. Burn seasoned wood. Avoid shortcuts. And never underestimate ash, because ash may look quiet, but it has plans for your carpet.













