
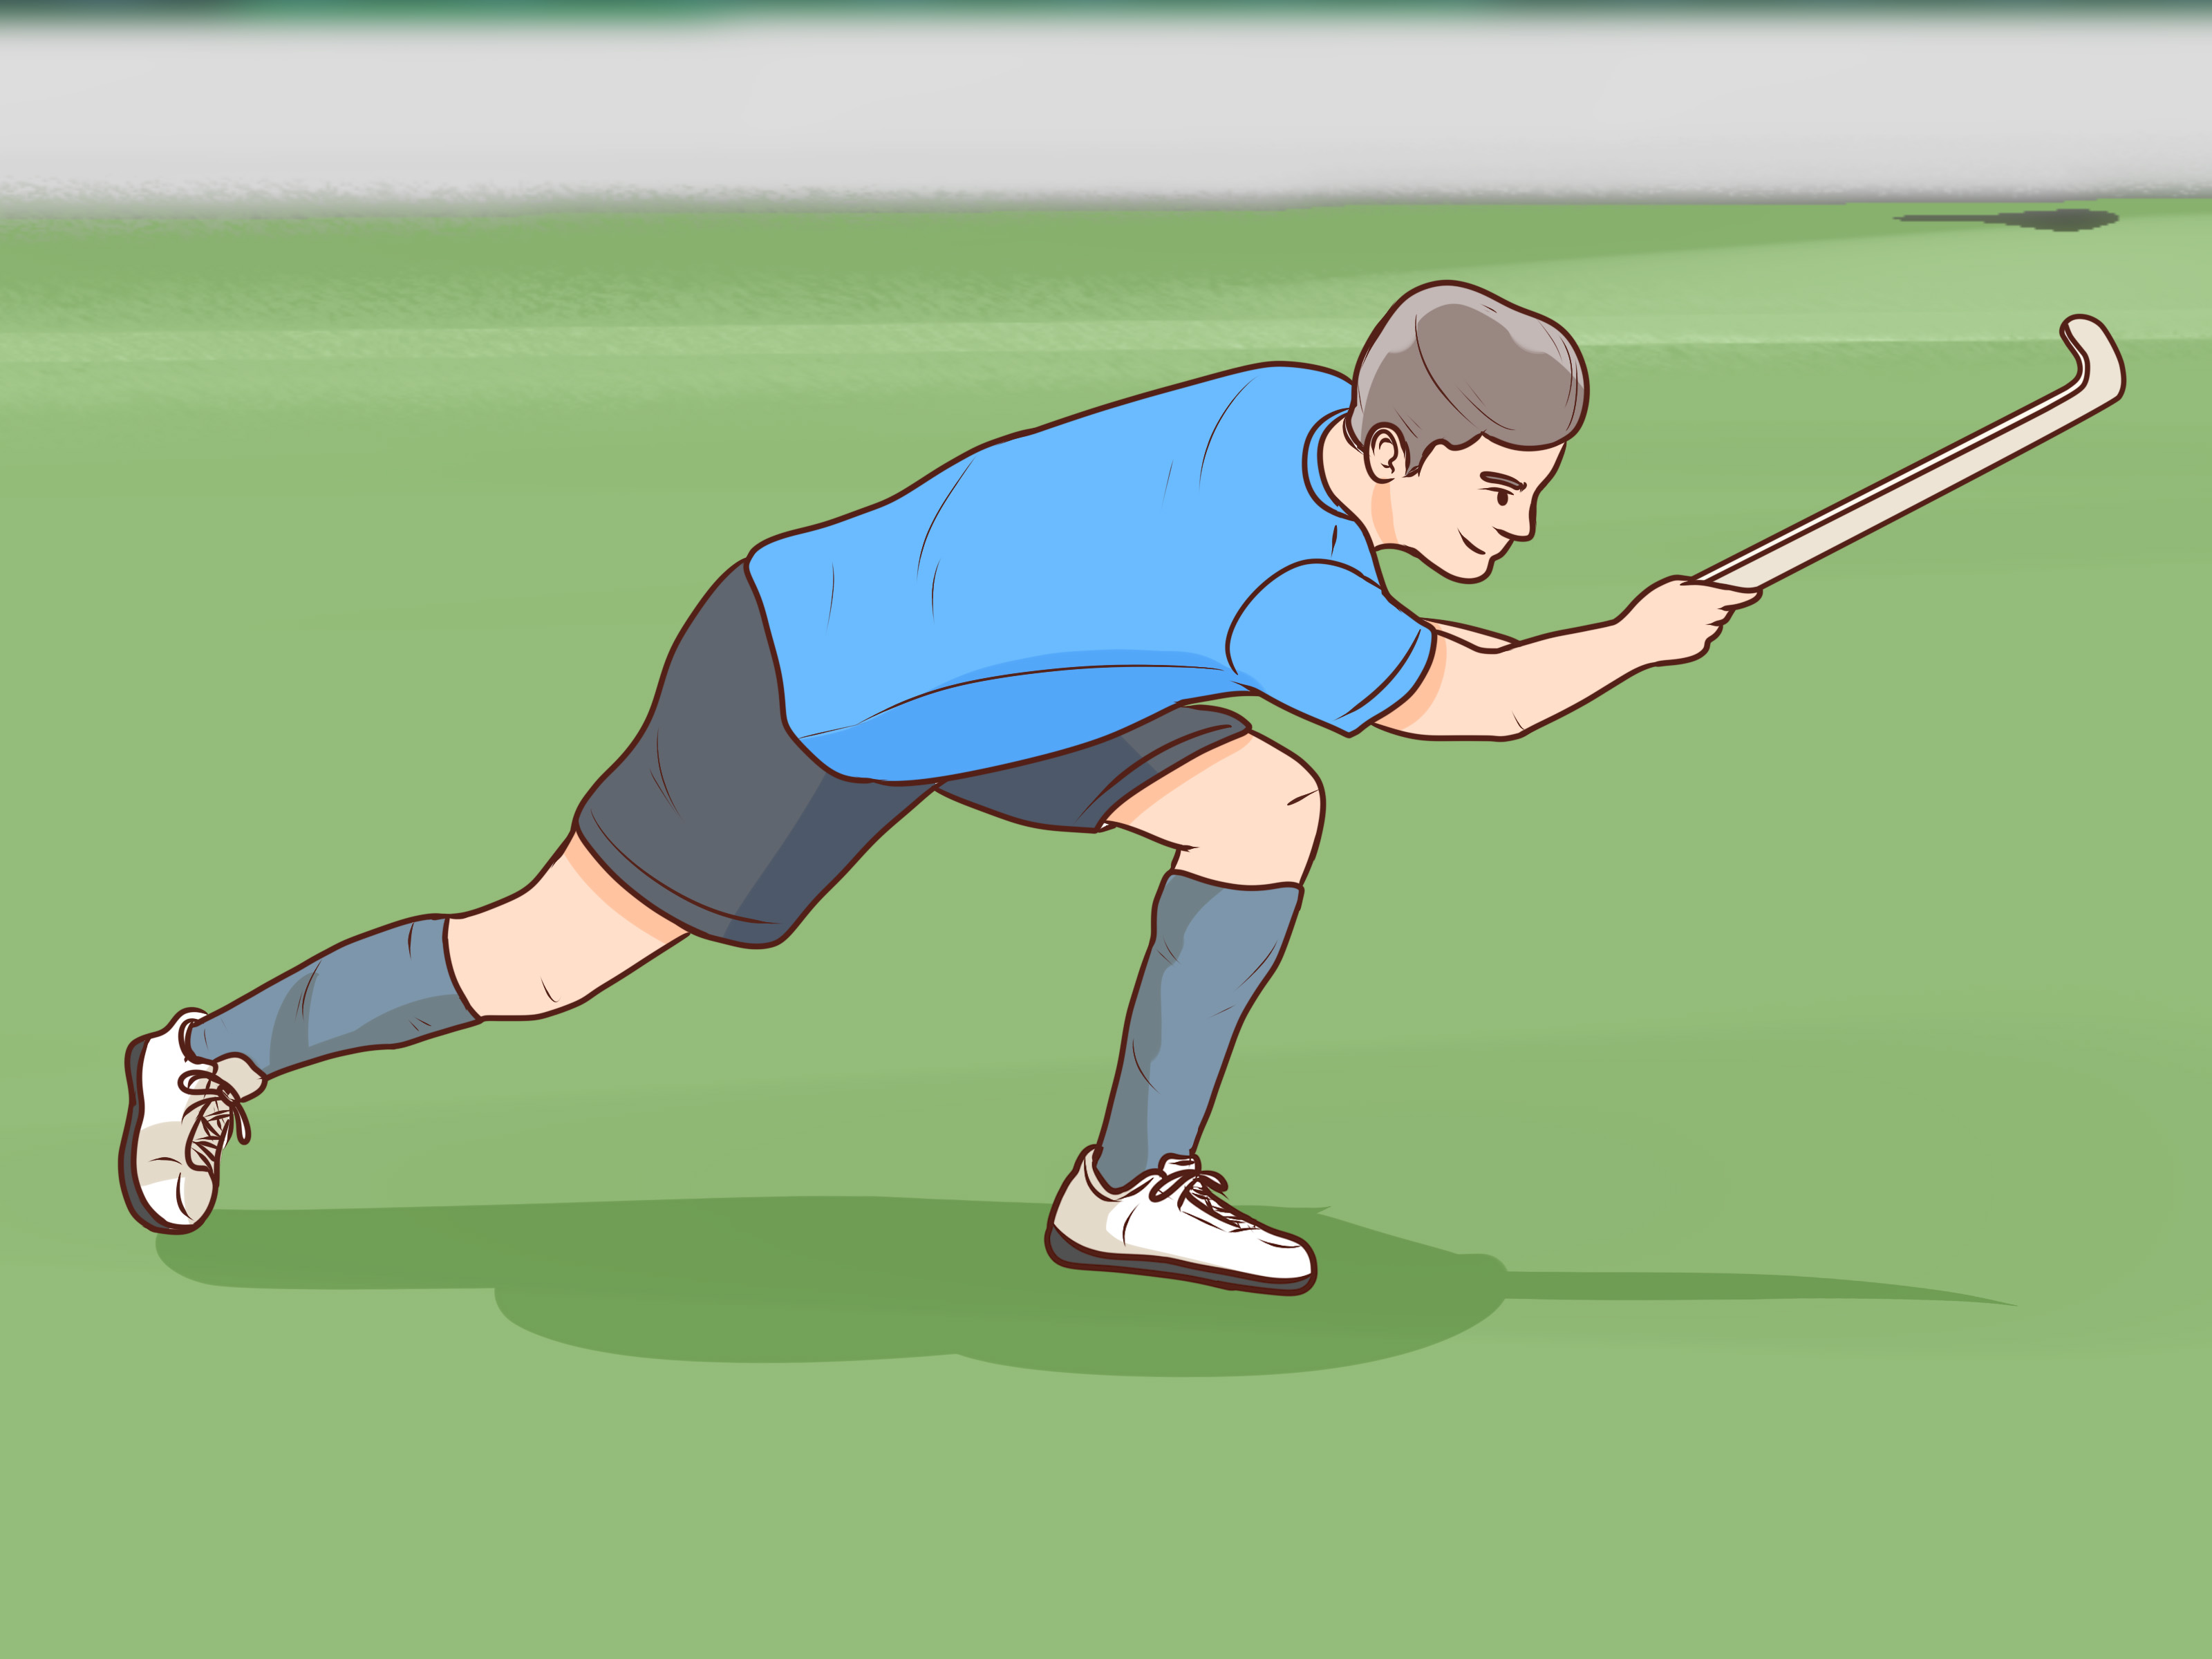
Learning how to flick in field hockey is one of those skills that looks magical from the sideline and wildly unfair when you are the defender watching the ball hop over your stick like it just paid for premium seating. A good flick can lift the ball cleanly, beat a flat-stick tackle, create a quick pass, sneak a shot over a goalkeeper’s pads, or turn a penalty corner into a highlight-reel moment.
But here is the important part: a field hockey flick is not simply “whack the ball upward and hope everyone survives.” It is a controlled lifting skill. The power comes from body position, stick angle, wrist action, weight transfer, and a smooth follow-through. Done correctly, the ball rises with purpose. Done carelessly, it becomes a danger ball, and the umpire’s whistle will arrive faster than your coach’s disappointed eyebrows.
This guide breaks down how to flick in field hockey in 9 steps, with practical coaching tips, common mistakes, safety reminders, and real-player experience to help beginners and improving players build confidence. Whether you want to flick a pass over a defender’s stick, improve your shooting options, or begin working toward more advanced drag flick technique, these steps will give you a strong foundation.
What Is a Flick in Field Hockey?
A field hockey flick is a controlled technique used to lift the ball off the turf without using a big backswing. Unlike a hit, which uses a striking motion, a flick relies on a pushing and scooping movement. The stick gets under or slightly behind the ball, the wrists add snap, and the player follows through toward the target.
Players use flicks for several reasons: to lift the ball over a defender’s stick, pass into space, shoot on goal, take penalty strokes, or execute advanced scoring moves during penalty corners. The flick is especially useful because it can be quick, deceptive, and compact. There is no giant wind-up announcing, “Hello everyone, I am about to do something dramatic.”
Flick vs. Scoop vs. Drag Flick: What Is the Difference?
Basic Flick
A basic flick is usually a short, controlled lift. It may be used for passing, finishing near goal, or getting the ball over a defender’s flat stick. It uses a firm push, wrist action, and a forward follow-through.
Scoop
A scoop sends the ball higher and often farther. Players use it for aerial passes when there is safe space and a clear receiver. The stick face gets more underneath the ball, and the motion is more obviously upward.
Drag Flick
A drag flick is an advanced shooting technique, often used on penalty corners. The player drags the ball along the stick path while building speed through the body, then releases it with power and lift. It is technical, explosive, and not something most beginners master after five minutes in the backyard unless they also happen to be a wizard.
How to Flick in Field Hockey: 9 Steps
Step 1: Start With a Safe Practice Area
Before touching the ball, choose a safe space. Use a proper field hockey ball, wear shin guards and a mouthguard, and make sure no one is standing directly in front of your target line. Flicking is a lifted-ball skill, so safety matters more than looking cool. Looking cool is nice. Avoiding accidental chaos is nicer.
Set up a simple target such as a cone gate, a low board, or an open section of goal. Beginners should practice low, controlled flicks first. The goal is not to launch the ball into low orbit. The goal is to lift it cleanly, accurately, and safely.
Step 2: Place the Ball Slightly Ahead of Your Body
Ball position is one of the biggest secrets behind a clean flick. Place the ball slightly in front of your right foot if you are a right-handed field hockey player, which most players are because field hockey sticks are designed for right-side play. The ball should not be too far away from your body, or you will reach and lose control. It should not be trapped under your feet either, unless your plan is to perform modern dance instead of hockey.
A good starting point is to keep the ball around one stick-head length in front of your stance. This gives your stick room to move through the ball and allows your body weight to shift forward during the release.
Step 3: Lower Your Body Position
A strong flick begins with a low athletic stance. Bend your knees, keep your chest slightly forward, and lower your hands. Your body should feel balanced, not folded like a lawn chair. A lower stance lets the stick get underneath the ball more easily and helps you generate lift without forcing the motion.
Think of your legs as the engine. Your wrists and stick guide the ball, but your lower body helps create power. Players who stand too tall often end up jabbing at the ball, which produces weak lift, poor direction, or that sad little wobble where the ball hops three inches and immediately regrets participating.
Step 4: Adjust Your Grip for Control
For a basic field hockey flick, keep your left hand near the top of the stick and slide your right hand slightly lower than your normal dribbling grip. This gives you more leverage. Your hands should be firm but not frozen. If your grip is too tight, your wrists cannot snap naturally. If it is too loose, the stick face may twist and send the ball somewhere mysterious.
The left hand guides the stick path, while the right hand helps drive and lift. Many players find that pointing the right index finger slightly down the stick improves control, especially when learning. The grip should allow a smooth push-and-lift motion through the ball.
Step 5: Get the Stick Face Under and Behind the Ball
The flick works because the stick face contacts the ball from a low angle. Tilt the stick head slightly so it can get underneath or behind the lower half of the ball. You are not chopping down. You are not scooping straight up like serving ice cream. You are driving forward while giving the ball just enough lift to rise cleanly.
For a low flick over a defender’s stick, imagine sliding the stick through the back of the ball and lifting it just above stick height. For a shot, your angle may be slightly more open, but control is still the priority. The ball should leave the stick smoothly, not pop up randomly like a startled toaster.
Step 6: Shift Your Weight From Back Foot to Front Foot
Power in a flick does not come only from the arms. It comes from coordinated body movement. Start with some weight on your back foot, then shift forward as you push through the ball. This forward transfer creates momentum and helps the flick travel with pace.
A common beginner mistake is trying to lift the ball using only the wrists. The result is usually a weak flick that floats without direction. Instead, connect the movement: legs drive, hips rotate slightly, hands push, wrists snap, and the stick follows through. When the whole body works together, the ball suddenly behaves as if it received instructions.
Step 7: Use a Smooth Push and Wrist Snap
Now comes the actual flicking action. Push the stick through the ball while snapping your wrists upward and forward. The motion should feel smooth, not jerky. Your stick should stay in contact with the ball long enough to guide it, especially if you want accuracy.
For beginners, focus on clean contact before adding power. Try to make the ball rise gently and land near your target. Once the motion feels natural, increase speed. A good flick has rhythm: low body, stick under the ball, push forward, snap the wrists, follow through. It is less “panic lift” and more “controlled little rocket.”
Step 8: Follow Through Toward Your Target
Your follow-through controls direction. After contact, let the stick continue toward the target. If your stick finishes left, the ball may travel left. If your hands stop early, the ball may lose speed. If your stick face opens too much, the ball may climb higher than intended.
Keep your eyes on the target area, then watch the ball after release. Your chest, front foot, and stick should all point roughly where you want the ball to go. Accuracy improves when your whole body agrees on the destination. If your feet aim one way, your stick points another, and your eyes are checking who is watching, the ball will make its own life choices.
Step 9: Practice With Purpose, Not Random Repetition
Repetition helps, but only if you repeat the right technique. Instead of flicking 100 balls without thinking, use small practice sets. Try 10 low flicks over a flat stick, 10 flick passes through a cone gate, 10 flick shots from close range, and 10 moving-ball flicks after a short dribble.
Record yourself if possible. Look for body height, ball position, stick angle, weight transfer, and follow-through. Ask a coach or teammate to watch your technique. Good practice is not just “doing it again.” Good practice is noticing what happened, adjusting, and trying again with a purpose.
Best Drills to Improve Your Field Hockey Flick
The Flat-Stick Lift Drill
Place a stick flat on the turf and practice flicking the ball just over it. This drill teaches controlled height. Start close, then move farther away as you improve. The goal is to clear the stick without launching the ball dangerously high.
The Cone Gate Accuracy Drill
Set two cones three to four feet apart and flick the ball through the gate. Begin with low passes, then add more pace. This drill improves direction, follow-through, and target awareness.
The First-Touch Flick Drill
Have a partner pass you the ball. Receive it, take one touch forward, and flick toward a target. This makes the skill more game-like because you rarely get perfect still-ball conditions during a match.
The Close-Range Goal Flick Drill
Stand a few yards from goal and practice quick flick finishes. Aim for corners, above the goalkeeper’s pads, or into open space. Keep safety in mind and never flick directly at an unprotected player.
Common Mistakes When Learning to Flick
Standing Too Tall
If you are too upright, your stick cannot get under the ball properly. Bend your knees and lower your hands.
Using Only the Wrists
Wrist action matters, but it should not do all the work. Use your legs, core, and weight transfer.
Opening the Stick Face Too Much
An overly open stick face sends the ball too high. Start with small lifts and adjust gradually.
Stopping the Follow-Through
If you stop your stick too soon, you lose power and direction. Follow through toward the target.
Practicing Power Before Control
Power is fun, but accuracy wins games. Learn clean contact first. Add speed later.
When Should You Use a Flick in a Game?
Use a flick when the situation calls for controlled lift. A flick can beat a defender’s block tackle, lift a pass into space, finish from close range, or create a scoring chance when the goalkeeper is low. It can also be useful during penalty strokes and penalty corners, depending on your role and skill level.
However, the flick should never be careless. In field hockey, raised balls are judged by danger as much as height. If a lifted ball causes an opponent to take legitimate evasive action, or if it is played dangerously into a nearby player, the umpire may penalize it. Smart players know that the best flick is not always the highest flick. It is the safest, sharpest, most useful flick for that moment.
How to Add Power to Your Flick
Once your basic technique is reliable, you can increase power by improving three things: body drive, stick speed, and release timing. Start with a stronger step into the ball. Rotate your hips slightly as you push through. Keep your hands relaxed enough to accelerate the stick. Then release the ball with a crisp wrist snap and a confident follow-through.
Do not rush the process. A powerful flick with poor control is like a sports car with no steering wheel: exciting for three seconds, then everyone gets nervous. Build accuracy first, then increase speed while keeping the same clean technique.
How Beginners Can Practice Safely
Beginners should practice low flicks before high lifts. Use targets on the ground or slightly above stick height. Avoid crowded areas. Never practice raised shots toward people who are not wearing protective gear. If you are working on goal flicks, make sure the goalkeeper is properly equipped and ready.
Coaches often remind players that field hockey rewards skill and control, not reckless force. A safe flick is one you can repeat, aim, and explain. If your only explanation is “I closed my eyes and hoped,” it is time to slow down.
Experience Notes: What Learning the Flick Really Feels Like
The first time many players try to flick a field hockey ball, the ball does absolutely nothing impressive. It may roll forward sadly. It may hop sideways. It may lift two inches and then fall back down like it forgot its passport. This is normal. The flick feels strange at first because it asks your hands, legs, wrists, and timing to cooperate in a very specific way.
One of the biggest lessons from real practice is that the flick improves fastest when players stop trying to muscle it. Beginners often think, “If I swing harder, the ball will go higher.” But the flick is not a hit. When you force it, your shoulders tighten, your stick face twists, and the ball becomes unpredictable. The better feeling is almost sneaky: get low, slide the stick under the ball, push forward, then snap through. When it works, the ball lifts cleanly with less effort than expected.
Another common experience is discovering that the follow-through matters more than players think. A beginner may make decent contact but finish the stick across the body. The ball then flies left or right, and everyone blames the turf, the stick, the weather, Mercury in retrograde, or possibly a ghost. Usually, the answer is simpler: the stick did not finish toward the target. Once players focus on finishing the motion in the direction they want the ball to travel, accuracy improves quickly.
Players also learn that confidence grows from small wins. The best early goal is not a dramatic top-corner shot. It is clearing a flat stick on the ground five times in a row. Then ten times. Then doing it while moving. Then doing it after receiving a pass. These tiny milestones matter because they teach touch. Field hockey is a game of inches, angles, and timing. A controlled six-inch lift over a defender’s stick can be more valuable than a wild high ball that gives possession away.
In game situations, the flick feels faster than it looks in practice. A defender closes space, the goalkeeper drops low, and suddenly the window is tiny. That is why training must include decision-making. Sometimes the right choice is a flick. Sometimes the right choice is a push pass, a pull to the side, or a simple shot on the ground. Experienced players do not flick because they can. They flick because the moment asks for it.
The best advice from experience is to keep the flick simple. Stay low. Keep the ball slightly ahead. Use your weight. Let the wrists snap naturally. Follow through to the target. Practice safely, repeat patiently, and do not get discouraged by ugly attempts. Every good flicker has produced a few awkward practice balls that looked less like field hockey and more like a confused potato escaping a spoon.
Over time, the flick becomes a trusted tool. It gives attackers more scoring options, midfielders more passing creativity, and defenders a way to lift the ball out of pressure when safe and appropriate. It also makes the game more fun. Few things feel better than calmly lifting the ball over a defender’s stick and continuing forward while they stare at the turf like it personally betrayed them.
Conclusion
Mastering how to flick in field hockey takes patience, but the process is straightforward when you break it into steps. Start with safety, set the ball slightly ahead, lower your stance, adjust your grip, angle the stick correctly, shift your weight, use a smooth push and wrist snap, follow through, and practice with purpose. The flick is not about showing off. It is about control, timing, and making smart decisions under pressure.
Whether you are learning your first low lift or preparing for advanced shooting skills, remember this: clean technique beats wild power every time. Practice slowly, stay aware of nearby players, and build confidence one controlled repetition at a time. Soon, that little lifted ball will become one of the most useful tricks in your field hockey toolbox.
Note: This article is written for educational field hockey training purposes. Players should practice lifted skills under safe conditions, follow their league rules, and work with a qualified coach whenever possible.













