
An antique fireplace mantel can spend decades hiding beneath clo one decorating decision that seemed brilliant in 1987. Then, with careful cleaning, repair, and a finish that respects the original craftsmanship, the same neglected surround can become the room’s most memorable feature.
This antique fireplace mantel before-and-after guide explains how to evaluate an old mantel, choose between restoration and repainting, complete the makeover safely, and style the finished focal point without turning it into a crowded shelf of unrelated objects.
Why an Antique Mantel Is Usually Worth a Second Look
Older fireplace mantels often have qualities that are expensive to reproduce: substantial wood, deep molding profiles, hand-cut details, unusual proportions, and natural wear that gives the surface character. A modern replacement may be crisp and convenient, but it rarely arrives with nail holes, softened edges, and a backstory.
Historic-preservation guidance generally favors retaining sound original material rather than removing it simply because it looks tired. That principle matters with mantels because the aged finish, tool marks, joinery, and decorative details may be part of the home’s architectural identity. Harsh paint-removal methods can permanently damage old wood, so a restrained approach is often smarter than an aggressive “strip everything by lunch” plan. he “Before” Condition
A typical before photo may show yellowed white paint, missing trim, open joints, scorch marks, layers of dust inside carved details, and a mantel shelf that appears to lean slightly toward the nearest ZIP code. Some problems are cosmetic. Others indicate loose mounting, moisture damage, insect activity, or heat exposure.
The first goal is not to choose a paint color. It is to understand what you own. Look at the back, underside, joints, and damaged areas. Determine whether the mantel is solid wood, veneered wood, painted softwood, cast stone, marble, metal, or a combination. A finish that works beautifully on oak may be a terrible idea on marble or composition ornament.
Before Restoration: Inspect, Photograph, and Test
Take detailed photos before removing hardware or trim. Photograph the entire mantel straight on, then capture close-ups of corners, carvings, fasteners, cracks, and the way the surround meets the wall. These images become a visual map when three similar pieces of molding are sitting on the floor and all insist they belong on the left.
Check for Lead-Based Paint
Any painted mantel from a home built before 1978 should be treated cautiously until the coating has been evaluated. The U.S. Environmental Protection Agency warns that renovation work in older homes can create hazardous lead dust and recommends professional testing or evaluation when lead-based paint may be present. Sanding, scraping, and demolition can spread contaminated dust far beyond the work area. lead is suspected, do not dry-sand the surface casually or attack it with an open-flame torch. Use lead-safe work practices or hire a certified professional. Children, pregnant people, pets, textiles, and HVAC returns should be kept away from the work zone.
Confirm Fireplace and Mantel Clearances
A beautiful mantel is not successful if it creates a fire hazard. Combustible trim must meet applicable clearance rules, and projections near the opening can require additional distance. Building-code provisions address how far combustible material may project when it is close to a masonry fireplace opening, but factory-built fireplaces may follow the appliance manufacturer’s tested installation instructions. Verify the local code, fireplace type, and installation manual before reinstalling or enlarging a wood mantel. n>
Choose the Right After: Restore, Refinish, or Repaint?
There is no universal rule that every antique mantel must be stripped to bare wood. Some were originally intended to be painted. Others have beautiful grain beneath later coatings. The best after is the one that respects the material, suits the room, and avoids destroying evidence that cannot be replaced.
Option 1: Preserve the Existing Patina
If the finish is stable and the wear is attractive, begin with the least invasive treatment. Vacuum with a soft brush attachment, clean carefully, and test products in a hidden area. A dull but intact finish may revive with gentle cleaning or a compatible conservation wax.
Mineral spirits can sometimes reveal the warmth of an old finish and remove greasy residue, but the product should always be tested first because aged coatings may react unpredictably. Patina should look timeworn and appealing, not sticky enough to collect every dust particle in the neighborhood. ption 2: Strip and Refinish the Wood
Stripping makes sense when multiple failing paint layers obscure carved detail or when testing reveals attractive wood underneath. Chemical stripping is often more practical than heavy sanding around molding because it reduces the risk of flattening decorative profiles.
Work in small sections, follow the stripper manufacturer’s instructions, wear the required protective equipment, and allow the product enough time to soften the coating. Rushing usually creates more scraping, more surface damage, and considerably more muttering.
Use tools that match the surface. A broad scraper can handle flat areas, while shaped scrapers, picks, and stiff natural-bristle brushes help clean beads, grooves, and carved ornament. The goal is to remove softened finish, not excavate the mantel as though buried treasure is underneath.
After the old coating has been removed, clean away residue using the method specified for the stripping product. Let the wood dry completely. Sand only as much as necessary, moving with the grain and preserving softened edges, tool marks, and carved details.
Test stain colors on the back or underside. Antique woods often absorb stain unevenly after decades of repairs, sun exposure, smoke, and coating changes. A color that looks pleasantly medium brown on a sample board may turn nearly black on old oak.
Option 3: Repair and Repaint
Painting is a strong choice when the original wood was paint-grade, the mantel has extensive patches, or the room needs a cleaner architectural outline. The quality of the after photo will depend less on the paint brand than on patient preparation.
Clean off soot, wax, grease, and dust. Remove loose paint, fill small defects with a compatible filler, caulk only joints that should visually disappear, and lightly dull glossy surfaces.
Paint manufacturers recommend priming bare wood and repairs, cleaning away sanding dust, and allowing surfaces to dry thoroughly. A stain-blocking primer can help when tannins, smoke discoloration, or water stains may bleed through the new finish. n>
A Practical Antique Fireplace Mantel Makeover
Step 1: Remove Loose Parts Carefully
Label removable pieces with painter’s tape and store screws or nails in marked containers. If the mantel is attached to the wall, determine how it is mounted before pulling. Antique surrounds may be secured with hidden cleats, masonry anchors, cut nails, screws, or an optimistic combination of all four.
Step 2: Clean Before You Sand
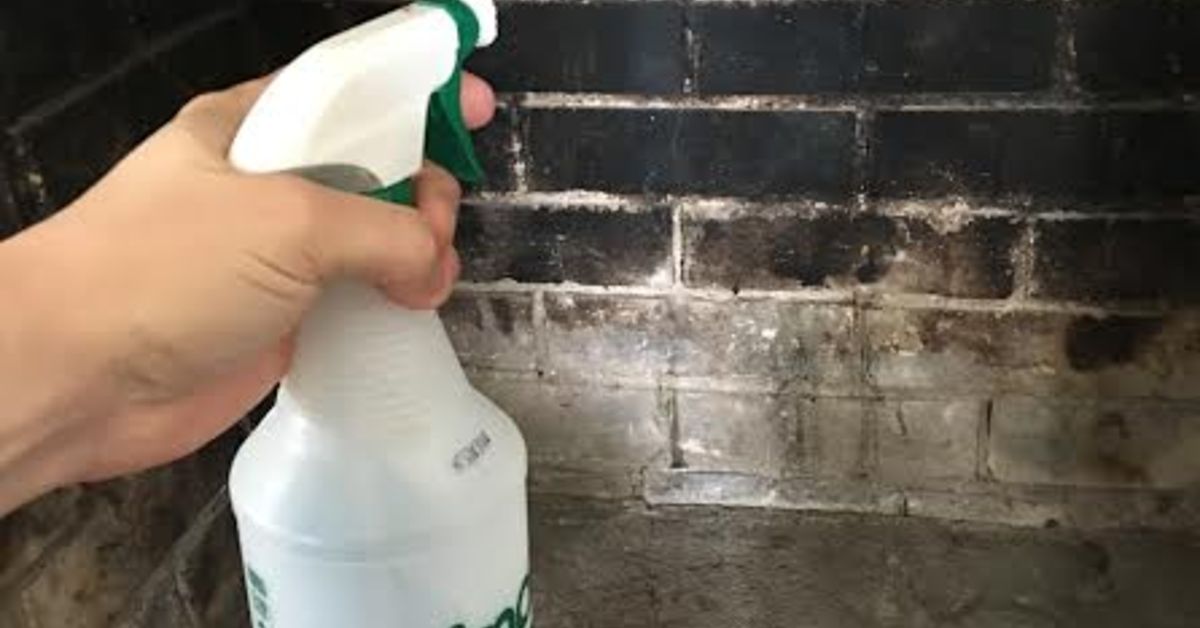
Sanding a dirty mantel can grind soot and grease deeper into the finish. Vacuum first, then use a cleaner appropriate for the material. Avoid saturating old joints or veneers. Around the firebox, stubborn dark residue may require repeated gentle cleaning rather than one heroic scrubbing session.
Step 3: Stabilize the Structure
Reglue open joints where appropriate, replace missing backing blocks, and secure loose molding. Preserve original pieces whenever practical. Small losses can often be patched with matching wood or a repair compound and then shaped to follow the neighboring profile.
If a carved ornament is missing, a replacement may be reproduced from a surviving symmetrical element. Complicated or historically important pieces are good candidates for a professional millworker or architectural conservator.
Step 4: Prepare the Surface
For a painted finish, feather chipped edges, spot-prime repairs, and use a bonding or stain-blocking primer when needed. For a clear finish, remove incompatible coatings and even out the surface without erasing its age.
Test every proposed systemcleaner, stripper, stain, primer, paint, wax, or topcoatin a discreet location. A small test patch is far easier to correct than an entire mantel that has unexpectedly turned orange.
Step 5: Apply the Finish in Thin Coats
Thin, controlled coats preserve detail better than one thick coat that makes crisp carving look as though it has been dipped in frosting. Use a quality angled brush for molding and watch for runs below the mantel shelf.
Light sanding between cured coats can improve smoothness, provided the product instructions permit it. Remove all sanding dust before applying the next coat. tep 6: Reinstall Securely
Heavy antique mantels require reliable support. Locate wall framing or use a mounting system appropriate for the wall and mantel construction. Confirm that the shelf is level, the legs are plumb, and combustible components satisfy required clearances.
This is an excellent moment to involve a qualified carpenter, mason, chimney professional, or code official if the installation is uncertain. A mantel should be memorable because it is beautiful, not because it detached during Thanksgiving dinner.
What Creates a Convincing Before-and-After Transformation?
The most satisfying fireplace mantel transformations do not necessarily use the boldest color or most expensive tile. They solve visible problems while making the fireplace look as though it belongs in the room.
Better Proportion
A mantel should relate to the firebox, wall height, and nearby architectural elements. If an antique surround is too narrow for a new opening, sympathetic side extensions or trim may integrate it without disguising the original piece.
If it is oversized, a quieter wall color and restrained decorating scheme can prevent it from visually swallowing the room. The fireplace should be the focal point, not an architectural creature preparing to eat the sofa.
A Finish With Depth
Natural wood brings warmth and highlights grain. Soft white emphasizes carved shadows and suits traditional interiors. Black can give a modest mantel graphic presence. Deep green, oxblood, navy, or warm brown can turn an ornate surround into a dramatic focal point.
In one widely documented historic mantel makeover, careful stripping, priming, color testing, and sanding between coats produced a rich painted surface rather than a quick cosmetic cover-up. Surround That Supports the Mantel
Tile, brick, stone, and the hearth should complement rather than compete with the woodwork. Simple tile allows elaborate carving to lead, while a plain mantel can handle a stronger pattern.
Reclaimed wood, antique mantels, and architectural salvage are frequently used as focal points because their texture adds visual history that new materials cannot easily imitate. n>
Styling the Restored Mantel
After spending days removing paint from tiny grooves, it is tempting to cover the finished mantel with seventeen objects. Resist. Let the architecture have a brief victory lap.
Begin with one anchor: a mirror, artwork, clock, or sculptural object. Add two or three supporting pieces with varied heights. Symmetry creates a formal look, while an asymmetrical arrangement feels relaxed and collected. Leave visible space around objects so the molding remains part of the composition.
Match the scale of the decor to the mantel. A tiny picture centered above a broad surround can look stranded, while an enormous mirror may overwhelm delicate woodwork. Use paper templates to test dimensions before hanging anything.
Exercise heat-safe judgment around an operating fireplace. Keep combustible decorations, dried greenery, textiles, and candles away from heat and flame. Seasonal decor should never interfere with the fireplace opening, screen, controls, vents, or required clearances.
Common Mantel Restoration Mistakes
- Skipping the lead check: Old paint should not be treated like harmless craft paint.
- Using aggressive sanding: Power sanders can flatten molding and erase detail within minutes.
- Painting over soot or wax: Surface contamination causes poor adhesion and mysterious stains.
- Removing every sign of age: A flawless surface can make an authentic antique look strangely new.
- Choosing color under one light: Test samples during daylight and under evening lighting.
- Ignoring installation rules: Decorative success does not override fire safety.
- Overdecorating the shelf: The mantel is architecture, not overflow storage for small vases.
Experience-Based Lessons From an Antique Mantel Project
One representative antique fireplace mantel project began with a surround that looked ordinary from across the room: thick cream paint, blunt molding, several cracks, and a shelf that seemed slightly too heavy for its narrow legs. Up close, however, the surface revealed clues that the mantel had once been far more detailed. Fine lines appeared beneath the paint, and a chipped corner exposed dark, tight-grained wood.
The first lesson was that the project needed a decision phase, not immediate demolition. Photos were taken, loose pieces were labeled, and the coating was evaluated before disturbance. That pause felt slow, but it prevented the sort of mistake that becomes a permanent feature in every future before-and-after photograph.
The second lesson was that stripping decorative woodwork is not one job. It is 50 small jobs performed while standing in the same place. Flat sections softened quickly, but paint packed inside beads and floral details required repeated applications and gentle handwork.
The dramatic reveal happened gradually. Each cleaned groove made the next painted groove look even worse, which was both motivating and mildly insulting. It also demonstrated why scraping everything in one aggressive pass would have damaged the detail.
The third lesson involved repairs. One missing corner block looked simple until a replacement was cut. The first version was too sharp and new. The second matched the shape but not the softened edges.
The successful repair came from shaping the piece accurately, easing its corners, and coloring it in layers instead of attempting to match the old wood with one heavy stain. Perfect uniformity would have looked artificial; controlled variation helped the patch disappear.
The fourth lesson was that the finish sample mattered more than the label on the can. A dark stain looked elegant on a test board but nearly black on the mantel’s aged wood. A lighter, warmer mixture kept the carving visible. After the first coat, the grain emerged and the surround seemed taller because the molding lines were readable again.
Reinstallation produced the least glamorous but most important improvement. The old mantel had been mounted slightly out of level and pulled tightly against an uneven wall. Correcting the support, fitting small gaps, and securing the surround properly made the final result look custom rather than merely rescued. Safety clearances were checked before the shelf and trim were permanently fixed in place.
The final styling was intentionally simple: one aged mirror, a small pair of objects, and enough empty shelf to see the wood. The room did not need a larger television, a trendier wall color, or a truckload of accessories. Restoring the mantel gave the existing room a center of gravity.
The most useful experience from the project was learning that an antique fireplace mantel before and after is not really about making old material look new. It is about making its quality visible again. Cleaning revealed shape. Repairs restored continuity. The finish returned depth. Proper installation improved proportion and safety.
The transformation felt dramatic because the work removed distractions rather than adding decoration for its own sake. The finished mantel still displayed small dents, color variations, and softened edges. Those imperfections were not failures. They were the details that separated a restored antique from a factory-made reproduction.
Conclusion
An antique fireplace mantel can move from neglected background feature to architectural centerpiece without losing the wear, craftsmanship, and irregularity that make it special. The best makeover begins with inspection and safety, continues with the least destructive repair method, and ends with a finish that complements both the material and the room.
Whether the final look is polished wood, softly aged paint, or a fearless saturated color, preparation determines the quality of the after. Test old coatings, protect carved details, repair before decorating, and reinstall the mantel securely.
A thoughtful restoration does more than improve a photograph. It gives an old feature another chapterand, ideally, fewer layers of beige paint.
Note: This article provides general restoration and design guidance. Before disturbing old paint or installing a mantel around an operating fireplace, verify lead-safety requirements, local building codes, and the fireplace manufacturer’s instructions.










