
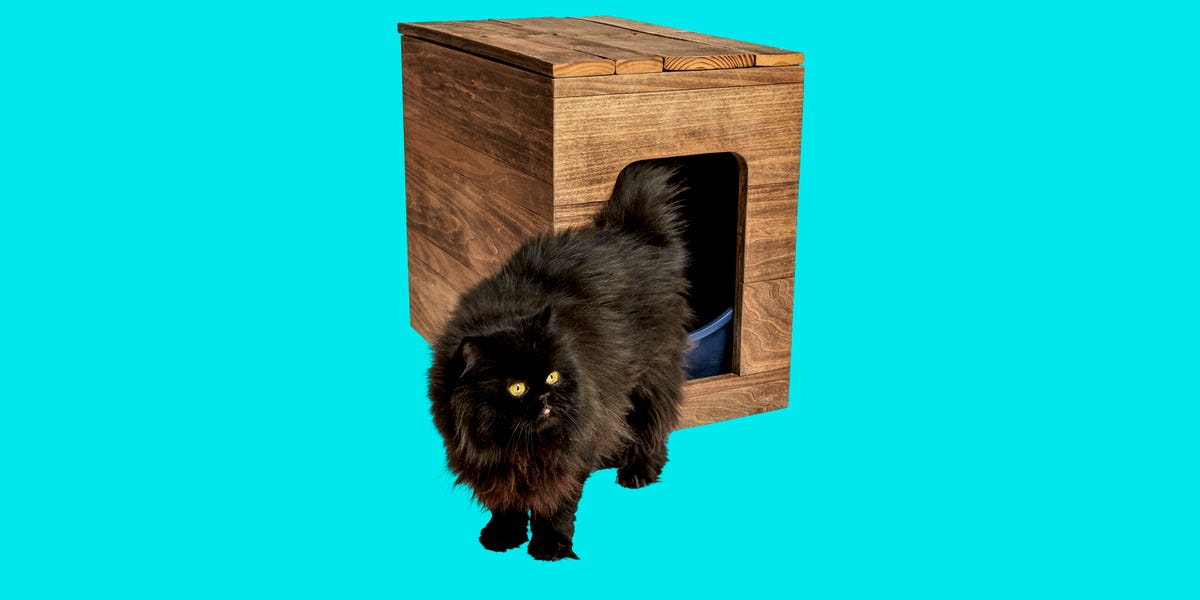
A litter box may not be the most glamorous piece of furniture in your home, but your cat considers it essential real estate. Get the design right, and your feline tenant will quietly approve. Get it wrong, and you may receive a strongly worded complaint on the nearest bath mat.
Building a DIY litter box is an affordable way to create a larger, more accessible, and easier-to-clean setup than many store-bought pans. It is especially useful for large cats, enthusiastic litter kickers, senior pets, and households that need a box tailored to an unusual space.
This guide explains how to build a litter box from a plastic storage container, how to choose safe dimensions, where to place the finished box, and how to avoid design mistakes that can make a cat refuse to use it.
Why Build a Homemade Litter Box?
Commercial litter boxes often look generously sized on the shelf but feel surprisingly cramped once a full-grown cat steps inside. Cats need enough room to enter, turn around, dig, and assume a comfortable position without pressing against the walls.
Feline veterinary guidance commonly recommends a box approximately one and a half times the cat’s body length, measured from the nose to the base of the tail. A large storage tote or under-bed container can provide considerably more usable floor space than a standard pan.
A homemade cat litter box can also solve several practical problems:
- High sides help contain flying litter and urine spray.
- A low custom doorway helps kittens and older cats enter comfortably.
- A clear container preserves visibility while reducing mess.
- A removable lid can discourage dogs from investigating the contents.
- A larger interior gives big cats enough room to turn around.
- An inexpensive container is easy to replace when scratched or worn.
The simplest design uses a sturdy plastic storage tote. Plastic is lightweight, moisture-resistant, widely available, and easier to sanitize than unfinished wood. Wood can absorb urine through tiny gaps or scratches, creating an odor problem with the staying power of a bad houseguest.
Choose the Right Litter Box Design
Open, High-Sided Box
An open box with tall walls is the best all-purpose design for most cats. It controls litter scatter without trapping odors and gives the cat a clear view of the surrounding room. Many cats prefer uncovered boxes, particularly when a hood makes the interior feel cramped or blocks escape routes.
Low-Entry Box
A low-entry design is appropriate for kittens, senior cats, and pets with arthritis or limited mobility. The entrance should be low enough to step over comfortably while the remaining walls stay high enough to contain litter. Cornell and other veterinary sources specifically recommend low sides or a cutout for older cats that struggle to climb into a conventional pan.
Top-Entry or Covered Box
A top-entry design can reduce tracking and may keep a curious dog away. However, it is not suitable for every cat. Kittens, heavy cats, anxious cats, and animals with joint pain may find the opening difficult or intimidating.
A covered box may also concentrate odor inside the enclosure. That is convenient for the human nose but not necessarily for the feline nose, which is the one standing approximately three inches from the litter. Use a lid only after confirming that your cat willingly enters and uses the box.
Materials and Tools
For a reliable DIY storage-tote litter box, gather the following supplies:
- One sturdy plastic storage container
- Measuring tape
- Permanent marker
- Utility knife, rotary tool, or fine-tooth jigsaw
- Drill and starter bit, if needed
- Medium- and fine-grit sandpaper
- Work gloves
- Safety glasses
- Unscented dish soap
- Litter scoop
- Cat litter
- Litter-catching mat
Choose a container made from rigid, smooth plastic. Avoid brittle tubs that crack when cut and heavily textured interiors that trap damp litter. Check the interior dimensions at the bottom of the container rather than relying only on the measurements printed on the label. Some totes taper inward and provide less usable space than expected.
How Big Should a DIY Litter Box Be?
Measure your cat from the tip of the nose to the base of the tail while the cat is standing naturally. Multiply that measurement by approximately 1.5 to estimate a comfortable box length.
For example, a cat measuring 18 inches from nose to tail base would benefit from a box roughly 27 inches long. It does not have to match that figure with engineering-lab precision, but larger is generally better as long as the box fits your home and your cat can enter easily.
Width matters too. The cat should be able to turn without folding itself into an origami project. A practical interior width for many adult cats is at least 15 inches, although broad or large-breed cats may need more.
The entrance height depends on the cat:
- Healthy adult cat: approximately 5 to 7 inches above the floor
- Kitten: approximately 2 to 4 inches
- Senior or mobility-impaired cat: as low as safely possible
- High-spraying cat: a low doorway with tall walls elsewhere
Leave enough plastic beneath the opening to hold the litter inside. If the threshold is cut completely to floor level, litter may migrate into the room with the enthusiasm of confetti at a parade.
How To Build a Litter Box Step by Step
Step 1: Wash and Dry the Container
Wash the tote with warm water and a small amount of unscented dish soap. Rinse it thoroughly and let it dry. Strong fragrances may discourage some cats, so this is not the moment to introduce “Tropical Thunderstorm Lavender Explosion” cleaner.
Step 2: Plan the Entrance
Decide whether the doorway will be on one short end or one long side. An opening on the short end preserves more high wall space and often contains litter better. A side entrance may work better when the box must fit under a shelf or against a wall.
Draw a doorway with rounded upper corners. A typical opening for an adult cat is approximately 8 to 10 inches wide and 8 to 10 inches tall. Adjust it for your cat’s size and mobility.
Do not make the opening merely head-sized. The cat must pass its shoulders and hips through without brushing hard against the edges.
Step 3: Drill a Starter Hole
If you are using a jigsaw or rotary tool, drill a starter hole just inside the marked line. The hole should be large enough to insert the cutting blade without forcing it.
Place the container on a stable work surface and secure it so it cannot slide. Wear gloves and eye protection, and keep your free hand away from the cutting path.
Step 4: Cut the Doorway Slowly
Cut along the marked line using light, steady pressure. Trying to rush through plastic may cause cracks, jagged edges, or an entrance shaped like a map of Florida.
A utility knife can work on thin plastic, but make several shallow passes instead of attempting one deep cut. A rotary tool or fine-tooth jigsaw is usually more manageable for thick storage totes.
Step 5: Smooth Every Edge
Run medium-grit sandpaper around the cut edge, followed by fine-grit paper. Continue until the entrance feels smooth when you press and slide your fingers across it.
Inspect both sides carefully. Plastic burrs can scratch a cat’s skin or catch its fur. Edge trim may be added, but it must fit tightly and resist chewing or removal. A perfectly sanded bare edge is often simpler.
Step 6: Decide Whether To Use the Lid
Start with the lid removed unless you already know that your cat prefers covered boxes. An open setup offers better airflow, more headroom, and clearer sightlines.
For a dog-resistant enclosure, attach the lid and create a side entrance high enough to discourage the dog but low enough for the cat. Closely observe the cat during the transition. A box that defeats the dog but also defeats the cat has not exactly won the design competition.
Step 7: Add Litter
Pour in approximately 2 to 3 inches of the litter your cat already uses. Avoid changing the box design and litter type simultaneously. Cats are creatures of habit, and presenting three surprises at once can make them suspicious.
Many cats favor fine-textured, unscented litter, although individual preferences vary. If you need to change litter, introduce the new product gradually or offer a second box for comparison.
Step 8: Add a Litter Mat
Place a washable litter mat beneath the entrance. The mat should extend far enough for the cat to take several steps after exiting. That gives loose granules a chance to fall from the paws before they reach your sofa, bed, or mysteriously your coffee mug.
Where To Put the Finished Litter Box
Place the box in a quiet, accessible location where the cat will not feel trapped. Avoid noisy laundry appliances, crowded hallways, dog feeding stations, and rooms that may suddenly be closed.
Keep litter boxes away from food and water. In a multistory house, consider providing a box on every level, especially for kittens and senior cats. Boxes should also be distributed in different locations rather than lined up side by side as though they were restroom stalls.
The familiar rule is one litter box per cat plus one additional box. A two-cat home, for example, should ideally provide three boxes in separate areas. Multiple stations reduce competition and give each cat an alternative when one box feels dirty, noisy, or unsafe.
How To Introduce Your Cat to the New Box
Put the homemade box beside the existing litter box rather than removing the old one immediately. Add the same familiar litter to both boxes and allow your cat to investigate voluntarily.
You can place a small amount of clean, used litter in the new container so it smells recognizable. Do not force the cat inside, close the lid over it, or turn the introduction into a surprise bathroom escape room.
Once the cat consistently uses the new box, the old one can be removed if you still have enough litter stations elsewhere. If the cat avoids the homemade box, examine the doorway height, interior size, litter depth, location, stability, and presence of a lid.
Cleaning and Maintenance
Scoop urine clumps and feces at least once daily. Wash the container periodically using warm water and mild, unscented soap, then rinse and dry it before adding fresh litter. Avoid cleaners with overpowering fragrances.
Daily waste removal supports both feline comfort and household hygiene. The CDC advises changing or cleaning cat litter daily and washing hands afterward because cat feces can contain germs and parasites. Pregnant people and individuals with weakened immune systems should discuss appropriate precautions with a healthcare professional and, when possible, have someone else handle litter-box cleaning.
Inspect the plastic regularly. Deep scratches can trap residue and odor even after washing. Replace the box if the surface becomes heavily scored, cracked, permanently stained, or difficult to clean.
Common DIY Litter Box Mistakes
Making the Box Too Small
A cat may technically fit inside a small container without being comfortable enough to use it consistently. Prioritize interior floor space, not just total storage capacity.
Cutting a Sharp or Narrow Doorway
A rough opening can scratch the cat, while a narrow one may feel threatening. Round the corners, widen the entrance, and sand every edge thoroughly.
Creating an Entrance That Is Too High
High thresholds can be difficult for kittens, overweight cats, injured pets, and senior cats. Customize the entrance to the least-mobile animal that will use the box.
Adding a Hood Without Testing It
A lid may control visible mess but can reduce ventilation and make the cat feel cornered. Offer the box uncovered first and let your cat vote with its paws.
Using Strong-Smelling Products
Scented cleaners, heavily perfumed litter, and deodorizing sprays can make a freshly cleaned box less appealing. Human “fresh” and feline “acceptable” are not always the same fragrance category.
Ignoring Sudden Litter Box Avoidance
Do not assume that an accident is revenge or bad behavior. Urinary pain, digestive problems, arthritis, stress, or another medical condition may cause a cat to eliminate outside the box. Persistent changes, straining, frequent attempts to urinate, crying, or passing little or no urine require veterinary attention; inability to urinate can be an emergency.
Real-World Lessons From DIY Litter Box Projects
The following observations reflect recurring experiences reported by cat owners, foster caregivers, and pet-care professionals rather than a claim of personal pet ownership. The first lesson is that cats care far more about function than appearance. A beautifully painted cabinet may impress visitors, but a plain, oversized tote often wins the cat’s approval because it provides more room and a clearer exit.
One common success story involves replacing a small commercial pan with an under-bed storage container. Owners frequently notice that larger cats stop balancing awkwardly on the rim and begin digging, turning, and covering waste more naturally. The improvement does not come from sophisticated technology. It comes from finally providing enough space for the entire cat, including the part that commercial-box designers sometimes seem to forget exists behind the shoulders.
High-sided tote boxes are especially useful for cats that kick litter with championship-level commitment. In many homes, raising three walls significantly reduces the amount of litter scattered across the floor. The doorway remains the primary escape route for loose granules, which is why a generous mat usually works better than trying to make the opening extremely small.
Another recurring lesson is that the first doorway may need adjustment. A builder may initially leave a 7-inch threshold to contain litter, only to discover that an older cat pauses, climbs reluctantly, or walks away. Lowering the entrance by 2 or 3 inches can completely change the response. The technically “messier” doorway becomes the more successful design because accessibility matters more than keeping every grain inside.
Owners also learn that a lid is not automatically an upgrade. Some cats use a covered tote immediately, while others stare into the doorway as though they have been invited into a suspicious basement. Removing the lid often solves the hesitation. A practical approach is to begin with an open box, establish reliable use, and test a cover later only when it serves a real purpose.
Transitions tend to work best when the familiar litter stays the same. When owners introduce a new container, new litter, new location, and new deodorizer on the same afternoon, they may not know which change the cat dislikes. Successful projects usually change one variable at a time. The new box goes beside the old one, contains the usual litter, and remains uncovered while the cat evaluates it.
Cleaning reveals another useful truth: simple shapes outperform elaborate ones. Decorative seams, interior ledges, exposed fasteners, and wooden corners give damp litter places to collect. Smooth plastic walls and rounded corners can be scooped and washed quickly. When a box is easy to maintain, owners are more likely to clean it frequently, which makes continued use more likely.
Finally, the best DIY litter box is not necessarily the box that produces zero visible mess. It is the one the cat enters confidently, uses consistently, and can leave without pain or fear. A few grains on a washable mat are a small price for preventing accidents elsewhere. In the grand negotiation between interior design and feline bathroom preferences, the cat usually has the stronger bargaining position.
Conclusion
To build a litter box that your cat will actually use, begin with a large, sturdy plastic container. Measure the cat, create a wide entrance at an appropriate height, smooth the cut edges, and test the box without a lid. Fill it with familiar unscented litter and place it in a quiet, accessible location away from food and noisy appliances.
The project itself is straightforward, but the final design should be guided by the cat’s behavior. Watch how easily your pet enters, turns, digs, and exits. Small adjustments to the threshold, location, litter depth, or cover can turn a rejected plastic tote into the most popular restroom in the house.










