
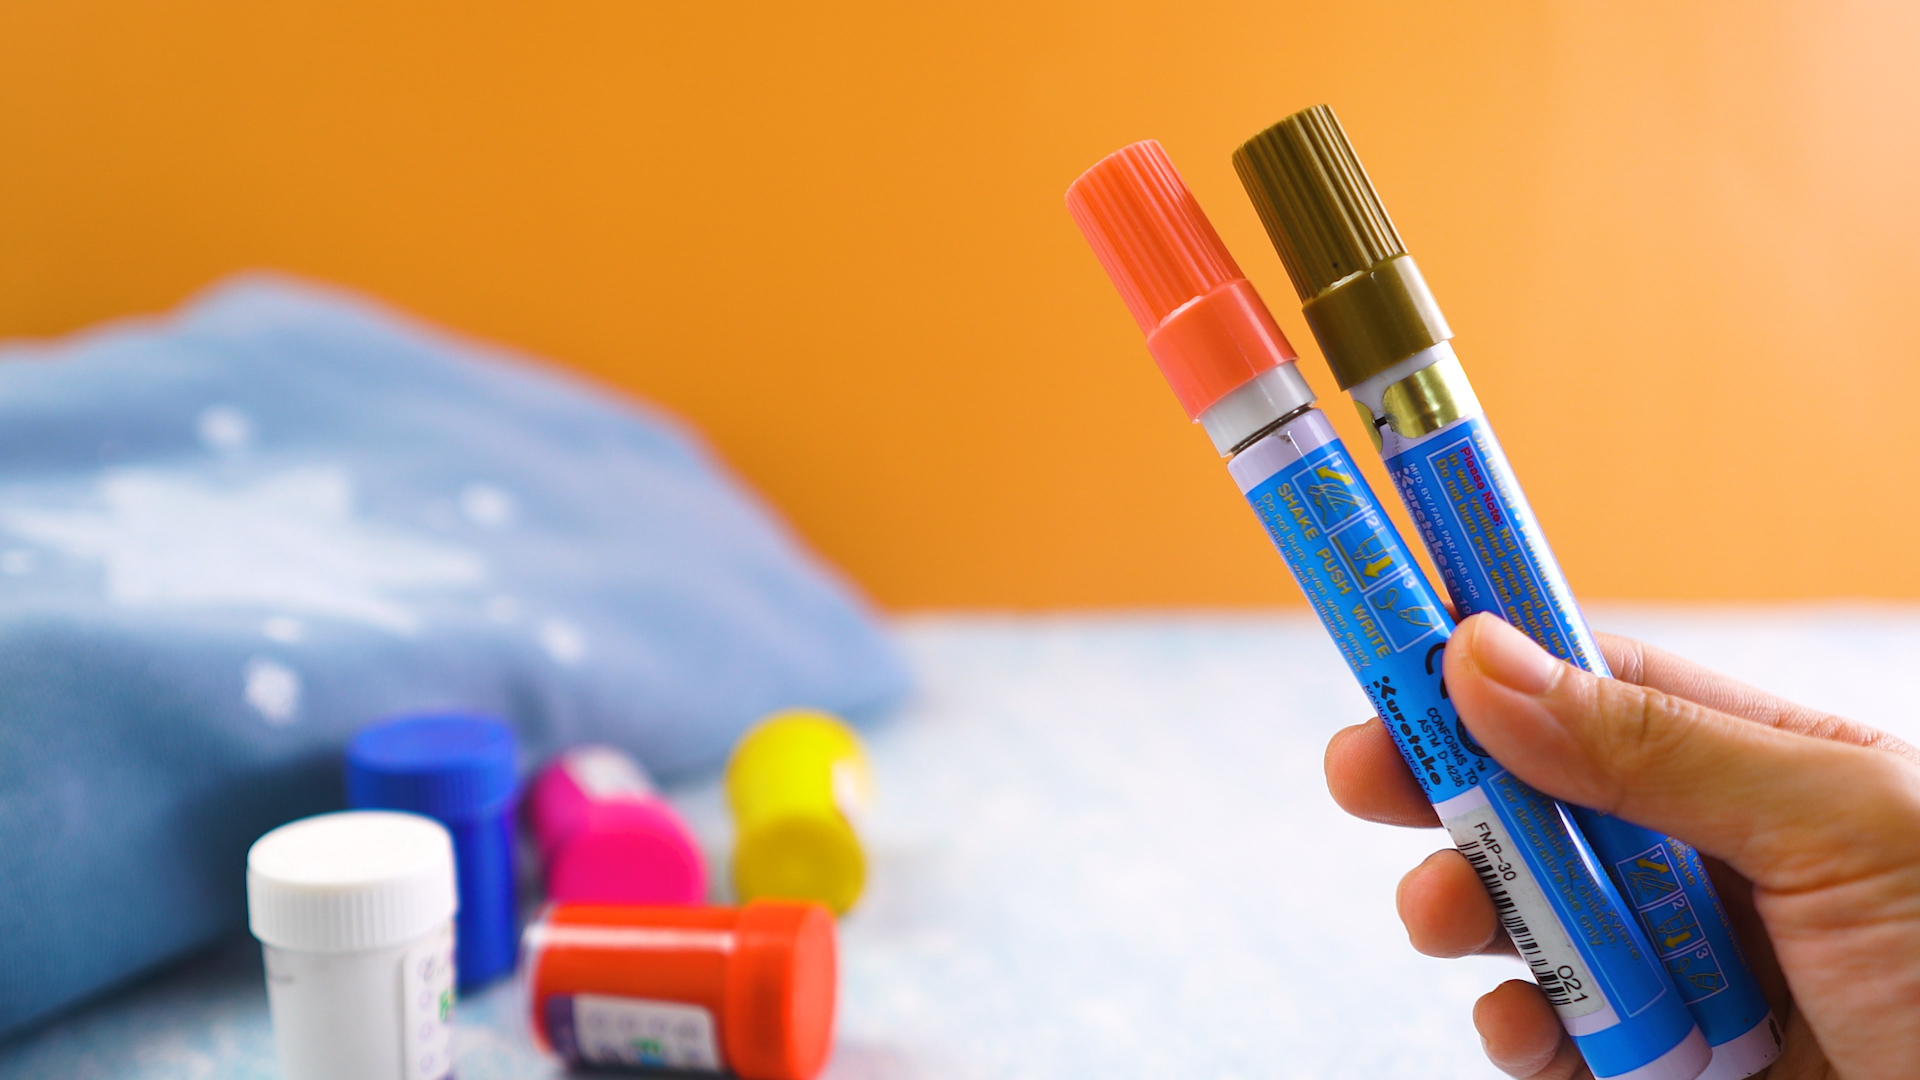
Fabric paint is one of those craft supplies that can make an old T-shirt feel like a custom boutique piece, turn a plain tote bag into a personality billboard, or rescue boring canvas shoes from a life of beige sadness. But there is one tiny problem: fabric paint does not always dry as quickly as our excitement does.
If you have ever finished painting a hoodie and then stared at it like a microwave meal you cannot eat yet, you already understand the struggle. Fabric paint needs time to dry, and in many cases it also needs time to cure before washing or heavy use. Some products feel dry to the touch after a few hours, while others need 24, 48, or even 72 hours before they are safe to wear, fold, wash, or proudly show off without leaving mysterious paint smears everywhere.
The good news is that you can dry fabric paint faster without ruining your design. The secret is not blasting it with extreme heat like you are trying to launch it into orbit. The real trick is using thin paint layers, smart airflow, gentle warmth, and patience at exactly the right moments. Below are three simple, practical, and fabric-friendly ways to speed up drying time while helping your painted design stay bright, flexible, and washable.
Understanding Fabric Paint Drying vs. Curing
Before we get into the three methods, let’s clear up a common confusion: drying and curing are not the same thing.
Drying means the wet surface has lost enough moisture that it no longer smears when lightly touched. This can happen in a few hours, depending on the paint, fabric, thickness, room temperature, and humidity.
Curing means the paint has fully bonded with the fibers and reached its stronger, more durable state. Many fabric paints require a longer cure time before washing. Some common fabric paints recommend waiting around 72 hours before laundering, while certain acrylic-and-fabric-medium combinations may require heat setting after the paint is fully dry.
Think of drying as “safe to look at without panic” and curing as “ready to survive real life.” A shirt that feels dry after four hours may still need more time before it can handle a washing machine, a dryer, or your cousin who hugs with the strength of a folding chair.
Way 1: Apply Thin Layers and Let Each Coat Dry Properly
The fastest way to dry fabric paint is to avoid creating a paint puddle in the first place. Thick paint looks tempting because it feels bold and dramatic, but on fabric, too much paint can sit on top of the fibers, dry unevenly, crack later, or stay tacky far longer than expected.
Why Thin Coats Dry Faster
Fabric paint dries as water and other liquid components evaporate from the paint. When you apply a thin coat, moisture escapes quickly. When you apply a thick coat, the top may skin over while the paint underneath remains soft. That is when the design looks dry, but one accidental touch reveals the truth in the most emotionally damaging way possible.
Thin layers also help paint soak into the fabric instead of forming a stiff plastic-like patch. This matters especially for wearables such as T-shirts, denim jackets, sweatshirts, canvas shoes, aprons, tote bags, and baby onesies. A flexible design feels better, lasts longer, and does not make your shirt sound like a potato chip bag when you move.
How to Use Thin Layers Correctly
Start with clean, prewashed fabric whenever possible. Many new fabrics contain sizing, finishes, or softeners that can interfere with paint adhesion. Wash the fabric first, skip fabric softener, and let it dry completely before painting.
Place cardboard, freezer paper, or a shirt board between fabric layers so paint does not bleed through. Smooth out wrinkles before you start. Then apply one light coat using a brush, sponge, stencil brush, or applicator tip. Let the first layer dry before adding another. If the color looks too pale, add a second thin coat rather than one heavy coat.
For lettering or detailed designs, use less paint than you think you need. You can always build color gradually. It is much harder to fix a swollen blob that used to be the letter “S” but now resembles a confused garden slug.
Best Examples for Thin-Coat Drying
Thin coats work especially well for:
- Brush-painted T-shirts
- Stencil designs on tote bags
- Denim jacket patches
- Canvas shoes
- Pillow covers
- Fabric banners
- Simple lettering and monograms
If you are using dimensional or puff fabric paint, you may not be able to make the paint completely thin because the raised effect is the whole point. However, you can still avoid giant mounds. Keep lines even, avoid overlapping wet paint, and let the item dry flat for the time recommended on the label.
Way 2: Use Airflow to Speed Up Drying
Airflow is one of the safest ways to dry fabric paint faster. A fan helps move moist air away from the painted surface and replaces it with drier air. This encourages evaporation without cooking the paint or damaging delicate fabric.
How to Set Up a Fan for Fabric Paint
Place the painted fabric flat on a clean, dry surface. Keep it away from dust, pet hair, lint, snack crumbs, and anything else that might decide to become part of your art forever. Then position a fan nearby so air moves across the fabric, not directly into it like a tiny windstorm.
A low or medium fan setting is usually enough. The goal is gentle circulation, not a dramatic movie scene. If the fan is too strong, lightweight fabric may ripple, wet paint may shift, or dust may blow onto your design. For shirts and tote bags, you can tape the edges of the fabric to cardboard to keep the surface stable.
Choose the Right Room Conditions
Fabric paint dries faster in a warm, dry, well-ventilated room. Humidity slows drying because the air is already full of moisture. If you are painting on a rainy day or in a damp basement, drying can take much longer.
If possible, dry your project in a room with good air circulation and moderate warmth. Avoid bathrooms, laundry rooms, cold garages, and humid corners. A clean craft room, bedroom, or kitchen table near a fan can work well. Just make sure the fabric is protected from spills, children, pets, and adults who say, “Is this dry?” while reaching toward it with full confidence and zero evidence.
Can You Hang Fabric Paint to Dry?
You can hang some painted fabrics to dry, but flat drying is safer for wet designs. Hanging a freshly painted item may cause paint to run, stretch, or collect at the bottom of the design. For dimensional paint, puff paint, glitter paint, and thick brushwork, always dry the item flat unless the product instructions say otherwise.
Once the paint is no longer wet and the design is stable, hanging may help airflow reach both sides. For example, after a tote bag has dried flat for several hours, you may hang it on a hanger or drying rack to continue curing. But in the early stage, flat is your friend.
Way 3: Add Gentle Heat After the Surface Starts Drying
Gentle warmth can speed up fabric paint drying, but it must be used carefully. Too much heat too soon can cause bubbling, cracking, uneven texture, or premature skinning. Heat is helpful when used as a supporting tool, not as a punishment.
Using a Hair Dryer Safely
A hair dryer can help dry fabric paint faster, especially between light coats. Use a low or warm setting, not the hottest setting. Hold the dryer several inches away from the fabric and keep it moving. Do not park the heat in one spot like you are trying to toast a marshmallow.
Use short drying sessions of 30 to 60 seconds, then pause. Let the paint release moisture naturally for a few minutes before using the dryer again. This gradual approach reduces the risk of overheating the paint surface while the underside is still wet.
A hair dryer is most useful for thin brush-painted layers, small stenciled areas, or acrylic paint mixed with fabric medium. It is less ideal for puff paint or very thick dimensional paint because the outside may dry faster than the inside.
Using a Lamp or Warm Room
If you want a gentler option, place the painted fabric under a lamp or in a warm room. Keep the lamp at a safe distance so the fabric warms slightly without getting hot. This method is slower than a hair dryer but more even and less risky.
Never place fabric paint near an open flame, space heater, oven burner, or anything that turns your craft project into a fire safety presentation. Fabric is flammable, and paint products may respond poorly to extreme heat. Warmth is good. Scorch marks are not a design feature unless your theme is “craft night went sideways.”
Heat Setting Is Not the Same as Fast Drying
Many fabric paints or fabric mediums require heat setting for wash durability. Heat setting usually happens only after the paint is completely dry. Depending on the product, this may involve ironing the reverse side of the fabric, using a pressing cloth, applying a heat press, or using another manufacturer-approved method.
Do not confuse heat setting with drying. If a label says to let paint dry for 24 hours before heat setting, follow that timing. Ironing wet or tacky paint can smear the design, transfer paint to the iron, flatten dimensional details, or create a texture you did not invite to the party.
Extra Tips to Dry Fabric Paint Faster Without Ruining It
Pick the Right Paint for the Project
Not all fabric paints dry at the same speed. Soft fabric paints, brush-on paints, dimensional paints, puff paints, screen-printing inks, textile paints, and acrylic paints mixed with fabric medium all behave differently. Some products are designed to air cure without heat setting, while others need heat to become washable.
For quick event crafts, choose a paint known for faster surface drying and avoid thick puff paint. For long-lasting wearable art, choose a fabric paint or textile medium designed for laundering. Read the product label before starting so you know the expected dry time, cure time, washing instructions, and whether heat setting is required.
Use Absorbent Fabric When Possible
Cotton, cotton blends, denim, canvas, and other absorbent fabrics usually accept fabric paint well. Slick, coated, stretchy, or synthetic fabrics can be more challenging. Paint may sit on the surface longer, dry unevenly, or require special preparation.
If you are painting a polyester gym shirt, faux leather bag, nylon jacket, or stretchy dance costume, test first in a hidden area. Let the test patch dry and flex it. If it cracks, peels, or feels sticky after the recommended time, choose a different paint system before committing to the full design.
Avoid Overworking Wet Paint
Brushing the same spot repeatedly can push paint deeper into the fabric, lift partially dried layers, or create uneven texture. Apply the paint, smooth it lightly, and let it rest. Fabric paint likes confidence. It does not appreciate being fussed over like bangs before school picture day.
Control Dust and Lint
Faster drying is not helpful if your finished design contains lint, cat hair, and one suspicious eyelash. Before drying, clear the area around your project. Wipe the table, shake out the fabric before painting, and keep fuzzy blankets away. If you use a fan, make sure it is clean so it does not blow dust onto the wet paint.
Do Not Wash Too Soon
Even if the paint feels dry, wait the recommended cure time before washing. Many fabric paint brands suggest waiting 48 to 72 hours before laundering, and some heat-set systems may need longer. When washing is allowed, turn the garment inside out, use a gentle cycle, avoid harsh detergents, and line dry or use low heat if the label permits.
Common Mistakes When Trying to Dry Fabric Paint Faster
Mistake 1: Using High Heat Immediately
High heat can make the top layer dry too quickly while trapping moisture underneath. This may cause a tacky center, cracking, bubbling, or weak adhesion. Use mild warmth only after the paint has begun to set.
Mistake 2: Applying One Heavy Coat
A thick coat looks efficient, but it usually slows everything down. It also increases the chance of stiffness and cracking. Two or three light coats usually produce a cleaner, more durable result than one dramatic paint avalanche.
Mistake 3: Folding the Fabric Too Early
Folding painted fabric before it is fully dry can make paint stick to itself or transfer to another area. Keep the item flat and undisturbed until the surface is dry. For thicker paint, give it extra time before moving.
Mistake 4: Skipping the Test Patch
Testing may feel boring, but it saves projects. Try your paint on a scrap of the same fabric before painting the final piece. Check drying time, color intensity, flexibility, and wash behavior. A five-minute test can prevent a five-hour emotional recovery period.
Best Drying Method by Project Type
T-Shirts
Use thin coats, insert cardboard between layers, dry flat, and use gentle airflow. After the paint dries, follow the product instructions for curing or heat setting. Wash inside out only after the recommended wait time.
Denim Jackets and Jeans
Denim is sturdy and absorbent, but thick seams and textured areas can slow drying. Use a fan and thin layers. For detailed jacket art, allow extra drying time before wearing because bending and friction can stress fresh paint.
Canvas Shoes
Paint thin layers and let each coat dry before adding another. Use a hair dryer on low warmth for brief sessions if needed. Stuff shoes with paper to hold their shape, but avoid letting paper touch wet painted areas.
Tote Bags
Tote bags are beginner-friendly because they dry flat easily. Place cardboard inside, paint in light coats, and set the bag near a fan. Wait until fully cured before loading it with groceries, books, or the emotional weight of unfinished craft supplies.
Pillow Covers and Home Decor
Use flexible fabric paint and allow plenty of curing time. Home decor items often get handled, pressed, or washed, so do not rush the final cure. Dry flat first, then hang once the design is stable.
of Real-World Experience: What Actually Works When You Are Impatient
Anyone who has used fabric paint more than once learns the same lesson: the project is usually easy, but the waiting is where character development happens. In practice, the fastest drying results come from combining all three methods rather than relying on one miracle trick.
For example, when painting a cotton tote bag, the best approach is to prewash the bag, iron it smooth, slide cardboard inside, and apply the design in thin coats. After the first coat, place the tote on a flat table with a fan moving air gently across it. After 20 to 30 minutes, the surface often feels much less wet, especially if the room is dry. If a second coat is needed, apply it lightly and repeat the fan method. A short pass with a hair dryer on warm can help with small areas, but it should not replace normal drying time.
T-shirts need more caution because jersey fabric moves and stretches. If the paint layer is too thick, it may crack when the shirt is worn. From experience, thin paint is almost always better on shirts. It may take an extra coat to get bold color, but the finished design feels softer and looks cleaner. A fan is safer than aggressive heat because it does not push the fabric around or create shiny overheated spots.
Denim is more forgiving, but it can trick you. The surface may feel dry while paint in the weave is still curing. If you paint jeans or a denim jacket, let the design dry flat as long as possible before wearing. Knees, elbows, cuffs, and pockets bend constantly, so fresh paint in those areas needs extra patience. A denim jacket painted at night is usually happier if left alone until the next day. Yes, the jacket may look ready for its grand debut. No, it does not care about your schedule.
Canvas shoes are another case where patience matters. Shoes flex, rub, and collect dirt quickly. Thin layers are essential. Stuffing the shoes helps hold the surface steady, and gentle heat can speed drying between coats. However, the final cure should still be respected. Wearing freshly painted shoes too soon can cause creases, dull spots, or fingerprints. Nothing says “handmade” quite like accidentally stamping your thumb into your own masterpiece.
For group crafts, such as birthday parties, classroom projects, church events, or team-building sessions, choose quick-drying designs on flat cotton items. Tote bags, bandanas, and small canvas banners work better than thick sweatshirts or puff paint shirts. Set up a drying station with fans, cardboard supports, and name labels. Encourage simple designs with thin paint application. The less paint people squeeze out, the more likely they can take the project home without wrapping it like a crime scene.
The most reliable experience-based rule is simple: speed up drying, but never cheat curing. Use airflow, thin coats, and gentle warmth to make the surface dry faster. Then give the paint the full cure time recommended by the manufacturer before washing, folding tightly, or wearing heavily. That balance gives you the best of both worlds: less waiting around and fewer tragic laundry surprises.
Conclusion
Drying fabric paint faster is not about forcing the paint into submission. It is about creating the right conditions so moisture can leave the paint evenly and safely. Apply thin coats, use steady airflow, and add gentle warmth only when appropriate. Always read the label, test your fabric, and remember that dry-to-the-touch does not always mean wash-ready.
Whether you are customizing a T-shirt, reviving old jeans, decorating tote bags, or making canvas shoes look like they have a social media manager, the same rules apply. Keep the layers light, keep the air moving, avoid extreme heat, and give the paint enough time to cure. Your reward is a brighter, cleaner, longer-lasting designand fewer moments of standing over wet fabric whispering, “Please dry faster.”
Note: Drying times vary by brand, paint thickness, fabric type, humidity, and whether the product requires heat setting. Always follow the instructions on your specific fabric paint label before washing, ironing, or wearing the finished project.













