
Vinyl windows have a reputation for being low-maintenance, but “low-maintenance” does not mean “magically self-cleaning while you drink coffee.” Dust settles on the frames, fingerprints decorate the glass, insects move into the tracks without paying rent, and outdoor grime gradually turns bright white vinyl into something closer to oatmeal.
The good news is that cleaning vinyl windows does not require a cabinet full of specialized chemicals. In most cases, mild dish soap, warm water, soft cloths, a vacuum, and a little patience are enough. The important part is matching the cleaning method to the mess. Routine dust needs a gentle wash, streaky glass needs a glass-focused approach, and neglected tracks require a more detailed cleaning session.
This guide explains three safe, practical ways to clean vinyl windows without scratching the glass, discoloring the frames, damaging weatherstripping, or blasting water past the seals. It also covers common mistakes, stubborn stains, screens, mildew, and the lessons that become obvious only after you have cleaned a few very dirty windows.
Before You Start: Know What You Are Cleaning
A vinyl window is not one uniform surface. It contains several materials and components, and each deserves slightly different treatment:
- Vinyl frames and sashes: Durable but vulnerable to scratches, harsh solvents, and aggressive scrubbing.
- Glass: Easy to clean, although abrasive powders, dirty scrapers, and trapped grit can leave permanent marks.
- Weatherstripping and seals: Necessary for controlling air and water infiltration, so they should not be soaked in strong chemicals.
- Tracks and weep openings: Designed to manage movement and drainage, which means dirt buildup can interfere with performance.
- Screens: Lightweight and easy to bend if scrubbed or sprayed too forcefully.
Check the window manufacturer’s care instructions before using anything stronger than mild soap and water. Finishes, coatings, laminates, and glass treatments vary. A cleaner that is acceptable on plain glass may not be appropriate for a colored vinyl finish, decorative laminate, coated glass surface, or rubber seal.
Basic supplies
- A vacuum with a soft brush or narrow crevice attachment
- Two buckets or bowls
- Warm water
- A small amount of mild dish soap
- Several clean microfiber cloths
- A nonabrasive sponge
- A soft-bristle brush or old toothbrush
- A rubber squeegee
- Distilled white vinegar for appropriate glass cleaning
- Clean towels for protecting the sill and floor
Choose a cloudy day or clean windows when direct sunlight is not heating the glass. Strong sun can dry cleaning solution before you remove it, creating streaks and making you wonder whether the window is dirty or simply mocking you.
Way 1: Clean Vinyl Frames with Mild Soap and Water
For ordinary dust, pollen, fingerprints, light grease, and outdoor dirt, mild soap and water should be your first choice. It is simple, inexpensive, and less likely to interfere with the frame’s appearance or the window’s seals.
Step 1: Remove loose dirt
Open the window and vacuum the frame, sill, corners, and accessible track. Removing loose grit first is important because rubbing sandy dirt across vinyl can create fine scratches. On the exterior, use a soft brush to loosen cobwebs, dried insects, and leaves.
Do not begin by wiping a heavily soiled frame with a dry cloth. Dry grit behaves like miniature sandpaper. It may be tiny, but it is ambitious.
Step 2: Mix a gentle cleaning solution
Add a small squeeze of mild dish soap to a bucket of warm water. You need only enough soap to loosen grime. Excess detergent creates more residue, more rinsing, and more opportunities for streaks.
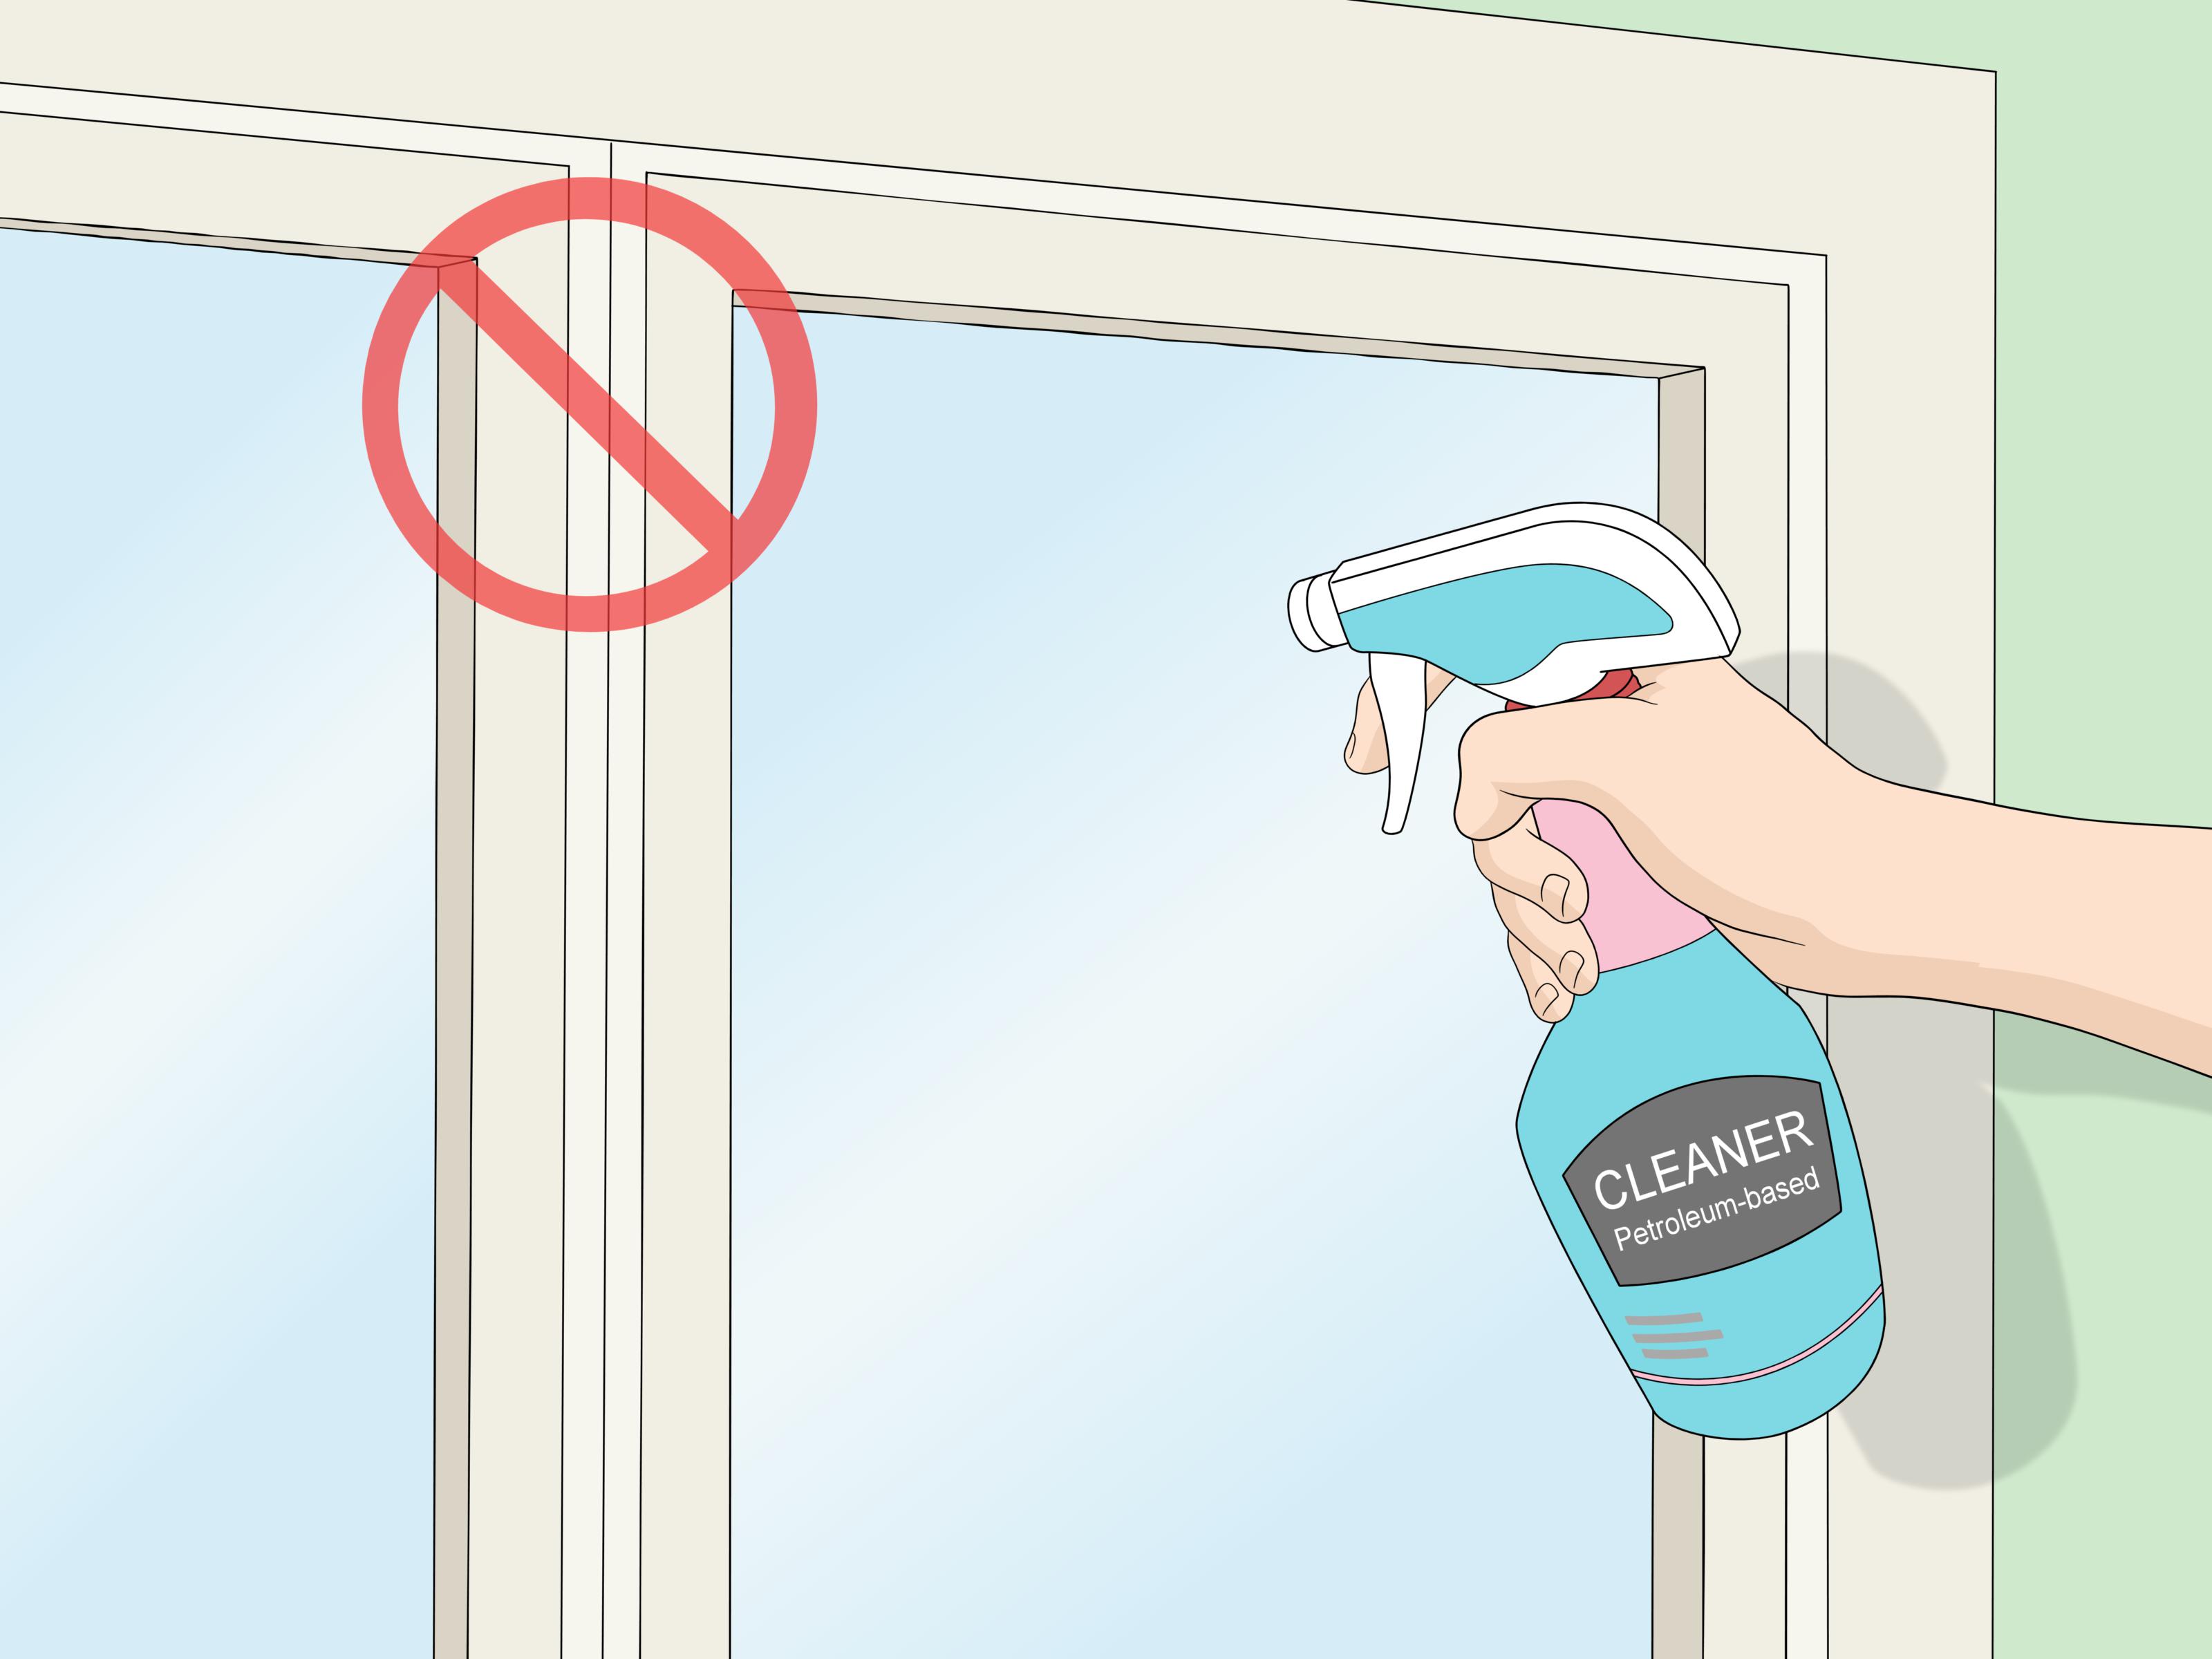
Avoid strong degreasers, scouring powders, chlorine-heavy products, paint thinner, nail polish remover, adhesive removers, and other aggressive solvents unless your window manufacturer specifically approves them for the exact surface. Also skip steel wool, rough scrub pads, and stiff wire brushes.
Step 3: Wash from top to bottom
Dip a microfiber cloth or soft sponge into the solution and wring it out. The cloth should be damp rather than dripping. Wipe the upper frame first, then work down the sides, across the lower sash, and finally along the sill.
Cleaning from top to bottom prevents dirty water from running over an area you already finished. Use light pressure and rinse the cloth frequently so you are removing dirt instead of relocating it to another corner.
Step 4: Detail the corners
Use a soft toothbrush for seams, corners, hardware edges, and textured areas. Do not force the brush into weatherstripping or pull at flexible seals. The goal is to remove dirt, not conduct an unauthorized window disassembly.
Step 5: Rinse and dry
Wipe the frame with a second cloth dampened with clean water. Remove all soap residue, especially around the sill, seals, and moving parts. Finish with a dry microfiber towel.
Drying matters because standing water can collect more dust, leave mineral spots, and remain trapped in corners. It also gives you a chance to notice cracked caulk, damaged weatherstripping, loose hardware, or blocked drainage openings.
Way 2: Use a Vinegar Solution for Streak-Free Glass
When the vinyl looks fine but the glass resembles an abstract painting made of fingerprints and dog-nose prints, focus on the glass. A diluted vinegar solution can cut through light film and help produce a clear finish.
A practical mixture is approximately 30 percent distilled white vinegar and 70 percent water. Another gentle option is warm water with a very small amount of dish soap. Commercial ammonia-free glass cleaner may also be appropriate, provided it is compatible with the window and surrounding finishes.
Step 1: Protect the frame and sill
Place a towel along the interior sill to catch drips. Spray the solution onto a microfiber cloth or applicator rather than flooding the window. This gives you more control and reduces the amount of cleaner reaching vinyl, seals, walls, and flooring.
Step 2: Loosen exterior grit first
Exterior glass may carry dust, sand, pollen, and dried debris. Rinse it gently with clean water or wipe it with a thoroughly wet, soft cloth before polishing. Never scrub gritty glass aggressively, because particles trapped beneath a cloth or squeegee can scratch the surface.
If bird droppings or stuck-on grime are present, wet the area and allow it to soften. Repeated gentle passes are safer than attacking the spot with a metal blade.
Step 3: Clean in sections
Apply the solution to a manageable section of glass. Wipe with a clean microfiber cloth using overlapping strokes. Working in sections prevents the cleaner from drying prematurely.
For easy streak detection, clean the interior glass with horizontal strokes and the exterior glass with vertical strokes. If a streak remains, its direction tells you which side needs another pass. It is a small trick that can prevent five minutes of staring suspiciously through the window.
Step 4: Finish with a squeegee
Place the squeegee at the top of the glass and pull it downward in a smooth line. Wipe the rubber edge after each pass. Slightly overlap the previous path so no strip of cleaning solution remains behind.
Use a dry microfiber cloth to detail the edges and corners. Do not allow liquid to remain pooled against glazing materials, seals, or the bottom of the frame.
What not to use on window glass
Avoid abrasive powders, baking soda scrubs, dirty razor blades, knives, steel wool, and rough paper products. Baking soda is mildly abrasive and can create fine scratches on glass. Metal blades are particularly risky on coated, tinted, tempered, or specialty glass.
If construction residue, paint, sealant, or adhesive is stuck to the glass, consult the manufacturer before using a scraper or solvent. The safest method depends on the glass coating and the type of residue.
Way 3: Deep-Clean Tracks, Screens, and Stubborn Grime
A window can have spotless glass and still feel neglected if the track contains enough soil to grow tomatoes. Tracks collect hair, insects, crumbs, pollen, and moisture. This debris can make sliding windows harder to operate and may block drainage pathways.
Step 1: Remove and label screens
If the screen is removable, take it out carefully and note which window it belongs to. Screens that look identical can fit slightly differently, and discovering that fact while standing on a ladder is not a delightful plot twist.
Lay the screen flat on a clean towel or place it upright against a stable surface. Never rest it where someone can step on it or where the frame may twist.
Step 2: Vacuum the track
Use a crevice tool to remove as much dry debris as possible. Run the vacuum along both sides of the track, around locks, and into corners. A soft paintbrush can help sweep dirt toward the vacuum nozzle.
Step 3: Scrub with diluted soapy water
Dip a toothbrush or small soft-bristle brush into warm, soapy water. Scrub the track gently, working on one section at a time. Wipe away the loosened grime with a damp microfiber cloth.
For narrow channels, wrap a cloth around a plastic putty knife or another blunt, nonmetallic tool. This reaches into corners without scratching the vinyl. Do not push debris into drainage openings.
Step 4: Check the weep system
Many windows include small openings that allow incidental water to drain outdoors. Brush visible debris away from these openings without enlarging them or inserting sharp tools deeply into the frame.
If water regularly accumulates inside the track, investigate further. The cause may be clogged drainage, improper installation, damaged seals, exterior caulk problems, or condensation. Cleaning helps, but it cannot repair a structural water problem.
Step 5: Wash the screens gently
Mix mild dish soap with warm water. Use a soft brush or sponge to clean both sides of the screen and its frame. Rinse with a gentle flow of water and allow the screen to dry completely before reinstalling it.
Do not pressure-wash screens or vinyl windows. High-pressure water can stretch mesh, bend frames, damage caulk, force water into the wall assembly, and compromise insulated glass seals. A pressure washer turns an easy cleaning job into a potentially expensive home-improvement sequel.
Step 6: Address mildew and moisture
Dark marks around a window may be ordinary dirt, mildew, or staining associated with condensation. On hard, washable surfaces, begin with water and mild detergent, then dry the area completely. Wear gloves, ventilate the room, and avoid mixing cleaning products.
More importantly, address the moisture source. Use bathroom and kitchen exhaust fans, repair leaks, manage indoor humidity, and wipe condensation from windows. Recurring mold or extensive water damage may require professional assessment.
Step 7: Dry and test the window
Dry the tracks, frame, and screen before reassembly. Open and close the window several times. Confirm that the locks engage, the sash moves normally, and weatherstripping remains in place.
Do not automatically apply household oil or a general-purpose penetrant to a sticky track. Oil-based products can attract dirt and may be unsuitable for certain window components. Follow the manufacturer’s lubrication instructions and use only the recommended product in the recommended location.
How to Handle Stubborn Stains on Vinyl Frames
If mild soap does not remove a stain, resist the temptation to escalate immediately to the strongest bottle under the sink. Start by repeating the gentle cleaning process and giving the solution a few minutes to loosen the mark.
For scuffs, crayon, grease, or adhesive residue, check the manufacturer’s stain-removal chart. Some manufacturers approve specific household cleaners for particular stains, while others warn against abrasives, organic solvents, alcohol-based products, or adhesive removers.
Test any approved cleaner in an inconspicuous area. Apply it to a cloth instead of pouring it onto the frame. Use minimal pressure, rinse afterward, and dry thoroughly. Stop if the surface becomes dull, sticky, discolored, or unusually soft.
Magic erasers and mildly abrasive cleaners deserve special caution. They may remove a mark, but they can also alter the sheen or leave fine scratches. Use them only when explicitly permitted by the window manufacturer.
Common Vinyl Window Cleaning Mistakes
- Cleaning hot glass in direct sunlight: The solution dries too quickly and leaves streaks.
- Using too much soap: More suds usually mean more residue, not more cleanliness.
- Scrubbing before removing grit: Loose sand and dirt can scratch glass and vinyl.
- Using a pressure washer: High-pressure spray can damage seals, screens, glazing, and exterior caulk.
- Using abrasive powders: These may dull vinyl and scratch glass.
- Flooding tracks with water: Excess liquid may collect in corners or enter areas that are difficult to dry.
- Ignoring recurring moisture: Cleaning mildew without fixing condensation or leaks guarantees an unwanted reunion.
- Forgetting the screens: Dirty screens can transfer dust back onto freshly cleaned windows.
- Mixing chemicals: Combining cleaners can create dangerous fumes or damage surfaces.
- Using unapproved lubricants: Greasy products may trap dirt and interfere with rollers or hardware.
How Often Should Vinyl Windows Be Cleaned?
A practical schedule is to inspect and lightly clean windows every one or two months, with a more thorough cleaning at least once or twice a year. Homes near busy roads, construction sites, coastlines, wooded areas, or heavy pollen may require more frequent attention.
Clean individual problems as soon as you notice them. Bird droppings, sticky residue, salt spray, and heavy dirt are easier to remove before they harden. Vacuum tracks whenever movement becomes rough or visible debris accumulates.
Seasonal cleaning is also a convenient time to inspect caulk, locks, screens, drainage openings, weatherstripping, and condensation patterns. A ten-minute inspection can reveal a small issue before it develops into a repair with an alarming number of zeroes.
Conclusion
The safest way to clean vinyl windows is also the least dramatic: remove loose dirt, use mild products, work gently, rinse carefully, and dry every surface. Soap and water handle routine frame cleaning. Diluted vinegar or an approved glass cleaner can improve clarity and reduce streaks. A detailed track-and-screen cleaning restores the areas that ordinary wiping misses.
Avoid pressure washers, abrasive powders, metal scrapers, harsh solvents, and mystery chemical experiments. When a stain refuses to leave, consult the manufacturer’s instructions rather than declaring war on the frame.
With regular attention, vinyl windows can remain bright, smooth, and easy to operate without requiring an entire weekend or a chemistry degree. Better still, clean glass lets in more light, which makes the room look better and reveals exactly how much dust is sitting on everything else.
Real-World Experience: Lessons from Cleaning Neglected Vinyl Windows
The biggest lesson from cleaning vinyl windows is that preparation saves more time than frantic scrubbing. On one particularly dusty set of sliding windows, the first instinct was to spray cleaner over everything and start wiping. That produced gray liquid, muddy corners, and several cloths that immediately became unusable. Vacuuming the next window before adding water cut the cleaning time nearly in half. Dry debris is cooperative when vacuumed and surprisingly stubborn when converted into mud.
Another useful discovery is that separate cloths make a noticeable difference. One cloth should handle frames, another should clean glass, and a third should remain completely dry for final detailing. Using the same damp cloth everywhere tends to transfer grime from the track to the frame and soap residue from the frame to the glass. It feels efficient for approximately thirty seconds, after which the window develops streaks that appear to move whenever you change viewing angles.
Tracks usually look worse than they are. A track packed with several seasons of dust may seem to require aggressive chemicals, but most of the mess responds to a vacuum, warm soapy water, and a toothbrush. The difficult part is reaching the corners. Wrapping a microfiber cloth around a blunt plastic tool works well, provided the tool is not sharp enough to gouge the vinyl. Cotton swabs can help with tiny areas, although a heavily soiled track can consume them at a rate normally associated with craft projects.
It is also worth cleaning screens away from freshly washed glass. The first time a wet screen is scrubbed directly beside a clean window, dirty droplets inevitably jump back onto the glass. Washing the screens separately, allowing them to dry, and reinstalling them last avoids repeating the glass-cleaning process.
Streaks are often caused by too much cleaner rather than too little effort. A lightly dampened microfiber cloth followed by a clean squeegee usually performs better than soaking the pane. Wiping the squeegee blade after each pass is equally important. Otherwise, the tool simply carries a narrow line of dirty water back across the next section.
Finally, recurring black marks around a frame should not be treated as merely a cosmetic nuisance. Cleaning may remove the visible residue, but it does not explain why moisture keeps returning. In bathrooms, better exhaust ventilation may help. In other rooms, indoor humidity, damaged caulk, poor drainage, or water infiltration may be involved. The most satisfying window-cleaning experience is not just producing clean glass; it is noticing a maintenance problem early enough to prevent damaged trim, stained walls, or a much larger repair.
In practice, the best routine is simple: vacuum first, wash the vinyl gently, clean the glass with minimal solution, detail the tracks, dry everything, and reinstall clean screens. Once the supplies are organized, an average window can be cleaned without turning the room into a splash zone. The job becomes faster each time because regular cleaning prevents the dramatic buildup that makes a basic chore feel like an archaeological excavation.













