
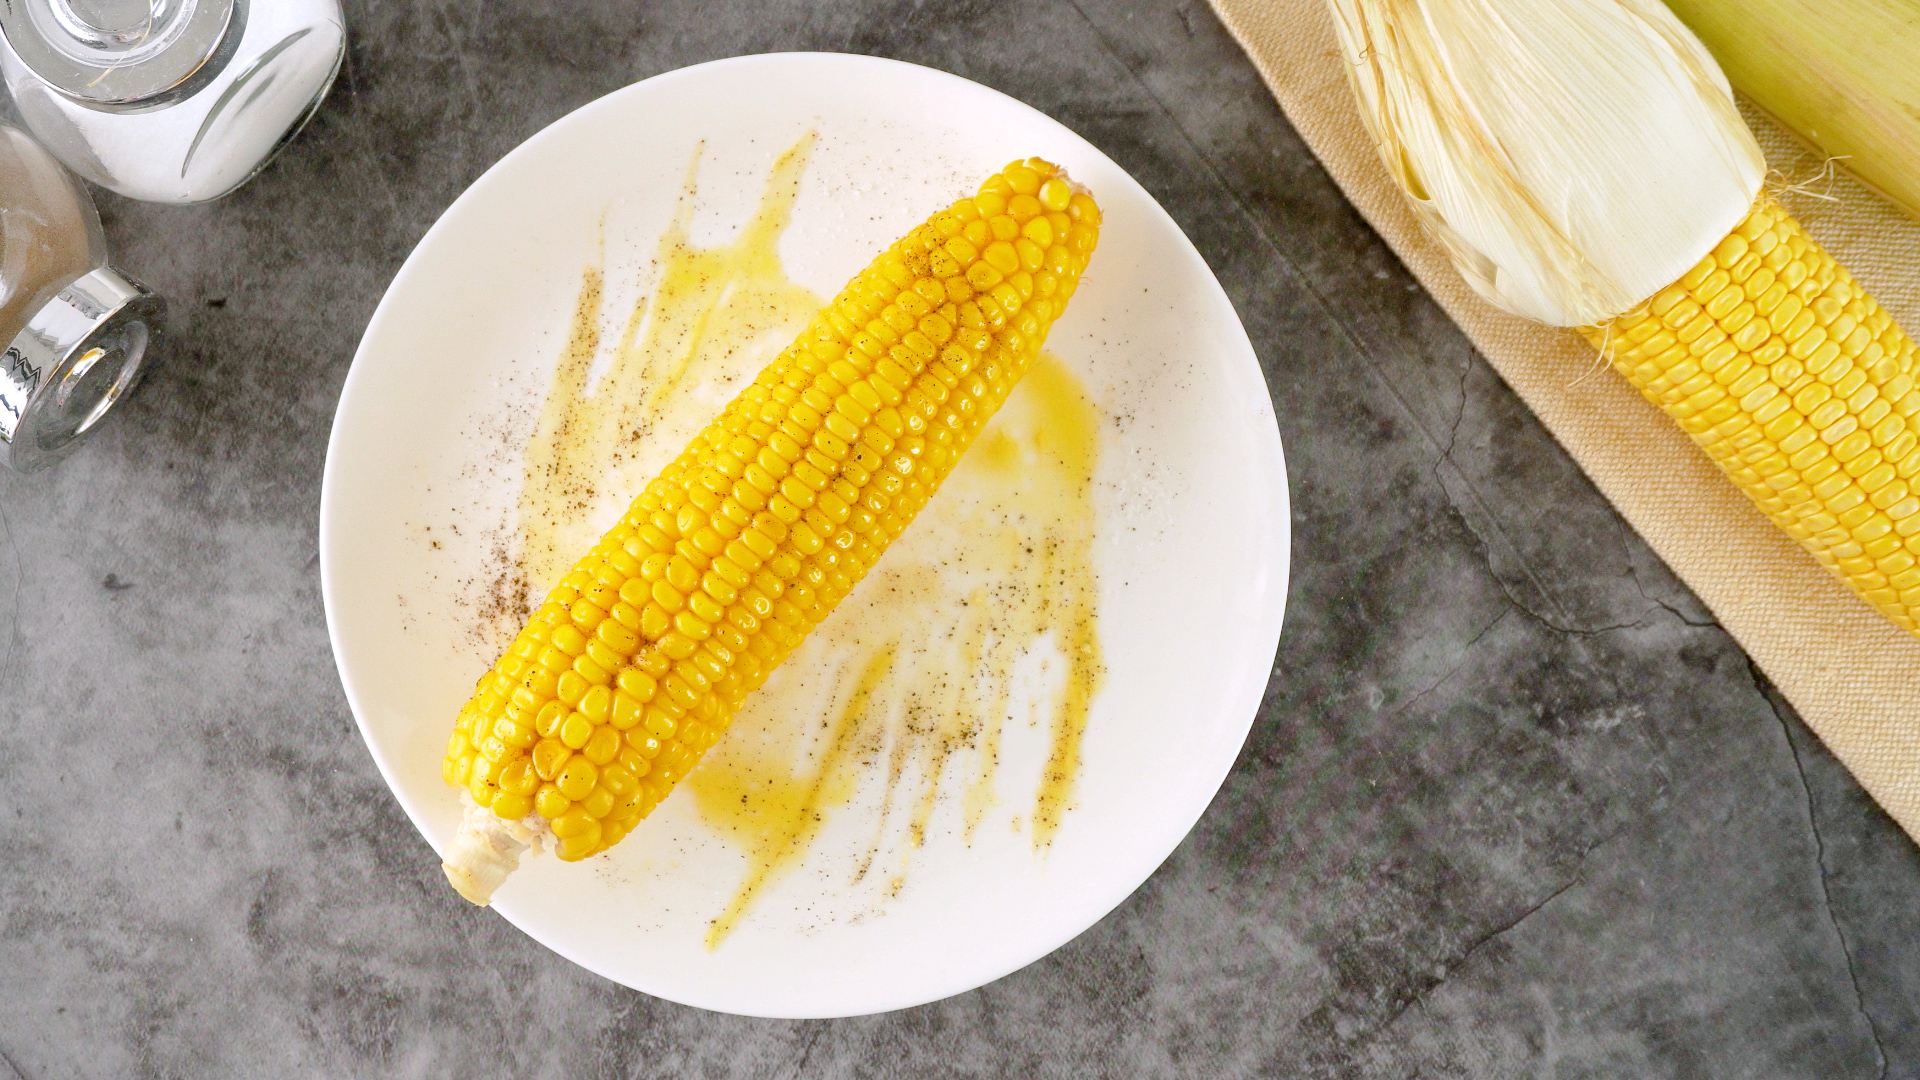
Fresh corn on the cob is one of summer’s greatest bargains: a vegetable, a side dish, and an acceptable excuse to eat butter with your hands. Unfortunately, corn does not remain at its sweetest for long. Once an ear is harvested, its natural sugars gradually convert to starch, causing the kernels to lose some of their candy-like sweetness and tender snap.
The good news is that proper storage can slow that decline. Whether you plan to cook your corn tomorrow, preserve a farmers market haul for winter, or save a few cooked ears after a barbecue, there is a storage method that fits the job.
This guide explains three reliable ways to store corn on the cob: refrigerating fresh ears, freezing blanched ears, and safely storing cooked leftovers. You will also learn which containers to use, how long corn keeps, what mistakes to avoid, and how to recognize corn that belongs in the trash rather than on the dinner table.
How Long Does Corn on the Cob Last?
The useful storage life of corn depends on its freshness when purchased, the variety, the temperature at which it is stored, and whether it is raw or cooked. Freshly harvested corn may maintain acceptable quality for several days under ideal conditions, but its flavor is usually best during the first day or two.
| Storage Method | Recommended Time | Best Use |
|---|---|---|
| Fresh corn in the refrigerator | 1 to 3 days for best quality | Cooking soon |
| Blanched corn in the freezer | About 8 to 12 months for best quality | Long-term preservation |
| Cooked corn in the refrigerator | 3 to 4 days | Leftovers and meal preparation |
These time ranges focus primarily on quality. Food that remains continuously frozen at 0°F can stay safe for an extended period, but flavor, color, and texture gradually decline. Corn may technically survive a long freezer vacation, but after a year it may return with the personality of a damp sponge.
Before Storage: Choose the Freshest Corn Possible
Storage cannot reverse aging. Starting with fresh ears gives every method a better chance of success.
Look for bright, snug husks
Choose ears wrapped in green husks that fit closely around the cob. A slightly dry outer leaf is not necessarily a problem, but husks that are extensively yellow, brittle, or loose may indicate older corn.
Check the silk
The exposed silk should generally be brown or golden and slightly tacky. Blackened, excessively dry silk can suggest that the ear has been sitting around for a while. Avoid ears with wet, moldy, or foul-smelling silk.
Feel for plump kernels
Without peeling back the husk, gently feel along the ear. It should feel full and evenly filled from the base toward the tip. Large gaps, soft areas, or an unusually lightweight cob may indicate missing or dehydrated kernels.
Buy only what you can store promptly
Do not leave fresh corn in a hot car while completing three more errands and investigating every sample table at the warehouse store. Get it into refrigeration as soon as practical, especially during hot weather.
Way 1: Refrigerate Fresh Corn on the Cob
Refrigeration is the simplest answer when you expect to eat the corn within a few days. Cold temperatures slow moisture loss and the conversion of sugar to starch, helping the kernels retain more of their fresh-picked flavor.
Should you leave the husk on?
Yes, whenever practical. The husk acts as a natural protective wrapper, reducing moisture loss and shielding the kernels from physical damage. Corn can still be refrigerated after shucking, but exposed kernels dry out more quickly and absorb refrigerator odors more easily.
How to refrigerate unshucked corn
- Inspect the ears and remove any that show mold, slime, insect damage, or a sour odor.
- Do not wash the corn before storage. Extra surface moisture can encourage deterioration.
- Leave the husks and silk attached.
- Place the ears in a perforated produce bag or a loosely closed plastic bag.
- Store them in the refrigerator at 40°F or colder.
- For the sweetest flavor, cook the corn within one or two days.
A bag helps prevent dehydration, but it should not trap excessive condensation. If the corn is wet from rain, misting, or a very enthusiastic grocery-store produce sprinkler, gently dry the outside before refrigerating it.
How to refrigerate shucked corn
If the husks have already been removed, wrap the ears tightly or place them in an airtight food-storage container. A reusable silicone bag, zip-top bag, or covered container all work well. Remove as much excess air as practical without crushing the kernels.
Use shucked corn quicklypreferably within one or two days. Once the kernels are exposed, they lose moisture more rapidly than corn protected by its husk.
Where should corn go in the refrigerator?
Use a cold, consistent area of the refrigerator, such as the produce drawer or a lower shelf. Avoid storing corn in the refrigerator door, where the temperature changes every time someone opens it to stare hopefully at the contents.
When refrigeration is the best choice
Choose this method when you have only a few ears, plan to cook them soon, and want the least possible preparation. Refrigeration does not preserve peak quality indefinitely, but it is ideal for corn purchased today and served tomorrow night.
Way 2: Blanch and Freeze Corn on the Cob
Freezing is the best of the three ways to store corn on the cob when you need long-term preservation. However, simply placing raw ears in a freezer bag is not the preferred method. Vegetables continue to undergo enzyme-driven changes after harvest, even at freezing temperatures. Blanching slows those changes and helps preserve color, flavor, and overall quality.
What you will need
- Fresh ears of corn
- A large pot with a lid
- A large bowl or clean sink filled with ice water
- Tongs
- Clean towels or a drying rack
- Freezer-safe bags or moisture-resistant containers
- A permanent marker for labeling
Step 1: Prepare the ears
Remove the husks and silk. Trim damaged tips or unusually long stems, then rinse the ears under cool running water. Sort them by diameter because blanching time depends on ear size.
Step 2: Bring plenty of water to a boil
Use approximately one gallon of water for each pound of vegetables. A generous volume of water returns to a boil more quickly after the corn is added, helping the blanching process work evenly.
Step 3: Blanch according to size
Place the ears in rapidly boiling water and cover the pot. Start timing as soon as the water returns to a boil.
- Small ears: Blanch for 7 minutes.
- Medium ears: Blanch for 9 minutes.
- Large ears: Blanch for 11 minutes.
Small ears are generally no more than 1¼ inches in diameter, medium ears are approximately 1¼ to 1½ inches, and large ears are wider than 1½ inches.
Step 4: Cool the corn immediately
Transfer the ears directly into ice water. Cool them for approximately the same amount of time used for blanching. Rapid cooling stops the cooking process and reduces the chance of ending up with soft, overcooked kernels.
Add more ice if the water becomes warm. A lukewarm bath may be relaxing for a person, but it is not particularly useful for blanching vegetables.
Step 5: Drain and dry thoroughly
Remove the ears from the ice water and allow them to drain. Pat the corn dry with clean towels. Excess surface water can form large ice crystals and contribute to freezer burn.
Step 6: Package the ears
Place the cooled corn in freezer-safe bags or containers. Package the ears in portions your household is likely to use at one time. Remove as much air as possible, seal the package, and label it with the contents and freezing date.
A vacuum sealer can provide excellent protection, but it is not mandatory. A sturdy freezer bag works well when most of the air is pressed out before sealing.
Step 7: Freeze promptly at 0°F
Arrange new packages in a single layer until frozen solid. Do not stack a large quantity of warm packages tightly together, as slow freezing can create larger ice crystals and reduce texture quality.
How long does frozen corn on the cob last?
For the best flavor and texture, use properly packaged frozen corn within about 8 to 12 months. Labeling matters because nearly every frozen vegetable becomes an anonymous icy rectangle after several months.
How to cook frozen corn on the cob
Partially thaw frozen ears in the refrigerator before cooking so the cob can heat through without the kernels becoming excessively soft. Corn can then be simmered, steamed, roasted, or reheated on a grill.
Expect frozen corn on the cob to be somewhat softer than truly fresh corn. The dense cob slows freezing and reheating, so whole frozen ears may retain more water than frozen kernels. For soups, casseroles, salads, and salsas, freezing kernels off the cob often produces a more convenient result.
Way 3: Refrigerate or Freeze Cooked Corn on the Cob
Cooked corn does not need to become an after-dinner casualty. Properly cooled leftovers can be refrigerated for several days or frozen for later meals.
Cool cooked corn promptly
Refrigerate cooked corn within two hours of serving. When the surrounding temperature is above 90°F, such as at a summer picnic or backyard cookout, reduce that window to one hour.
Do not leave corn on the table all evening and refrigerate it just before bed. Butter, seasoning, and optimistic thinking do not stop bacterial growth.
How to refrigerate cooked ears
- Allow the corn to stop steaming heavily, but do not leave it at room temperature beyond the recommended limit.
- Wrap each ear or place multiple ears in a shallow airtight container.
- Refrigerate at 40°F or colder.
- Use within 3 to 4 days.
For faster cooling, avoid piling many hot ears into a deep container. A shallow container allows heat to escape more efficiently.
Should buttered corn be stored differently?
Buttered or seasoned corn can be refrigerated using the same basic method. Keep it tightly covered to prevent odor transfer and drying. Highly seasoned corn may be more versatile if the kernels are removed before storage, since leftover elote-style corn can quickly become taco filling, salad topping, or the beginning of a very respectable corn dip.
How to freeze cooked corn
Cooked ears can be wrapped tightly and frozen, but the texture may become softer after thawing. For better convenience, cut the kernels from the cooled cob and freeze them in meal-size portions.
Spread cooked kernels on a tray for an initial freeze if you want them to remain loose. Once firm, transfer them to a freezer bag and remove excess air. This allows you to pour out only the amount needed for soups, chowders, casseroles, or skillet dishes.
How to reheat refrigerated corn
Reheat refrigerated ears by steaming, microwaving under a damp paper towel, or briefly simmering them in water. Use only enough heat to warm the cob and kernels. Long reheating can make corn tough, shriveled, or unexpectedly chewy.
Common Corn Storage Mistakes
Leaving fresh corn at room temperature
Corn loses sweetness faster at warm temperatures. Unless you are cooking it almost immediately, move it into the refrigerator rather than displaying it in a decorative countertop basket.
Peeling the husk too early
Removing the husk exposes the kernels to dry refrigerator air. Keep the natural wrapper intact until shortly before cooking whenever possible.
Washing before refrigeration
Washing is important before cooking, but storing wet ears can trap unwanted moisture. Refrigerate corn dry and rinse it immediately before preparation.
Freezing raw ears without blanching
Raw corn may appear acceptable after freezing, but its flavor, color, and texture can decline more rapidly. Proper blanching takes a few extra minutes and usually produces a better long-term result.
Blanching every ear for the same amount of time
A thin ear and an enormous county-fair specimen should not receive identical treatment. Sort by diameter and use the recommended time for each group.
Skipping the ice-water bath
Blanching does not end when the corn leaves the boiling water. Without rapid cooling, residual heat continues cooking the kernels and can turn crisp corn into a soft disappointment.
Using thin sandwich bags in the freezer
Regular lightweight bags allow more moisture and air exchange than freezer-grade packaging. Use sturdy freezer bags, vacuum-sealed bags, or rigid containers designed for frozen storage.
Forgetting to label the package
Write the date on every package. Memory is a surprisingly unreliable inventory system, especially when all frozen vegetables are wearing the same coat of frost.
How to Tell If Corn on the Cob Has Gone Bad
Discard corn if you notice clear signs of spoilage, including:
- Visible mold on the husk, silk, cob, or kernels
- A sour, fermented, musty, or otherwise unpleasant odor
- Wet slime on the kernels
- Extensive soft, mushy, or leaking areas
- Severe discoloration accompanied by an off smell or poor texture
Drying and wrinkling are usually quality problems rather than automatic proof of dangerous spoilage, but badly dehydrated corn will not taste particularly good. When the condition of an ear is questionable, discarding it is safer than conducting an informal stomach experiment.
Frequently Asked Questions
Can corn on the cob be stored at room temperature?
Fresh corn can remain at room temperature briefly while being transported or prepared, but refrigeration is recommended if it will not be cooked promptly. Warm storage accelerates moisture loss and the conversion of sugar to starch.
Is it better to store corn with or without the husk?
For short-term refrigerator storage, keeping the husk on is generally better. It protects the kernels and helps limit moisture loss. Shucked corn should be wrapped tightly or placed in an airtight container.
Can you freeze corn on the cob in the husk?
Some home cooks place whole unshucked ears directly in the freezer, but blanching husked corn is the more reliable preservation method. Removing the husk also makes it easier to inspect, wash, blanch, cool, and package the ears properly.
Can you freeze corn without boiling it first?
You can physically freeze it, but skipping blanching may reduce long-term quality. Blanching helps control enzyme activity that affects color, texture, and flavor during frozen storage.
Why did my frozen corn become mushy?
Possible causes include overblanching, slow cooling, leaving excess water on the ears, freezing too slowly, poor packaging, or overcooking during reheating. Whole cobs also tend to hold more water than individually frozen kernels.
Should corn be thawed before cooking?
Frozen kernels can usually be cooked without thawing. Whole frozen ears benefit from partial thawing in the refrigerator so the cob and kernels heat more evenly.
Experience-Based Lessons for Storing Corn on the Cob
The biggest practical lesson in fresh corn storage is that speed matters more than fancy equipment. A premium storage container cannot restore sweetness that was lost while a bag of corn spent half a day in a hot kitchen. The most successful routine is usually the simplest: buy fresh ears, bring them home promptly, and refrigerate them before handling the rest of the groceries. Corn intended for dinner within the next two days can remain in its husk, which saves time and keeps the kernels protected.
One common experience is buying more corn than expected because the price looks irresistible. Ten ears for a few dollars seems like a victory until ten ears are occupying an entire refrigerator shelf. At that point, sorting the corn by purpose prevents waste. The best-looking ears can be reserved for serving directly on the cob. Slightly irregular but sound ears can be blanched and frozen as kernels for chowder, cornbread, salsa, or casseroles. Planning the end use before storage is more effective than freezing everything whole and hoping inspiration arrives six months later.
Another useful lesson involves refrigerator bags. Completely sealing warm or damp corn in a nonperforated bag can create heavy condensation. The ears may remain wet, and the husks can deteriorate faster. On the other hand, leaving shucked corn uncovered allows the kernels to become dry and dimpled. A perforated produce bag or loosely closed bag offers a reasonable middle ground for unshucked ears. Shucked ears need tighter protection because they no longer have their natural wrapper.
Freezing sessions also become easier with a small amount of organization. Before boiling water, prepare the ice bath, labels, towels, and freezer bags. Trying to find a marker while several hot ears continue cooking on the counter is how a preservation project becomes a slapstick routine. Sorting the ears into small, medium, and large groups before blanching also prevents guesswork. Uniform batches cool more evenly and are easier to package.
Home cooks frequently discover that removing every strand of silk takes longer than expected. A soft vegetable brush or clean damp towel can help remove stubborn strands after the husk is pulled away. Perfection is unnecessary, but large clumps of silk should be removed before blanching. After the ice bath, giving the ears enough time to drain makes a noticeable difference. Corn packaged while dripping wet tends to collect more ice inside the bag, and that ice contributes nothing useful to dinner.
Package size is another detail learned through experience. Freezing eight ears in one enormous bag may be efficient on preservation day, but it becomes inconvenient when only two servings are needed. Packing corn in household-size portions reduces thawing time and prevents repeated opening of the same bag. For a small household, packages of two ears may be ideal. A larger family may prefer four or six.
Whole frozen ears are excellent when the goal is to recreate the feeling of summer corn on the cob, but they are not always the most space-efficient option. Cutting the kernels from some blanched ears allows freezer bags to lie flat and stack neatly. Flat packages also thaw quickly and can be broken into smaller amounts. A mixed strategy often works best: freeze a few whole ears for special meals and preserve the rest as kernels for everyday cooking.
Cooked leftover corn presents a different lesson: remove it from the picnic table early. People often wait until the entire event has ended before packing leftovers, but hot outdoor temperatures shorten the safe holding period. Setting aside unused ears and refrigerating them promptly protects both safety and quality. The next day, kernels cut from those ears can become corn salad, breakfast hash, tacos, fritters, or soup. Leftover corn is much easier to use when it is viewed as an ingredient rather than yesterday’s side dish waiting for a reluctant volunteer.
Finally, labels are worth the five seconds they require. Include both the date and whether the corn is raw-blanched or previously cooked. Six months later, frost can make those details difficult to identify by sight. Good labeling turns frozen corn into a planned ingredient instead of an archaeological discovery.
Final Thoughts
The right storage method depends on when you plan to eat the corn. For tomorrow’s dinner, leave fresh ears in their husks and refrigerate them promptly. For winter meals, husk, blanch, cool, dry, and freeze the corn in airtight packaging. For cooked leftovers, refrigerate within two hours and use them within three to four daysor remove the kernels and freeze them for future recipes.
Fresh corn is naturally perishable, but it does not have to become food waste. A cold refrigerator, a properly timed ice bath, and a clearly labeled freezer bag can preserve far more summer flavor than complicated kitchen tricks. The butter is optional. Technically.













