
A leaky sink drain pipe has a special talent for turning a calm Tuesday into a cabinet-swamping detective story. One minute you are rinsing a mug. The next, you are crouched under the sink with a flashlight, a towel, and the deeply suspicious feeling that the plumbing is laughing at you.
The good news: many under-sink leaks are not dramatic pipe disasters. They are often caused by loose slip nuts, worn washers, a bad drain flange seal, misaligned P-trap parts, or an old cracked pipe that has finally decided retirement sounds nice. With a few basic tools and a little patience, you can often fix a leaky sink drain pipe without calling a plumber or learning an entirely new vocabulary of emergency noises.
This guide explains four simple ways to fix a leaky sink drain pipe, including how to find the leak, tighten and realign fittings, replace washers, reseal the sink drain, and swap out damaged drain parts. It focuses on standard American kitchen and bathroom sink plumbing, especially PVC, ABS, polypropylene, and metal tubular drain assemblies.
Before You Start: Confirm It Is Really the Drain Pipe
Before grabbing pliers like a heroic basement wizard, make sure the leak is coming from the drain pipe and not from the faucet, supply lines, shutoff valves, garbage disposal, dishwasher hose, or condensation. Water is sneaky. It can drip from one place, travel along a pipe, and fall somewhere completely different, like a tiny liquid con artist.
Quick Leak Test
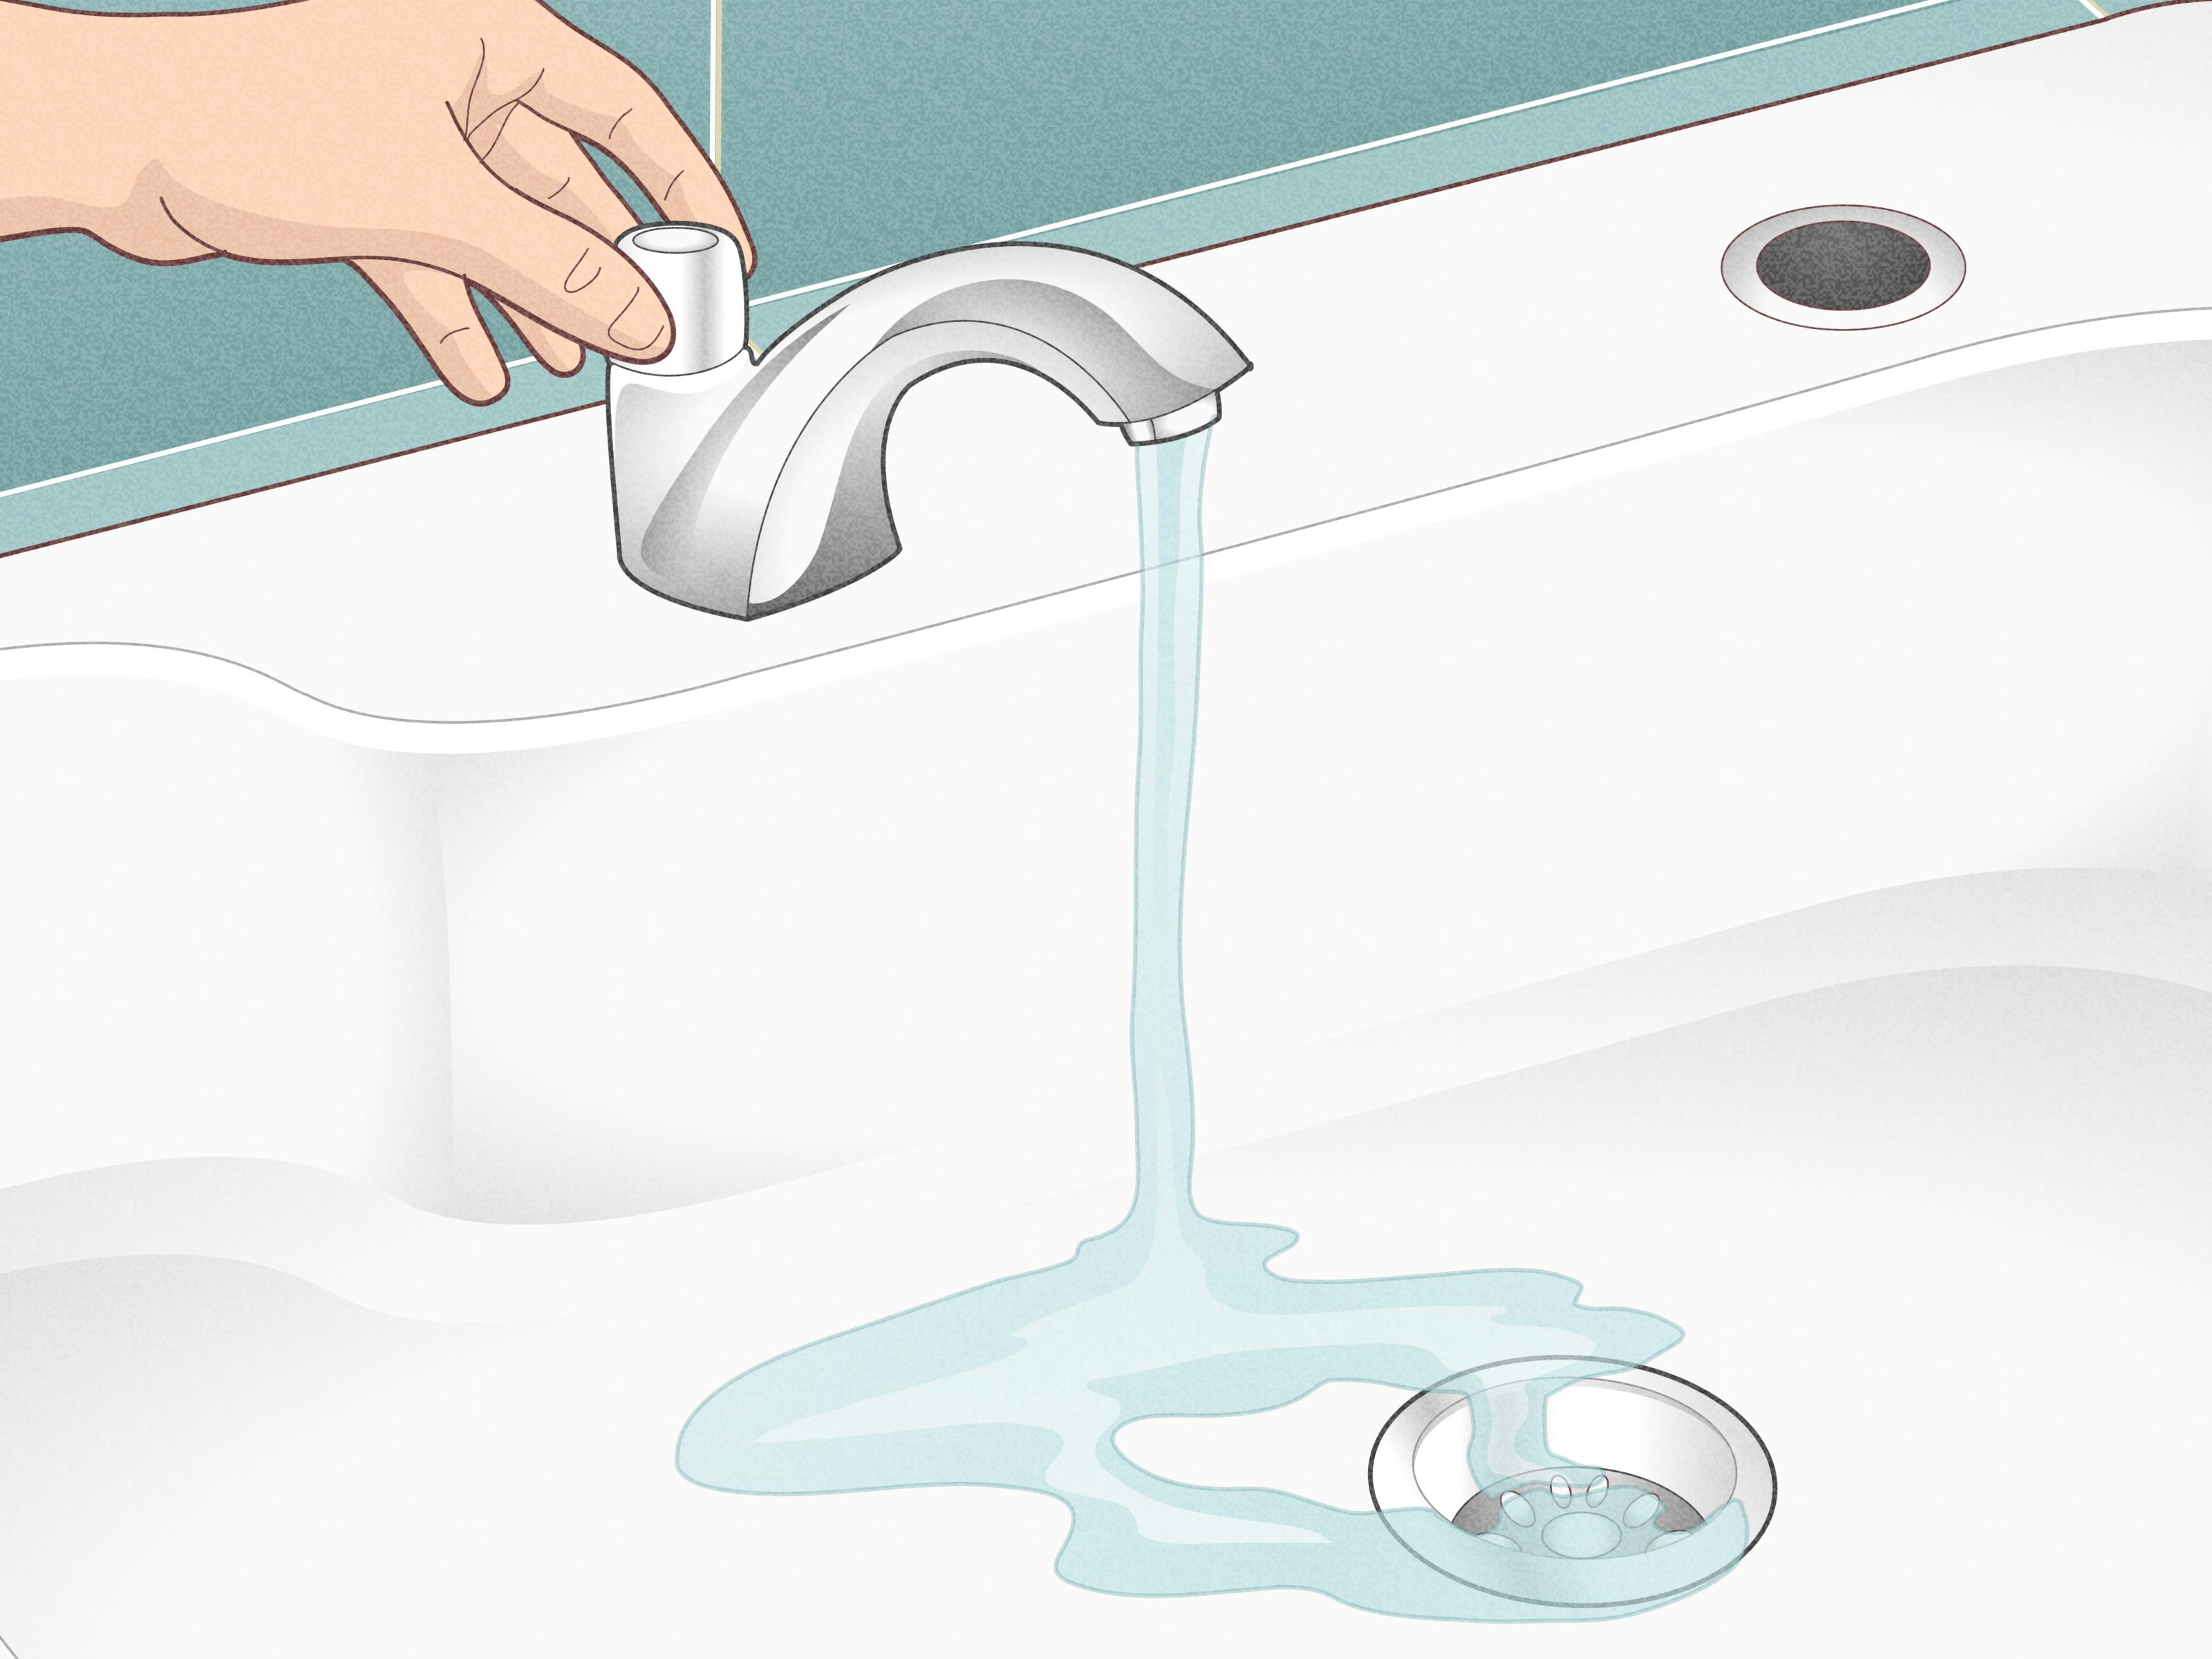
Clear everything out from under the sink. Dry the cabinet floor, pipes, and fittings with a towel. Then place a dry paper towel under the drain assembly. Run cold water for 30 seconds, then hot water for another 30 seconds. Fill the sink partway, release the stopper, and watch the drain pipes as a larger rush of water passes through.
If the leak appears only when water drains, you are likely dealing with the drain assembly, P-trap, tailpiece, trap arm, basket strainer, or slip-joint connections. If it leaks even when the sink is not running, check supply lines and shutoff valves instead.
Tools and Supplies You May Need
- Bucket or shallow pan
- Old towels or rags
- Flashlight
- Tongue-and-groove pliers
- Adjustable wrench
- Replacement slip-joint washers
- Replacement slip nuts
- Plumber’s putty or silicone sealant, depending on the sink and drain material
- Replacement P-trap kit, tailpiece, or trap arm if parts are damaged
- Hacksaw or tubing cutter for trimming plastic drain pipe
- Fine sandpaper or deburring tool
Most sink drain parts are inexpensive, but sizing matters. Bathroom sinks commonly use 1-1/4-inch tubular drain parts, while many kitchen sinks use 1-1/2-inch parts. Bring the old washer, nut, or trap section to the hardware store if you are unsure. This is not the moment to “eyeball it” like you are choosing a melon.
1. Tighten and Realign Loose Slip-Joint Connections
The simplest fix for a leaky sink drain pipe is also the most overlooked: tighten and realign the slip-joint connections. Under most sinks, the P-trap and tailpiece are connected with slip nuts and beveled washers. These joints are designed to be adjustable, which is convenient until one shifts slightly and starts dripping.
Where to Look
Check the nut where the vertical tailpiece drops from the sink into the P-trap. Then check the curved P-trap bend and the horizontal trap arm that runs into the wall. Leaks often appear at these joints because the washer is not seated correctly, the nut is loose, or the pipes are slightly crooked.
How to Fix It
- Place a bucket under the P-trap.
- Dry all fittings so you can see fresh drips clearly.
- Loosen the slip nut slightly by hand or with pliers.
- Gently realign the pipe so it sits straight into the fitting.
- Hand-tighten the slip nut until snug.
- Use pliers for a small extra turn only if needed.
- Run water and check for leaks.
Plastic slip nuts should not be tightened as if you are closing a submarine hatch. Overtightening can crack the nut, distort the washer, or make a small leak worse. A snug fit is the goal. If the joint still leaks after a careful quarter-turn, stop and inspect the washer instead of continuing to squeeze the fitting into submission.
Why Alignment Matters
A slip-joint washer seals by compression. If the pipe enters the fitting at an angle, the washer may seal on one side and leave a tiny gap on the other. That tiny gap is enough to create a drip, a puddle, and eventually a cabinet that smells like old sponge soup.
For double-bowl kitchen sinks, alignment can be trickier because the drain tee, disposal outlet, tailpiece, and trap all have to meet properly. If the pipes are forced together, cut too short, or pulled sideways, leaks are more likely. Sometimes the fix is not more tightening. It is loosening everything, lining up the pieces naturally, and then tightening the nuts in sequence.
2. Replace Worn Slip-Joint Washers and Nuts
If tightening does not solve the leak, the washer may be worn, flattened, cracked, backwards, or missing. Slip-joint washers are small, cheap, and surprisingly important. Without a good washer, your drain fitting is basically two plastic tubes making a hopeful handshake.
Signs the Washer Is the Problem
- The leak comes directly from under a slip nut.
- The washer looks brittle, split, flattened, or deformed.
- The pipe joint leaks even though the nut is snug.
- The washer is installed with the bevel facing the wrong direction.
- The nut spins but never tightens properly.
How to Replace a Slip-Joint Washer
- Put a bucket under the trap to catch standing water.
- Loosen the slip nut at the leaking joint.
- Slide the nut back along the pipe.
- Remove the old washer.
- Clean the pipe end and fitting with a rag.
- Install the new washer, usually with the beveled side facing the fitting.
- Slide the nut back into place and hand-tighten.
- Run water and inspect the joint.
Washer direction matters. The tapered side usually points toward the fitting it seals against. When tightened, the washer compresses into the joint and creates a watertight seal. If installed backwards, it may still look fine, but the first sinkful of water will reveal the betrayal.
Plastic vs. Rubber Washers
Many tubular drain kits include plastic or polyethylene washers. Rubber washers are also available and can be useful for certain connections, especially where surfaces are imperfect. Metal drain assemblies may use rubber washers more often than plastic drain assemblies. The best choice depends on the type of pipe, fitting, and manufacturer instructions.
Also inspect the nut itself. A cracked plastic slip nut can leak even with a new washer. A corroded metal nut may not compress evenly. Replacing the nut and washer together is often the cleanest fix, especially when the parts are old or mismatched.
A Word About Plumber’s Tape
Thread seal tape is useful for certain threaded plumbing connections, but most sink drain slip-joint fittings seal with washers, not with tape on the threads. Wrapping tape around a slip nut may hide the real problem temporarily, but it usually does not fix the sealing surface. If the washer is bad, replace the washer. Plumbing rewards honesty.
3. Reseal the Sink Drain Flange or Basket Strainer
Sometimes the leak is not from the P-trap at all. It is from the top of the drain assembly where the sink drain flange or kitchen basket strainer meets the sink basin. This leak often shows up as water dripping down the tailpiece or collecting around the large locknut beneath the sink.
In a kitchen sink, the basket strainer is the metal drain cup you see from above. In a bathroom sink, the drain flange may be part of a pop-up drain assembly. Both need a watertight seal between the sink surface and the drain fitting.
How to Test the Drain Flange Seal
Dry the underside of the sink and the drain body. Put the stopper in, fill the sink with a few inches of water, and wait. If water appears around the drain body before you release the stopper, the flange seal may be leaking. If it only leaks after water drains, the problem may be lower in the pipe assembly.
How to Reseal a Kitchen Sink Basket Strainer
- Disconnect the tailpiece and P-trap from the basket strainer.
- Loosen and remove the basket strainer locknut under the sink.
- Lift the strainer body out from above.
- Scrape away old plumber’s putty or sealant.
- Clean and dry the sink opening thoroughly.
- Apply a continuous ring of plumber’s putty or approved silicone under the flange.
- Press the strainer into the drain opening.
- Install the gasket and locknut below, then tighten evenly.
- Wipe away excess putty or sealant.
- Reconnect the drain pipe and test for leaks.
Plumber’s putty is commonly used with many stainless steel sink strainers because it stays flexible and creates a reliable seal between rigid surfaces. However, it is not right for every material. Some plastic drain parts, porous stone sinks, acrylic surfaces, and specialty finishes may require silicone instead. Always check the sink and drain manufacturer’s recommendation. A good seal is wonderful; a stained stone sink is less wonderful.
Common Mistakes When Resealing a Drain
Using too much putty can keep the flange from seating tightly. Using too little can leave gaps. Reusing old, dried putty is asking for a repeat performance. Another mistake is tightening the locknut unevenly, which can tilt the strainer and squeeze sealant out on one side.
After resealing, test immediately if you used plumber’s putty. Silicone may require curing time before a full water test, depending on the product. Read the label. The label is not exciting, but neither is redoing the job because impatience won.
4. Replace a Cracked, Corroded, or Poorly Fitted Drain Pipe
If the pipe itself is cracked, rusted, dented, warped, or cut too short, tightening and washer replacement will not save it. At that point, the best fix is replacing the damaged section. This is especially common with older metal P-traps, thin tubular brass, corroded tailpieces, or plastic parts that have been overtightened in the past.
When Replacement Is the Smart Move
- The P-trap has visible cracks.
- Metal parts are rusted through or flaking.
- The pipe is too short to seat deeply in the fitting.
- The trap arm slopes the wrong way or is badly misaligned.
- The slip nuts are stripped or frozen.
- The drain has been patched repeatedly and still leaks.
How to Replace a P-Trap
- Place a bucket under the trap.
- Loosen the slip nuts at the tailpiece and wall connection.
- Remove the old P-trap and empty water into the bucket.
- Compare the old parts with the new P-trap kit.
- Trim the trap arm or extension tube if needed.
- Deburr rough cut edges so washers can seal properly.
- Assemble the new trap loosely first.
- Align the trap bend and trap arm naturally.
- Hand-tighten all slip nuts.
- Run water, fill and drain the sink, and check every joint.
Modern plastic P-trap kits are affordable and easy to work with. They are also resistant to corrosion, which makes them a popular replacement for old metal traps. However, do not mix random parts just because they almost fit. Drain fittings need the right size, shape, slope, and washer type. “Close enough” is how cabinets become indoor wetlands.
Check the Trap Arm Slope
The trap arm should run slightly downward toward the wall drain. It should not slope backward toward the sink or sag in the middle. Poor slope can leave water and debris sitting in the pipe, increasing the chance of clogs, odors, and leaks. If your drain layout looks like a roller coaster designed by a raccoon, replace or reconfigure the parts.
When to Call a Plumber
Call a licensed plumber if the leak is inside the wall, the wall drain is loose or damaged, the pipes are glued and difficult to alter, the cabinet floor is rotting, sewer odor persists after repair, or your local code requires professional work. Also call if you see black mold, swollen subflooring, or water damage beyond the sink cabinet. DIY is great; pretending structural damage is “probably fine” is not.
Extra Tips to Prevent Future Sink Drain Leaks
Clean the P-Trap Occasionally
Hair, grease, soap scum, toothpaste, coffee grounds, and food debris can collect in the trap. As buildup grows, drainage slows and pressure at joints can increase. Cleaning the P-trap once in a while helps keep water moving and gives you a chance to inspect washers before they fail.
Avoid Harsh Drain Cleaners
Chemical drain cleaners can damage some pipes, finishes, rubber components, and seals when overused. For slow drains, start with mechanical methods such as removing the stopper, cleaning visible debris, plunging carefully, or using a drain snake. A drain that keeps clogging may have a deeper problem.
Do Not Use the Cabinet as a Pipe Gym
Under-sink cabinets often become storage caves for cleaners, trash bags, brushes, and one mystery bottle nobody remembers buying. Heavy items can bump drain pipes and knock slip joints out of alignment. Keep space around the plumbing clear so the pipes are not under stress.
Test After Every Repair
A proper test uses more than a quick splash of water. Run water for a minute, then fill the sink and release it all at once. Check each joint with a dry paper towel. If the towel stays dry, congratulations: you have defeated the drip monster.
Common Questions About Leaky Sink Drain Pipes
Can I use tape to stop a sink drain leak?
Tape may temporarily slow a minor drip, but it is not a real repair for most sink drain leaks. Slip-joint connections usually need a properly seated washer. Cracked pipes need replacement. Basket strainer leaks need resealing. Tape is a bandage; your drain wants actual medical care.
Why does my sink drain leak only when the sink is full?
A full sink releases more water at once, which puts more flow through the drain assembly. That can reveal a weak washer, loose slip nut, bad flange seal, or misaligned trap that does not leak during light faucet use.
Should I replace metal drain pipes with plastic?
Often, yes. If old metal drain parts are corroded, pitted, or hard to loosen, replacing them with compatible plastic tubular drain parts can reduce future corrosion problems. Make sure the new parts match the drain size and local plumbing requirements.
How tight should sink drain slip nuts be?
Most plastic slip nuts should be hand-tightened until snug, then gently tightened a little more only if needed. Overtightening can crack plastic or deform washers. Metal fittings may need pliers, but even then, controlled pressure is better than brute force.
Experience Notes: What Fixing Leaky Sink Drain Pipes Teaches You
After you have fixed a few leaky sink drain pipes, you begin to notice patterns. The first lesson is that the leak is rarely where panic says it is. Panic points at everything. It blames the wall, the faucet, the garbage disposal, the moon, and possibly the person who installed the sink in 1998. A calm leak test usually tells a simpler story: a washer is crooked, a nut is loose, or the basket strainer seal has aged out.
The second lesson is that dry surfaces are everything. Many homeowners try to diagnose a leak while every pipe is already wet. That is like trying to find a single spilled ice cube in a swimming pool. Dry the plumbing first. Then run water in stages. A fresh drip on a dry fitting is much easier to identify than a shiny mess under the entire sink.
The third lesson is that hand-tight does not mean weak. Beginners often think plumbing must be tightened with maximum power, as if the pipe joint owes them money. But sink drain fittings are not high-pressure supply lines. They are drain connections that rely on alignment and washer compression. If a joint is crooked, extra force can make it worse. The better move is to loosen, realign, check the washer, and tighten evenly.
The fourth lesson is to replace small parts generously. A new washer or slip nut costs very little compared with the time spent emptying a cabinet, drying towels, and wondering why the leak came back. If you already have the P-trap apart and the washer looks tired, replace it. Plumbing parts age quietly until they become loud in the form of dripping.
Another practical experience: always put a bucket under the trap before loosening anything. Even if the sink has not been used recently, the P-trap holds water by design. That water may be clean, or it may contain a stew of soap scum, hair, food particles, and whatever tiny object disappeared last winter. The bucket is not optional. The bucket is your friend. Respect the bucket.
It also helps to take a quick phone photo before disassembly. Under-sink plumbing can look obvious until the pieces are lying on a towel and suddenly resemble a puzzle from a very damp escape room. A photo gives you a reference for how the tailpiece, trap bend, washers, and trap arm were arranged.
Finally, experience teaches you when not to be a hero. If the wall pipe moves when you touch it, if the cabinet base is soft, if the leak has been going on for weeks, or if you smell sewer gas after reassembly, it is time to call a plumber. A simple under-sink leak is a great DIY project. Hidden damage, venting problems, or wall-drain issues are not the place for cheerful guessing.
Conclusion
Fixing a leaky sink drain pipe is usually a manageable project when you take it step by step. Start by confirming the leak source. Tighten and realign loose slip-joint connections. Replace worn washers and cracked nuts. Reseal the sink drain flange or basket strainer when the leak starts at the basin. Replace cracked, corroded, or poorly fitted drain parts when they are beyond saving.
The secret is not plumbing magic. It is observation, alignment, clean sealing surfaces, correct replacement parts, and careful testing. Work slowly, keep towels nearby, and do not overtighten plastic fittings. Your sink does not need a wrestling match. It needs a proper seal.
Note: This article is written for general homeowner education. Plumbing layouts, local codes, sink materials, and drain assemblies vary. For hidden leaks, recurring sewer odors, wall damage, mold, or corroded plumbing, contact a licensed plumber.













