
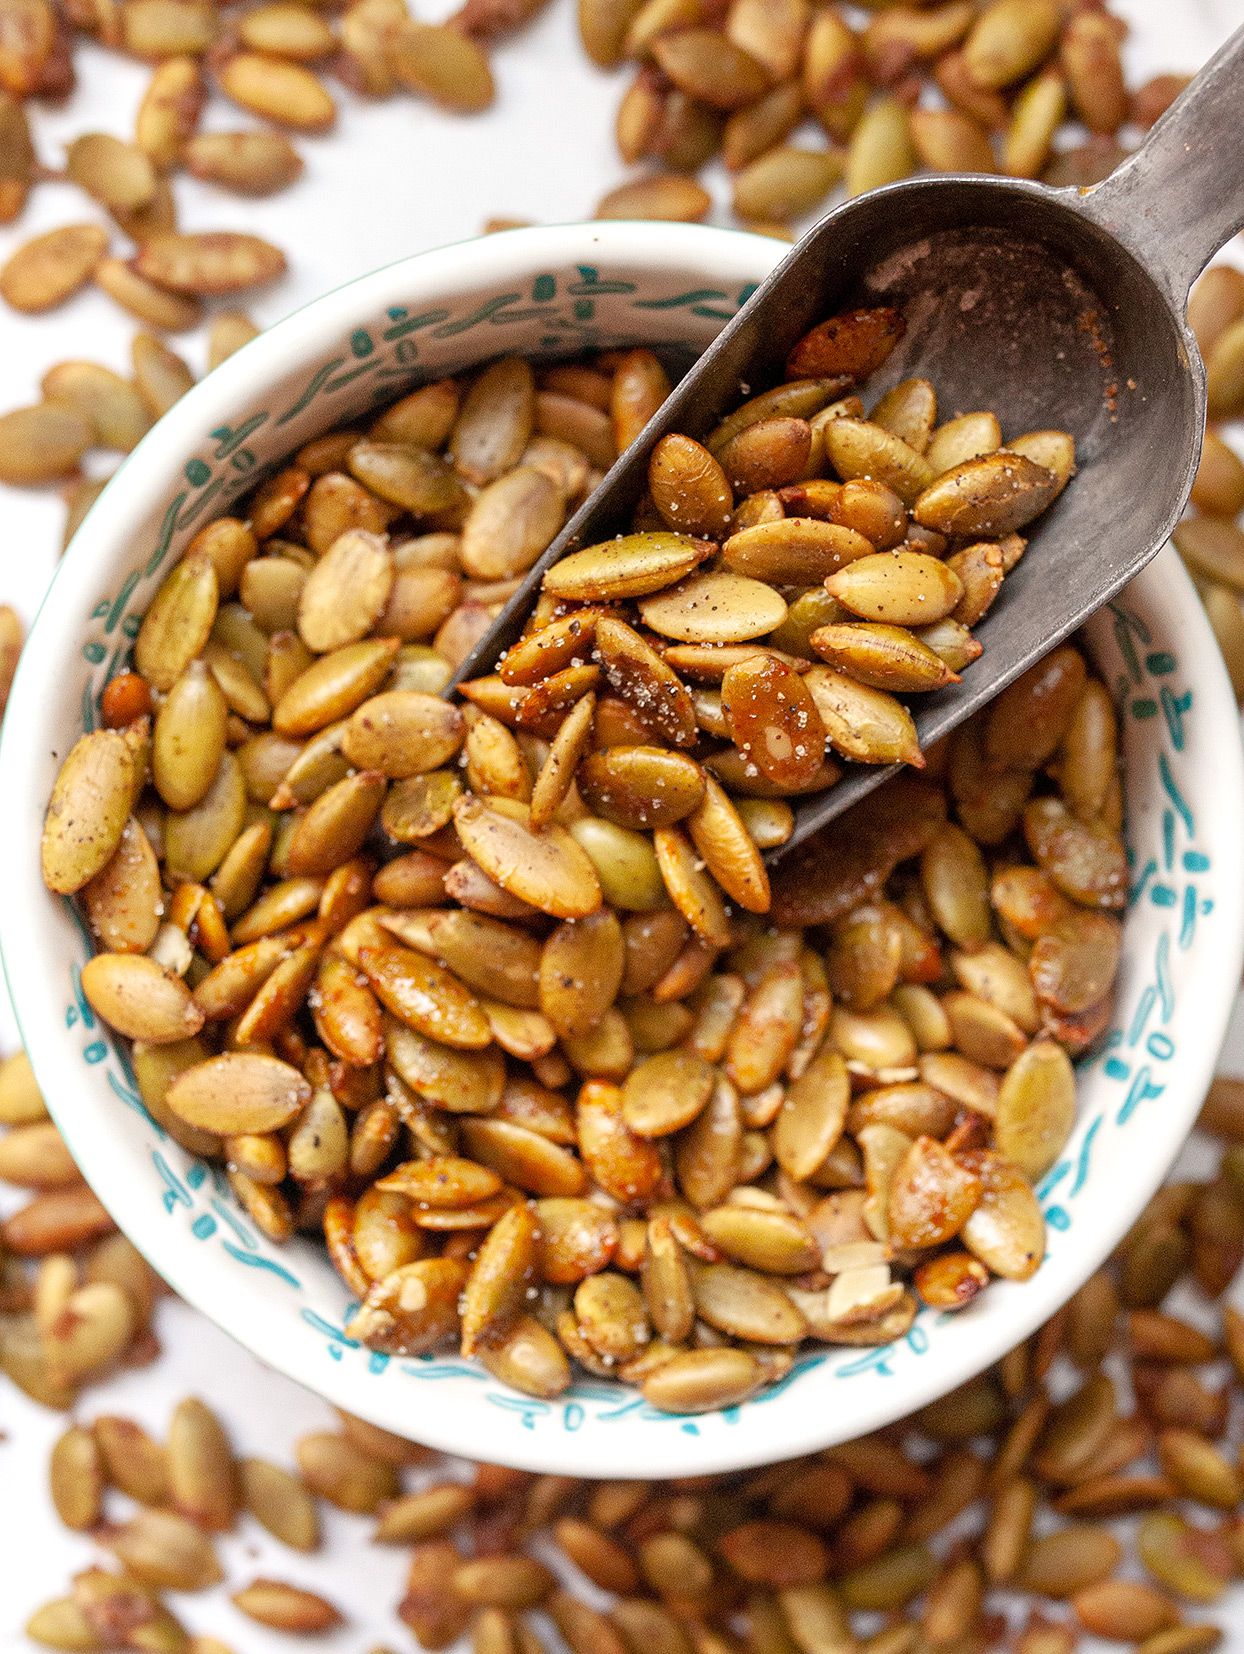
You know that moment when you crack open a pumpkin and it looks like a Halloween crime scene inside? Good news: hiding in that goo is a snack with serious “why don’t we do this every week?” energy. This air-fryer pumpkin seeds recipe turns slippery, stringy chaos into crunchy, salty, can’t-stop-snacking magicfast. No oven babysitting. No scorched tray you “forget” to soak. Just a little rinse, a little season, and a few minutes of hot air doing its thing.
And yes, you can keep the shells on (that classic pumpkin seed crunch) or use shell-less pepitas if that’s what you’ve got. Either way, you’re about to upgrade your fall snack gameand maybe your salads, soups, and “I need something crunchy” cravings too.
Why Air-Fryer Pumpkin Seeds Are the Move
Air fryers excel at the exact job pumpkin seeds need: quick, even drying plus browning. The circulating hot air helps seeds crisp without needing a ton of oil, and you can shake the basket for easy “stirring.” Translation: better crunch, less fuss, and fewer “why are half of these burnt?” moments.
Ingredients and Tools
Basic Ingredients
- 1 cup pumpkin seeds (cleaned; from a pumpkin or bought raw)
- 1–2 teaspoons oil (olive, avocado, grapeseed, or any neutral oil)
- 1/2 teaspoon fine salt (or to taste)
Optional Flavor Boosters
- Smoked paprika, garlic powder, onion powder
- Cinnamon + sugar (or cinnamon + maple powder)
- Chili powder, cayenne, cumin, chipotle
- Everything bagel seasoning
- Parmesan (add after cooking for best texture)
Tools
- Air fryer
- Colander or strainer
- Clean towel or paper towels
- Mixing bowl
Step 1: Clean the Seeds (Without Losing Your Mind)
If your seeds came straight from a pumpkin, they’re probably wearing a sweater made of pumpkin strings. The goal is to remove most (not necessarily all) of the pulp so the seeds can dry and crisp.
Fast cleaning method
- Scoop the pumpkin guts into a bowl.
- Add water and swish. Seeds float more than the heavy pulp, making them easier to grab.
- Transfer seeds to a colander and rinse under cool water, rubbing gently to loosen stubborn bits.
Perfection is not required. Tiny bits of pulp won’t ruin your batchjust know that extra gunk can slow crisping and increase browning in spots.
Step 2: Dry Them Like You Mean It
This is the difference between crispy snack and chewy disappointment. Wet seeds steam before they toast, and steam is the enemy of crunch.
Two drying options
- Quick dry: Pat seeds thoroughly with a towel or paper towels. Spread out and let sit 10–20 minutes. (Great when you want snacks now.)
- Max crunch dry: Spread seeds on a towel in a single layer and let air-dry 1–2 hours (or longer if you have time). (Great when you want next-level crisp.)
Optional Pro Move: Boil for Better Seasoning and Less Chew
You don’t have to boil pumpkin seeds firstbut it’s a popular trick for a reason. A quick simmer in salted water can help season seeds from the inside and can reduce that “why are these still tough?” texture, especially with thicker-shelled seeds.
How to boil (optional)
- Bring a pot of water to a boil and add a generous pinch of salt.
- Add cleaned seeds and simmer 5–10 minutes.
- Drain well, then dry thoroughly before seasoning and air frying.
If you’re doing sweet seasonings (cinnamon sugar, maple), consider skipping the salted boil or using only a small pinch of salt.
Step 3: Season the Seeds
Toss dry seeds with oil and salt first. Oil helps seasonings stick and encourages browning. Then add your spices. Start lightyou can always add more after tasting.
Classic savory seasoning
- 1 cup dried pumpkin seeds
- 1–2 teaspoons oil
- 1/2 teaspoon salt
- 1/2 teaspoon smoked paprika
- 1/4 teaspoon garlic powder
Step 4: Air Fry Until Crunchy
Air fryers vary, and pumpkin seeds vary even more (size, moisture, shell thickness, how crowded the basket is). Use a time range and your senses: look for light golden color, nutty aroma, and a crisp bite after cooling.
Base cooking method (works for most air fryers)
- Preheat air fryer to 350°F (optional but helpful for consistency).
- Spread seeds in a thin, mostly single layer in the basket.
- Air fry 8–12 minutes, shaking the basket every 3–4 minutes.
- Start checking early at minute 7–8. Seeds can go from “toasty” to “sadly bitter” quickly.
- Cool completelyseeds crisp up more as they cool.
If you want them extra toasty
You can bump the temperature to 360°F and cook around 10–15 minutes, but keep a close eye on them and shake at least once halfway through. Higher heat can brown faster, especially if seeds still have moisture.
Flavor Variations That Don’t Taste Like Regret
1) “Movie Night” Garlic-Parmesan (add cheese after)
- Oil + salt + garlic powder
- After air frying, toss with 2–3 tablespoons finely grated Parmesan and a pinch of black pepper
2) Sweet Cinnamon Crunch
- Oil + tiny pinch of salt
- 1–2 teaspoons sugar
- 1/2 teaspoon cinnamon
Tip: Add sugar and cinnamon before air frying, but keep the temp closer to 350°F and check early. Sugar browns fastdelicious when controlled, tragic when burned.
3) Spicy-Smoky Taco Vibes
- Oil + salt
- 1/2 teaspoon chili powder
- 1/4 teaspoon cumin
- Pinch cayenne (optional)
4) Everything Bagel Crunch
Toss with oil and a light sprinkle of everything bagel seasoning. Because if it works on bagels, it works on snacks. Science.
Troubleshooting: What Your Seeds Are Trying to Tell You
“They’re chewy.”
- Most common cause: not dry enough. Pat longer or air-dry longer next time.
- Cook a few more minutes at 325–350°F, shaking often.
- Consider the optional salted boil to improve texture.
“Some are burnt, some are pale.”
- Basket too full. Air fry in batches for a more even roast.
- Shake more frequentlyevery 2–3 minutes if your air fryer runs hot.
“They taste bland.”
- Add a pinch more salt after cooking while seeds are still warm.
- Use a bit more oil or toss longer so seasoning coats evenly.
- Try a salted boil to season from the inside.
Storage and Make-Ahead Tips
Let seeds cool completely before storing (warm seeds create condensation, which steals crunch). Store in an airtight container at room temperature for a few days for best texture. If they soften, re-crisp in the air fryer for 2–3 minutes at 300–325°F.
Food safety note: If seeds are sitting in wet pumpkin pulp, don’t leave them out for hours and hours. Clean them, or refrigerate the pumpkin innards until you can rinse and roast.
How to Serve Air-Fryer Pumpkin Seeds (Besides Straight From the Jar)
- Sprinkle on soups (butternut squash, chili, tomato)
- Toss into salads for crunch
- Add to trail mix or granola
- Use as a topping for roasted veggies
- Scatter on mac and cheese (yes, really)
Pumpkin Seeds vs. Pepitas: Quick Clarification
In many U.S. grocery stores, pepitas refers to green, shell-less pumpkin seeds. The seeds you scoop from carving pumpkins usually have shells. Both can be air fried, but shell-less pepitas generally cook faster and can turn brown quicklystart checking a couple minutes earlier.
Nutrition Snapshot (The “This Snack Has Benefits” Part)
Pumpkin seeds are known for offering a mix of protein, fiber, and healthy fats, plus minerals like magnesium and zinc. They’re also naturally satisfyingaka, the kind of snack that doesn’t leave you hungry again in 12 minutes. That said, the final nutrition depends heavily on your oil and seasoning choices (hello, cinnamon sugar).
FAQ
Do I have to preheat the air fryer?
Not always. Preheating helps consistency, but many air fryers heat quickly enough that you can skip it. If your seeds cook unevenly, preheating is an easy fix.
Can I make these without oil?
You can, but a small amount of oil helps seasoning stick and improves browning. If skipping oil, shake more often and expect a drier crunch.
Can I air fry seeds from other squash?
Yesmany winter squash seeds roast similarly. Just expect different sizes and cook times. Start with the same temperature and check early.
Conclusion: Your Pumpkin Deserves Better Than the Trash
With this air-fryer pumpkin seeds recipe, you can turn “pumpkin cleanup” into “pumpkin snack-up.” Clean, dry, season, air fry, and cool. That’s it. The rest is you choosing your flavor personality: savory, sweet, spicy, or “I put everything bagel seasoning on everything and I’m not sorry.”
Experiences: What It’s Really Like Making Air-Fryer Pumpkin Seeds (The Fun Part)
The first time most people try roasting pumpkin seeds, it usually goes one of two ways: a crunchy triumph… or a chewy bowl of “well, I tried.” Air fryers make the process faster and more forgiving, but there’s still a little pumpkin-seed personality you get to know. Think of it like meeting a new roommate. They’re greatonce you learn their quirks.
One common “experience” is the cleaning stage, where you realize pumpkin guts are basically nature’s glitter: it spreads, it clings, and you will find it later. The water-swishing method becomes a small revelation. Seeds bob to the top while the heavier pulp sinks, and suddenly you feel like you’ve unlocked a fall-life hack. It’s also oddly satisfyinglike panning for snack gold. And if a few stubborn strings refuse to leave? That’s not failure. That’s texture… at least emotionally.
Then comes the drying step, where optimism meets reality. Many home cooks pat the seeds once, toss them in oil, and expect instant crunch. The air fryer responds by steaming the seeds first, creating a chewy bite that’s not terrible, but not the “crispy, salty, snack bar vibe” you pictured. The next batch usually gets more respect: an extra towel blot, a little time spread out on the counter, maybe even an hour to air-dry while you carve the pumpkin. It’s amazing how quickly the results improve when the seeds aren’t basically wearing a wet raincoat.
Air frying itself is where the drama happensbecause pumpkin seeds go from pale to golden to “oops” in a blink. A lot of people have the same moment at minute eight: you open the basket, you smell that nutty aroma, and you think, “These are done.” Then you taste one and it’s still a bit soft. This is where experience teaches the key truth: seeds crisp up more after cooling, but they still need enough drying time in the air fryer to get there. So you give them two more minutes, shake once, and suddenly they’re perfect. That tiny adjustmentchecking early, cooking in short burstsfeels like gaining a new kitchen superpower.
Flavor experiments are a whole separate adventure. Savory blends tend to be the easiest: salt, garlic powder, smoked paprika, maybe a little pepper. Sweet batches can be trickier because sugar browns quickly, and you’ll learn fast that “a little sugar” is a better starting point than “let’s make them candy.” Spicy seeds are the crowd-pleaser when you want a snack with attitudechili powder and cumin deliver big flavor without needing fancy ingredients. And once someone tries everything bagel seasoning on pumpkin seeds, it’s hard to go back. The crunch plus the sesame/garlic/onion combo just makes sense.
Another very real experience: batch size humility. It’s tempting to dump all your seeds in at once. But air fryers like airflow, and pumpkin seeds like space. When the basket is crowded, some seeds roast while others sulk in the middle, refusing to crisp. The “I’ll just do two batches” decision is usually the turning point between inconsistent results and “wow, these are restaurant-level snacky.” It’s not glamorous, but it works.
Finally, there’s the proud moment: the cooling stage, when you realize you actually made something craveable out of what you almost threw away. The seeds cool, the crunch sharpens, and suddenly you’re sprinkling them on soup, nibbling them while you clean up, and pretending you’re only having “a few.” Then you look down and half the bowl is gone. That’s not a problem. That’s proof the recipe worked. And the best part is that once you’ve done it once or twice, it becomes effortlessa seasonal ritual you look forward to, not a messy chore you avoid.














