
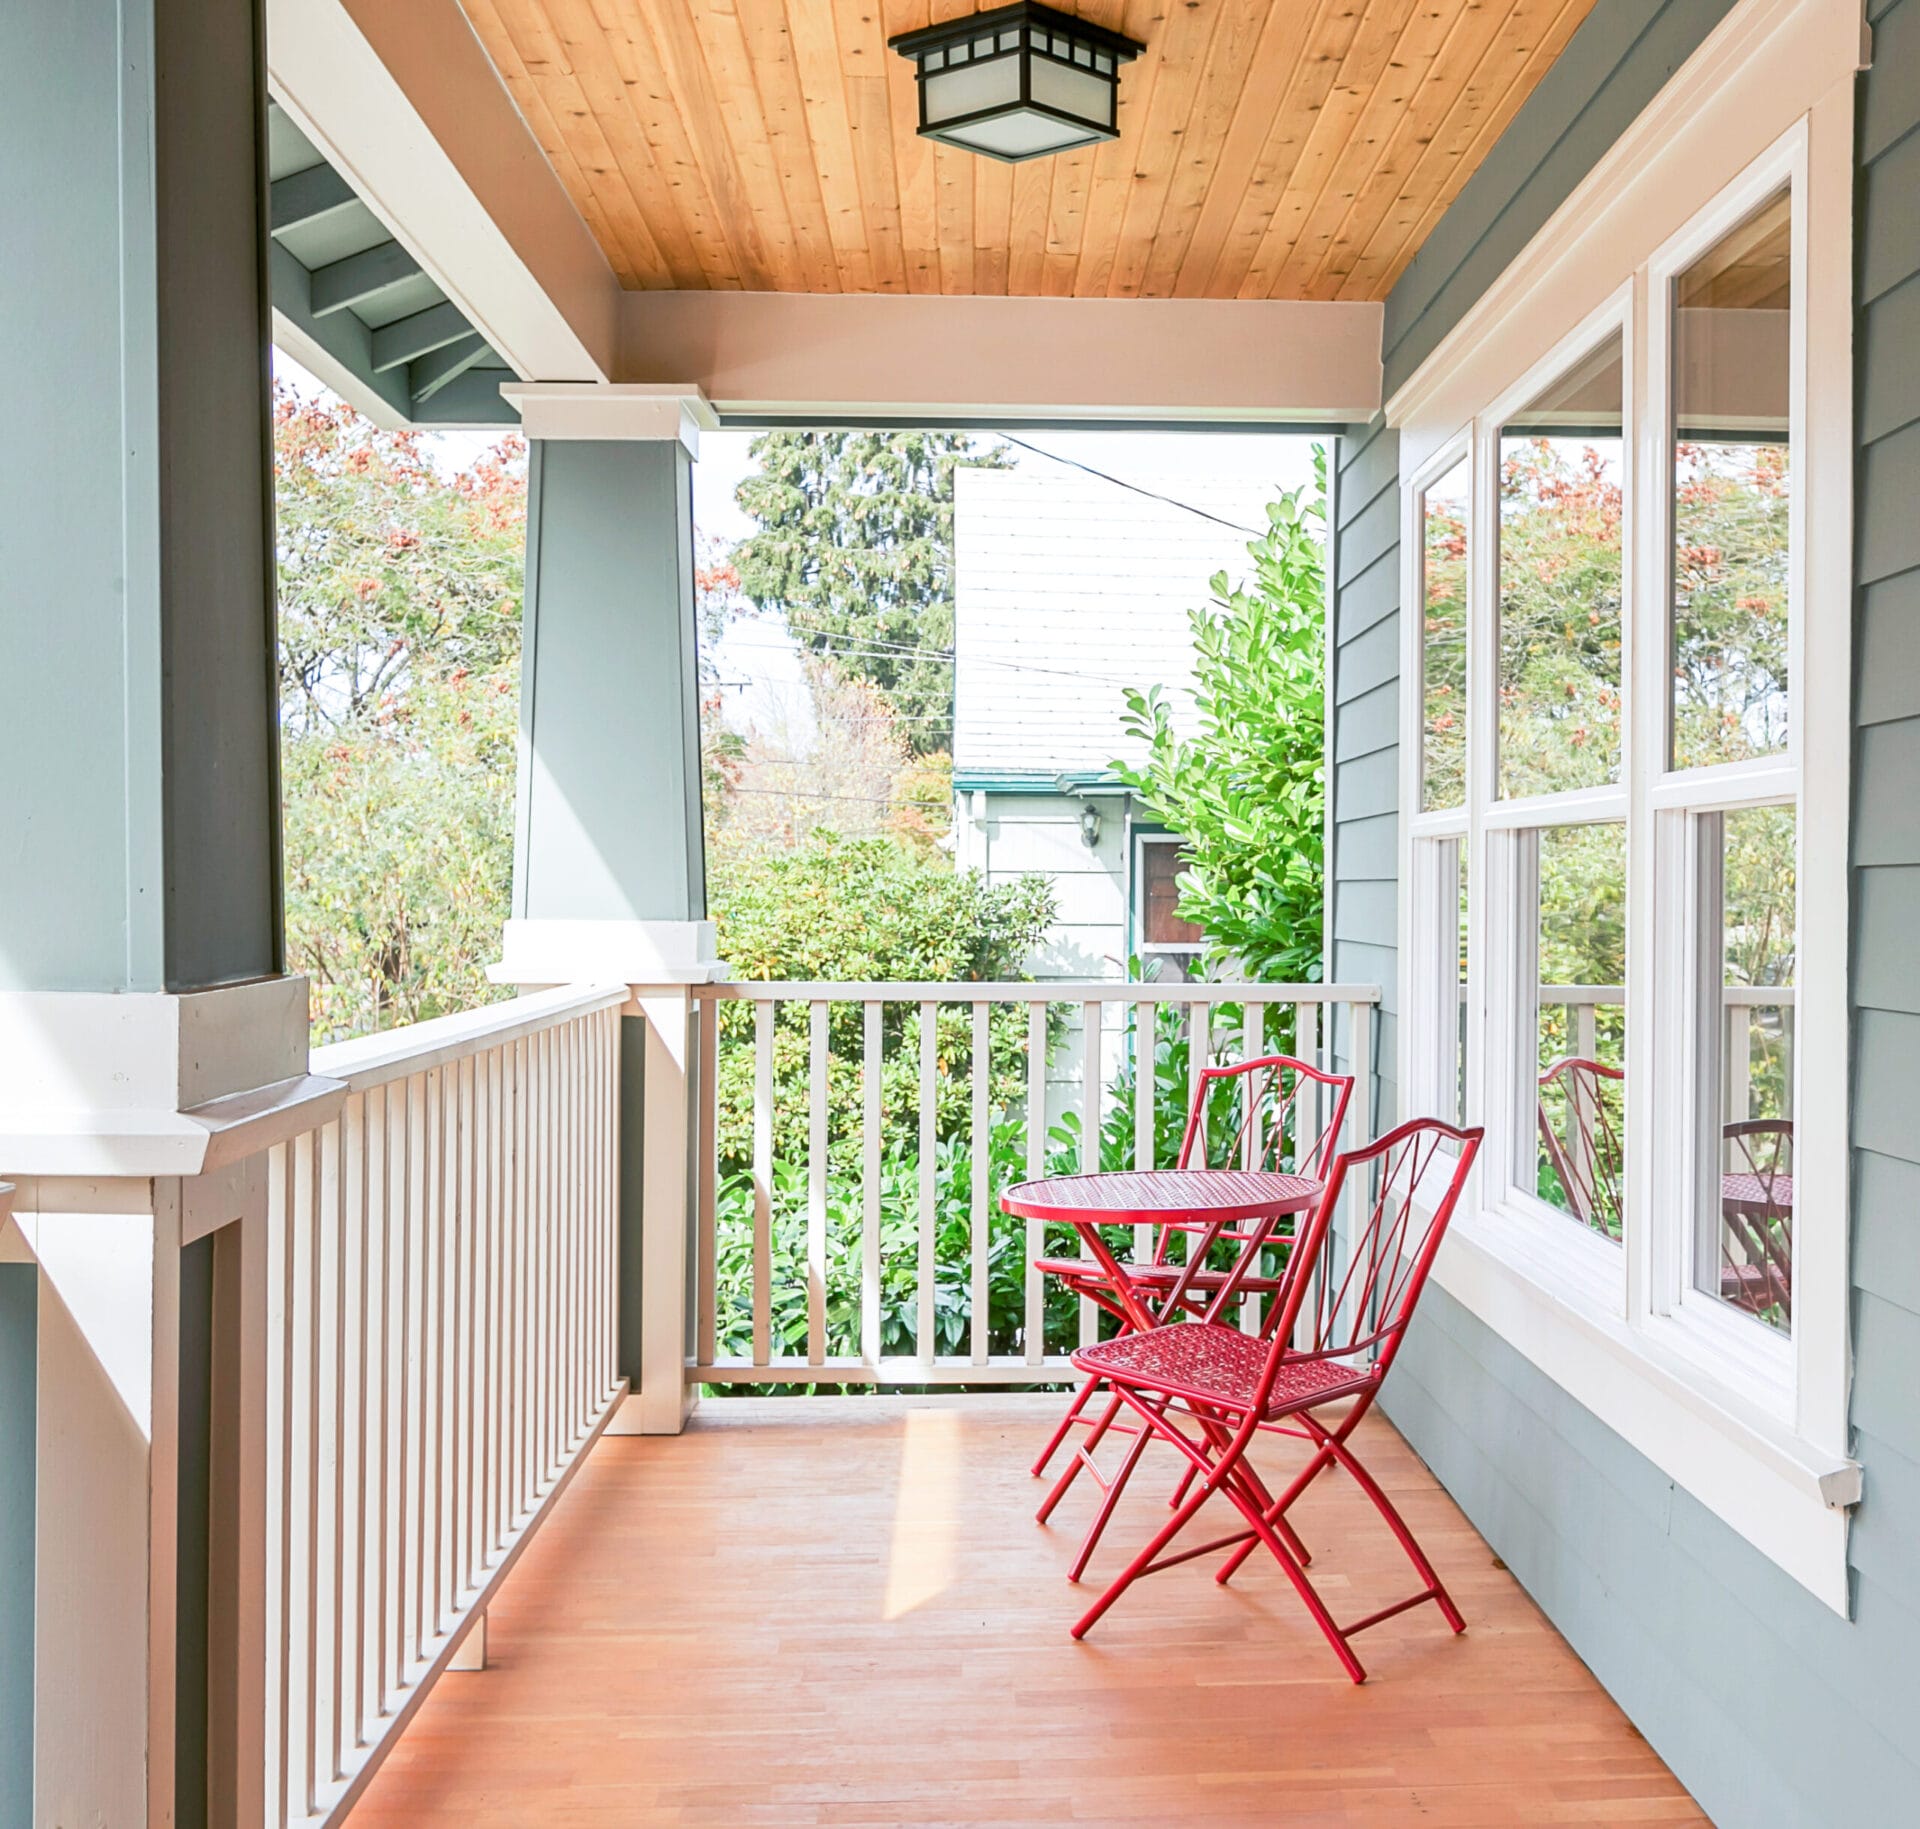
A wood deck lives a harder life than most furniture. It gets baked by ultraviolet rays, soaked by rain, buried under leaves, scraped by chairs, attacked by mildew, and occasionally introduced to a hamburger that misses the plate entirely. Fences, pergolas, cedar siding, porch floors, and outdoor furniture face many of the same hazards.
Exterior stain helps wood handle that punishment while preserving some or all of its natural character. Choosing the right product, however, involves more than finding a pleasant shade of “Rustic Acorn” and hoping for the best. Opacity, wood species, surface condition, previous coatings, weather, and preparation all affect how the finish looks and how long it lasts.
This guide explains how exterior wood stain works, how transparent and solid stains differ, when to choose oil-based or water-based formulas, and how to prepare, stain, and maintain outdoor wood without creating a sticky, peeling backyard disaster.
What Exterior Wood Stain Actually Does
Exterior stain is a protective and decorative coating formulated for wood exposed to outdoor conditions. Depending on the formula, it may penetrate the wood fibers, form a thin surface film, or combine both behaviors.
A good exterior stain performs several jobs:
- Reduces the amount of liquid water absorbed by the wood
- Slows surface weathering caused by sunlight
- Adds color while emphasizing or concealing wood grain
- Helps limit checking, splitting, and dimensional movement
- Makes routine cleaning and maintenance easier
Stain does not turn wood into an immortal building material. It cannot repair rot, stabilize a failing structure, or compensate for poor drainage. Water trapped around fasteners, between boards, or against end grain can still cause decay. Think of stain as a rain jacket, not a force field.
Research from the USDA Forest Products Laboratory has long emphasized that pigments, water repellency, wood texture, exposure, and coating type all influence the service life of exterior finishes. Horizontal deck boards usually experience more severe weathering than vertical siding or fence boards because water, snow, dirt, and sunlight remain on them longer.
Exterior Stain Versus Paint and Clear Sealer
Exterior stain, paint, and clear sealer overlap, but they are not identical.
Paint creates an opaque film that hides the wood grain. It offers strong color and ultraviolet protection but may peel when moisture gets behind the coating. Paint can work well on vertical trim and siding, although it is often less forgiving on heavily used deck floors.
Clear sealer primarily reduces water absorption. Because it contains little or no pigment, it provides limited protection from ultraviolet radiation. The wood may still turn gray even when water continues to bead on the surface.
Exterior stain falls between those options. Transparent and semitransparent stains reveal the grain, while solid-color stains resemble thin paint. The more pigment a stain contains, the more sunlight it generally blocks.
Understanding Exterior Stain Opacity
Clear and Translucent Finishes
Clear finishes and lightly tinted toners show nearly all the wood grain. They are popular for new cedar, redwood, and attractive pressure-treated lumber when the owner wants a natural appearance.
The trade-off is maintenance. Minimal pigment means minimal ultraviolet protection, so these finishes commonly require more frequent inspection and recoating. They are best for homeowners who love visible grain and do not mind giving the deck regular attention.
Semitransparent Stain
Semitransparent exterior stain adds noticeable color while allowing grain and texture to remain visible. It is often the practical middle ground for decks, fences, pergolas, and siding.
Penetrating semitransparent products are relatively forgiving because they tend to fade and wear instead of peeling in large sheets. They are especially attractive on wood that is structurally sound but no longer looks factory fresh.
Semi-Solid Stain
Semi-solid stain contains more pigment than a semitransparent formula. It hides color variation and minor staining while allowing some texture and grain pattern to show.
This opacity is useful when boards come from different batches, replacement lumber does not match the original deck, or the surface has weathered unevenly. It also provides more ultraviolet protection without producing the completely uniform appearance of a solid stain.
Solid-Color Stain
Solid stain hides nearly all grain color but usually leaves the physical texture visible. It offers the strongest color coverage and typically performs better against ultraviolet exposure than lower-opacity options.
Solid stain can give an aging deck a dramatic makeover, but it behaves more like a film-forming coating. When it eventually fails, it may crack, flake, or peel, especially on horizontal surfaces with moisture problems. Future preparation can therefore involve more scraping and sanding.
Independent testing and manufacturer guidance generally agree that higher-opacity stains provide more coverage and ultraviolet protection, while lower-opacity products display more natural grain and are often easier to refresh. Product quality still matters, but stain category can affect performance as much as the brand name on the can.
Water-Based Versus Oil-Based Exterior Stain
Water-Based Stain
Modern water-based exterior stains dry relatively quickly, produce less solvent odor, and usually clean up with soap and water. Many retain color well and resist mildew growth on the coating.
Fast drying can be both helpful and annoying. The deck returns to service sooner, but lap marks may develop if the applicator stops halfway across a board or works in direct sun. Maintaining a wet edge is essential.
Water-based products are often a convenient choice for solid-color finishes, railings, siding, fences, and projects where easier cleanup is a priority.
Oil-Based Stain
Oil-based stains are valued for their penetration and ability to emphasize grain. Their slower working time can make it easier to blend sections and avoid lap marks, particularly with semitransparent colors.
They usually have stronger odors, require label-approved solvents for cleanup, and may take longer to dry. Oil-containing rags and application materials must also be stored and discarded exactly as directed on the label because improperly handled materials can generate heat.
Neither base is automatically best for every project. Formulations vary considerably, and federal and state rules limit volatile organic compounds in architectural coatings. Compare the product data sheet, local availability, allowed application temperatures, recoat instructions, and intended surfaces rather than choosing solely by the words “oil” or “water.”
How to Choose the Right Exterior Stain
Consider Horizontal and Vertical Surfaces Separately
Deck floors, stair treads, and bench seats receive standing water, foot traffic, dirt, and direct sunlight. Choose a product specifically approved for horizontal walking surfaces.
Fences, siding, pergola posts, and railings usually experience less abrasion and may retain a finish longer. A stain that performs beautifully on vertical cedar siding is not automatically suitable for a busy deck floor.
Evaluate the Wood, Not Just the Color Chart
Dense woods may absorb stain slowly, while weathered softwoods may drink it like they have crossed a desert. Cedar and redwood contain natural extractives that can influence color and adhesion. Pressure-treated lumber may still contain substantial moisture when newly installed.
Old, cracked, or mismatched boards may look better with a semi-solid or solid stain. New, attractive lumber is usually a stronger candidate for translucent or semitransparent finishes.
Identify the Existing Finish
Applying a penetrating stain over an intact film-forming coating rarely ends well. The new stain cannot penetrate evenly and may remain tacky or develop blotches.
Determine whether the existing finish is clear, penetrating, semitransparent, solid, or paint-like. Loose coatings should be removed, and incompatible systems may require complete stripping or sanding. When the old product is unknown, perform a test patch before committing the entire deck.
Think About Climate and Exposure
A sunny, elevated deck in Arizona has different needs from a shaded porch in coastal Maine. Strong sun favors greater pigment and ultraviolet resistance. Damp, shaded locations need careful cleaning, airflow, and moisture management.
Dark colors can become noticeably warmer in direct sunlight. Pale or medium shades may be more comfortable for barefoot traffic, although the final surface temperature also depends on sun exposure, wood type, and coating formulation.
Sample the Actual Wood
Stain is translucent to some degree, so the original wood color affects the result. The same “cedar” stain can look honey-colored on pine, reddish on redwood, and muddy on old gray boards.
Apply a sample to an inconspicuous area or spare board. Allow it to dry completely and inspect it in morning and afternoon light. A wet swatch on a store brochure is not a legally binding promise from the universe.
How to Prepare a Deck or Outdoor Wood Surface
Preparation is the part of the project that homeowners most want to skip and the part most likely to determine whether the finish succeeds. Stain adheres poorly to dirt, grease, mildew, loose fibers, glossy mill glaze, and failing coatings.
-
Inspect the structure.
Replace rotten, deeply split, or unsafe boards. Tighten loose fasteners, set protruding nails, and correct drainage problems before opening the stain. -
Remove furniture and protect nearby areas.
Cover siding, masonry, metal, glass, and other surfaces that could be discolored. Follow the cleaner label when protecting or rinsing nearby plants. -
Clean the wood.
Use an exterior wood or deck cleaner appropriate for the contamination. Scrub along the grain and rinse thoroughly. Do not mix cleaning chemicals unless the manufacturer explicitly permits it. -
Strip failing coatings when necessary.
A cleaner removes dirt; a stripper removes compatible old finishes. Those are different jobs. Heavy paint-like layers may require mechanical removal. -
Use a brightener or neutralizer when required.
Some stripping and cleaning systems alter the wood’s pH or darken its appearance. A compatible brightener can restore color and prepare the surface for stain. -
Sand rough or fuzzy areas.
Excessive pressure washing can raise fibers and leave the deck resembling a wooden sweater. Once dry, sand splinters and damaged fibers with the grit recommended by the stain manufacturer, commonly around 60 to 80 grit for deck surfaces. -
Allow the wood to dry.
Staining damp wood can reduce penetration and adhesion. Drying time varies with temperature, humidity, shade, wood species, and ventilation, so follow the product’s moisture and weather requirements rather than relying on a universal countdown.
Guides from Sherwin-Williams, Benjamin Moore, Behr, Lowe’s, and Olympic consistently emphasize cleaning, removal of loose material, adequate drying, and preparation matched to the existing surface. Several also recommend testing whether water can soak into the wood before staining.
When Is New Pressure-Treated Wood Ready for Stain?
New pressure-treated lumber should be stained when it is sufficiently dry and absorbent, not merely because a certain number of calendar pages have been removed.
Place a few drops of water on several representative boards. If the water remains beaded on the surface, the lumber may still be too wet or resistant to penetration. If it soaks in reasonably quickly, the wood is more likely to accept a penetrating stain.
The water test is only a screening tool. A moisture meter provides better information, and the stain label may specify a maximum acceptable moisture content. Test sunny and shaded boards because they can dry at different rates.
Recommendations for new treated lumber vary because lumber moisture, storage, weather, stain chemistry, and deck exposure vary. Product-specific instructions should therefore override a fixed waiting period.
How to Apply Exterior Stain Correctly
-
Check the forecast and product label.
Confirm that temperature, humidity, surface temperature, and rain-free time fall within the manufacturer’s limits. Avoid staining wood that is hot from direct sun. -
Stir the stain thoroughly.
Pigment settles. Stir before starting and periodically during application. Do not shake products when the label warns that bubbles may be created. -
Box multiple containers.
When using several cans of the same color, combine and mix them in a larger container. This minimizes visible differences between production batches. -
Plan an exit.
Begin at the farthest point and work toward stairs or a door. Otherwise, you may finish the deck beautifully and then discover that you live there now. -
Coat railings before the floor.
Work from the top down so drips land on unstained boards that can still be blended. -
Apply with the grain.
Brushes, stain pads, rollers, and approved sprayers can all work. Sprayed stain should generally be back-brushed or back-rolled when the label requires it to improve penetration and evenness. -
Work entire board lengths.
Apply stain to a few boards at a time and continue from one end to the other. Stopping halfway across several boards invites lap marks. -
Keep coats thin.
More stain is not necessarily more protection. Excess product can remain glossy, tacky, or vulnerable to peeling. Apply only the number of coats and coverage rate listed by the manufacturer. -
Respect curing time.
Dry-to-touch, recoat, light-foot-traffic, furniture-return, and full-cure times may all differ. Give the finish the time stated on the label.
Application guides from major stain manufacturers and U.S. home-improvement sources repeatedly recommend thin, even application, full-board work sections, careful weather selection, and strict adherence to the product’s stated coat count.
Common Exterior Staining Mistakes
Staining Over Dirt or Mildew
A new coating does not make biological growth disappear. It merely gives the discoloration a protective window. Clean the surface and correct the moisture conditions encouraging regrowth.
Using Excessive Pressure
A pressure washer can save time, but an aggressive tip or close spraying distance can erode soft fibers and leave permanent grooves. Use the lowest effective pressure and keep the wand moving.
Applying Too Much Product
Overapplication is one of the most common causes of sticky spots, uneven sheen, and premature failure. Penetrating stains need somewhere to penetrate. Once the wood is saturated, additional stain becomes a puddle wearing a name tag.
Mixing Incompatible Systems
Changing from one coating type to another may require stripping to bare wood. Never assume that a water-based product can cover every oil-based finish, or vice versa. Compatibility depends on the existing coating’s condition and the new manufacturer’s instructions.
Ignoring End Grain and Board Gaps
Cut ends can absorb water quickly, while clogged gaps hold leaves and moisture. Keep drainage spaces open and treat accessible end grain according to the coating system’s directions.
Maintaining Stained Decks and Outdoor Wood
Inspect outdoor wood at least once a year. Sweep away leaves, clean food and grease spills, and look for loose fasteners, soft boards, peeling finish, mildew, or areas where water no longer beads.
Do not wait for total coating failure. Maintenance coats are usually easier when the finish has faded but remains generally sound. Waiting until the deck is bare, gray, and peeling converts a cleaning-and-recoat job into a stripping-and-sanding festival nobody requested.
Deck floors may need attention sooner than railings or fences. High-traffic paths, stair treads, exposed board ends, and areas beneath downspouts should receive special attention.
Independent testing shows substantial performance differences among stain types and individual formulas, while deck-safety guidance stresses that cosmetic refinishing should accompany structural inspection rather than replace it.
Experience-Based Lessons From Real-World Staining Projects
The following lessons reflect recurring outcomes described in professional guidance, product instructions, testing programs, and homeowner projects. They are the details people tend to remember after completing the job once—usually while promising themselves that next time they will read the label before pouring anything.
Lesson 1: The Shaded Side Is Often the Problem Side
A deck can appear uniformly dry while boards near the house, under furniture, or beside shrubs remain damp. These areas receive less sunlight and airflow, so they may hold moisture long after exposed boards are ready.
Checking only the sunniest board can therefore produce misleading results. Evaluate multiple locations, especially corners, stair connections, shaded railings, and boards near ground-level vegetation. When one section remains damp, waiting is cheaper than stripping a failed finish.
Lesson 2: Color Samples Prevent Expensive Regret
Homeowners frequently choose stain by looking at a printed chip, only to discover that the finished deck is redder, darker, or more opaque than expected. Existing wood color, sanding, age, porosity, and the number of coats all change the result.
A meaningful test uses the actual product, actual wood, and intended coat count. Let the sample dry fully. View it beside the home’s siding, masonry, roof, and landscaping. A two-inch test patch can prevent several gallons of “Why is the deck orange?”
Lesson 3: Thin Coats Usually Beat Enthusiastic Coats
DIY applicators often assume that a heavy coat provides heavier-duty protection. In practice, stain that cannot penetrate or cure properly may become shiny, soft, sticky, or uneven.
Watch the surface as you work. If stain sits on top instead of soaking in or leveling as described by the manufacturer, spread it into an unstained area or remove the excess according to the instructions. A deck should not look as though it has been glazed like a doughnut unless the product is specifically designed to create a film.
Lesson 4: Stop at Natural Breaks
Lap marks become obvious when stain begins drying before the next section overlaps it. Rail posts, board ends, corners, stairs, and full-length deck boards create logical stopping points.
Do not start a large section when daylight, weather, or personal enthusiasm is running out. Completing three boards properly is better than rushing ten boards while thunder approaches and mosquitoes form a committee.
Lesson 5: Preparation Takes Longer Than Application
On many projects, brushing or padding on the stain is the fastest stage. Moving furniture, protecting landscaping, cleaning, stripping, rinsing, drying, sanding, and checking the forecast consume most of the schedule.
Budgeting only for application day leads to shortcuts. A better plan separates the project into inspection, cleaning, drying, final preparation, staining, and curing. This also creates room for unexpected discoveries such as loose boards, hidden grease stains, or the previous owner’s mysterious layer of glossy coating.
Lesson 6: Maintenance Should Begin Before the Deck Looks Abandoned
A fading penetrating stain is easier to refresh than a peeling solid coating. Annual cleaning and inspection reveal wear before bare wood becomes deeply weathered.
Pay attention to traffic lanes, stairs, sunny edges, and areas beneath planters. Moving rugs and furniture periodically can also reduce uneven weathering and trapped moisture. The goal is not to keep the deck looking untouched; it is to prevent ordinary wear from becoming a major restoration project.
Lesson 7: One Product Should Guide the Whole System
Problems often begin when the cleaner comes from one system, the stripper from another, the brightener is improvised, and the stain label is treated as light recreational reading.
Compatible products simplify preparation and reduce chemical surprises. At minimum, confirm that every cleaner, stripper, brightener, primer, and stain is approved for the wood and the next step in the process. When instructions conflict, contact the stain manufacturer before applying the coating.
Conclusion
The best exterior stain is not simply the darkest, most expensive, or most heavily advertised can on the shelf. It is the product that matches the wood, exposure, previous finish, desired appearance, and amount of future maintenance the owner is willing to perform.
Transparent stains celebrate attractive grain but need closer attention. Semitransparent stains balance natural appearance and protection. Semi-solid products disguise uneven color, while solid stains provide maximum coverage and ultraviolet defense at the cost of more demanding future preparation.
Whatever opacity you choose, the unglamorous steps remain decisive: repair damaged wood, remove dirt and failing coatings, allow the surface to dry, test the color, apply thin coats, and follow the label. Do that, and your deck can remain an inviting outdoor space rather than becoming an annual lesson in creative peeling.













