
There are few small frustrations as dramatic as trying to light a campfire while your kindling sits there like a damp loaf of bread. You strike a match. You crouch. You whisper encouraging words. The match goes out. The wood continues its silent rebellion.
That is where DIY nearly-free fire starters earn their tiny superhero capes. Made from scraps you probably already havedryer lint, cardboard tubes, paper egg cartons, old candle wax, cotton balls, wood shavings, and even pineconeshomemade fire starters help a flame catch quickly and burn long enough to wake up your kindling. They are cheap, practical, beginner-friendly, and oddly satisfying to make. It is basically recycling with a campfire finale.
Whether you are lighting a backyard fire pit, starting charcoal in a chimney, preparing for a camping trip, or making your fireplace routine less dramatic, these simple fire starters can save money and reduce waste. The key is choosing safe materials, storing them properly, and remembering that a fire starter is not magic. It is just tinder with a plan.
What Is a Fire Starter, Exactly?
A fire starter is a small, easily ignited bundle that burns longer than plain tinder. In a good fire-building setup, you generally need three layers: tinder, kindling, and fuel wood. Tinder catches first. Kindling catches from the tinder. Fuel wood keeps the fire going. A DIY fire starter combines tinder with a slow-burning helper such as wax or petroleum jelly so the flame has more staying power.
Think of it like this: plain newspaper is the friend who shows up excited and leaves after three minutes. A wax-and-lint fire starter is the friend who brings snacks, chairs, and emotional support.
Safety First: Because “Nearly Free” Should Not Mean “Questionable Choices”
Before we make anything flammable on purpose, let us establish a few adult rules. Never use gasoline, kerosene, alcohol, aerosol sprays, paint thinner, or other flammable liquids to start a campfire, fireplace, or fire pit. They can flare unpredictably and turn a cozy evening into a neighborhood news segment.
Use DIY fire starters only in appropriate places: a permitted campfire ring, a properly maintained fireplace, an outdoor fire pit, a wood stove designed for solid fuel, or a charcoal chimney. Follow local fire restrictions, campground rules, burn bans, and fireplace manufacturer instructions. Keep water, sand, or an appropriate fire extinguisher nearby. Never leave a fire unattended. When you are done, extinguish the fire completely until the ashes are cool to the touch.
Also, be picky with your materials. Avoid plastic, Styrofoam, glossy magazine pages, coated cardboard, pressure-treated wood, painted wood, synthetic fabric scraps, or anything with chemical residues. They can release unpleasant fumes and may create unsafe smoke. A fire starter should help start the fire, not audition as a science experiment.
The Best Nearly-Free Materials to Save
The secret to inexpensive homemade fire starters is collecting items before you need them. You do not need a specialty kit. You need a small box or jar labeled “fire starter stuff,” which is far more practical than it sounds.
1. Dryer Lint
Dryer lint is light, fluffy, and eager to burn. For the cleanest results, collect lint from loads of cotton towels, jeans, flannel, or other natural fibers. Lint from synthetic fabrics can smell bad and may produce fumes, so skip it when possible. Also, keep cleaning your dryer lint trap after every load. Saving lint is clever; letting it build up in the dryer is not.
2. Paper Egg Cartons
Cardboard egg cartons are perfect fire starter molds. Each cup becomes one neat little starter. Do not use foam egg cartons. Foam belongs nowhere near this project, unless your goal is regret.
3. Toilet Paper Tubes and Paper Towel Tubes
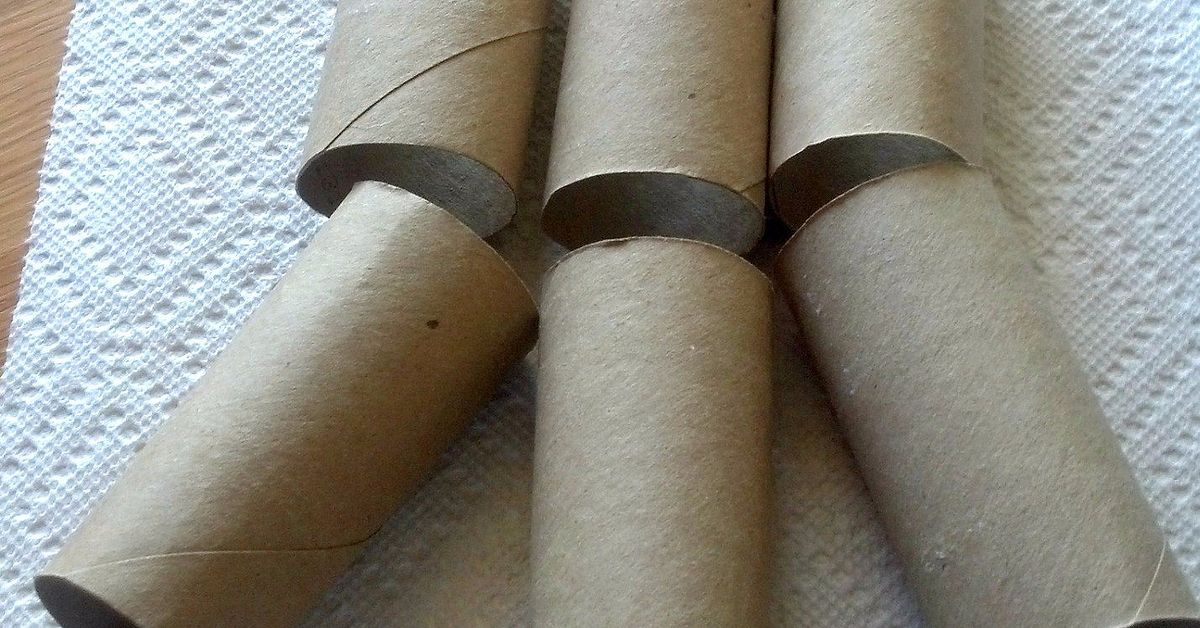
Cardboard tubes are easy to stuff with lint, shredded paper, sawdust, or wood shavings. Cut paper towel tubes into shorter sections and you have several starters from one roll.
4. Old Candle Wax
Those sad candle leftovers at the bottom of jars can have a second life. Wax slows the burn and helps the starter stay lit longer. Use plain candle wax when possible. Strongly scented candles can smell intense when burned outdoors, and some dyed waxes may smoke more than plain wax.
5. Cotton Balls or Cotton Pads
Plain cotton balls or makeup-remover rounds make excellent compact fire starters when paired with petroleum jelly. They are especially useful for camping because they take up almost no space.
6. Sawdust and Wood Shavings
If you do woodworking, sharpen pencils, split kindling, or use untreated lumber, save the dry shavings. They are excellent tinder. Make sure the wood is untreated, unpainted, and dry.
7. Pinecones
Dry pinecones make attractive and useful fire starters, especially when dipped lightly in wax. Collect them only where it is allowed, and do not transport natural materials long distances into parks or campgrounds where pests and plant diseases can be an issue.
DIY Fire Starter Recipe #1: Egg Carton, Dryer Lint, and Wax
This is the classic homemade fire starter for a reason. It is cheap, tidy, and reliable. Each egg cup becomes a single-use fire starter, and the materials are usually free.
What You Need
- One paper egg carton
- Dryer lint from mostly natural fabrics
- Old candle wax or plain paraffin wax
- A clean empty tin can
- A saucepan with water for a simple double boiler
- Tongs or an old spoon
- Newspaper or parchment paper to protect your work surface
How to Make It
- Place the open egg carton on a protected surface.
- Stuff each cup loosely with dryer lint. Do not pack it rock-hard; air helps fire burn.
- Put wax pieces into a clean tin can.
- Set the can in a saucepan with a few inches of water and warm gently over low heat.
- When the wax melts, carefully pour or spoon a small amount over the lint in each cup.
- Let everything cool completely.
- Cut or tear the carton into individual fire starters.
To use one, place it under dry kindling and light the cardboard edge. The lint catches quickly, while the wax helps it burn long enough to ignite small sticks. Store the finished pieces in a metal tin, glass jar, or sealed bag away from heat, pets, and curious children.
DIY Fire Starter Recipe #2: Toilet Paper Tube Tinder Rolls
This version is even simpler and requires no melted wax. It is best for dry conditions or backyard use when you just need a little boost.
What You Need
- Empty toilet paper tubes
- Dryer lint, shredded brown paper, or wood shavings
- Optional: cotton string or a strip of plain paper to wrap the tube
How to Make It
Stuff the tube with lint or shavings, leaving the material airy rather than compressed. Fold the ends inward or wrap the tube with a strip of paper. That is it. You have made a fire starter so easy it almost feels like cheating.
For a longer burn, drizzle a small amount of melted wax onto the stuffed tube and let it cool. Without wax, these work well as oversized tinder. With wax, they become sturdier and better for damp mornings.
DIY Fire Starter Recipe #3: Cotton Balls and Petroleum Jelly
This is a favorite among campers because it is compact, inexpensive, and effective. Petroleum jelly slows the burn, while cotton fibers catch flame quickly.
What You Need
- Plain cotton balls or cotton pads
- Petroleum jelly
- A spoon or disposable glove
- A small waterproof container or zip-top bag
How to Make It
Work a small amount of petroleum jelly into each cotton ball, coating the outside but leaving some dry cotton fibers exposed. That exposed cotton is important because it catches the flame more easily. Store the finished cotton balls in a small container.
To use one, pull it apart slightly to expose fluffy fibers, place it beneath thin kindling, and light the cotton. This fire starter is excellent for backpacking, camping kits, and emergency preparedness supplies. It is also wonderfully tiny, which means you can pack several and still have room for snacks. Always prioritize snacks.
DIY Fire Starter Recipe #4: Waxed Pinecones
Waxed pinecones are the pretty cousins of homemade fire starters. They work well, look giftable, and make you appear like the kind of person who owns matching storage baskets.
What You Need
- Dry pinecones
- Old candle wax
- Natural cotton string, optional
- Tongs
- Parchment paper
How to Make It
Melt wax gently using a double boiler method. Dip each dry pinecone lightly into the wax, then place it on parchment paper to cool. If you want an easy wick, tie cotton string around the pinecone before dipping and leave a small tail exposed.
Use waxed pinecones in fireplaces, fire pits, or campfires where local rules allow. Do not use decorative pinecones treated with glitter, paint, artificial fragrance, or mystery craft chemicals. Glitter belongs on greeting cards, not in your lungs.
DIY Fire Starter Recipe #5: Sawdust Muffins
If you have untreated sawdust or wood shavings, turn them into compact fire starter “muffins” using paper cups or egg carton sections.
What You Need
- Untreated sawdust or wood shavings
- Paper egg carton cups or uncoated paper baking cups
- Melted wax
- An old spoon
How to Make It
Fill each paper cup with sawdust or shavings. Spoon melted wax over the top until the material holds together but is not swimming. Let the starters cool fully. When ready to use, light the paper edge and place the starter beneath kindling.
This method is especially useful if you split firewood, plane boards, or have a shop that produces clean shavings. Avoid sawdust from plywood, particleboard, MDF, painted wood, stained wood, or pressure-treated lumber.
How to Use DIY Fire Starters the Right Way
A homemade fire starter works best when paired with a good fire layout. Start with dry tinder or your DIY starter at the base. Add small kindling around it in a loose teepee or log-cabin shape. Leave space for airflow. Fire needs oxygen, and a suffocated flame is just a sad orange flicker with unfinished business.
Light the fire starter, then let it work. Resist the urge to immediately pile large logs on top. Add fuel gradually as the kindling catches. Once small sticks are burning steadily, add larger pieces of wood. If your setup is dry and well-arranged, you should not need more than one starter.
Where These Fire Starters Work Best
Backyard Fire Pits
DIY fire starters are perfect for backyard fire pits, especially when the evening plan involves marshmallows, blankets, and pretending mosquitoes respect boundaries. Use only dry, seasoned firewood and keep the fire contained.
Campfires
For camping, pack a few fire starters in a waterproof container. Check campground rules before collecting natural tinder, and buy firewood locally when required. Moving firewood from place to place can spread invasive pests.
Fireplaces and Wood Stoves
Use small DIY fire starters only in fireplaces or wood stoves designed for wood fires. Make sure the damper is open, the chimney is maintained, and the firebox is clear. Do not use homemade starters in gas fireplaces unless the manufacturer specifically allows it.
Charcoal Chimneys
A small wax-and-cardboard starter can help light a charcoal chimney without lighter fluid. Place it beneath the chimney on a safe, nonflammable surface and follow the chimney manufacturer’s instructions.
Common Mistakes to Avoid
The first mistake is using too much wax. More wax does not always mean better performance. A starter that is completely saturated may be harder to light because there are fewer dry fibers exposed. Aim for “coated,” not “candle brick.”
The second mistake is using damp materials. Dryer lint, cardboard, pinecones, and shavings should be dry before storage. Moisture encourages mildew and makes lighting harder.
The third mistake is storing fire starters carelessly. These are intentionally flammable objects. Keep them away from heat sources, open flames, children, pets, and direct sunlight. A labeled metal tin or sealed glass jar in a cool, dry place is ideal.
The fourth mistake is expecting the starter to do all the work. Even a great fire starter cannot rescue green logs, soaked firewood, or a pile arranged with the airflow of a sealed sandwich bag. Dry kindling matters.
How to Make Them Nearly Free
The best DIY fire starters cost almost nothing because they use household leftovers. Save lint from cotton-heavy laundry loads. Keep paper egg cartons. Collect toilet paper tubes. Scrape wax from finished candle jars. Save pencil shavings, untreated wood curls, and dry pinecones. Ask friends or neighbors for egg cartons or candle ends if they usually toss them.
Batch-making also saves time. Make twenty or thirty starters at once, then store them for camping season, fireplace weather, or summer fire pit nights. You will thank yourself later when everyone else is fanning newspaper like they are trying to land a helicopter.
Eco-Friendly Benefits of Homemade Fire Starters
DIY fire starters are a small but useful way to reuse materials that would otherwise go into the trash. Paper cartons, cardboard tubes, and candle leftovers all get a second job. That does not mean every scrap is safe to burn, but it does mean clean, simple materials can be repurposed wisely.
They also reduce reliance on commercial fire starters, many of which come wrapped in plastic or cost more per use. A homemade version lets you control the ingredients and avoid unnecessary packaging. For households that use a fireplace or fire pit often, the savings add up.
Troubleshooting: Why Your Fire Starter Did Not Work
If your starter lights but dies quickly, it may not have enough fuel extender. Add a little wax or petroleum jelly next time. If it refuses to catch, it may be too wax-heavy or packed too tightly. Leave more dry fibers exposed and avoid over-compressing lint or shavings.
If the starter smokes excessively, check your materials. Synthetic lint, glossy paper, treated wood, dyed craft items, and heavily scented wax can all create unpleasant smoke. Stick with plain, dry, natural materials.
If your kindling does not ignite, the problem may not be the starter. Your sticks may be too large, damp, or packed too closely. Start with pencil-thin kindling, then gradually move up in size.
Extra Experience: What I Learned Making DIY Nearly-Free Fire Starters
After making several batches of DIY nearly-free fire starters, the first thing I learned is that the humble paper egg carton deserves more respect. It looks flimsy. It costs nothing. It usually lives its final days under a dozen eggs and a grocery receipt. But once you fill it with lint and give it a modest drizzle of wax, it becomes a tidy little fire-starting machine.
The second lesson is that dryer lint is not always the same. Lint from cotton towels is fluffy, soft, and eager to catch. Lint from synthetic athletic clothes can be weird, stringy, and occasionally smells like a gym bag having an identity crisis. For the best results, I save lint after drying towels, denim, cotton sheets, or flannel. It burns cleaner and packs more predictably into cartons or tubes.
I also learned not to overdo the wax. My first batch looked impressive, but I poured wax like I was frosting cupcakes for a lumberjack wedding. The result was heavy, shiny, and slower to light than expected. A lighter drizzle worked better. The exposed lint caught quickly, while the wax extended the burn. Balance matters. Apparently, even trash crafts have engineering principles.
Storage makes a bigger difference than people think. I once left a few starters in a loosely closed bag near a garage window. They did not burst into flames or do anything dramatic, but they softened in the heat and became a sticky clump of regret. Now I store them in a labeled metal tin in a cool cabinet. For camping, I pack only what I need in a small waterproof bag or container.
The cotton ball and petroleum jelly method surprised me most. It looks too simple to be useful, but it works beautifully when you pull the cotton apart slightly before lighting. That tiny step creates fluffy edges that catch flame quickly. These are especially handy when backpacking or when space is limited. A few cotton starters weigh almost nothing, cost pennies, and can sit quietly in a camping kit until called into service.
Waxed pinecones, on the other hand, win the “most likely to be given as a rustic holiday gift” award. They are not the smallest option, but they look charming in a basket by the fireplace. The trick is to keep them simple: dry pinecones, plain wax, maybe a cotton string. Skip glitter, perfume oils, spray paint, and anything that makes the pinecone look like it escaped a craft store explosion.
The biggest practical discovery is that a fire starter is only one part of the system. When my kindling was dry and thin, one starter did the job. When my wood was damp or oversized, even the best starter struggled. Good fire building is a sequence: starter, small kindling, larger kindling, then fuel wood. Rushing straight to big logs is like asking a toddler to carry a sofa.
Finally, making fire starters changed how I look at household scraps. Empty toilet paper tubes, candle ends, and lint are no longer automatic trash. They are little ingredients waiting for a useful second life. That said, safety decides what gets reused. Clean cardboard? Yes. Natural lint? Yes. Mystery plastic packaging? Absolutely not. Nearly free is wonderful, but clean and safe is the real goal.
Conclusion
DIY nearly-free fire starters are simple, useful, budget-friendly, and surprisingly satisfying to make. With paper egg cartons, dryer lint, old candle wax, cardboard tubes, cotton balls, petroleum jelly, sawdust, or pinecones, you can create reliable starters for campfires, fire pits, fireplaces, wood stoves, and charcoal chimneys. The best versions use clean, dry, natural materials and are stored safely until needed.
Most importantly, homemade fire starters should make fire-building easier, not riskier. Avoid flammable liquids, plastics, treated wood, synthetic scraps, and anything that produces questionable smoke. Follow local fire rules, keep extinguishing tools nearby, and fully put out every fire before leaving. Do that, and your DIY fire starters will become the tiny, nearly-free helpers that turn “Why won’t this light?” into “Who wants s’mores?”
Note: This article was written as original web-ready content synthesized from established fire-safety guidance, outdoor fire-building best practices, and common U.S. home DIY methods.













