
There is something wonderfully rebellious about turning yesterday’s newspaper, a little glue, and a suspiciously sticky afternoon into home décor. DIY paper mache bowls are inexpensive, beginner-friendly, endlessly customizable, and far more charming than the mass-produced catchall dish currently collecting mystery screws on your entryway table.
Whether you want a rustic bowl for keys, a colorful centerpiece for dried flowers, a handmade gift, or a low-cost craft project that gives your recycling bin a second career, paper mache is ready for duty. The process is simple: cover a mold with paper strips and adhesive, let the layers dry, decorate the finished bowl, then pretend you always meant for it to look that artsy.
This guide explains how to make DIY paper mache bowls step by step, which materials work best, how to avoid common mistakes, and how to turn a humble newspaper bowl into something that looks intentionally stylish instead of accidentally haunted.
Note: DIY paper mache bowls are best used for decorative purposes and dry storage, such as keys, jewelry, craft supplies, potpourri, dried flowers, or lightweight ornaments. Do not use them for serving food, holding liquids, or placing in the dishwasher.
Why DIY Paper Mache Bowls Are Worth Making
Paper mache has survived generations of school art projects for a reason: it works. It is inexpensive, forgiving, easy to shape, and suitable for both adults and kids. You do not need a pottery wheel, a kiln, or the emotional fortitude required to understand modern furniture assembly instructions.
A handmade paper mache bowl can be styled to fit almost any room. Leave newspaper print visible for a rustic, recycled look. Paint it creamy white for a soft farmhouse feel. Add bold stripes for a playful modern accent. Cover it with tissue paper, book pages, maps, fabric scraps, or leftover wrapping paper for a one-of-a-kind finish.
Another bonus is that this project encourages reuse. Old newspapers, grocery flyers, shipping paper, magazines, tissue paper, and cardboard packaging can all become useful craft materials. Instead of tossing them out, you can turn them into a bowl that holds your keys, sunglasses, and the tiny pile of receipts you promise to organize someday.
Materials You Need for DIY Paper Mache Bowls
One reason paper mache bowls are so popular is that the supply list is refreshingly short. Most of the basics may already be sitting in your kitchen or craft drawer.
Basic Supplies
- A bowl to use as a mold
- Plastic wrap or a plastic grocery bag
- Newspaper, kraft paper, packing paper, or paper towels
- Scissors or your hands for tearing paper strips
- A mixing bowl or disposable container
- Paintbrushes
- Acrylic paint
- Clear craft sealer or decoupage sealer
- Wax paper, a plastic tablecloth, or old cardboard to protect your workspace
Choose Your Adhesive
You have several options for paper mache paste. Each has advantages, and none will judge you if you spill it on the table.
Flour-and-water paste: This traditional option is cheap and easy to make. Mix one part all-purpose flour with about two parts water until it has the consistency of thin pancake batter. Stir well to remove lumps. A small pinch of salt may help if you live in a humid area, but the real secret is allowing every layer to dry completely.
White glue mixture: Combine equal parts white school glue and water. This is a reliable choice for beginners because it dries clear and creates a durable surface.
Decoupage medium: A ready-made decoupage adhesive is convenient, especially if you want to skip homemade paste. It can act as glue and sealer, though you may still want a stronger topcoat for decorative bowls that will be handled often.
How to Make a Paper Mache Bowl Step by Step
Step 1: Pick the Right Bowl Mold
Choose a bowl with a shape you like because your finished paper mache bowl will copy it closely. A shallow salad bowl makes a good key tray. A round mixing bowl creates a classic decorative bowl. A small cereal bowl can become a jewelry dish or a catchall for loose change.
For your first project, avoid molds with dramatic ridges, narrow bottoms, or complicated handles. Paper mache can handle curves, but it does not enjoy being asked to perform advanced gymnastics on day one.
Step 2: Cover the Mold With Plastic Wrap
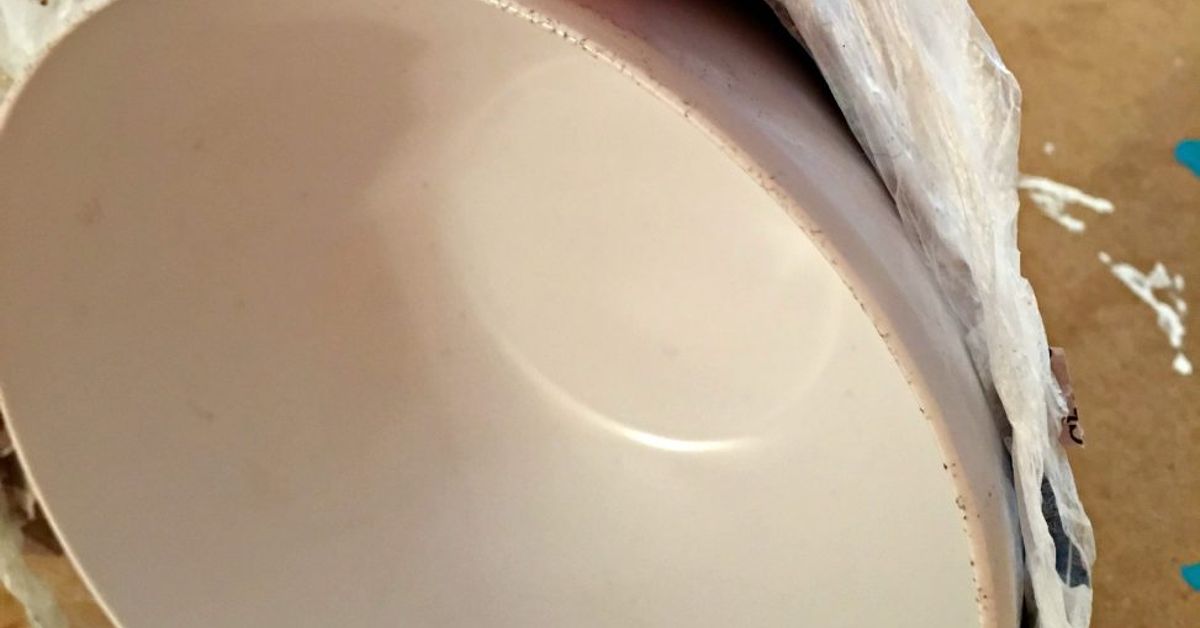
Turn the bowl upside down and cover the outside completely with plastic wrap. Smooth the wrap as much as possible and tuck or tape it inside the bowl if necessary. This layer prevents the paper mache from sticking permanently to your mold.
Do not skip this step. Without plastic wrap, your craft project may become a permanent tribute to the bowl you borrowed from the kitchen cabinet.
Step 3: Tear Your Paper Into Strips
Tear paper into strips about one to two inches wide. Torn edges generally blend better than perfectly cut edges, helping the layers sit more smoothly against each other. Make strips in different lengths so you can cover both the center and the curved sides of the mold.
Newspaper is a classic choice because it is flexible and absorbs paste well. Brown packing paper creates a more natural texture. Tissue paper is useful for decorative top layers, while paper towels can add a slightly rough, handmade texture.
Step 4: Apply the First Layer
Dip one paper strip into your paste or glue mixture. Run it gently between two fingers to remove excess adhesive. You want the strip coated, not dripping like it just lost an argument with a bucket of glue.
Lay the strip across the plastic-covered bowl and smooth it down with your fingers or brush. Continue adding strips, overlapping them slightly. Change the direction of the strips as you work. Horizontal, vertical, diagonal, and crisscrossed layers create a stronger finished bowl.
Cover the mold completely, including the sides and lower edge. Keep the rim fairly even, but do not panic if it looks imperfect. You can trim, sand, or embrace the handmade edge later.
Step 5: Build Several Layers for Strength
For a lightweight decorative bowl, three to four layers may be enough. For a sturdier catchall bowl, aim for five to seven layers. Let the first layer dry before adding more if you want the strongest result, especially in humid weather.
If you are in a hurry, you can apply a few layers in one session, but avoid creating a soggy paper sandwich. Thick, wet layers may dry unevenly and become soft or warped.
Step 6: Let the Bowl Dry Completely
Drying is the least glamorous part of paper mache, but it is where strength happens. Place the bowl in a warm, dry, well-ventilated area and let it dry overnight. Depending on humidity, thickness, and the adhesive you used, the project may need 24 hours or longer.
Do not remove the mold too early. A bowl that feels cool, soft, or damp needs more drying time. Patience is annoying, but less annoying than watching your bowl collapse into a damp paper taco.
Step 7: Remove the Mold and Plastic Wrap
Once the paper mache is fully dry and firm, gently lift it away from the original bowl mold. Peel off the plastic wrap. If the bowl sticks slightly, work slowly around the edge instead of pulling hard in one spot.
Trim ragged edges with scissors if needed. For a smoother rim, lightly sand the edge with fine-grit sandpaper. This small step can make the bowl look much more polished.
Step 8: Paint and Decorate Your Bowl
Now comes the fun part: turning the dried paper shell into something you actually want to display. Apply a coat of primer if newspaper print is showing through and you want a solid painted finish. Then add acrylic paint in thin layers, allowing each coat to dry before applying the next.
For a simple, modern look, paint the outside one color and the inside another. White and terracotta feel earthy and warm. Black and cream look graphic and modern. Soft pastels make an excellent choice for bedrooms, nurseries, or spring décor.
If you prefer a more textured finish, leave some paper edges visible and dry-brush paint over the surface. You can also use gold leaf, metallic paint, fabric scraps, pressed flowers, tissue paper, old maps, or pages from damaged books that are beyond repair.
Step 9: Seal the Finished Paper Mache Bowl
Once the paint is fully dry, apply a clear sealer. A matte finish creates a soft, handmade look, while satin or gloss gives the bowl more shine. Use several thin coats rather than one thick coat, allowing each layer to dry completely.
A sealer helps protect the surface from dust, fingerprints, and light handling. It does not turn paper mache into waterproof dishware, so keep your bowl away from sinks, wet plants, and anyone who thinks every decorative container is secretly a snack bowl.
Creative DIY Paper Mache Bowl Ideas
Modern Color-Block Bowl
Paint the lower half of your bowl a warm neutral color, such as beige, clay, or muted gray. Add a bold accent color around the rim or inside the bowl. Use painter’s tape for clean lines, then remove it carefully after the paint is dry to the touch.
Rustic Newspaper Bowl
Keep some newspaper text visible and seal the bowl with a matte topcoat. This look works especially well in home offices, reading corners, craft rooms, or entryways. It is proof that old news can still be useful, even after it stops being news.
Paper Mache Fruit Bowl Centerpiece
Create a wide, shallow bowl and paint it in a chalky white, olive green, or warm tan finish. Fill it with faux fruit, dried oranges, pine cones, decorative beads, or seasonal ornaments. For food safety, use it only as a decorative display unless you add a separate food-safe liner.
Kids’ Art Bowl
Let children add painted dots, stars, stripes, handprints, or doodles. A paper mache bowl can become a fun place for crayons, toy cars, building blocks, or trading cards. Adults should handle scissors, sealing products, and any materials not designed for children.
Textured Paper Towel Bowl
Use paper towels for the final layer to create an organic, sculptural surface. Once dry, paint the bowl with one solid color and let the wrinkles and texture do the visual work. This style looks surprisingly high-end, especially in neutral colors.
Common Paper Mache Bowl Problems and How to Fix Them
The Bowl Is Soft or Bendy
This usually means the bowl needs more layers, more drying time, or both. Let it dry fully, then add two or three additional layers of paper mache. Make sure each new layer is allowed to dry before adding another.
The Bowl Is Warped
Warping often happens when paper strips are too wet or when one side dries faster than the other. Use less adhesive on each strip, smooth the layers evenly, and dry the bowl in a well-ventilated area away from direct heat.
The Rim Looks Uneven
Uneven rims are common and not always a problem. A slightly wavy edge can look handmade in the best possible way. For a cleaner finish, trim it with scissors after drying and lightly sand the edge.
The Newspaper Print Shows Through Paint
Apply a primer or a coat of white acrylic paint before using lighter colors. Dark paint colors usually cover newspaper more easily, while pale yellow, soft pink, and white may need several coats.
The Bowl Smells Musty
Musty odors usually mean moisture was trapped inside the layers. Let the bowl dry in a warm, airy space for longer before sealing it. Avoid storing unfinished paper mache in damp basements, bathrooms, or anywhere that feels like it might grow a fern overnight.
How to Use and Care for a DIY Paper Mache Bowl
A finished paper mache bowl is lightweight, decorative, and surprisingly useful. Use it on an entryway table for keys, in a bedroom for jewelry, on a desk for small office supplies, or on a coffee table for decorative beads and dried botanicals.
Keep the bowl dry and dust it with a soft cloth. Do not soak it, rinse it, or leave it outdoors in wet weather. Even sealed paper mache remains a paper-based craft, and paper has very strong feelings about unexpected water exposure.
If the surface becomes scratched over time, lightly clean it with a dry cloth and apply another thin coat of clear sealer. With basic care, your handmade bowl can remain a useful décor piece for years.
My Experience Making DIY Paper Mache Bowls
The first paper mache bowl I made was not elegant. It was not minimalist. It was not even technically round. It looked like a small beige satellite dish that had landed badly in my kitchen. But it held keys, loose coins, and a pair of sunglasses without collapsing, which felt like a major engineering achievement for something made mostly from newspaper and optimism.
I started with a basic mixing bowl, plastic wrap, torn newspaper, and diluted white glue. The project seemed almost too easy at first. Tear paper. Add glue. Stick paper to bowl. Repeat. Then came the moment when I realized that every craft project has a hidden lesson, and this one was patience. My bowl looked finished after an hour, but it was actually a damp, floppy shell pretending to be furniture.
Leaving it overnight made all the difference. By the next day, the layers had hardened into a lightweight bowl with a shape that was far sturdier than expected. The surface was rough, the rim was uneven, and a few newspaper headlines showed through the paint. Instead of trying to force it into perfection, I leaned into the handmade look.
I painted the outside a warm cream color and used muted terracotta paint inside. The combination made the bowl look less like a school project and more like something that might appear on a shelf in a small home décor shop with a price tag that causes you to whisper, “I could make that.” In this case, you actually can.
The most useful lesson was learning not to overload the paper strips with glue. At first, I dipped every strip so thoroughly that it resembled cooked pasta. The result was messy, slow to dry, and difficult to smooth. Once I started squeezing off the excess adhesive, the layers became easier to place and the bowl dried much faster.
I also learned that torn paper strips are more forgiving than perfectly cut strips. Torn edges disappear into the surface better, especially when layers overlap in different directions. The goal is not to create a paper quilt with military precision. The goal is to create a sturdy shell with enough texture and personality to look handmade on purpose.
Since that first attempt, I have made paper mache bowls with newspaper, packing paper, old magazines, tissue paper, and even a few leftover gift bags. Each material creates a different finish. Newspaper feels classic and rustic. Brown packing paper has a natural, earthy look. Tissue paper creates soft color layers. Magazine pages can look bright and playful, especially if you leave bits of typography visible.
One of my favorite versions used a balloon instead of a bowl mold. I inflated the balloon, rested it in a cup, and covered only the top half with paper strips. When it dried, I popped the balloon and ended up with a round, lightweight bowl that looked almost sculptural. It was not perfectly symmetrical, but that was exactly why it worked. Handmade décor does not need to look factory-perfect to look good.
DIY paper mache bowls are now one of my favorite low-pressure craft projects because there is room for mistakes. A wavy edge can become a design feature. A rough surface can become texture. A paint drip can become part of the finish. You can make one in an afternoon, decorate it the next day, and end up with something useful that has a story behind it.
The best part is that every bowl comes out slightly different. That is not a flaw. It is the whole point. A handmade paper mache bowl does not need to be flawless; it just needs to be sturdy enough to hold your everyday clutter while looking charming enough that you stop calling it clutter.
Final Thoughts on DIY Paper Mache Bowls
DIY paper mache bowls are proof that creative home décor does not need to be expensive, complicated, or powered by a warehouse full of specialized supplies. With paper, adhesive, a simple mold, and a little drying time, you can make a custom bowl that fits your style and serves a practical purpose.
Start with one basic bowl, keep the design simple, and focus on building strong layers. Once you understand the process, experiment with colors, textures, decorative papers, and shapes. Before long, you may find yourself looking at every empty cereal box, newspaper stack, and gift bag as potential décor. That is when you know the paper mache bug has officially bitten.













