
A guitar bridge has one simple job: hold the strings in the right place while transferring their vibration into the body. Simple, yes. Easy on the nerves when something goes wrong? Absolutely not. A lifting acoustic bridge can make your stomach drop faster than a bad open-mic night. An electric guitar bridge with buzzing saddles, loose screws, or sour intonation can make every chord sound like it is arguing with itself.
The good news is that many guitar bridge problems are fixable. Some are simple setup issues, such as adjusting saddle height or correcting intonation. Others, like a loose acoustic bridge, require patience, clamps, the right glue, and a healthy respect for wood. This guide explains how to fix a guitar bridge in 13 practical steps, with clear examples for acoustic and electric guitars.
Important note: If your guitar is expensive, vintage, under warranty, cracked around the bridge, or has loose internal bracing, take it to a qualified guitar repair technician. DIY courage is admirable. DIY panic with wood glue on your elbows is less charming.
What a Guitar Bridge Does
The bridge anchors the strings and helps control action, intonation, sustain, tuning stability, and tone. On an acoustic guitar, the bridge is glued directly to the top, and the strings pull against it with serious tension. On an electric guitar, the bridge is usually screwed or mounted to the body and often includes adjustable saddles for height and intonation.
When a bridge fails, the symptoms may include high action, buzzing, sharp or flat notes up the neck, leaning saddles, loose bridge pins, rattling hardware, cracks in the finish, or a visible gap between the acoustic bridge and the top. Catching these signs early can prevent a small repair from becoming a dramatic wallet solo.
Tools and Supplies You May Need
Before you start, gather the right tools. You may not need everything, but having proper gear prevents “creative” solutions involving butter knives and regret.
- Electronic tuner
- Capo
- String winder and wire cutters
- Small ruler or string-action gauge
- Feeler gauges
- Correct-size Allen wrenches or screwdrivers
- Painter’s tape or low-tack masking tape
- Wood glue suitable for guitar repair, if regluing an acoustic bridge
- Bridge clamps and protective cauls, if doing acoustic bridge work
- Fine sandpaper on a flat block for saddle work
- Replacement saddle, bridge pins, screws, springs, or saddles if needed
- Digital hygrometer for humidity checking
Easy Ways to Fix a Guitar Bridge in 13 Steps
1. Diagnose the Type of Bridge Problem
Start by identifying what is actually wrong. A “bad bridge” might be a lifted acoustic bridge, worn bridge pins, a loose saddle, incorrect action, poor intonation, rusted electric saddles, or a humidity-related body change. Tune the guitar to pitch, play every fret, and listen carefully.
Check whether the problem happens on one string or all strings. If only the high E buzzes near the bridge, the saddle may be too low or loose. If all strings feel high, the saddle height, neck relief, or neck angle may be involved. If chords sound fine near the nut but terrible higher up, intonation may be the culprit.
2. Check for a Lifting Acoustic Bridge
For acoustic guitars, inspect the rear edge of the bridge where it meets the soundboard. Slide a thin piece of paper around the bridge perimeter. If the paper slips under the bridge, there may be separation. A tiny finish line is not always a disaster, but a real gap is a warning sign.
Do not ignore a lifting bridge. String tension can continue pulling it upward, damaging the top or bridge plate. If the bridge is visibly lifting, loosen the strings immediately. Think of it as telling the guitar, “Everybody relax before someone loses spruce.”
3. Evaluate Humidity Before Making Adjustments
Humidity affects guitar geometry. A dry acoustic top can sink, lowering the bridge area and causing buzz. A wet guitar can swell, raise the action, weaken glue joints, and make the instrument sound dull. Many makers recommend storing guitars in a moderate humidity range, often around 45% to 55% relative humidity.
Use a digital hygrometer inside the case or room. If the guitar has been stored near heat, air conditioning, a damp basement, or a car trunk, stabilize it before major repairs. A bridge issue caused by humidity may improve after proper humidification or drying. Adjusting a guitar before the wood settles is like measuring soup during an earthquake.
4. Loosen or Remove the Strings Safely
For bridge inspections, saddle replacement, or acoustic bridge repair, loosen the strings gradually. On most modern guitars, removing all strings at once is generally safe, but do it calmly and keep track of small parts. Bridge pins love rolling under furniture, where they join missing picks and that one sock nobody talks about.
If you are working on an electric bridge, you may only need to loosen one string at a time. For floating tremolo systems, take photos before disassembly so you can restore the original setup. A quick phone picture can save an hour of confused staring.
5. Fix Loose Acoustic Bridge Pins
Loose, worn, or chewed-up bridge pins can cause string seating problems. On an acoustic guitar, the ball end of the string should sit firmly against the bridge plate inside the guitar, not halfway up the pin. If pins are worn or the slots look damaged, replace them with properly sized pins.
When restringing, insert the string ball into the hole, place the bridge pin lightly, then pull the string upward until the ball seats against the bridge plate. Do not hammer pins into place. A bridge pin is not a tent stake, and your guitar is not a campsite.
6. Inspect the Acoustic Saddle Fit
The saddle should sit snugly in the bridge slot without leaning forward or backward. A saddle that tilts under string tension can reduce tone transfer, cause buzzing, and eventually damage the bridge slot. With the strings loosened, try gently removing the saddle. It should not wobble loosely, but it also should not need heroic force to come out.
If the saddle is too loose, replace it with a properly fitted saddle. If it is too tall, action may feel stiff. If it is too low, buzzing may appear. A good saddle fit is one of those boring details that makes a guitar feel magically better.
7. Lower an Acoustic Saddle Carefully
If your acoustic action is too high and the neck relief is reasonable, you may need to lower the saddle. Measure the string height at the 12th fret before sanding. As a general rule, removing material from the bottom of the saddle lowers the action by roughly half that amount at the 12th fret. For example, sanding 1/32 inch from the saddle usually lowers the action about 1/64 inch at the 12th fret.
Mark the saddle bottom with a pencil, place fine sandpaper on a flat surface, and sand evenly. Keep the bottom perfectly flat. Check your progress often. You can always remove more material, but adding it back requires shims, replacement parts, or a time machine.
8. Raise a Low Acoustic Saddle the Right Way
If the action is too low and the guitar buzzes, the saddle may need to be replaced with a taller one. Thin shims can work as a temporary fix, but a properly made saddle usually gives better tone and contact. Avoid soft cardboard or random plastic scraps under the saddle because they can weaken vibration transfer.
Before raising the saddle, check whether the buzz comes from low humidity, uneven frets, nut slots, or neck relief. Raising the saddle can hide a symptom without fixing the cause. It is the guitar-repair version of wearing sunglasses indoors and calling it a lighting solution.
9. Reglue a Loose Acoustic Bridge Only If You Are Prepared
Regluing an acoustic bridge is more advanced than turning a screw. The old glue must be cleaned from the bridge and top, the bridge must fit the top accurately, and clamping pressure must be even. If the bridge has fully separated or the top is damaged, professional repair is the smarter move.
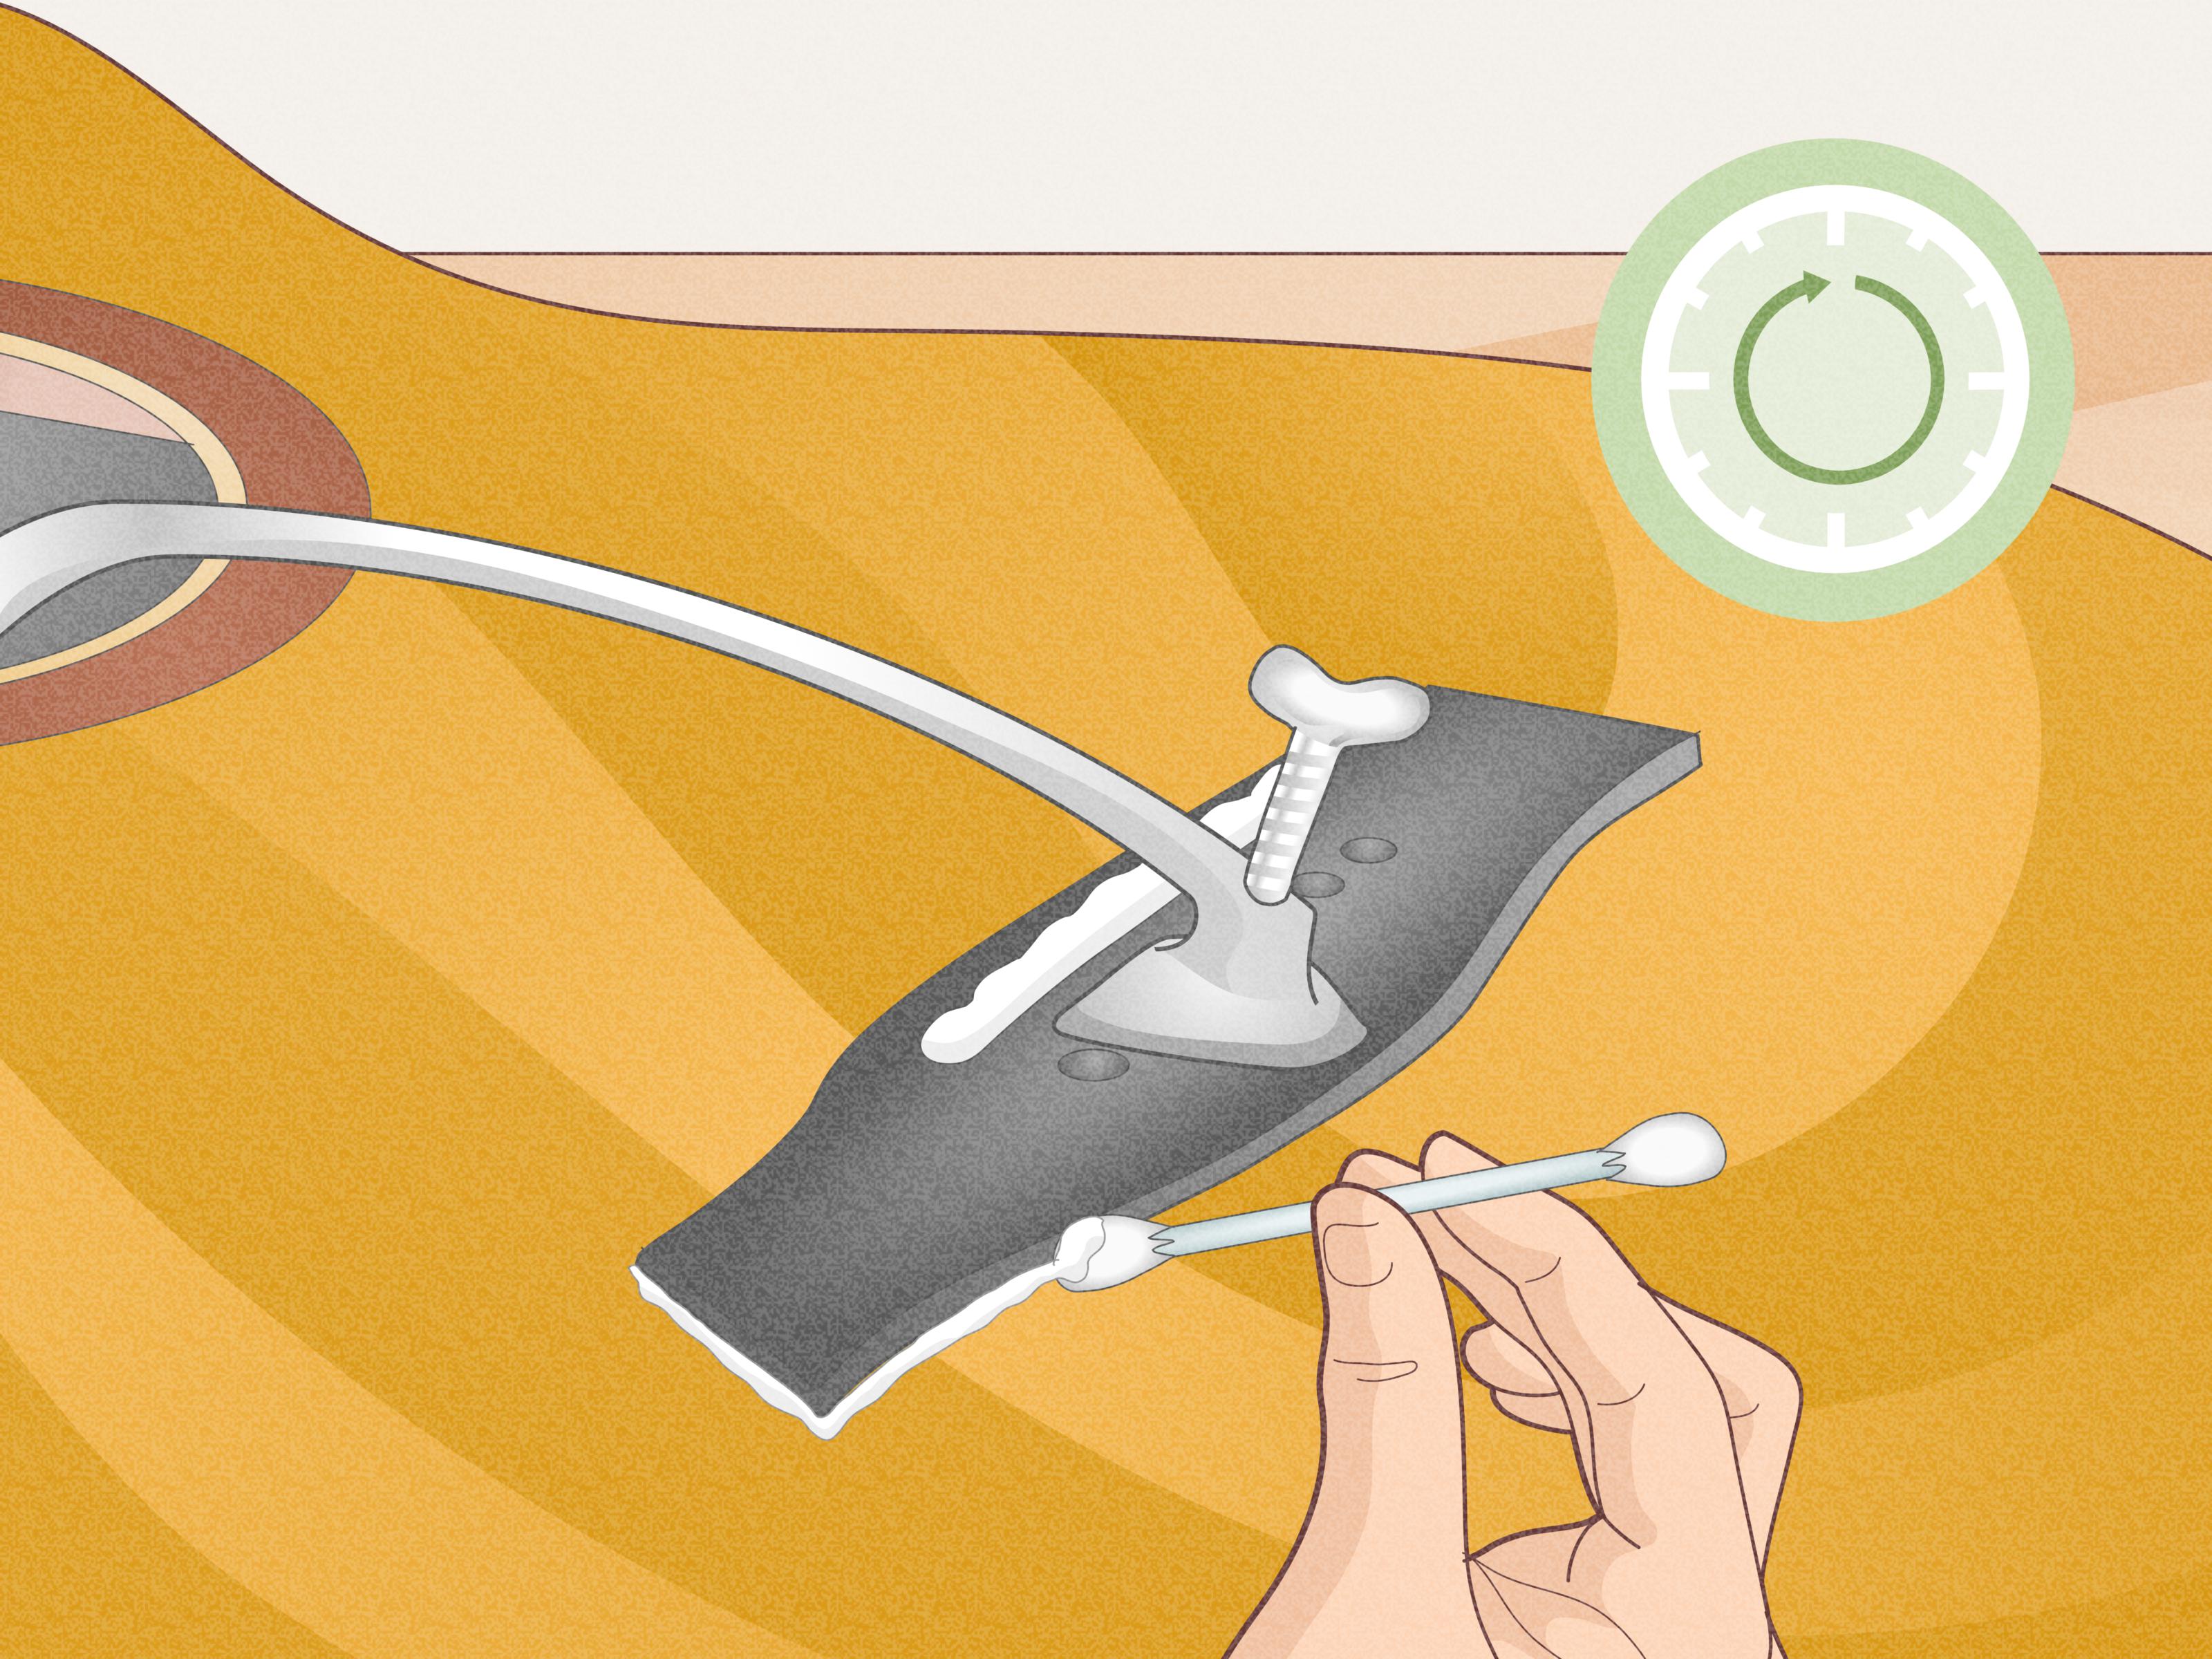
If you have the right tools and experience, the basic process is to remove the bridge cleanly, protect the finish, scrape old glue from mating surfaces, test-fit the bridge, apply the correct amount of wood glue, clamp with cauls, remove squeeze-out, and allow full curing time before restringing. Do not use super glue for this job. It is fast, unforgiving, and usually wrong for a traditional acoustic bridge reglue.
10. Tighten Electric Bridge Hardware
On electric guitars, many bridge problems come from loose hardware. Check saddle screws, intonation screws, bridge posts, tremolo screws, and mounting screws. Use the correct tool size so you do not strip screw heads. Tighten gently; “snug” is the goal, not “construction equipment.”
If screws rattle or saddles drift, inspect springs, threads, and saddles for wear. Replace corroded or damaged parts. On Tune-o-matic-style bridges, make sure the bridge sits properly on its posts and the stopbar is not forcing strings into the back edge of the bridge at an extreme angle.
11. Adjust Electric Guitar Action at the Bridge
For Fender-style bridges, each saddle often has two height screws. Raise or lower both screws evenly so the saddle stays level. Retune after every adjustment and measure action at the 12th or 17th fret, depending on your setup method. Match the saddle heights to the fingerboard radius for a comfortable feel across all strings.
For Gibson-style Tune-o-matic bridges, action is usually adjusted from the bass and treble bridge posts. Small turns make a noticeable difference. If the treble strings feel good but the bass strings buzz, raise only the bass side slightly. Setup is not about chasing one universal number. It is about matching the guitar to the player.
12. Set the Intonation
After action and string height are close, set intonation. Tune the guitar accurately, then compare the 12th-fret harmonic with the fretted 12th-fret note. If the fretted note is sharp, move the saddle back, away from the nut, to lengthen the string. If the fretted note is flat, move the saddle forward, toward the nut, to shorten the string.
Use small adjustments, retune, and check again. Repeat for each string. Fresh strings make intonation work much easier because old strings can develop uneven wear and false readings. A good tuner helps, too. Guessing intonation by ear is possible, but so is cutting your own hair in the mirror. Results may vary.
13. Test the Repair Like a Player, Not a Microscope
Once the bridge repair or adjustment is done, play the guitar normally. Strum open chords, play barre chords, bend notes, pick softly, pick hard, and check tuning stability. Listen for rattles, dead notes, buzzing, and strange sitar-like sounds. Measure again if needed, but do not become trapped in numbers.
A guitar should feel comfortable, sound musical, and stay stable. If the bridge looks secure, the saddle sits correctly, the action feels right, and the intonation behaves across the neck, you have done well. Celebrate by playing something tasteful. Or play the loudest riff you know. Both are valid science.
Common Guitar Bridge Problems and Quick Fixes
Bridge Is Lifting
Loosen the strings and inspect the gap. If the bridge is separating from the top, avoid playing the guitar until it is repaired. Small separations can become major structural damage under string tension.
Strings Buzz Near the Bridge
Check saddle height, saddle fit, loose screws, and break angle. On acoustics, also inspect the bridge pins and saddle slot. On electrics, check saddle screws and bridge hardware.
Guitar Sounds Out of Tune Up the Neck
Set intonation after installing fresh strings and adjusting action. If an acoustic guitar still intonates poorly, it may need a compensated saddle or professional evaluation.
Action Is Too High
Measure neck relief first. If relief is acceptable, adjust the bridge or saddle. On acoustic guitars, lowering the saddle requires removing material carefully. On electric guitars, saddle or bridge-post adjustments are usually reversible.
Action Is Too Low
Check humidity, neck relief, and fret condition before raising the saddle. If the bridge area has sunk from dryness, humidification may help restore the top before setup work.
When You Should Not Fix a Guitar Bridge Yourself
Do not attempt a major bridge repair if the guitar has top cracks, loose braces, finish separation, a damaged bridge plate, a twisted neck, or sentimental value that exceeds your repair confidence. Also avoid DIY bridge regluing on valuable vintage instruments. A proper repair preserves tone, structure, and resale value.
Professional guitar technicians have specialized clamps, cauls, heating tools, inspection mirrors, and experience reading wood movement. Paying for expertise can be cheaper than paying someone to undo your heroic experiment later.
Bridge Maintenance Tips to Prevent Future Trouble
- Store your guitar in a stable humidity range.
- Use a case when the instrument is not being played.
- Change strings regularly.
- Replace worn bridge pins before they damage the bridge plate.
- Check saddle fit during string changes.
- Wipe sweat and grime from electric bridge hardware.
- Use the correct tools for adjustment screws.
- Do not leave a guitar in a hot car, damp basement, or direct sun.
Real-World Experience: What Fixing a Guitar Bridge Teaches You
The first thing most players learn from fixing a guitar bridge is that the bridge is not just a piece of hardware. It is the meeting point between string tension, wood movement, player comfort, and tone. A tiny adjustment at the bridge can change the entire personality of the instrument. Lower a saddle slightly, and a stiff acoustic suddenly feels friendly. Move an electric saddle a few turns, and chords that once sounded sour become clean and confident.
One common experience is discovering that the “bridge problem” was not only the bridge. For example, a player may complain that the acoustic bridge is too high because the strings feel like suspension cables. After measuring, the real issue might be too much neck relief, an old set of heavy strings, or a dry top that has changed shape. Another player may think an electric bridge is defective because the guitar will not stay in tune. The real cause might be string binding at the nut, old strings, or saddles with sharp burrs. Guitar repair teaches humility. The instrument rarely lies, but it does enjoy giving clues in a dramatic accent.
Fixing a bridge also teaches patience. When adjusting intonation, the best results come from small movements, retuning, and checking again. Rushing the process usually sends you in circles. The same is true for sanding an acoustic saddle. A few careful passes on sandpaper are safer than one aggressive grind. Many beginners remove too much material because they want a fast result. Then the guitar buzzes, and the “easy fix” becomes a replacement saddle. Measure first, work slowly, and sneak up on the result.
Another useful lesson is that setup is personal. A bluegrass flatpicker may need higher action because the strings are attacked harder. A fingerstyle player may prefer a lower, lighter feel. A slide guitarist may want the strings higher than usual. There is no single perfect bridge setting for every guitar and every hand. The best setup is the one that lets the player make music without fighting the instrument.
Finally, bridge work reminds you that prevention is easier than repair. A guitar kept in stable humidity, cleaned during string changes, and inspected regularly will usually avoid the worst bridge disasters. Look for gaps, leaning saddles, worn pins, rusty screws, and sudden changes in action. These small checks take minutes, but they can save a guitar from serious damage. In other words, treat your bridge like the quiet hero it is. It does not ask for applause, but without it, your guitar is mostly decorative furniture with strings.
Conclusion
Fixing a guitar bridge can be simple or serious, depending on the problem. Electric bridge adjustments often involve saddle height, intonation, and loose hardware. Acoustic bridge problems may involve saddle fit, bridge pins, humidity, or a lifting glued bridge. The best approach is to diagnose carefully, use proper tools, make small adjustments, and know when to call a professional.
If your bridge is only out of adjustment, the 13 steps above can help you improve playability, tuning accuracy, and tone. If the bridge is separating from the guitar top, do not keep playing and hoping for the best. Hope is lovely, but string tension is stronger. Loosen the strings, inspect the damage, and get the repair done correctly.













