
College applications already come with enough tiny mysteries: portals, deadlines, transcripts, school reports, “optional” essays that do not feel optional, and passwords you swear you wrote down somewhere. Then, just when you think you have everything under control, someone says, “Please provide a stamped, addressed envelope for your recommendation letter.” Suddenly, the humble envelope becomes a high-stakes admissions accessory.
The good news is that learning how to address college recommendation envelopes is not complicated. The bad news is that it does require accuracy. A recommendation envelope should look professional, protect the confidentiality of the letter, and reach the correct admissions office before the deadline. Whether your school still uses paper recommendation letters, a scholarship committee requests sealed letters, or a teacher prefers old-school mail, the steps below will help you prepare envelopes cleanly and confidently.
This guide walks through 12 practical steps, including how to format the mailing address, where to place the return address, how to handle sealed letters, what to write on the envelope, and what mistakes to avoid. Think of it as envelope etiquette with a backpack, a deadline, and slightly better handwriting.
Why College Recommendation Envelopes Still Matter
Most college recommendation letters today are submitted electronically through application platforms or school systems. However, paper recommendation envelopes are still used for some scholarships, special programs, transfer applications, international admissions, independent schools, local awards, and situations where a recommender must submit a physical letter directly.
A properly addressed college recommendation envelope does three important jobs. First, it helps the letter reach the right office. Second, it shows that you can follow instructions, which is a surprisingly underrated life skill. Third, it helps preserve the privacy and credibility of the recommendation. Many colleges and programs prefer recommendation letters to remain confidential, especially when a student has waived the right to view them.
In other words, the envelope is not just paper. It is the tiny security guard standing between your application and administrative chaos.
How to Address College Recommendation Envelopes: 12 Steps
Step 1: Read the College’s Instructions First
Before you write a single letter on the envelope, check the college, scholarship, or program instructions. Some admissions offices require recommendations to be submitted online only. Others may allow mailed letters but require a specific mailing address, department name, applicant ID number, or deadline.
Look for details such as “Office of Undergraduate Admission,” “Scholarship Committee,” “Application Processing Center,” or a specific campus address. Do not guess. Colleges can have multiple offices, and sending a recommendation letter to the wrong place is like mailing your lunch to the library: technically possible, but not useful.
If the school uses an online portal, confirm whether a paper envelope is even necessary. Many colleges prefer recommenders to submit letters digitally because it is faster, easier to track, and less likely to be eaten by the postal universe.
Step 2: Use the Official Admissions Mailing Address
The delivery address should be the official mailing address provided by the college or program. This is usually found on the admissions website, application instructions, scholarship page, or recommendation form.
A standard college recommendation envelope address may look like this:
Office of Undergraduate Admission
Example University
123 College Avenue
City, ST 12345
If the college gives a specific department or processing center, use that exact wording. For example:
Scholarship Selection Committee
Office of Financial Aid
Example College
456 Campus Drive
City, ST 67890
Accuracy matters. One missing suite number or incorrect ZIP code can delay delivery. If the application deadline is close, even a short delay can feel like an Olympic-level stress event.
Step 3: Place the Delivery Address in the Center
Write or print the college’s delivery address in the center of the front of the envelope. Keep the lines straight, clear, and easy to read. Use dark ink, preferably black or blue, and avoid decorative lettering. This is not the moment for bubble letters, glitter pens, or dramatic calligraphy that looks like it belongs on a wedding invitation.
The delivery address should be parallel to the longest side of the envelope. If you are using a standard business envelope, turn it horizontally and write the address in the middle. Leave enough space above and below the address so postal machines and human mail handlers can read it easily.
If your handwriting is not your strongest academic subject, print a typed label. Neatness helps prevent mistakes and makes the envelope look professional.
Step 4: Add the Return Address in the Upper Left Corner
The return address goes in the upper left corner of the envelope. For college recommendation envelopes, the return address is usually your school’s address or the recommender’s professional address, not your home address, unless the instructions say otherwise.
A teacher’s return address might look like this:
Ms. Rachel Carter
Lincoln High School
800 Pioneer Road
Denver, CO 80203
A school counseling office return address might look like this:
College Counseling Office
Lincoln High School
800 Pioneer Road
Denver, CO 80203
Using the school or recommender’s return address reinforces that the letter is coming from an official academic source. It also helps the envelope return to the sender if there is a delivery issue.
Step 5: Include Your Name and Applicant Information When Needed
Some colleges or scholarship programs ask students to include identifying information with mailed documents. This may include your full legal name, date of birth, application ID, Common App ID, student ID, or the program you are applying to.
If the instructions ask for this information, place it neatly in the lower left corner of the envelope or on a separate cover sheet inside the mailing packet. For example:
Applicant: Jordan Lee
Date of Birth: 04/12/2008
Application ID: 1234567
Document: Teacher Recommendation
Only include personal information if the college requests it or if it is clearly necessary for matching the letter to your file. Do not overload the envelope with every fact about yourself. The admissions office does not need your favorite cereal, your dog’s name, or your deeply held opinion that group projects build character mostly by testing patience.
Step 6: Write “Recommendation Letter” or “Confidential Recommendation”
It can be helpful to label the envelope so the admissions office knows what is inside. Common labels include:
Teacher Recommendation
Counselor Recommendation
Confidential Letter of Recommendation
Scholarship Recommendation
Place this label in the lower left corner or under the delivery address if there is enough space. Keep it simple and professional. Do not write dramatic warnings like “IMPORTANT!!! OPEN IMMEDIATELY!!! FUTURE INSIDE!!!” Admissions offices receive thousands of documents; clear labeling works better than panic punctuation.
Step 7: Use the Correct Envelope Size
A standard #10 business envelope is often fine for a one-page or two-page recommendation letter folded neatly into thirds. However, if the recommender includes forms, a letterhead document, or multiple pages, a larger 9-by-12-inch envelope may be better because it keeps the documents flat.
If the college provides a required form, make sure it fits without being damaged. A folded form is usually acceptable unless the instructions say not to fold it. For official-looking documents, larger envelopes can appear cleaner and more professional.
When in doubt, ask the recommender or school counselor what they prefer. Teachers and counselors who write many recommendations often have a system, and disturbing that system may be like moving a librarian’s bookmarks: unwise.
Step 8: Provide Postage If the Recommender Will Mail It
If your teacher, counselor, or mentor is mailing the recommendation letter for you, provide the envelope with correct postage already attached. This is a small courtesy that makes the process easier for the recommender.
For regular domestic mail, a standard letter may need only standard postage, but heavier or oversized envelopes may require additional postage. If you are unsure, take the sealed envelope to the post office and ask for the correct postage. For international mail, special postage rules apply, and delivery can take longer.
If the deadline is important, consider a mailing option that provides tracking or proof of mailing. This is especially useful for scholarship applications or programs that require physical documents by a specific date.
Step 9: Ask the Recommender to Seal and Sign Across the Flap
For confidential recommendation letters, the recommender should place the letter inside the envelope, seal it, and sign across the back flap. This signature shows that the envelope has not been opened or altered after the recommender sealed it.
The signature should cross the sealed edge of the flap. Some schools may also stamp the flap with an official school seal. This is common for confidential documents and helps preserve trust in the recommendation process.
Do not seal the envelope yourself unless the recommender has already placed the letter inside and instructed you to do so. Better yet, let the recommender handle the final sealing. That way, there is no awkward “I promise I did not peek” energy hovering over your application.
Step 10: Never Open a Sealed Recommendation Envelope
Once a recommendation envelope has been sealed and signed, do not open it. Opening the envelope can make the letter appear unofficial or invalid, especially if the program expects a confidential recommendation.
This rule is simple: sealed means sealed. Even if curiosity taps you on the shoulder wearing tap shoes, resist. You may wonder whether your teacher called you “exceptionally thoughtful” or “usually awake by second period,” but the integrity of the process matters more.
If you accidentally damage or open the envelope, contact the recommender right away and ask for a new sealed copy. Do not tape it shut and hope no one notices. Someone will notice. Envelopes are terrible at keeping secrets once they have been ripped.
Step 11: Mail the Envelope Early
Mail recommendation envelopes well before the deadline. A safe rule is to allow at least one to two weeks for domestic mail, and longer for international delivery. If the program has a strict receipt deadline rather than a postmark deadline, mail even earlier.
Remember that “due by January 1” may mean the college must receive the document by January 1, not that you can drop it in a mailbox at 11:58 p.m. and celebrate with leftover holiday cookies. Always check whether the deadline refers to submission, postmark, or arrival.
For important documents, mailing from a post office counter can provide more confidence than using a random mailbox. Tracking, certified mail, or delivery confirmation may be worth the small extra cost.
Step 12: Confirm Receipt Politely
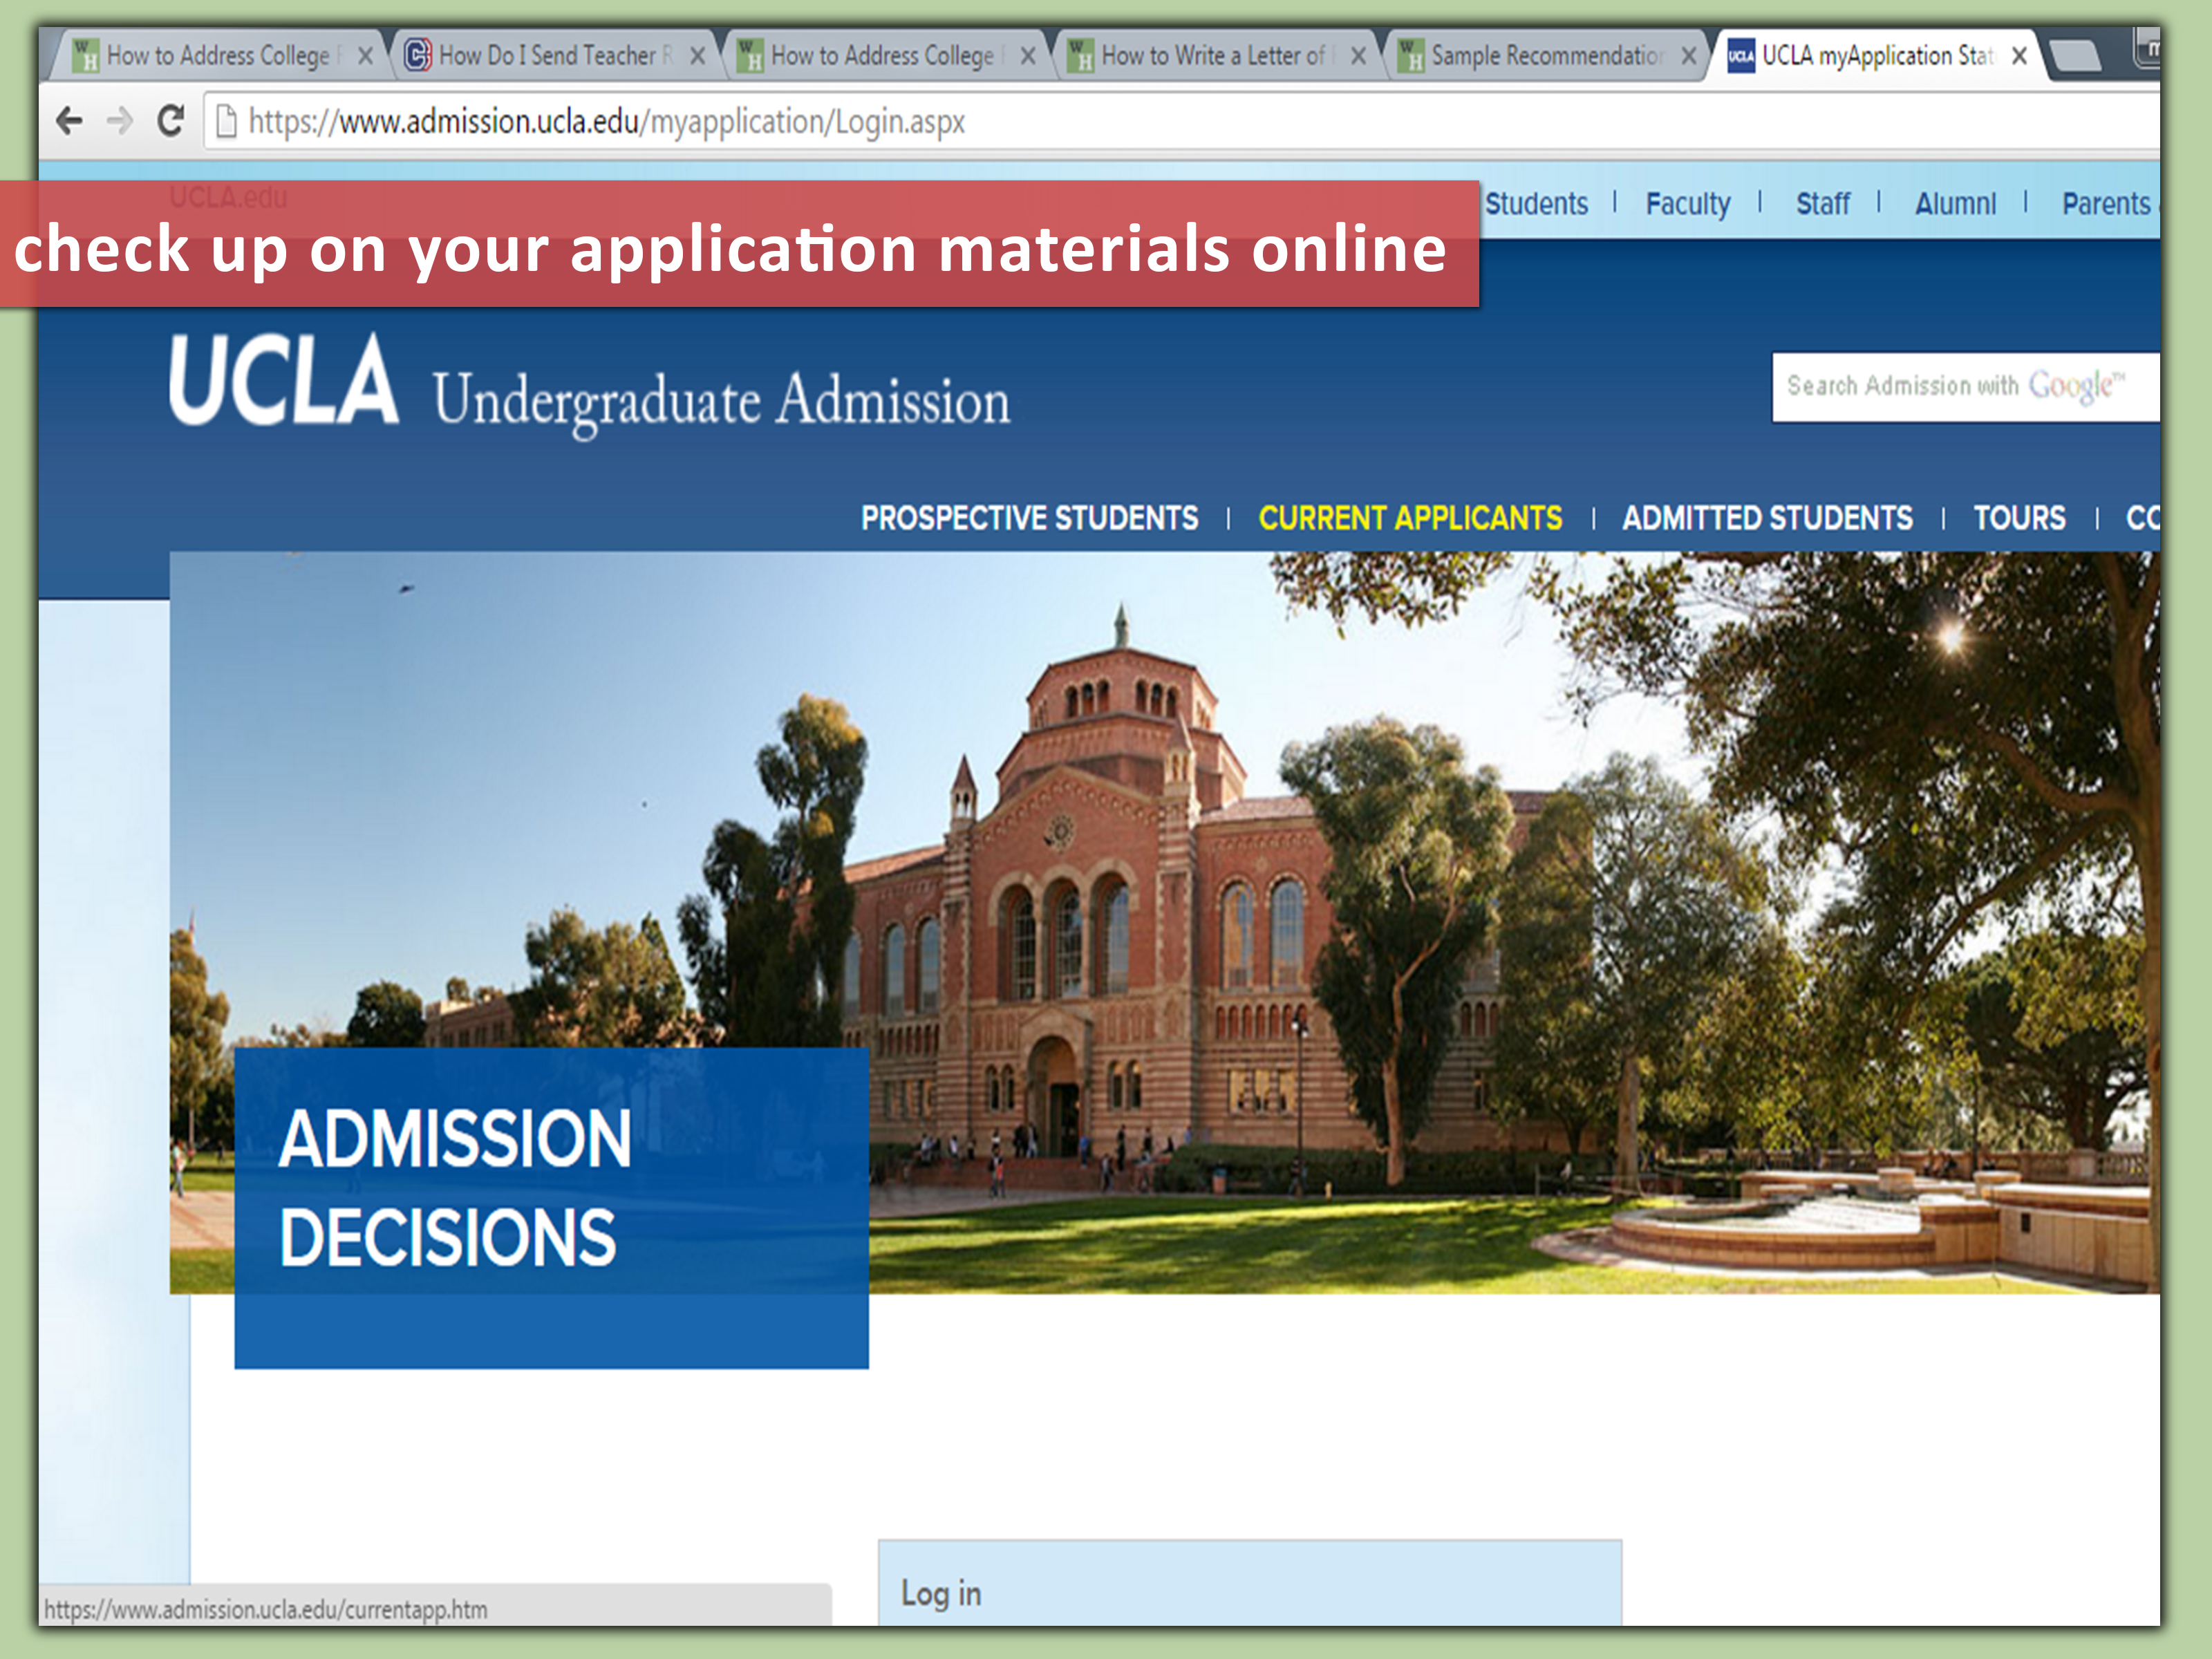
After enough time has passed, check your application portal to see whether the recommendation has been marked as received. Many colleges update document status online. If the portal does not update after a reasonable period, contact the admissions office politely.
A simple message works:
Dear Admissions Office,
I am writing to confirm whether my teacher recommendation from Ms. Rachel Carter has been received for my application. My name is Jordan Lee, and my application ID is 1234567. Thank you for your help.
Be patient and professional. Admissions offices process large amounts of mail during application season. A calm follow-up is helpful. A daily email titled “Did you get it now?” is less helpful.
Common Mistakes to Avoid
Using the Wrong Office Address
Do not send recommendation letters to the general university address unless instructed. Large universities often have separate addresses for undergraduate admissions, graduate admissions, financial aid, scholarships, and document processing.
Forgetting the Return Address
A missing return address can create problems if the envelope cannot be delivered. Always include a clear return address from the recommender, school, or counseling office.
Opening the Confidential Envelope
If the letter is sealed and signed, leave it sealed. Opening it can weaken its credibility and may force the recommender to prepare a new copy.
Waiting Until the Last Minute
Paper mail takes time. Teachers and counselors also need time. Start early, provide materials early, and mail early. Early is the magical word that makes college application season slightly less dramatic.
Writing Too Much on the Envelope
Keep the envelope clean and professional. The admissions office needs the address, return address, and any required applicant details. It does not need motivational quotes, stickers, doodles, or your personal ranking of campus dining halls.
Sample College Recommendation Envelope Format
Front of Envelope
Upper Left Corner:
Ms. Rachel Carter
Lincoln High School
800 Pioneer Road
Denver, CO 80203
Center:
Office of Undergraduate Admission
Example University
123 College Avenue
City, ST 12345
Lower Left Corner:
Confidential Teacher Recommendation
Applicant: Jordan Lee
Application ID: 1234567
Upper Right Corner:
Correct postage
Back of Envelope
The recommender seals the envelope and signs across the flap. If your school uses an official stamp, the stamp may also go across the sealed flap.
Should the Student or Teacher Mail the Recommendation?
Follow the college’s instructions first. If the college says the recommender must send the letter directly, then the teacher, counselor, or school office should mail it. If the college allows the student to collect sealed recommendations and submit them together, you may handle the sealed envelopes, but you should not open them.
Many colleges prefer electronic recommendations because they are easier to verify and match to applications. When paper letters are accepted, confidentiality is still important. A sealed and signed envelope helps show that the student did not read or change the letter.
How to Ask for a Recommendation Envelope Politely
When asking a teacher or counselor for a mailed recommendation, make the process as easy as possible. Provide the addressed envelope, postage, deadline, application instructions, and any required forms. Also include a brief resume or activity list if the recommender requests one.
You might say:
Dear Ms. Carter,
Thank you again for writing my recommendation letter. This program requires a mailed copy, so I have included an addressed and stamped envelope, the deadline, and the required form. Please let me know if you need any additional information from me.
That message is polite, clear, and respectful of the recommender’s time. Teachers are busy humans, not recommendation vending machines. A little organization goes a long way.
Extra Tips for a Professional Recommendation Envelope
Type the Address When Possible
Typed labels reduce the chance of misreading. They also make the envelope look polished. Use a simple font such as Arial, Times New Roman, or Calibri.
Use Clean Envelopes
Use envelopes without stains, tears, old labels, or mystery backpack crumbs. A clean envelope sends the message that you take the process seriously.
Keep Copies of Instructions
Save a screenshot or printed copy of the mailing instructions. If anything goes wrong, you can quickly confirm the address, deadline, and submission rules.
Track Important Mail
If the recommendation is for a major scholarship or strict deadline, tracking can provide peace of mind. It also gives you useful information if the admissions office has not updated your file.
Experiences and Practical Lessons: What Students Often Learn the Hard Way
Addressing college recommendation envelopes sounds simple until you are standing at the kitchen table with three envelopes, two deadlines, a printer that has decided to become a modern art installation, and a parent asking whether “Office of Admission” is the same as “Admissions Office.” From real application experiences, one lesson becomes clear quickly: tiny details matter more when deadlines are involved.
One common experience is discovering that every school has its own preferred method. A student may prepare envelopes for three colleges, only to learn that one college wants everything online, another accepts mailed recommendations only from the school counselor, and the third wants a scholarship recommendation sent to a completely different office. The smart move is to create a small checklist for each college before preparing envelopes. Include the mailing address, deadline, required forms, recommender name, and whether the letter must be sent directly.
Another lesson is that teachers appreciate prepared students. A recommender is much more likely to feel comfortable helping when you provide a neat packet: addressed envelope, stamp, deadline, instructions, and a short summary of why you are applying. This does not mean you should hover near their desk like a nervous weather system. It means you should make the task clear and easy. Respectful preparation shows maturity.
Students also learn that sealed means truly sealed. Sometimes a recommender gives the envelope back to the student to mail. That is normal if the college allows it, but the envelope must remain closed. It can feel strange to mail a document about yourself without reading it, but confidentiality is part of what makes recommendation letters valuable. Colleges want the recommender’s honest perspective, not a student-edited highlight reel.
Timing is another major experience. Paper mail does not move at the speed of a text message. A letter mailed close to the deadline may arrive late, especially during holidays, bad weather, or peak application season. Students who mail early sleep better. Students who mail late become amateur package-tracking detectives. Choose sleep.
Finally, many applicants realize that professionalism does not require perfection. Your envelope does not need to look fancy. It needs to be accurate, readable, complete, and handled with care. A clean envelope with the correct address, return address, postage, applicant information, and sealed flap is enough. The goal is not to impress the postal service with your design skills. The goal is to help your recommendation arrive safely and be matched to your application.
If you treat the envelope as part of the application, not an afterthought, you will avoid most problems. Start early, follow instructions, communicate politely, and double-check every line before mailing. That is the real secret. Well, that and not trying to write addresses while eating powdered donuts.
Conclusion
Learning how to address college recommendation envelopes is a small but important part of the application process. The key is to follow the college’s instructions, use the official mailing address, place the delivery and return addresses correctly, include required applicant information, and preserve confidentiality by keeping sealed letters sealed. A recommendation envelope should be neat, accurate, and mailed early enough to arrive before the deadline.
In a world where many recommendations are digital, paper envelopes may feel old-fashioned. But when a college, scholarship, or program asks for one, handling it properly shows responsibility and attention to detail. Your recommendation letter may be doing the talking inside the envelope, but the outside still needs to make a good first impression.














