
A yard can look perfectly innocent from the porch: green-ish, mostly flat, not actively on fire. But underneath that polite layer of grass, the soil may be packed tighter than a suitcase before a family vacation. When soil gets compacted, grass roots struggle to breathe, water runs off instead of soaking in, fertilizer sits around like an unread email, and your lawn slowly turns thin, patchy, and dramatic.
That is where lawn aeration comes in. Learning how to aerate a yard is one of the most useful skills for anyone who wants healthier grass without treating the lawn like a full-time job. Aeration creates small openings in the soil so air, water, and nutrients can reach the root zone. The best method for most compacted lawns is core aeration, also called plug aeration, which removes small plugs of soil rather than simply poking holes.
This guide walks you through nine practical steps to aerate your yard correctly, from checking whether your lawn actually needs it to caring for the grass afterward. No wizard robe required. A rented core aerator, a few marker flags, and a little patience will do.
What Does It Mean to Aerate a Yard?
To aerate a yard means to open compacted soil so the lawn can exchange air, absorb water, and take in nutrients more efficiently. In a healthy lawn, tiny spaces between soil particles allow roots to expand and soil organisms to do their quiet underground work. Over time, foot traffic, mowing, pets, sports, heavy clay soil, construction, and even repeated rainfall can squeeze those spaces shut.
There are two common types of lawn aeration tools: spike aerators and core aerators. Spike aerators punch holes into the ground, while core aerators remove small cylinders of soil and leave them on the surface. For most lawns with real compaction, core aeration is the better choice because it physically removes soil and gives the surrounding ground room to loosen.
Think of spike aeration like poking a straw into a packed brownie. You make a hole, sure, but you also press everything tighter around it. Core aeration is more like removing a tiny bite so the brownie can relax. Not a perfect scientific metaphor, but deliciously close.
Signs Your Yard Needs Aeration
You do not need to aerate every lawn every year. Some sandy, low-traffic yards can go several years without it. But if your lawn has compacted soil, aeration can make a visible difference. Look for these signs:
- Water puddles or runs off after irrigation or rain.
- Grass looks thin, weak, or patchy in high-traffic areas.
- The soil feels hard when you push in a screwdriver or garden trowel.
- Roots are shallow when you pull up a small grass sample.
- The lawn has heavy clay soil.
- Thatch is building up between the grass blades and soil surface.
- The yard gets frequent use from kids, pets, parties, or backyard football games that somehow become “professional.”
A simple screwdriver test can tell you a lot. Water the lawn lightly, then try pushing a long screwdriver into the soil. If it slides in easily, your soil may not be seriously compacted. If it stops after an inch or two and makes you question your upper-body strength, the lawn may benefit from aeration.
How to Aerate a Yard: 9 Steps
Step 1: Choose the Right Season for Your Grass Type
The best time to aerate a yard depends on whether your lawn is made of cool-season or warm-season grass. Aeration stresses the lawn temporarily, so you want to do it when the grass is actively growing and can recover quickly.
For cool-season grasses such as Kentucky bluegrass, tall fescue, fine fescue, and perennial ryegrass, early fall is usually the best time. Spring can also work, but fall gives the lawn cooler temperatures, better moisture, and less weed pressure. For warm-season grasses such as bermudagrass, zoysiagrass, St. Augustinegrass, and centipedegrass, late spring through early summer is usually ideal, once the lawn has fully greened up and is growing strongly.
Avoid aerating during drought, extreme heat, dormancy, or right after newly seeding or sodding a lawn. Young grass needs time to establish before you roll a heavy machine over it. Baby grass is brave, but not that brave.
Step 2: Decide Whether to Rent, Buy, or Hire a Pro
For a small yard, a manual core aerator may be enough. It looks a bit like a garden fork with hollow tines and works by pressing it into the soil with your foot. It is affordable and effective for tight spaces, but it can turn a large lawn into a personal fitness documentary.
For medium and large yards, renting a gas-powered core aerator is usually the most efficient DIY option. These machines look somewhat like heavy lawn mowers and pull plugs from the soil as you guide them across the yard. Some homeowners use tow-behind plug aerators attached to lawn tractors, especially on bigger properties.
Hiring a lawn-care professional is a good option if your yard is large, sloped, full of obstacles, or if you simply do not want to wrestle a rental aerator into a truck. Professional aeration costs more than doing it yourself, but it can save time, effort, and the awkward moment when you discover the machine weighs more than your confidence.
Step 3: Mark Sprinklers, Utilities, and Hidden Obstacles
Before aerating, walk the entire yard and mark anything the aerator should avoid. Use landscape flags, marking paint, or bright stakes to identify sprinkler heads, shallow irrigation lines, valve boxes, invisible fence wires, drain covers, septic components, landscape lighting cables, and exposed tree roots.
This step is not glamorous, but it is important. Core aerators are designed to punch into soil, not politely negotiate with sprinkler heads. If the machine hits an irrigation part, you may turn a simple lawn project into an accidental fountain installation.
Also remove toys, hoses, branches, rocks, pet bowls, garden décor, and anything else hiding in the grass. Your aerator does not need accessories.
Step 4: Mow the Lawn Shorter Than Usual
Mow the lawn one or two days before aerating. Cut it slightly shorter than normal, but do not scalp it. The goal is to make it easier for the aerator tines to reach the soil, not to give your yard a military haircut.
For many lawns, mowing about one-half inch lower than your regular height works well. If your grass is already stressed by drought or heat, avoid cutting too aggressively. Always follow the basic mowing rule: never remove more than one-third of the grass blade at one time.
After mowing, rake up heavy clippings, leaves, and debris. A clean surface helps the aerator work more evenly and makes it easier to see flags and obstacles.
Step 5: Water the Yard Before Aeration
Core aeration works best when the soil is moist but not soggy. If the ground is too dry, the tines may bounce, scrape, or pull shallow cores. If the soil is too wet, heavy equipment can smear the soil, create ruts, and make compaction worse. In other words, your yard should feel like a good chocolate cake: moist, not mud soup.
Water the lawn deeply one or two days before aerating, or schedule the project after a soaking rain. A common target is about one inch of water. The soil should be soft enough for the aerator to pull plugs around two to four inches deep, depending on soil conditions and machine settings.
Before starting, step on the lawn. If your shoe sinks, the soil is too wet. If the ground feels like a driveway with grass painted on it, water first and wait.
Step 6: Use a Core Aerator for the Best Results
For compacted soil, use a core aerator rather than a spike aerator. A core aerator removes plugs of soil, creating channels that help oxygen, water, and nutrients move into the root zone. This process also gives surrounding soil room to expand and gradually loosen.
Follow the rental company’s instructions carefully. Wear closed-toe shoes, hearing protection if needed, and avoid loose clothing. Start the machine on a flat area, keep both hands on the handle, and move at a steady walking pace. Many machines are self-propelled, which sounds relaxing until you realize “self-propelled” does not mean “self-steering.”
On a lightly compacted lawn, one complete pass may be enough. On heavy clay soil or high-traffic areas, make a second pass at a different angle. Focus extra attention on compacted zones near walkways, gates, play areas, dog runs, and places where people naturally cut across the yard instead of using the sidewalk like civilized lawn guests.
Step 7: Leave the Soil Plugs on the Lawn
After aeration, your lawn will look like a flock of tiny mud geese visited and left souvenirs. That is normal. Leave the soil plugs on the grass. They will dry, crumble, and work back into the lawn over the next few weeks.
Those plugs are not trash. They contain soil microbes that can help break down thatch and return soil to the surface. Rain, mowing, foot traffic, and light raking will help them disappear. If the plugs are still chunky after they dry, you can break them up gently with the back of a rake or by mowing when conditions are dry.
Do not bag them unless they are creating a specific problem, such as heavy clumps on a small ornamental lawn. Most yards benefit from letting the cores decompose naturally.
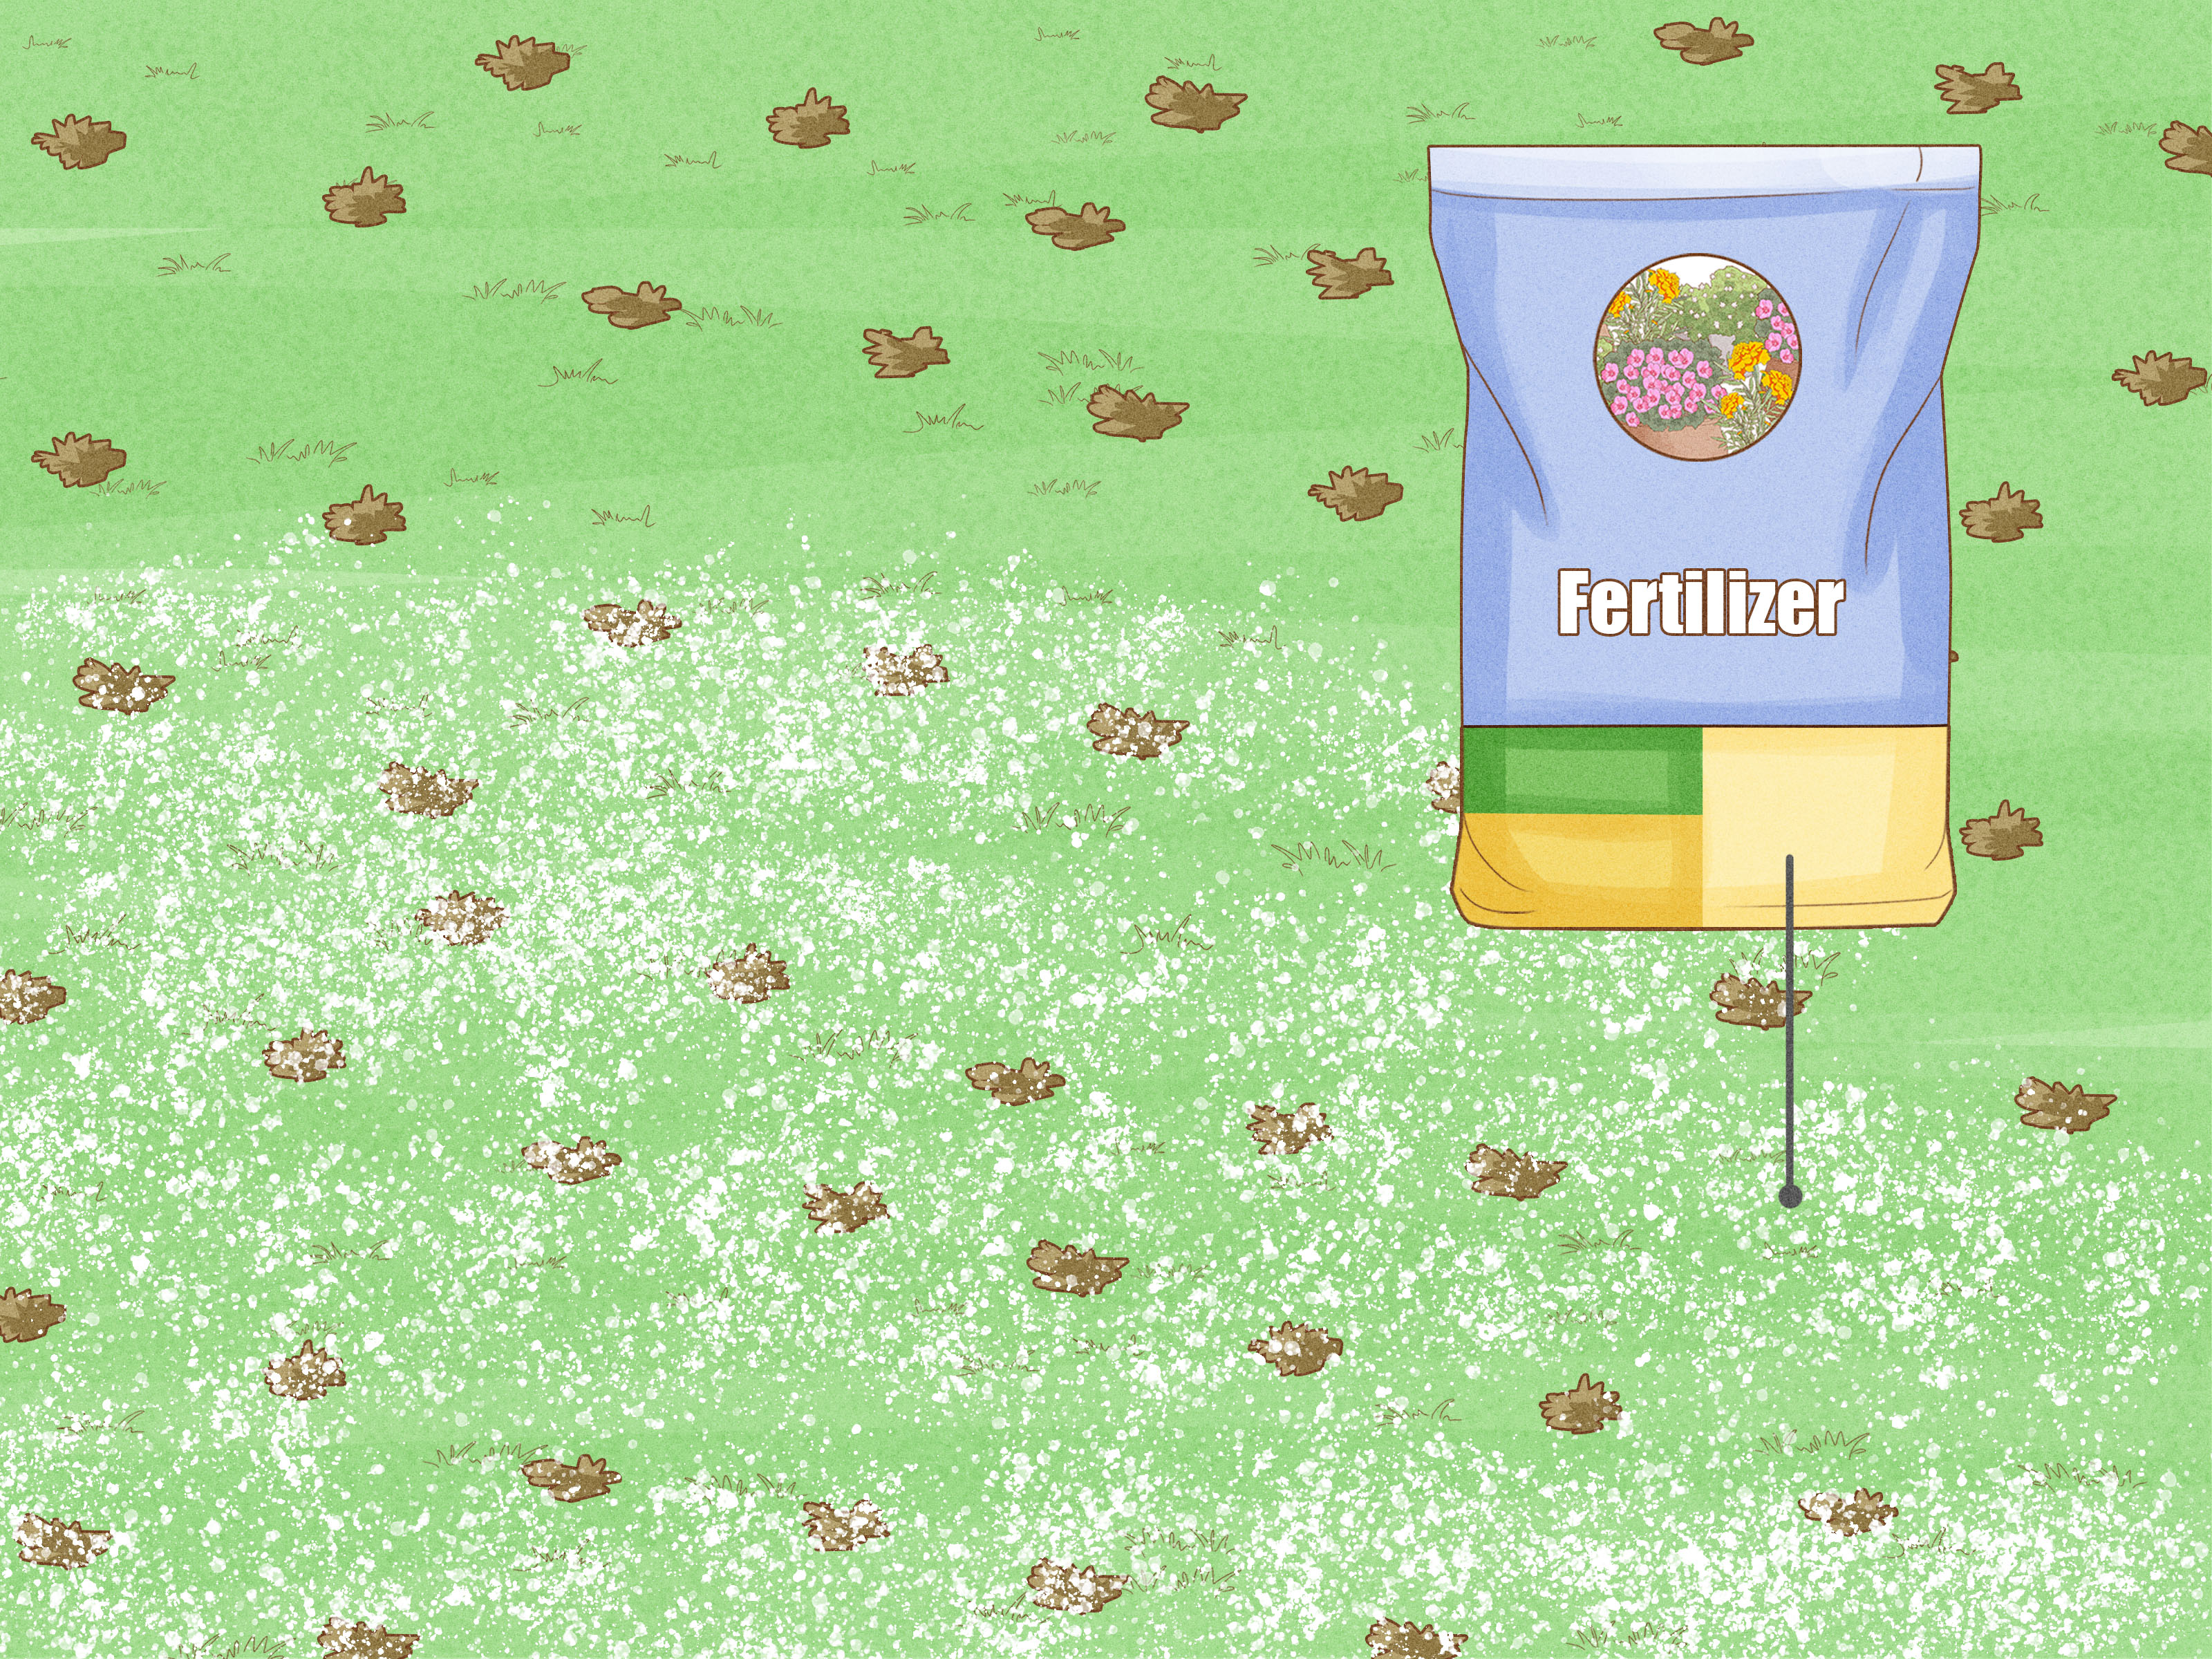
Step 8: Overseed, Fertilize, or Topdress If Needed
Aeration creates an excellent opportunity for overseeding because the holes improve seed-to-soil contact. If your lawn is thin, patchy, or recovering from stress, spread the right grass seed for your region after aerating. Cool-season lawns are commonly overseeded in early fall. Warm-season lawns may be seeded, sprigged, or plugged depending on the grass type.
Fertilizing after aeration can also be helpful, especially if your lawn is actively growing. Use a fertilizer that matches your soil-test recommendations whenever possible. A soil test is the grown-up answer here; guessing with fertilizer is like seasoning soup in the dark.
Some homeowners topdress after aeration with a thin layer of compost, especially on lawns that need improved soil structure. Keep it light. You are feeding the soil, not burying the lawn under a compost lasagna. A thin, even layer that settles into the holes can help improve organic matter over time.
Step 9: Water and Protect the Lawn After Aeration
After aerating, water the lawn enough to keep the root zone moist, especially if you overseeded. New seed may need light, frequent watering until germination, followed by deeper, less frequent watering as seedlings grow. Established lawns usually benefit from deep watering that encourages roots to grow downward.
Limit heavy foot traffic for a week or two if possible. The lawn needs time to recover, and freshly opened soil is more vulnerable to stress. You can mow when the grass needs it, but wait until the soil plugs have dried and the lawn is not muddy. Keep mower blades sharp to avoid shredding stressed grass.
Within a couple of weeks, the lawn should begin looking cleaner and more vigorous. Aeration is not an instant green-paint miracle, but it creates the conditions for better root growth, improved water movement, and a stronger lawn over time.
Common Lawn Aeration Mistakes to Avoid
Aerating at the Wrong Time
Aerating dormant grass can slow recovery and invite weeds. Match the timing to your grass type. Cool-season lawns usually prefer fall or early spring, while warm-season lawns respond best in late spring or early summer.
Using Spike Shoes for Serious Compaction
Spike shoes may be tempting because they look easy and slightly ridiculous, which is always a strong combination. But they are not the best solution for compacted soil. They can create small holes while pressing soil tighter around them. For compacted yards, choose plug aeration.
Aerating Bone-Dry Soil
Dry soil prevents deep tine penetration. The aerator may skip across the surface and produce shallow plugs. Water first, then aerate when the soil is evenly moist.
Aerating Muddy Soil
Wet soil can smear, rut, and compact under heavy equipment. If the lawn squishes under your feet, wait until it drains.
Removing the Soil Cores Too Soon
Those little plugs are useful. Let them dry and crumble back into the lawn unless they are causing an unusual problem.
How Often Should You Aerate a Yard?
Most healthy residential lawns do not need constant aeration. If your soil is loamy, the lawn drains well, and traffic is light, aerating every two to three years may be enough. If your yard has clay soil, heavy use, poor drainage, or visible compaction, annual aeration may be helpful. Extremely compacted lawns may need aeration twice a year for a limited period, usually during active growth seasons.
The key is to watch the lawn rather than follow a rigid calendar. If water soaks in well, roots are deep, and the grass grows strongly, you may not need to aerate this year. If the lawn feels hard, sheds water, and looks thin in busy areas, it may be time.
Core Aeration vs. Dethatching: What Is the Difference?
Aeration and dethatching are related, but they are not the same job. Aeration targets compacted soil by opening channels into the root zone. Dethatching removes excessive thatch, the layer of dead and living stems, roots, and organic matter between grass blades and soil.
A thin thatch layer is normal and can even protect the lawn. Too much thatch, however, can block water and nutrients. Core aeration can help manage moderate thatch by bringing soil microbes to the surface, where they help decompose organic material. Severe thatch may require dethatching or vertical mowing, depending on grass type and lawn condition.
If your lawn feels spongy, has shallow roots, and water struggles to reach the soil, check for thatch. If the ground underneath feels hard and compacted, aeration is likely part of the solution. Many struggling lawns have both issues, because lawns enjoy making things interesting.
Best Tools for Aerating a Yard
The right tool depends on yard size, soil type, budget, and how much physical effort you are willing to donate to the cause.
- Manual core aerator: Best for small lawns, narrow strips, and spot treatment.
- Gas-powered core aerator: Best for medium to large lawns and serious compaction.
- Tow-behind plug aerator: Best for large properties with a lawn tractor.
- Spike aerator: Best for light surface aeration on sandy or mildly compacted soil, not heavy compaction.
- Professional service: Best for large, sloped, heavily compacted, or obstacle-filled yards.
For the average homeowner trying to improve a compacted lawn, renting a core aerator is usually the sweet spot. It gives strong results without requiring you to store a bulky machine for the other 364 days of the year.
Extra Experience-Based Tips for Aerating a Yard
After you have aerated a yard once, you quickly learn that the job is simple in theory and very real in practice. The first practical lesson is to plan the route before starting. A core aerator is not as nimble as a mower. It turns wide, feels heavy, and has a personality best described as “determined.” Start around the perimeter, then work in straight lines across the lawn. Save tight corners, narrow side yards, and awkward strips for last, when you understand how the machine handles.
The second lesson is to share the rental if possible. Many homeowners rent aerators for half a day or a full day. If your neighbors also need aeration, splitting the rental cost can make the project cheaper and more efficient. Just make sure every yard is ready before the machine arrives. Nothing eats rental time like someone saying, “I just need to move a few things,” and then revealing a backyard full of hoses, toys, patio chairs, and one mysterious bucket.
Another useful experience tip is to double-check soil moisture in different parts of the yard. The sunny front lawn may be perfect while the shady side yard is still wet. Low spots may stay soggy longer than slopes. Aerating everything on the same schedule can create ruts in one area and shallow plugs in another. If part of the lawn is too wet, skip it and come back later. Partial success beats full-yard regret.
When using a rented core aerator, do not rush. A steady pace gives the tines time to pull better plugs. If you sprint behind the machine like it owes you money, the cores may be inconsistent. On compacted areas, a second pass can make a big difference. Cross the first pass at a slight angle rather than following the exact same tracks. The goal is even coverage, not creating a lawn that looks like it was attacked by a very organized woodpecker.
Be careful on slopes. Heavy aerators can pull downhill, and turning on a slope can be difficult. Work across gentle slopes when safe, but avoid steep areas if the machine feels hard to control. For slopes, tight spaces, or small patches near landscaping, a manual core aerator may be safer and more precise.
One of the best times to combine tasks is right after aeration. If you plan to overseed, have seed ready before you begin. If you plan to apply compost, screen it first so it spreads evenly. If you plan to fertilize, measure the lawn area and use the right spreader setting. Aeration opens a short window when the soil is especially ready to receive help. Do not wait two weeks and then remember the seed bag in the garage, sitting there like a disappointed gym membership.
Finally, adjust expectations. Aeration improves the soil environment, but it does not fix every lawn problem overnight. If the yard is thin because of dense shade, poor grass selection, grubs, disease, low fertility, or bad irrigation habits, aeration alone will not solve everything. It is a foundation step. Pair it with proper mowing, deep watering, soil testing, overseeding, and sensible fertilizing, and the lawn will have a much better chance of becoming thick, resilient, and less embarrassing during cookouts.
Conclusion
Aerating a yard is one of the most effective ways to help tired grass recover from compacted soil. By removing small plugs from the lawn, core aeration improves airflow, water movement, nutrient access, and root growth. The process is straightforward: choose the right season, prepare the lawn, water properly, use the right equipment, leave the plugs, and follow up with smart aftercare.
The best results come from timing the job to your grass type and soil condition. Cool-season lawns usually respond best in early fall, while warm-season lawns prefer late spring or early summer. Moist soil, marked obstacles, and a core aerator are the main ingredients. Add overseeding or compost when needed, and your lawn gets a real opportunity to grow thicker and stronger.
In short, aeration gives your yard breathing room. And honestly, after years of being walked on, mowed, played on, and judged by the neighbors, your lawn has earned a little fresh air.













