
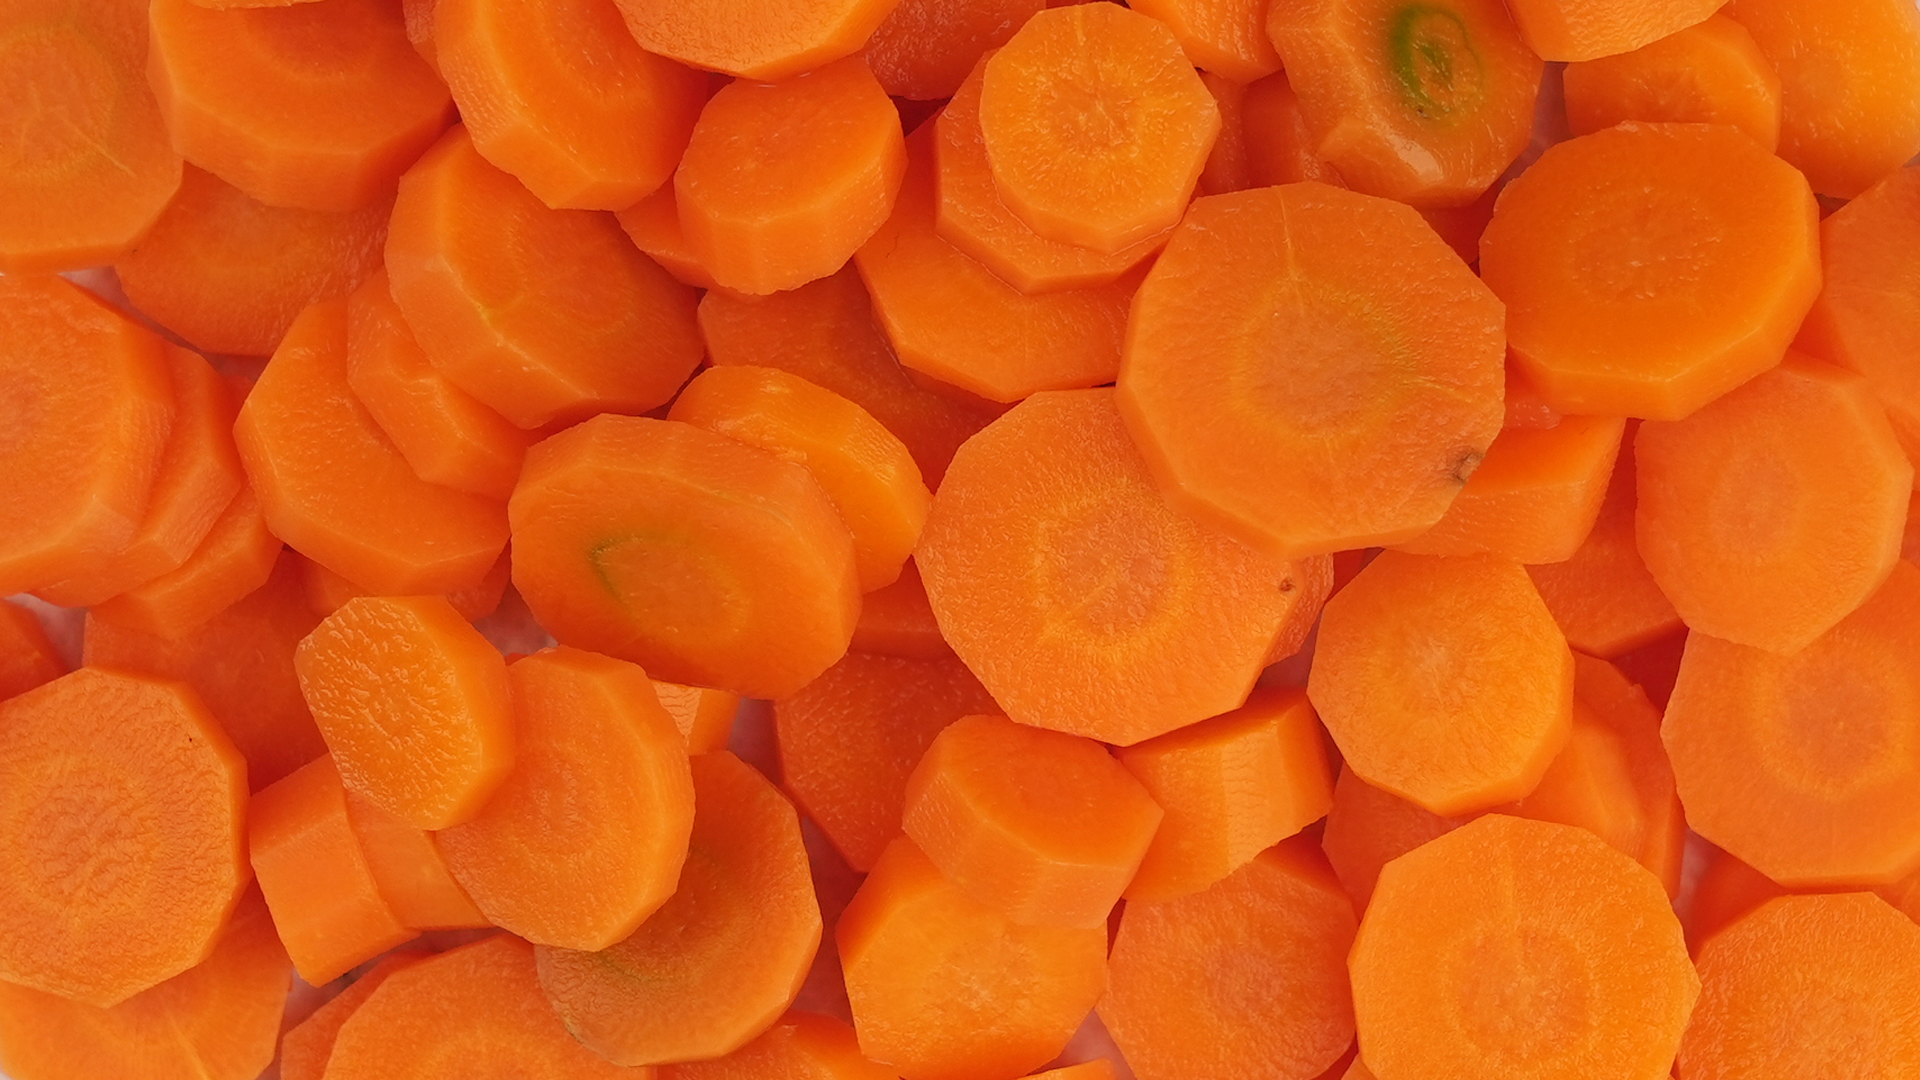
Blanching carrots sounds fancy, but it is really just a quick hot-and-cold spa treatment for a hardworking vegetable. Into boiling water they go, into ice water they dive, and out they come brighter, crisper, and far more freezer-friendly than sad, forgotten carrots abandoned in the produce drawer. If you have ever wondered why some carrots stay vivid and pleasantly tender while others turn limp, dull, and weirdly tired, blanching is often the difference.
Whether you are freezing a garden haul, meal-prepping for the week, or building a crudités board that looks like it has its own publicist, learning how to blanch carrots is a useful kitchen skill. It helps preserve color, keeps texture from drifting into mush territory, and makes carrots easier to store and use later. It is also fast. We are not talking about an all-day project with dramatic music and six bowls. We are talking about a pot, a bowl of ice water, and a few minutes of attention.
In this guide, you will learn exactly how to blanch carrots in 8 simple steps, how long to blanch different cuts, what mistakes to avoid, and how to use the finished carrots in real meals. Let’s get those carrots from crunchy and chaotic to crisp-tender and organized.
Why Blanch Carrots in the First Place?
Blanching is the process of briefly cooking vegetables in boiling water or steam, then cooling them quickly in very cold water. For carrots, this technique does several useful things at once. First, it slows the enzyme activity that causes vegetables to lose flavor, color, and texture over time. That is why blanching is especially important before freezing. Second, it helps clean the surface and lightly softens the carrots so they pack better and cook more evenly later. Third, it brightens their orange color, which is good news for both your freezer stash and your dinner plate.
Blanching is not the same as fully boiling carrots. You are not trying to cook them all the way through. You want them just slightly tender while still firm. Think “awake and polished,” not “retired and collapsing.” When done correctly, blanched carrots can be frozen, sautéed, glazed, tossed into salads, stirred into soups, or served chilled with dip.
What You Need Before You Start
- Fresh carrots
- A large pot of water
- A big bowl filled with ice and cold water
- A knife and cutting board
- A colander, slotted spoon, or spider strainer
- Clean kitchen towels or paper towels
- Freezer bags or containers, if freezing
If you are blanching carrots for freezing, it helps to work in batches. Overcrowding the pot drops the water temperature and throws off timing. In other words, do not try to host a carrot convention in one saucepan.
How to Blanch Carrots: 8 Steps
-
Step 1: Choose fresh, firm carrots
Start with carrots that feel firm and look smooth, not rubbery, shriveled, or cracked. Fresh carrots will blanch better, taste sweeter, and hold their texture more nicely after cooling or freezing. Smaller, younger carrots are often more tender, but large carrots work just fine if you trim and cut them evenly.
-
Step 2: Wash, peel, and trim
Rinse the carrots well under cool running water. Scrub off any dirt, trim the tops and root ends, and peel them if you want a cleaner texture and appearance. Peeling is common for freezer prep and polished side dishes, though it is not mandatory if the carrots are very clean and tender-skinned.
-
Step 3: Cut them into a uniform shape
Uniform pieces matter because uneven carrots cook unevenly. You can leave very small carrots whole, or cut larger carrots into coins, sticks, strips, or small cubes. For freezing, sliced, diced, or lengthwise strips are practical because they cool quickly and portion easily. Try to keep the thickness consistent so one piece does not turn perfect while the next remains suspiciously raw.
-
Step 4: Bring a large pot of water to a full boil
Fill a large pot with plenty of water and bring it to a rolling boil. If you are blanching carrots for the freezer, a good working rule is about 1 gallon of water per pound of prepared carrots. That generous amount helps the water return to a boil quickly after the carrots go in, which keeps the blanching time accurate.
-
Step 5: Prepare an ice bath before the carrots hit the pot
Fill a large bowl with cold water and plenty of ice. This is not an optional flourish. The ice bath stops the cooking immediately, which prevents the carrots from becoming too soft. Set it right beside the stove so you are not sprinting across the kitchen with a steaming colander like you are in a cooking game show.
-
Step 6: Blanch the carrots for the right amount of time
Lower the carrots into the boiling water carefully. If you are blanching for freezing, start timing once the water returns to a boil. Small whole carrots generally need about 5 minutes. Sliced, diced, or lengthwise strips usually need about 2 minutes. If you are blanching carrots for immediate eating rather than freezer storage, many cooks prefer around 2 to 3 minutes for tender-crisp results, depending on thickness.
-
Step 7: Shock them in ice water immediately
As soon as the blanching time is up, transfer the carrots straight into the ice bath. Let them cool completely. This quick chill halts the cooking, locks in better texture, and helps preserve that bright orange color. When the carrots are no longer warm, drain them well in a colander.
-
Step 8: Dry and store or cook
If you plan to use the carrots right away, pat them dry and move on to your recipe. If you are freezing them, dry them thoroughly first. Extra surface moisture can lead to ice crystals and clumping. You can pack the carrots directly into freezer bags or containers, or spread them on a tray in a single layer and freeze them until firm before bagging. That tray-freeze method keeps them loose and scoopable instead of frozen into one giant orange brick.
How Long Should You Blanch Carrots?
The right timing depends mostly on size and purpose. For freezing, small whole carrots need longer than cut carrots because heat takes more time to reach the center. For salads, snack trays, and quick sautéing, people often prefer slightly shorter blanching so the carrots stay crisp-tender. Here is the simple rule:
- Small whole carrots: about 5 minutes
- Sliced, diced, or strips: about 2 minutes
- For immediate serving: about 2 to 3 minutes, depending on thickness and texture preference
Always remember that carrots continue to soften if they do not get chilled quickly. That is why the ice bath matters just as much as the boiling water.
Common Blanching Mistakes That Ruin Carrots
1. Skipping the ice bath
This is the most common mistake. Without rapid cooling, the carrots keep cooking after you remove them from the pot. That is how “pleasantly crisp” becomes “why are these floppy?”
2. Overcrowding the pot
Too many carrots at once drag down the water temperature. That means inconsistent blanching and confusing results. Work in smaller batches for better control.
3. Guessing the time
Blanching is not a vague lifestyle concept. It is a timed process. Use a timer. Your future self will appreciate not having to remember whether those carrots were in for 90 seconds or the length of an entire podcast intro.
4. Cutting uneven pieces
Uniform cuts cook uniformly. Random chunks create random textures, which is fine for abstract art, less fine for meal prep.
5. Freezing wet carrots
If the carrots are still dripping when you bag them, they can freeze into clumps or develop excess frost. Drain and dry them well first.
Best Ways to Use Blanched Carrots
Blanched carrots are incredibly flexible. You can sauté them in butter and herbs for a quick side dish, toss them into stir-fries, add them to grain bowls, or fold them into pasta salads. They also work beautifully in chilled carrot salads because blanching takes the raw edge off while keeping the carrots pleasantly crisp. If you froze them, they are ideal for soups, stews, casseroles, roasted vegetable mixes, and weeknight skillet meals.
Blanched carrot sticks also make lunch prep easier. Pair them with hummus, ranch, yogurt dip, or a peanut sauce and suddenly your snack situation looks much more organized than your actual life.
Blanching Carrots for Freezing vs. Serving Right Away
The method is nearly the same, but the goal is different. When you blanch carrots for freezing, precision matters more because you are preserving long-term quality. The recommended timing is based on the carrot’s cut, and thorough cooling and drying are essential before storage. When you blanch carrots to serve soon, you have more room to adjust for your personal texture preference. Some people love a little crunch, while others want a softer bite for salads or glazed carrot dishes.
So yes, blanching is one technique, but it has two personalities: practical freezer prep and elegant quick-cooking shortcut. Same move, different mood.
Do You Need to Salt the Water?
You can, but you do not have to. For blanching carrots meant for immediate serving, lightly salted water can improve flavor. For freezer prep, many home cooks keep it simple and blanch in plain water. The real essentials are enough water, the correct timing, and fast cooling. Salt is a supporting actor here, not the star.
How to Tell When Blanched Carrots Are Done
Properly blanched carrots should look brighter and feel slightly tender, but they should still hold their shape and have a bit of bite. They should not be mushy, wrinkled, or fully soft in the center. If you taste one after cooling, it should seem lightly cooked, clean in flavor, and ready for a second cooking step or a trip to the freezer.
Experience-Based Tips From Real Kitchens
One of the most common experiences people have with blanching carrots is realizing that the prep feels more dramatic than the actual process. The first time, it can seem like a lot: pot, timer, ice, cutting board, freezer bags. But after one or two rounds, it becomes a rhythm. Wash. Cut. Boil. Chill. Dry. Done. The real challenge is not the technique; it is staying organized enough to move quickly between the pot and the ice bath.
Another very common lesson is that carrot size changes everything. Thick carrot coins that look innocent can stay firmer than expected after a short blanch, while skinny strips soften fast. People often think they messed up the method, when really they just changed the cut without adjusting expectations. In real kitchens, blanching works best when you decide the final use first. If the carrots are headed for soup, a slightly softer blanch is fine. If they are going onto a snack board, shorter and firmer is usually better.
A lot of home cooks also discover that drying matters more than they expected. Carrots can be perfectly blanched, then lose points in the freezer because they went into a bag still wet. That extra moisture turns into frost, the pieces freeze together, and every future use begins with wrestling a cold orange boulder. People who tray-freeze their carrots first often become loyal to that method fast. It takes one extra step, but it makes it easier to pour out just what you need later.
There is also the experience of overconfidence, which is very human and very kitchen-related. Many people think, “I don’t need a timer, I’ll just watch them.” Then suddenly the water is boiling, the phone buzzes, someone asks where the scissors are, and the carrots are two minutes past ideal. Blanching is one of those tiny tasks where a timer quietly saves the day. It is not glamorous, but neither is apologizing to a batch of limp vegetables.
People who blanch carrots regularly for meal prep often mention how much easier weekday cooking becomes. A container of blanched carrots in the fridge or freezer makes dinner feel halfway finished. They go into fried rice, noodle bowls, sheet-pan dinners, and lunch boxes without much thought. That is part of why this simple technique sticks: it is not just about preserving carrots, it is about removing future friction from cooking.
There is also a subtle texture lesson that comes with experience. Fresh raw carrots can be wonderful, but they sometimes dominate a dish with too much crunch or a slightly harsh raw taste. Blanching softens that edge without erasing the carrot’s identity. It gives you a vegetable that still tastes fresh, but behaves better in mixed dishes. That is why chefs and confident home cooks use blanching for salads, composed platters, and quick vegetable sides. The carrots still have personality, but they stop trying to be the loudest thing in the room.
Finally, experienced cooks often learn that blanching is less about perfection and more about repeatability. Once you know your preferred cut, your pot size, and your timing, the process becomes dependable. And dependable kitchen skills are gold. Not flashy gold, maybe more like sturdy practical gold, but gold all the same. Blanching carrots will not change your life in a cinematic way, yet it absolutely can make your freezer smarter, your meals faster, and your vegetables better.
Final Thoughts
Learning how to blanch carrots is one of those small kitchen wins that pays off again and again. It is quick, inexpensive, and surprisingly useful whether you are freezing produce, prepping snacks, or putting together better side dishes. The formula is simple: boil briefly, cool fast, dry well, and use the right timing for the cut. Once you get it down, you will stop guessing and start turning out carrots that are bright, crisp-tender, and ready for whatever comes next.
So the next time you bring home a bag of carrots and wonder how you are going to use all of them before they turn limp and philosophical, blanching is your answer. Eight steps, a few minutes, and a lot less produce guilt.













