
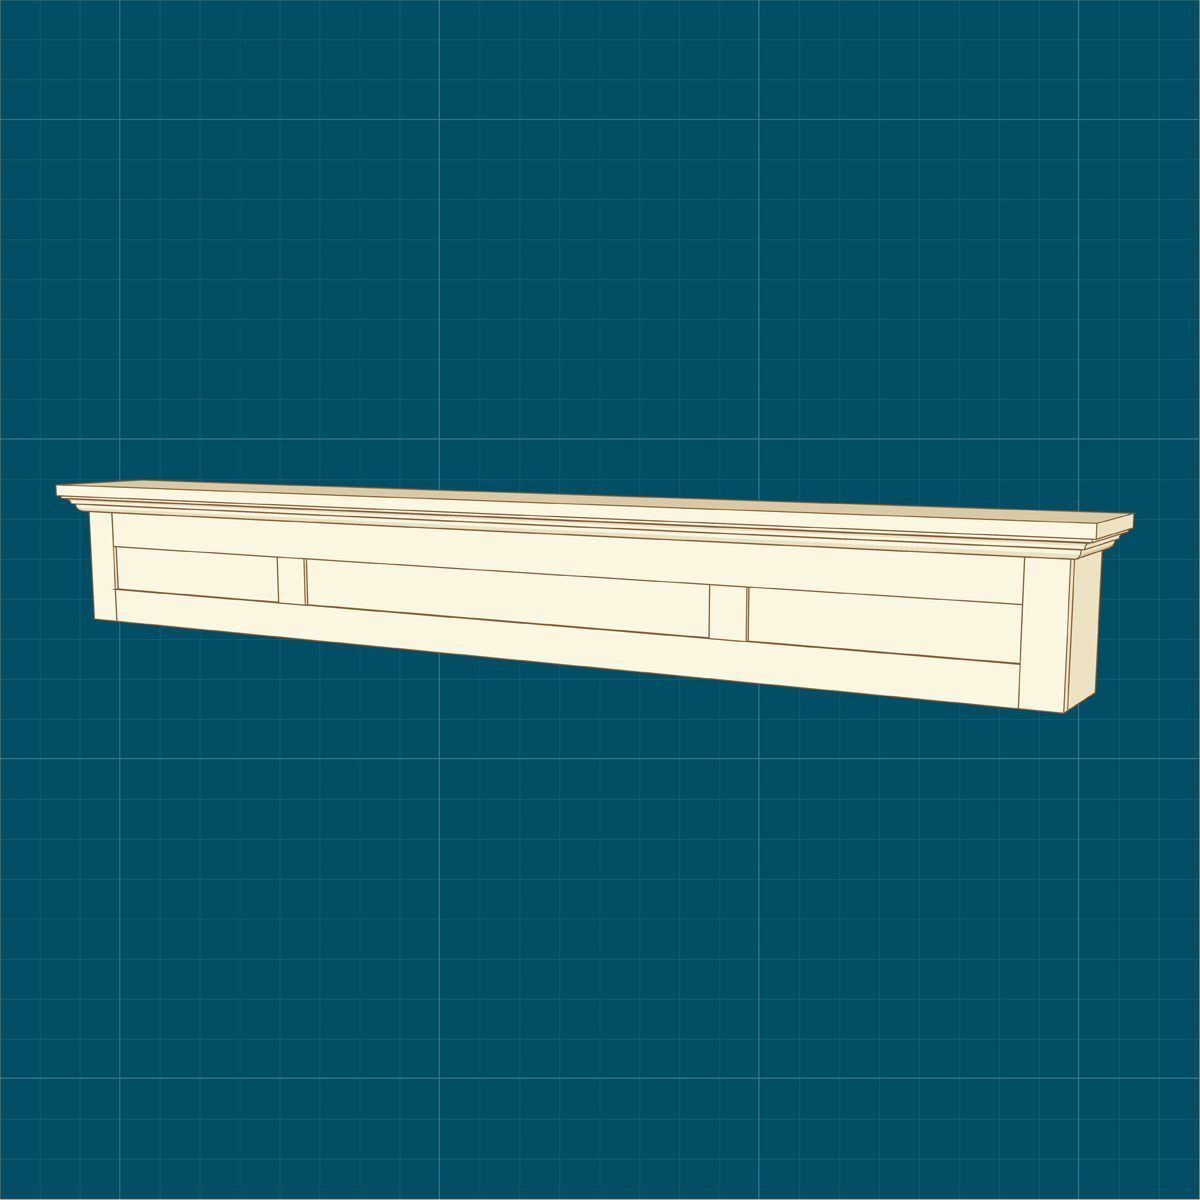
A fireplace without a mantel can look a little like a cake without frosting: technically complete, but emotionally suspicious. A well-built wood fireplace mantel gives the room a focal point, adds architectural character, and creates a useful shelf for art, candles, framed photos, seasonal decor, or that one tiny ceramic bird nobody remembers buying.
The good news? Building a DIY wood fireplace mantel is a realistic weekend project for homeowners with basic-to-intermediate woodworking skills. The slightly less glamorous news? Because wood is combustible, the mantel is not just a decorating project. It is also a clearance, fastening, and safety project. A beautiful mantel that is too close to the firebox is not “rustic charm.” It is a future fire marshal’s lecture.
This guide walks through how to build a fireplace mantel from wood, including planning, measuring, choosing materials, assembling a mantel shelf or full surround, installing it securely, and finishing it so it looks intentional instead of “I found boards in the garage and got emotionally ambitious.”
Before You Build: Safety, Codes, and Common Sense
Before buying lumber, check three things: your local building code, your fireplace manufacturer’s manual, and the actual type of fireplace you have. A masonry wood-burning fireplace, a factory-built fireplace, a gas insert, and an electric fireplace can all have different clearance requirements.
For masonry fireplaces, common residential code guidance says exposed combustible mantel or trim should not be placed within 6 inches of the fireplace opening. Combustible material within 12 inches of the opening is limited in how far it can project. In plain English: the closer the wood is to the firebox, the thinner and less protruding it must be. If your mantel shelf sticks out several inches, it usually needs to sit higher. Local code and manufacturer instructions always win, so treat online examples as inspiration, not permission slips.
Quick Safety Checklist
- Confirm whether your fireplace is masonry, factory-built, gas, wood-burning, or electric.
- Read the fireplace manual for combustible mantel clearances.
- Measure from the actual fireplace opening, not from decorative tile or trim.
- Use noncombustible surround materials where required.
- Anchor the mantel into studs, masonry, or approved blocking.
- When unsure, ask a qualified fireplace installer or local building official.
Choose Your DIY Wood Fireplace Mantel Style
There are two popular approaches: a floating mantel shelf and a full fireplace mantel surround. A floating shelf is cleaner, simpler, and often easier for beginners. A full surround includes side legs, also called pilasters, plus a horizontal frieze board and top shelf. It looks more traditional and can make a plain fireplace feel built-in.
Option 1: Floating Wood Mantel Shelf
A floating mantel shelf is basically a strong hollow box or solid beam mounted to the wall with a cleat, bracket, or hidden supports. It works well in modern, farmhouse, rustic, and minimalist rooms. If your fireplace already has stone, brick, tile, or shiplap around it, a floating mantel may be all you need.
Option 2: Full Wood Fireplace Mantel Surround
A full surround frames the fireplace opening with vertical legs and a decorative top. This is the better choice if the fireplace wall feels unfinished or if you want a more classic architectural look. You can add crown molding, cove molding, fluted trim, corbels, base blocks, or simple square stock depending on your style.
Tools and Materials You Will Need
Your exact list depends on the design, but most DIY wood fireplace mantel projects use the same core tools. Do not worry if your workshop is not worthy of a television renovation show. You can build a handsome mantel with basic tools, patience, and enough clamps to make you feel like a responsible adult.
Tools
- Tape measure
- Stud finder
- Level
- Pencil
- Miter saw or circular saw
- Drill and driver bits
- Pocket-hole jig, optional but helpful
- Brad nailer or finish nails
- Clamps
- Sander or sanding block
- Caulk gun
- Safety glasses and dust mask
Materials
- Poplar, pine, oak, maple, or paint-grade boards
- 1x boards for the shelf, face, sides, legs, and frieze
- 2×4 or 1x mounting cleat
- Wood glue
- Pocket screws or wood screws
- Brad nails or finish nails
- Wood filler
- Paintable caulk
- Sandpaper in 120-, 180-, and 220-grit
- Primer and paint, stain, or clear topcoat
- Masonry anchors, lag screws, or structural screws as needed
Step 1: Measure the Fireplace Opening
Start with the fireplace opening itself. Measure the width, height, and distance to surrounding walls, windows, built-ins, outlets, and TV mounts. Then decide how wide the mantel should be. A common design choice is to extend the mantel 3 to 6 inches beyond the fireplace opening on each side, though larger rooms can handle a wider design.
For a shelf mantel, a depth of 6 to 8 inches is practical for decor without making the mantel look like a diving board. For a full surround, keep the legs proportional. Skinny legs can look nervous; oversized legs can make the fireplace look like it is wearing shoulder pads from 1986.
Step 2: Sketch the Mantel Design
Draw a simple front view and side view. You do not need to be an architect. A neat rectangle with measurements is enough. Mark the shelf depth, shelf thickness, leg width, frieze height, molding placement, and the mounting cleat position.
If you want a clean modern mantel, use square edges and minimal trim. For a farmhouse mantel, consider a thicker box-beam look with visible wood grain. For a traditional mantel, layer crown molding, cove molding, and base trim to create depth and shadow lines. The magic is in the layers: one flat board says “shelf,” while three carefully stacked moldings say “custom millwork” and quietly raise the room’s self-esteem.
Step 3: Pick the Right Wood
Poplar is a favorite for painted mantels because it is stable, affordable, easy to work, and takes paint beautifully. Pine is budget-friendly and works well for rustic stained mantels, though it dents more easily. Oak and maple are stronger and more premium, especially for stained finishes, but they cost more and can be less forgiving for beginners.
For a painted full surround, paint-grade poplar or MDF can create a smooth, polished finish. If the mantel is near a working fireplace, confirm that any material used is allowed by code and the fireplace manual. Fire-retardant MDF exists, but “fire-retardant” does not mean “install it wherever you please.” Heat still gets a vote.
Step 4: Build the Mantel Shelf Box
For a hollow floating shelf, cut a top board, bottom board, front face, and two end caps. Dry-fit the pieces before adding glue. The front face should cover the edges of the top and bottom boards for a cleaner look. Apply wood glue, clamp the assembly, and secure it with brad nails or screws from hidden areas.
If you are using pocket holes, drill them on the inside surfaces so they will not show. Keep the box square as you assemble it. Measure diagonally from corner to corner; if both diagonal measurements match, the box is square. If not, gently persuade it with clamps. Woodworking is mostly measurement, patience, and polite negotiation with rectangles.
Step 5: Build the Full Surround, If Using One
For a full wood fireplace mantel surround, cut two vertical pilasters and one horizontal frieze board. Join the frieze to the pilasters using pocket screws and wood glue. Check for square corners before fastening. Add a top shelf, then attach molding and trim.
Common mantel parts include:
- Pilasters: the vertical side pieces.
- Frieze: the horizontal board above the fireplace opening.
- Mantel shelf: the top ledge.
- Crown molding: decorative trim below the shelf.
- Base blocks: thicker blocks at the bottom of each leg.
- Corbels: decorative brackets under the shelf.
Layer trim gradually. A simple 1x board can become elegant when you add small cove molding, a crown profile, and a clean cap. Cut miters carefully, test-fit every piece, and label parts if the project starts looking like a wooden puzzle designed by a mischievous carpenter.
Step 6: Sand, Fill, and Prep Before Installation
Fill nail holes and seams with wood filler. Once dry, sand the mantel with 120-grit sandpaper, then 180-grit, and finish with 220-grit for painted or stained surfaces. Round sharp edges slightly so paint adheres better and the mantel feels finished.
Do not skip sanding. Paint does not hide rough work as much as people hope. It highlights bumps, ridges, glue smears, and every tiny “I’ll fix that later” moment. Later has arrived, and it is holding sandpaper.
Step 7: Install a Strong Mounting Cleat
The mantel must be securely attached. For drywall over wood framing, locate studs and mark them clearly. A wood cleat, often made from a 1x or 2x board, can be screwed directly into studs. The hollow mantel then slides over the cleat and is fastened from the top or bottom with finish screws or nails.
For brick or masonry, use appropriate masonry anchors or lag bolts. Drill into solid brick or mortar only when recommended for your anchor type, and avoid weak, crumbling mortar. Always keep the cleat level. A mantel that slopes even slightly will make every candle, picture frame, and holiday stocking look like it is trying to escape.
French Cleat vs. Straight Cleat
A French cleat uses two matching angled boards: one attached to the wall and one attached to the mantel. The angled faces lock together when the mantel drops into place. A straight cleat is simpler: the mantel slides over a level board and is fastened in place. Either can work when properly sized and anchored. For heavier mantels, use structural fastening, adequate blocking, or a professional installer.
Step 8: Test Fit the Mantel
Before final fastening, place the mantel on the cleat and check alignment. Confirm that it is centered over the fireplace opening, level left to right, and tight to the wall. If the wall is uneven, use shims behind the cleat or small trim pieces to hide gaps. Old houses are charming because nothing is straight. New houses also sometimes join the fun.
Once the mantel sits correctly, secure it to the cleat using screws or finish nails in discreet locations. For a full surround, fasten the legs to blocking or studs where possible. Do not rely on decorative trim to hold weight. Corbels may look muscular, but unless they are structurally attached, they are mostly wearing a costume.
Step 9: Caulk, Prime, Paint, or Stain
For a painted mantel, caulk small gaps between the mantel and wall with paintable caulk. Prime bare wood, especially knots or end grain, then apply two coats of quality interior paint. Semi-gloss and satin finishes are popular because they are easier to clean than flat paint.
For a stained wood fireplace mantel, test the stain on scrap wood first. Pine can absorb stain unevenly, so use wood conditioner before staining. After staining, apply a clear protective topcoat. Keep finishes fully cured before decorating the mantel, especially if placing objects that could stick to fresh paint or varnish.
Design Ideas for a Better-Looking Wood Mantel
A DIY mantel should match the room, not fight it in the parking lot. Look at your baseboards, crown molding, cabinet style, flooring, and furniture. If your home is traditional, a mantel with layered molding feels natural. If your room is modern, a clean box shelf may look sharper. If your style is rustic, a stained beam mantel with visible grain can add warmth.
Simple Upgrades That Make a Big Difference
- Add fluted trim to the pilasters for a classic custom look.
- Use small cove molding under the shelf for shadow and depth.
- Install corbels for visual weight, even if the cleat does the real work.
- Paint the mantel the same color as surrounding trim for a built-in effect.
- Stain the shelf to coordinate with floors, beams, or furniture.
- Keep shelf decor balanced rather than crowded.
Common DIY Fireplace Mantel Mistakes to Avoid
The biggest mistake is ignoring fireplace clearance. The second biggest is assuming drywall anchors can hold a heavy mantel. They cannot, at least not in the way optimism wants them to. Use studs, masonry anchors, blocking, or approved hardware.
Another common mistake is building the mantel too deep. A very deep shelf can look bulky and may require greater clearance from the firebox. Oversized mantels can also crowd a room or interfere with a wall-mounted TV. Keep the proportions comfortable and practical.
Finally, do not rush finishing. Uneven caulk, visible nail holes, rough sanding, and blotchy stain can make good carpentry look sloppy. The final 10 percent of the project is what people notice first.
Real-World Experience Notes for Building a DIY Fireplace Mantel
In real DIY mantel projects, the measuring phase usually teaches the first lesson: the fireplace opening may not be perfectly centered on the wall. Many homeowners assume the mantel should be centered on the wall, then discover the firebox is slightly off. In most cases, the mantel should visually relate to the fireplace opening first, while still respecting the room layout. This is where painter’s tape becomes the unsung hero. Tape the outline of the mantel on the wall before cutting wood. Step back. Look from the sofa, hallway, and kitchen doorway. If it feels odd in tape, it will not magically become perfect in lumber.
The second lesson is that walls are rarely flat. Brick can wave, drywall can bow, and old plaster can behave like it was installed during an argument. When installing a cleat, a level line matters more than blindly following the wall surface. Shims can correct small dips behind the cleat. Trim or caulk can hide minor gaps after installation. Trying to force a straight mantel against an uneven wall often creates twists, cracks, or a shelf that looks tired before it has held its first family photo.
The third lesson involves weight. A hollow box mantel is much easier to install than a solid beam. Solid beams look fantastic, but they are heavy, and heavy things above fireplaces deserve respect. If the mantel is thick, deep, or made from dense hardwood, plan the mounting system before building the shelf. A strong cleat, lag screws into studs, steel rods, or masonry anchoring may be necessary. The best-looking mantel in the world is not impressive if it slowly leans forward like it is trying to read the rug.
Another practical experience: paint-grade projects are more forgiving than stain-grade projects. With paint, you can fill nail holes, caulk seams, and make separate boards look like one clean piece. With stain, every board’s grain, color, and sanding pattern matters. If you want a stained mantel, buy boards from the same species and choose pieces with similar grain. Test stain on scraps. Pine especially can turn blotchy without conditioner, which is a polite way of saying it may look like a leopard got involved.
Finally, the best DIY wood fireplace mantels usually come from restraint. It is tempting to add crown molding, corbels, fluting, dentil trim, appliques, and three kinds of decorative edging because the hardware store aisle is basically a candy shop for adults with sawdust on their shoes. But a mantel should support the room’s style, not shout over it. Choose one main design idea and repeat it cleanly. A simple, square mantel built level, safe, and smooth will beat an overdecorated wobbly one every time.
Conclusion
Building a wood fireplace mantel is one of the most satisfying DIY upgrades because it changes the whole personality of a room. With careful measuring, safe clearance planning, solid anchoring, and patient finishing, you can create a mantel that looks custom without requiring a custom-millwork budget.
Start with the fireplace type, confirm the clearance rules, sketch a design that suits your home, and build in layers. Whether you choose a floating mantel shelf or a full fireplace surround, the goal is the same: a safe, sturdy, good-looking focal point that makes the room feel finished. And yes, once it is done, you are allowed to stand back with a cup of coffee and admire it like you personally invented architecture.














