
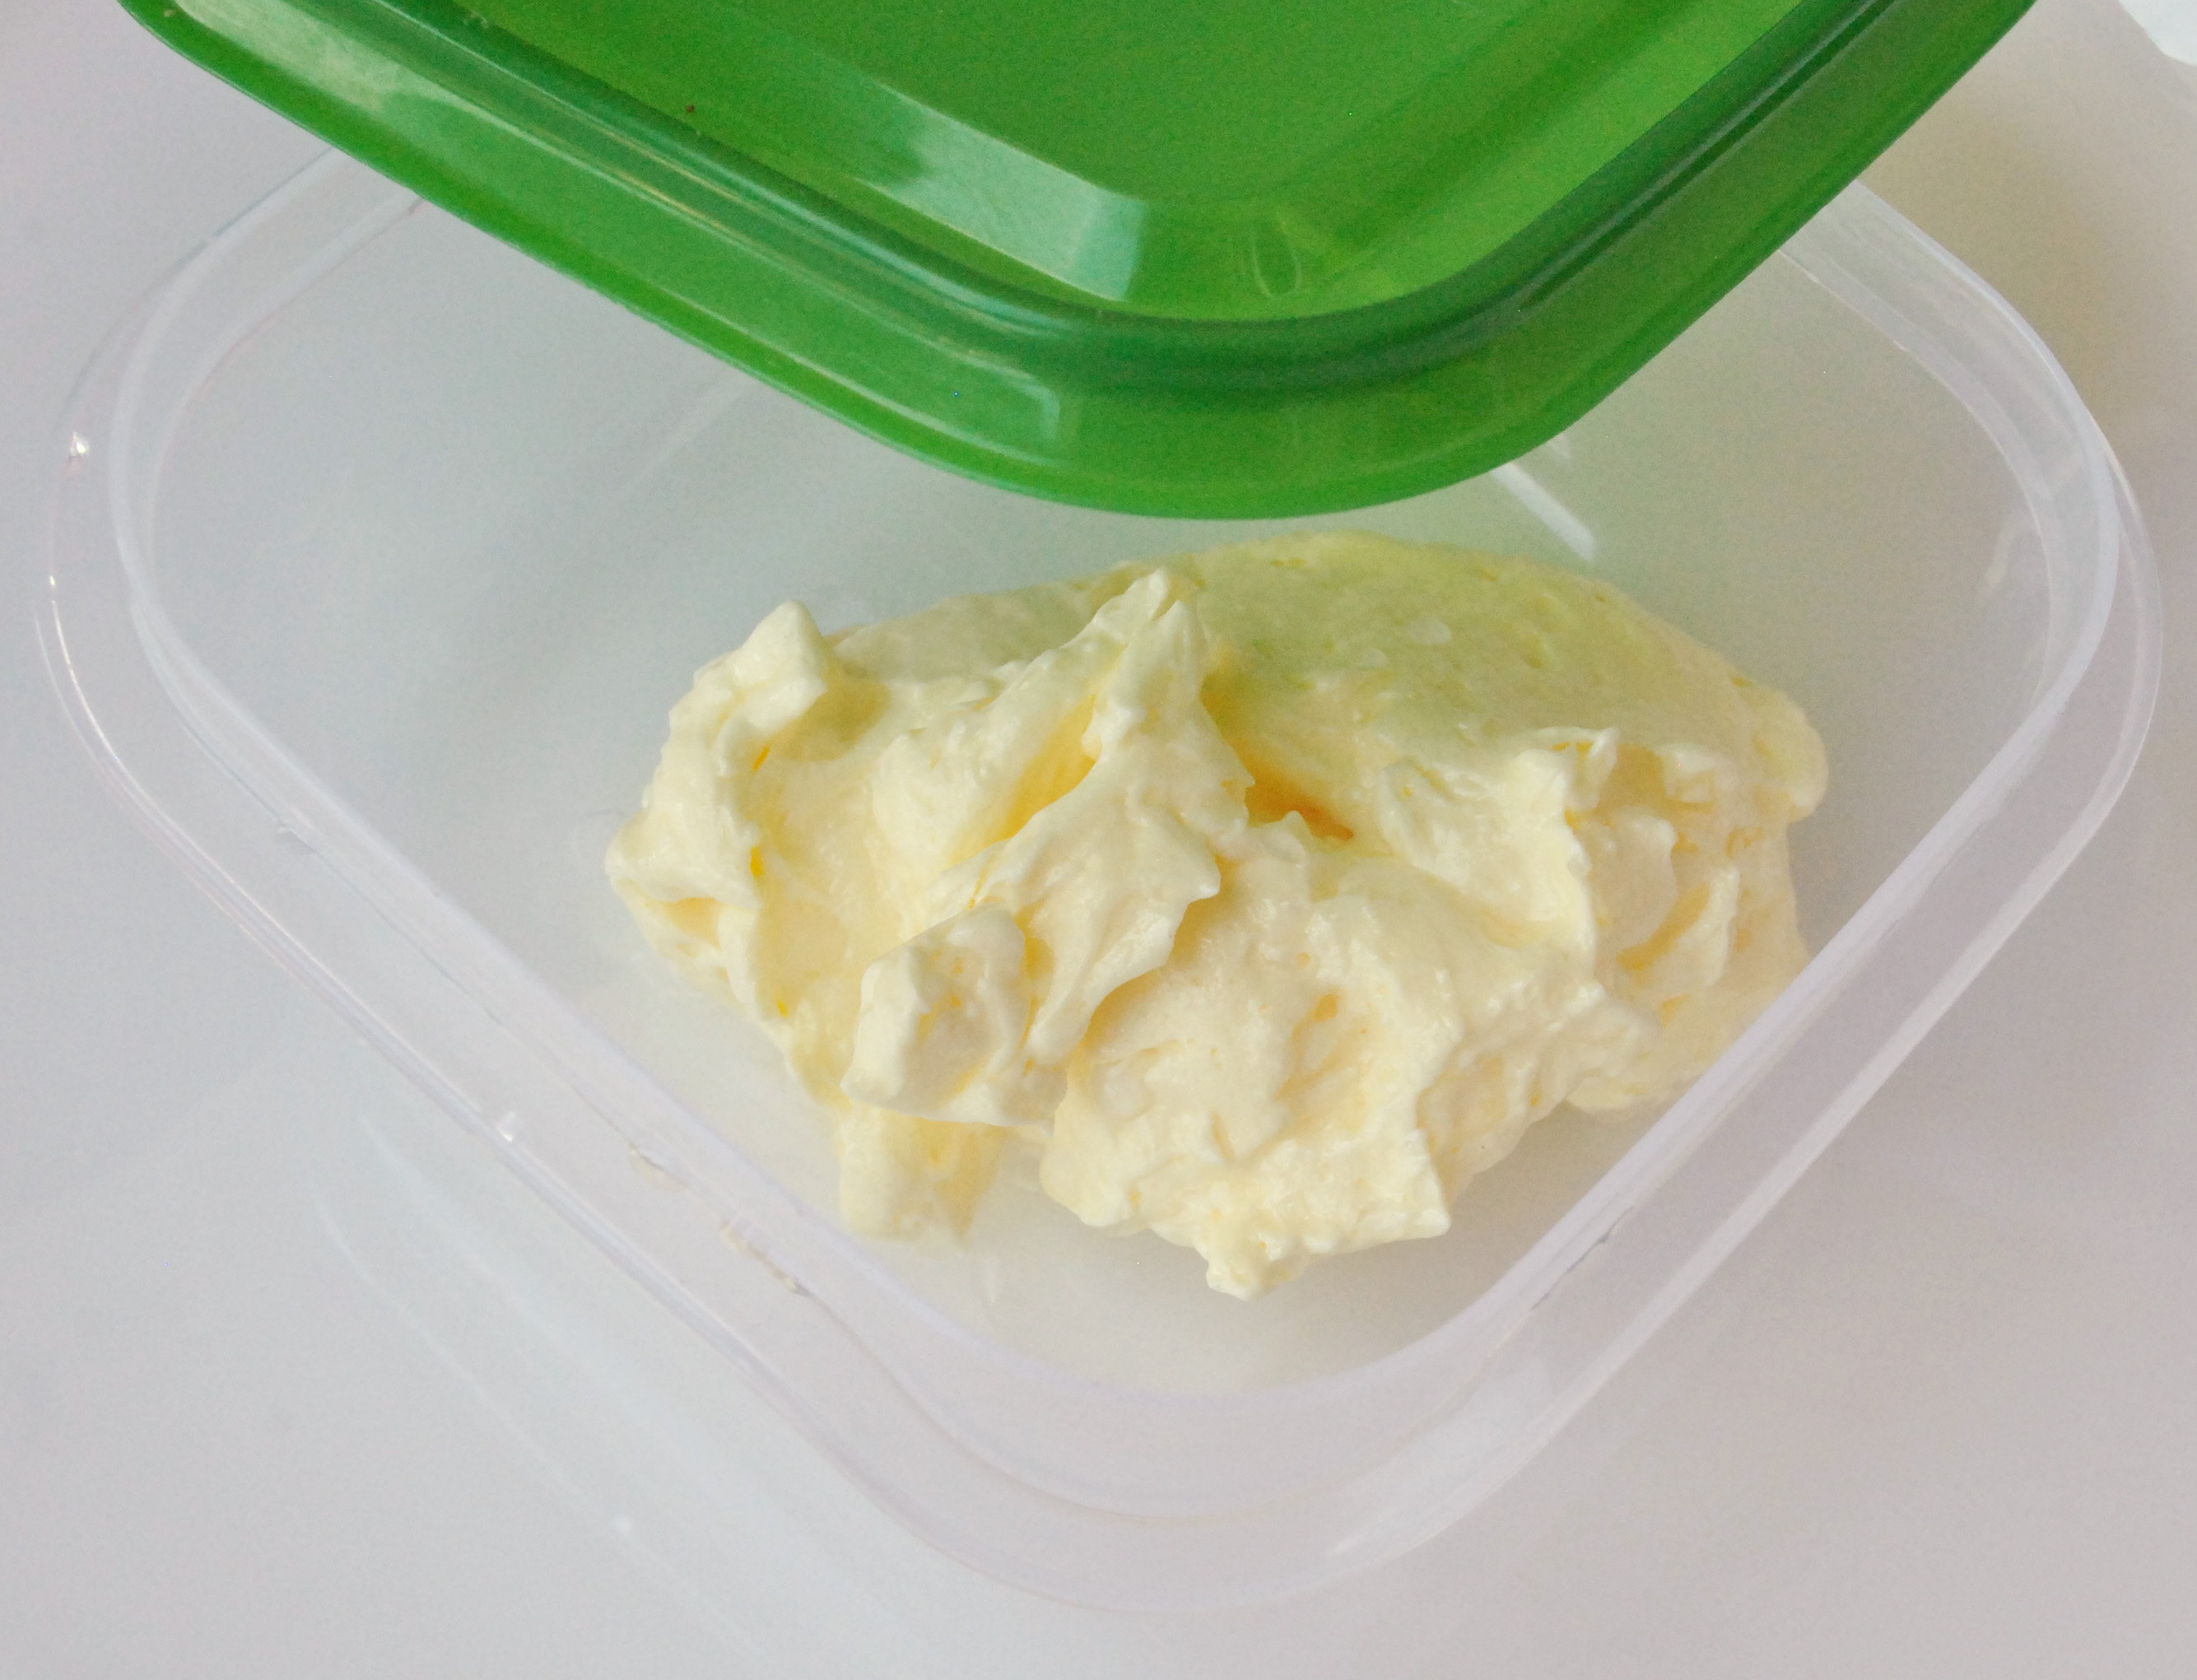
Making homemade butter sounds like something you should do while wearing an apron, listening to a fiddle, and suspiciously judging your neighbor’s pie. In reality, you can churn butter in an ordinary kitchen with heavy cream, a bowl, and enough determination to keep mixing after the cream looks “finished.” Spoiler: it is not finished. It is merely entering its dramatic phase.
This guide explains how to churn butter in seven practical steps, whether you use a stand mixer, hand mixer, food processor, blender, or a simple jar. You will learn what happens to the cream, why washing the butter matters, how to avoid common mistakes, and what to do with the leftover liquid. The reward is fresh, creamy butter that tastes especially impressive on warm bread, pancakes, corn on the cob, or anything that deserves a little dairy-powered applause.
What Does Churning Butter Actually Do?
Butter begins as cream, which is mostly water with tiny fat droplets suspended throughout it. When you shake, whip, or churn the cream long enough, those fat droplets collide, lose their tidy little boundaries, and eventually clump together. The fat becomes butter, while the thinner liquid separates out.
That is why the process looks confusing at first. Cream turns into whipped cream. Then it becomes grainy and a little alarming. Then, suddenly, yellow butter pieces appear in a pool of liquid. You have not ruined dessert. You have simply crossed the border into Butter Country. Food-science demonstrations from university extension programs describe this same separation of fat solids and liquid during vigorous agitation.
For the most dependable homemade butter, choose heavy cream rather than half-and-half or coffee cream. Under U.S. standards, heavy cream contains at least 36% milkfat, giving it enough fat to form butter efficiently.
What You Need to Churn Butter
- 2 cups pasteurized heavy cream or heavy whipping cream
- A stand mixer, hand mixer, food processor, blender, butter churn, or large jar with a tight lid
- A fine-mesh strainer or colander
- A bowl of ice-cold water
- A wooden spoon, silicone spatula, or clean hands for pressing the butter
- Fine salt, optional
- A clean container, butter dish, or parchment paper for storage
Two cups of cream typically make about one cup of butter, although the final yield can vary depending on the cream’s fat content and how thoroughly you drain and wash it. Homemade butter is one of those rare kitchen projects where the “waste” is also useful, assuming you handle it safely and use it promptly.
How to Churn Butter in 7 Easy Steps
Step 1: Choose Good Heavy Cream
Start with plain, pasteurized heavy cream or heavy whipping cream. Avoid sweetened cream, coffee creamer, half-and-half, and anything labeled “light cream.” They do not contain enough milkfat for reliable butter-making, and they may leave you shaking a jar until you begin questioning every choice that brought you here.
Fresh cream usually gives the best flavor. Cream from a local dairy may have a more distinctive taste, while supermarket cream still makes perfectly good butter. Check the date, keep the carton refrigerated, and use cream that smells clean and fresh.
Step 2: Prepare Clean Equipment and Leave Room to Move
Wash and dry your bowl, beaters, jar, spatula, and storage container. Butter is simple, but dairy is not casual about cleanliness. Any leftover soap, crumbs, or mystery refrigerator particles can affect the flavor.
If using a jar, fill it only halfway with cream. The empty space allows the cream to move and crash around as you shake it. A crowded jar creates a sluggish little cream spa; a half-full jar creates enough movement to help the fat gather into butter.
For a mixer or food processor, use a bowl large enough to contain splashes. The final separation can happen quickly, and thin buttermilk-like liquid has an uncanny ability to leap directly toward your shirt.
Step 3: Start Churning, Shaking, or Mixing
Choose your method:
- Jar method: Shake vigorously for about 15 to 20 minutes.
- Hand or stand mixer: Beat the cream on medium to medium-high speed until it separates.
- Food processor: Process until butter pieces form and liquid appears.
- Blender: Blend carefully, stopping once the butter and liquid separate.
- Traditional churn: Churn steadily until the butter granules form.
Jar butter is especially fun with children because everyone can take a turn shaking. University extension programs commonly use this method as a food-science activity, often noting that the process may take five to twenty minutes depending on the amount of cream, temperature, and enthusiasm level.
Step 4: Watch the Cream Change in Stages
This is the moment when patience earns a standing ovation. As you churn butter, the cream passes through several recognizable stages:
- Liquid cream: Smooth, pourable, and innocent-looking.
- Foamy cream: Bubbles appear as air becomes trapped.
- Whipped cream: Thick, fluffy, and dangerously tempting.
- Grainy cream: The texture begins to look curdled or sandy.
- Butter separation: Yellow clumps form, and thin liquid splashes around them.
Do not stop at whipped cream. Butter happens only after you continue beyond that stage. Culinary testing sources describe butter as the result of whipping cream until the butterfat coalesces and separates from the liquid.
Step 5: Drain the Liquid
Once you see a distinct butter mass surrounded by liquid, stop mixing. Pour the mixture through a fine-mesh strainer set over a bowl. Save the liquid if you want to use it soon in savory cooking, pancakes, biscuits, soups, or mashed potatoes.
One important detail: the liquid left from sweet-cream butter is not necessarily the same as cultured buttermilk sold in cartons. Store-bought cultured buttermilk is fermented and tangy, while fresh churn liquid is milder and less acidic. Treat it as a fresh dairy byproduct, refrigerate it promptly, and use it quickly rather than assuming it will behave exactly like commercial buttermilk in every baking recipe.
Step 6: Wash and Work the Butter
Place the butter in a bowl of ice-cold water. Gently press, fold, and squeeze it with a spatula, wooden spoon, or clean hands. Pour off the cloudy water and repeat with fresh cold water until the water looks mostly clear.
This step is not just for people who enjoy giving butter a tiny spa treatment. Washing helps remove trapped liquid, which can shorten freshness and create an off flavor over time. Several university and culinary sources recommend rinsing and pressing the butter until the water runs clearer.
After washing, press the butter firmly against the side of the bowl to remove as much remaining moisture as possible. The drier the butter, the better it will keep and the less likely it is to weep a small dairy puddle onto your toast.
Step 7: Salt, Shape, Chill, and Enjoy
Taste the butter before adding anything. Unsalted homemade butter is delicate and sweet, with a clean cream flavor. For salted butter, work in fine salt a pinch at a time. Start with about 1/4 teaspoon for two cups of cream, then adjust to your preference.
Shape the butter into a ball, log, block, or rustic mound that says, “Yes, I made this, and no, I will not apologize for putting it on everything.” Wrap it in parchment paper or place it in an airtight container. Refrigerate promptly.
Why Homemade Butter Tastes Different
Fresh butter often tastes softer, creamier, and more fragrant than a standard supermarket stick because it has not been sitting in storage for weeks and because you control how much liquid remains. The flavor also depends heavily on the cream. Rich local cream may taste grassy, sweet, or slightly more complex than a generic carton.
Homemade butter is especially good as a finishing butter: spread over warm bread, melted onto vegetables, stirred into rice, or dropped onto a steak just before serving. For precision baking, commercial butter may still be easier because it has consistent water content and salt levels. Your homemade butter will work in many recipes, but it shines brightest when its fresh flavor gets center stage instead of being buried under three cups of flour and an identity crisis.
Common Homemade Butter Problems and Fixes
The Cream Is Not Turning Into Butter
Keep going. Most “failures” are simply cream that has reached whipped cream but has not yet crossed into butter territory. Continue mixing or shaking until you see definite yellow clumps and separated liquid.
If the cream remains stubborn after a long time, check that you used heavy cream, not a lower-fat product. Also make sure there is enough room in the container for movement if you are using the jar method.
The Butter Is Too Soft
Soft butter often means it still contains excess liquid or has warmed too much during handling. Wash it again in ice-cold water, press it firmly to remove moisture, and chill it before shaping.
The Butter Has a Sour or Odd Smell
Do not try to rescue dairy that smells spoiled. Fresh butter should smell pleasantly creamy, not sharply sour, yeasty, or unpleasant. Start with fresh pasteurized cream and refrigerate the finished butter promptly.
The Butter Is Full of Water
Keep kneading and pressing. Change the wash water as needed. The goal is not to punish the butter; it has already been through enough. You are simply encouraging the last trapped droplets to leave the building.
Flavor Ideas for Fresh Churned Butter
- Honey butter: Mix in honey and a pinch of salt for biscuits, cornbread, or pancakes.
- Garlic herb butter: Add minced garlic, parsley, chives, and black pepper.
- Maple cinnamon butter: Blend in maple syrup, cinnamon, and a tiny pinch of salt.
- Lemon pepper butter: Add lemon zest, cracked black pepper, and flaky salt.
- Chili-lime butter: Mix in lime zest, chili powder, and a dash of smoked paprika.
Add wet ingredients sparingly because extra liquid can affect texture and shorten storage life. When using fresh herbs, make small batches and refrigerate them carefully.
How Long Does Homemade Butter Last?
Keep homemade butter refrigerated in a clean, covered container. Because it is fresh dairy and may retain more moisture than commercial butter, it is best enjoyed relatively soon. Use your senses: discard butter with mold, an unpleasant odor, or an unusual flavor.
Keep your refrigerator at 40°F or below, and do not leave perishable dairy foods out for extended periods. Food-safety guidance advises refrigerating perishables promptly and avoiding more than two hours at room temperature, or one hour in very hot conditions.
Hands-On Experiences: What Churning Butter Teaches You
Churning butter is one of those kitchen projects that quietly changes the way you look at ordinary food. Before making it, a carton of cream can seem like a one-note ingredient: useful for coffee, sauces, whipped topping, and the occasional emergency pasta situation. After making butter, you realize cream is a tiny science experiment waiting for somebody to shake it too aggressively.
The first memorable experience is the false finish line. Nearly everyone who makes butter for the first time pauses at whipped cream and thinks, “Well, that was easy.” Then the cream gets thicker, then rougher, then oddly grainy. This is usually the point where a beginner worries that something has gone wrong. In fact, something has gone very right. The transformation teaches a useful cooking lesson: appearance changes do not always signal failure. Sometimes they signal that you are thirty seconds away from a better result.
The jar method is especially good for families, classrooms, and anyone who enjoys turning snack time into a low-stakes workout. One person shakes for a few minutes, hands the jar to someone else, and suddenly everyone becomes emotionally invested in a small yellow lump. Children can see that butter is not “made in a factory somewhere far away.” It comes from cream, movement, and a lot of tiny fat droplets deciding to form a union.
Making butter also builds patience in a surprisingly practical way. You cannot rush the process by staring at the cream with intensity. You need steady movement, small breaks to check progress, and a willingness to continue when the mixture looks strange. That makes butter churning a useful reminder for cooking in general. Bread dough needs time. Onions need time. Soup needs time. And apparently, cream needs a few minutes to have a complete emotional breakdown before becoming delicious.
Another valuable experience comes from washing and kneading the finished butter. At first, it may seem unnecessary. You already have butter. Why keep pressing it around in cold water? But as the water turns cloudy, you can see that the butter still contains leftover liquid. This makes the process tangible: food quality often depends on small finishing steps that are easy to skip. Rinsing, draining, seasoning, resting, and storing properly can matter just as much as the big dramatic moment.
Finally, homemade butter makes everyday eating feel more intentional. A piece of toast with fresh butter is still toast. It has not become a royal banquet with trumpets and velvet curtains. Yet it tastes more meaningful because you know exactly how it came together. That feeling is the real reward. Churning butter is not about replacing every grocery-store product in your home. It is about understanding one familiar food a little betterand enjoying the fact that your kitchen can still surprise you.
Conclusion
Learning how to churn butter is simple, satisfying, and much less old-fashioned than it sounds. Begin with pasteurized heavy cream, keep churning past the whipped-cream stage, drain the separated liquid, rinse the butter in cold water, and press out excess moisture before chilling it.
The seven-step method turns an ordinary carton of cream into a fresh, flavorful butter you can customize with salt, honey, herbs, garlic, citrus, or spices. Whether you make it in a jar for a family activity or use a mixer for a quick kitchen project, homemade butter offers a tasty reminder that some of the best food transformations happen when you keep going just a little longer than expected.













