
A cast iron griddle is the kitchen equivalent of a loyal pickup truck: sturdy, dependable, slightly heavy, and happiest when it is used often. It can turn out golden pancakes, crisp bacon, smashed burgers, grilled cheese, fajitas, eggs, steaks, and vegetables with the kind of beautiful browning that makes dinner look like you knew what you were doing all along.
But after the cooking comes the question that has caused more kitchen arguments than whether pineapple belongs on pizza: how do you clean a cast iron griddle without ruining it? The good news is that cast iron is not made of porcelain feelings. It is tough. It can handle warm water, gentle scrubbing, and even a little mild soap when needed. What it cannot handle is being soaked overnight, tossed in the dishwasher, or stored while damp like a sad little rust magnet.
This complete care guide explains how to clean a cast iron griddle after everyday cooking, how to remove stuck-on food, how to deal with grease, how to prevent rust, and how to maintain that smooth, seasoned cooking surface. Whether you own a flat stovetop griddle, a reversible grill/griddle, or a large cast iron griddle that sprawls over two burners like it pays rent, the same basic rules apply: clean it while warm, dry it completely, oil it lightly, and store it properly.
Why Cast Iron Griddles Need Special Care
Cast iron griddles are different from stainless steel pans, nonstick skillets, and aluminum sheet pans. They are made from iron, which means they are excellent at retaining heat but vulnerable to rust when exposed to moisture for too long. The magic layer that protects cast iron is called seasoning. No, not garlic powder. In cast iron language, seasoning is a thin, hardened layer of oil that has bonded to the metal through heat.
That seasoning layer helps create a naturally slick cooking surface and shields the iron from water and air. Over time, regular cooking and careful cleaning make the surface darker, smoother, and more reliable. A well-maintained cast iron griddle does not just survive years of cooking; it improves with age, like jeans, baseball gloves, and people who finally learned not to use metal forks on nonstick pans.
Cast Iron Griddle vs. Cast Iron Skillet
The cleaning principles are similar, but griddles have a few quirks. A flat cast iron griddle has a wide surface that can collect grease in corners or along raised edges. A reversible cast iron griddle often has a ridged grill side, which means food bits can hide between the ridges like tiny crispy fugitives. Large griddles may also span two burners, so they can heat unevenly and require extra attention when drying and re-oiling.
The goal is simple: remove food residue without stripping the seasoning, remove water before rust can form, and apply only the thinnest coat of oil afterward.
What You Need to Clean a Cast Iron Griddle
You do not need a laboratory, a secret family ritual, or a dramatic soundtrack. Most cast iron griddle cleaning can be done with basic kitchen tools.
Recommended Supplies
- Warm or hot water
- A stiff nylon brush, non-scratch scrub pad, or cast iron cleaning brush
- A pan scraper or plastic scraper for stuck-on food
- Coarse kosher salt for stubborn residue
- Mild dish soap, used sparingly when needed
- Paper towels or a clean lint-free towel
- Neutral oil such as vegetable, canola, grapeseed, or avocado oil
- Chainmail scrubber, optional but useful for tough bits
What to Avoid
- Do not put a cast iron griddle in the dishwasher.
- Do not soak it in the sink.
- Do not store it wet.
- Do not use harsh degreasers for everyday cleaning.
- Do not leave thick oil on the surface, which can turn sticky.
- Do not panic over a little discoloration; cast iron is supposed to look lived-in.
How to Clean a Cast Iron Griddle After Everyday Cooking
The easiest time to clean a cast iron griddle is shortly after cooking, while the surface is still warm but not screaming-hot. Warm food residue releases more easily, grease wipes away faster, and you are less likely to need aggressive scrubbing.
Step 1: Let the Griddle Cool Slightly
After cooking, turn off the heat and let the griddle cool for a few minutes. You want it warm enough to loosen food, but not so hot that water instantly flashes into steam or your towel becomes a tiny smoke machine. Never pour cold water onto a very hot cast iron griddle because sudden temperature changes may stress the metal.
Step 2: Wipe Away Grease and Loose Food
Use a paper towel or spatula to remove excess grease, crumbs, and food scraps. If you cooked bacon or burgers, pour liquid grease into a heat-safe container instead of sending it down the drain. Your pipes do not want a bacon fat facial.
Step 3: Rinse With Warm Water
Rinse the griddle under warm water if it fits in your sink. If it is too large, wipe it down with a wet cloth or pour a small amount of warm water onto the surface while it sits safely on the stovetop. Use a brush or non-scratch pad to loosen remaining residue.
Step 4: Use Mild Soap Only When Needed
Modern mild dish soap is generally safe on well-seasoned cast iron. The old rule that soap instantly destroys cast iron came from a time when soaps were harsher and often contained lye. Today, a small drop of mild dish soap can help remove greasy residue, especially after cooking meat, fish, or strongly flavored foods. The trick is moderation: use a little soap, rinse well, and dry immediately.
Step 5: Dry Completely
This is the most important step. Water is the enemy of cast iron, not soap. Dry the griddle thoroughly with a towel, then place it over low heat for a few minutes to evaporate hidden moisture. Pay attention to corners, handles, raised edges, and grill ridges. If your griddle has two sides, dry both sides.
Step 6: Apply a Very Thin Layer of Oil
Once the griddle is dry and warm, add a few drops of neutral oil and wipe it across the surface with a paper towel. Then wipe again with a clean towel until the griddle looks almost dry. This sounds strange, but excess oil is one of the biggest causes of sticky cast iron. You want a whisper of oil, not a salad dressing situation.
Step 7: Heat Briefly and Store
Warm the oiled griddle for a minute or two, then let it cool completely before storing. Keep it in a dry cabinet or on the stovetop. If stacking with other cookware, place a paper towel between pieces to absorb moisture and protect the seasoning.
How to Remove Stuck-On Food From a Cast Iron Griddle
Even the best griddle occasionally hosts a stubborn patch of burnt pancake batter, melted cheese, or mysterious black stuff that nobody wants to identify. Do not attack it like you are sanding a deck. Start gentle and work your way up.
Method 1: Hot Water and a Scraper
Add a small amount of warm water to the warm griddle and scrape with a pan scraper or wooden spatula. This works well for cooked-on sauces, egg residue, and burger bits. Once loosened, rinse, dry, and oil as usual.
Method 2: Coarse Salt Scrub
For stubborn residue, sprinkle coarse kosher salt onto the griddle. Use a folded paper towel or cloth to scrub in circles. Salt acts as a gentle abrasive, lifting food without being as harsh as steel wool. After scrubbing, discard the dirty salt in the trash, rinse quickly, dry thoroughly, and oil lightly.
Method 3: Simmer Water for Heavy Buildup
If the griddle has a truly stubborn patch, add a thin layer of water and heat it until it simmers. Let the bubbling water loosen the stuck food for a minute or two, then scrape gently. Do not walk away and let the water boil dry. Cast iron drama is avoidable, and nobody needs a smoke alarm solo.
Method 4: Chainmail Scrubber
A chainmail scrubber can be helpful for stuck-on food, especially on textured or ridged griddles. Use light to moderate pressure. The goal is to remove food, not excavate the seasoning layer like an archaeologist looking for ancient breakfast.
How to Clean a Ridged Cast Iron Grill Griddle
Ridged cast iron griddles are excellent for grill marks, but the valleys between ridges collect grease and char. After cooking, use a brush with firm bristles to scrub along the direction of the ridges. A small pan scraper, nylon brush, or even a folded towel wrapped around a spoon handle can help clean the grooves.
For sticky residue between ridges, add warm water and let it sit for only a minute or two while the griddle is warm. Scrub, rinse, dry over heat, and oil lightly. Be sure to oil the ridges and valleys evenly. A spray of oil can help, but wipe away the excess so the surface does not become gummy.
How to Remove Rust From a Cast Iron Griddle
Rust can happen if a griddle is left wet, stored in a damp place, or neglected for a while. The good news: light rust is usually fixable. Cast iron is famously forgiving. It may look terrible, but unless it is cracked or deeply pitted, it can often be revived.
For Light Rust
- Scrub the rusty area with a stiff brush, non-scratch pad, or fine steel wool.
- Wash with warm water and a small amount of mild soap.
- Rinse thoroughly.
- Dry completely with a towel and then over low heat.
- Apply a thin layer of neutral oil.
- Heat the griddle to help the oil bond to the surface.
For Heavier Rust
Heavier rust may require more scrubbing and a full re-seasoning. Fine steel wool can be used when restoring rusty cast iron, but understand that it may remove some seasoning. That is okay if you plan to re-season the griddle afterward. Once the rust is gone, wash, dry, oil, and heat the cast iron until it has a protective finish again.
If the griddle is deeply cracked, badly warped, or flaking metal, replacement may be safer. Surface rust is normal. Structural damage is not.
How to Re-Season a Cast Iron Griddle
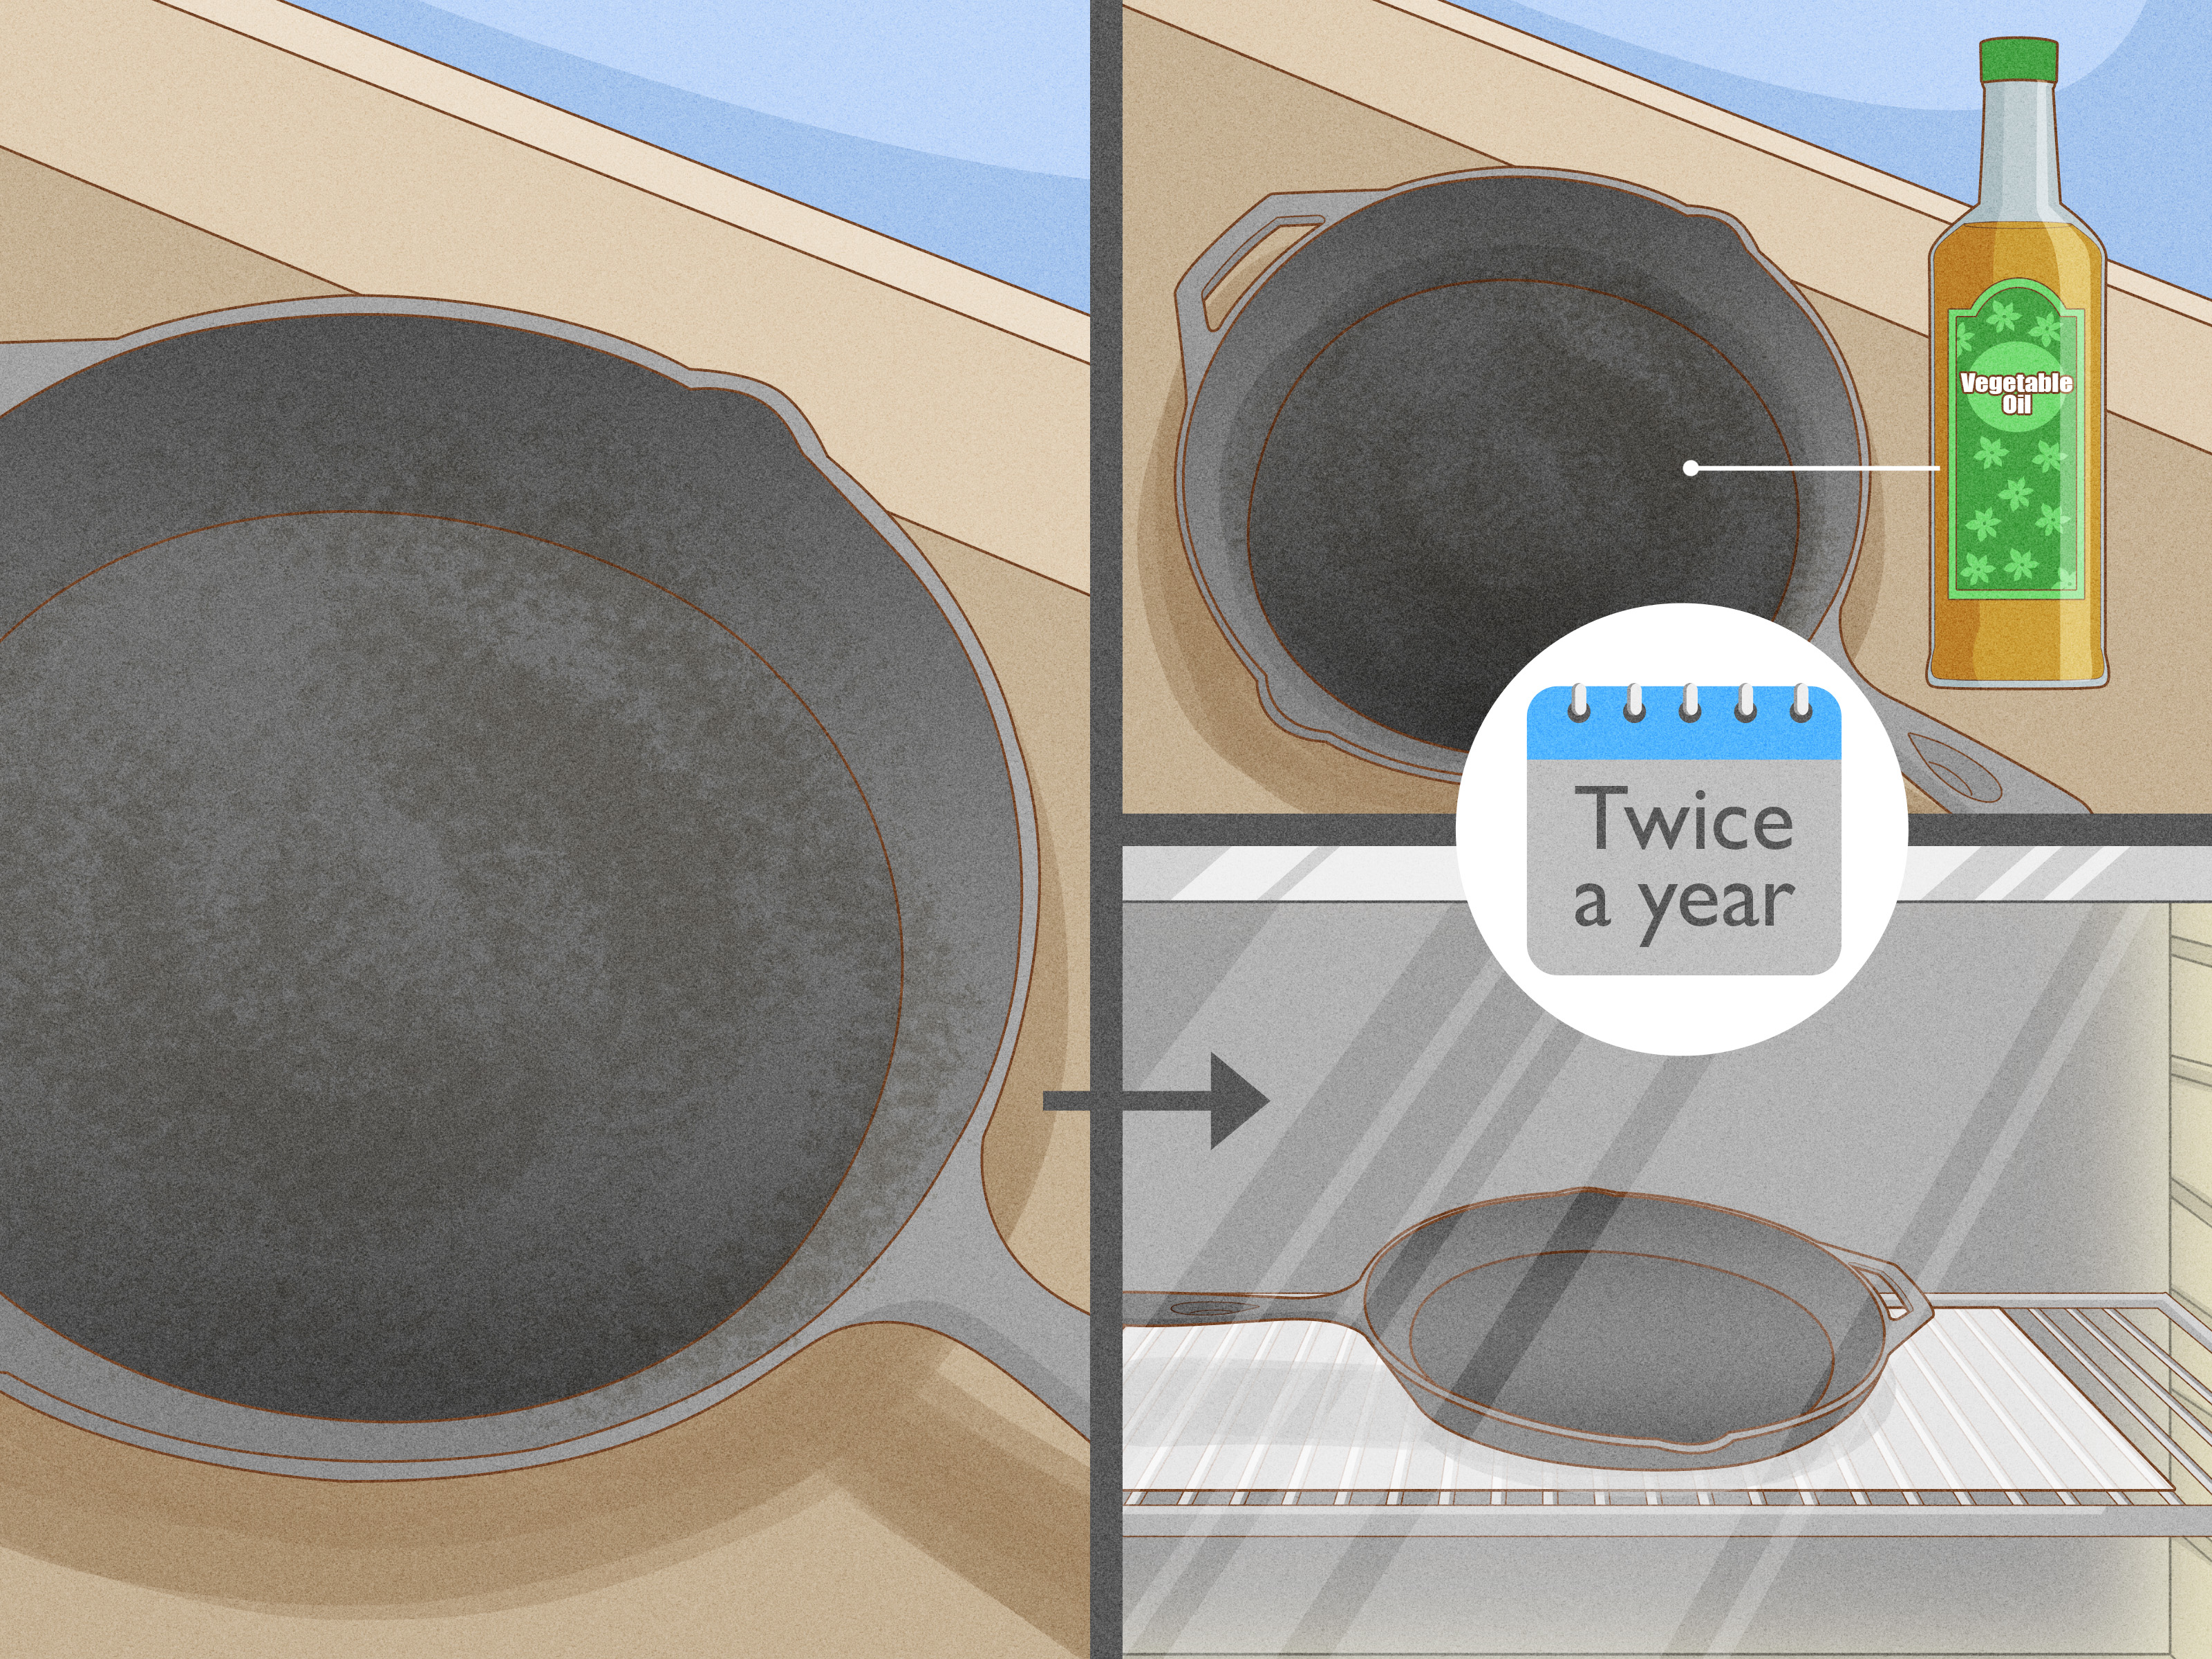
Re-seasoning is not complicated. It is simply the process of applying a very thin layer of oil and heating it until it bonds to the iron. You may need to re-season your griddle if it looks dull, patchy, rusty, sticky, or if food suddenly starts clinging like it has abandonment issues.
Oven Method
- Clean the griddle thoroughly and dry it completely.
- Rub a very thin coat of neutral oil over all surfaces, including edges and handles.
- Wipe away excess oil until the surface looks almost dry.
- Place the griddle upside down in the oven, with foil or a baking sheet below to catch drips.
- Bake at a high temperature, usually around 450 to 500 degrees Fahrenheit, for about one hour.
- Turn off the oven and let the griddle cool inside.
Stovetop Method
If your griddle is too large for the oven, use the stovetop. Place it over low to medium heat, apply a thin layer of oil, wipe away excess, and heat until the surface darkens and looks dry. Move or rotate the griddle if it spans two burners so heat reaches the full surface. Repeat thin coats as needed.
Best Oils for Seasoning
Use neutral oils with relatively high smoke points, such as vegetable oil, canola oil, grapeseed oil, avocado oil, or shortening. Avoid butter for seasoning because it contains water and milk solids that can burn and leave a sticky, uneven coating. Butter belongs on the pancakes, not as the foundation of your griddle’s protective armor.
Common Cast Iron Griddle Cleaning Mistakes
Mistake 1: Soaking the Griddle
A quick rinse is fine. A long soak is trouble. Soaking allows water to creep into bare spots and can cause rust. If food is stuck, use warm water, salt, or simmering water briefly instead.
Mistake 2: Putting It in the Dishwasher
Dishwashers combine water, detergent, long exposure, and heat. That combination is great for plates but rough on cast iron seasoning. Hand-wash your griddle and it will reward you with decades of service.
Mistake 3: Using Too Much Oil
A thick layer of oil does not create better seasoning. It creates sticky patches. Always wipe off excess oil before heating or storing. The best oil layer is so thin you may wonder if you removed too much. You probably did it right.
Mistake 4: Storing It Wet
Even a few droplets can cause rust spots. Dry with a towel, then use low heat to finish the job. This extra minute is the difference between “beautiful heirloom cookware” and “why does my pan look like a shipwreck?”
Mistake 5: Expecting It to Look Perfect
Cast iron is not supposed to look showroom-new forever. A working griddle develops color variation, dark patches, and a seasoned surface that changes over time. Judge it by performance, not by whether it looks ready for a cookware beauty pageant.
How Often Should You Clean and Oil a Cast Iron Griddle?
Clean your cast iron griddle after every use. That does not always mean soap and scrubbing. Sometimes it means wiping away crumbs, rinsing lightly, drying, and oiling. If you cooked something greasy and clean, such as bacon, you may need only a quick wipe and heat-dry. If you cooked sticky sauces, fish, eggs, cheese, or meat, wash more thoroughly.
Oil the griddle lightly after cleaning whenever the surface looks dry or dull. With frequent use, the seasoning will build naturally. Cooking with a bit of oil, especially foods like potatoes, cornbread, bacon, grilled sandwiches, and vegetables, helps maintain the surface.
Storage Tips to Prevent Rust
Store your griddle in a dry location with airflow. If you keep it in a cabinet, avoid placing it under a sink or near moisture. If you stack cookware, use a paper towel, cloth, or pan protector between pieces. For reversible griddles, make sure both sides are fully dry and lightly protected before storage.
If you use your griddle outdoors, bring it inside after it cools. Covered patios, garages, and outdoor kitchens can still be humid. Cast iron has a long memory for moisture, and it will express that memory in orange spots.
Food Safety and Flavor Tips
Cleaning cast iron is not just about appearance. It also keeps flavors from carrying over. Yesterday’s salmon should not haunt tomorrow’s pancakes. If you cook strongly flavored foods, use mild soap and warm water, rinse well, dry, and oil. A clean griddle should smell neutral, not like a seafood restaurant wearing maple syrup perfume.
Also remove sticky or burnt residue before storage. Old food bits can turn rancid, smoke during the next cooking session, and interfere with the smooth surface you are trying to build.
Experience Notes: What Real Cast Iron Griddle Care Looks Like in Daily Life
In real kitchens, cast iron care is rarely as perfect as the instructions make it sound. You cook pancakes on Saturday morning, everyone eats, someone asks where the syrup is, someone else leaves a fork in the sink, and the griddle sits on the stove cooling while life continues. That is normal. The important thing is to come back to it before moisture and food residue have time to cause trouble.
One of the most practical habits is cleaning the griddle while it is still slightly warm. After making bacon and eggs, for example, wipe away the extra grease first. Then use a damp cloth or brush to lift the browned bits. If the surface still feels slick but clean, dry it over low heat and add only a few drops of oil. This takes less than five minutes, which is shorter than the time most people spend looking for the lid that definitely used to fit that container.
For pancake mornings, the common issue is not grease but batter residue. Little rings of cooked batter can cling to the surface, especially if the griddle was not fully preheated. A warm-water wipe usually handles them. If not, coarse salt works beautifully. Sprinkle salt, scrub with a folded paper towel, and watch the residue lift without turning the cleaning process into an arm workout. After that, rinse quickly, dry completely, and oil lightly.
For smashed burgers, expect more stuck-on browning. That browned crust is delicious on the burger but annoying on the griddle. Do not wait until the next day, when it has hardened into edible concrete. While the griddle is warm, scrape the surface with a metal spatula if your seasoning is strong, or use a pan scraper if you prefer a gentler approach. Add a splash of water to loosen the fond, wipe, dry, and oil. The griddle may look darker afterward, which is often a sign that the seasoning is developing.
A ridged grill side needs a little extra patience. After cooking steak, chicken, or vegetables, grease and char settle between the ridges. A stiff brush is your best friend here. Scrub with the ridges rather than across them, then wipe with a damp towel. If the valleys still look dirty, wrap a cloth around the edge of a spatula or spoon handle to reach into the grooves. It is not glamorous, but neither is serving chicken that tastes like last week’s peppers.
The biggest lesson from everyday use is this: cast iron rewards consistency, not perfection. You do not need to perform a full seasoning ceremony after every grilled cheese. You do not need to whisper compliments to the griddle, though it probably would not hurt. Just clean off food, remove moisture, apply a thin oil film, and store it dry. If rust appears, fix it. If the seasoning gets patchy, rebuild it. If food sticks, preheat better and use a little more cooking fat next time.
Over months of use, your cast iron griddle becomes easier to clean. The surface darkens, food releases better, and the cleaning routine becomes automatic. That is the beauty of cast iron: the more you use it and care for it, the more it acts like a trusted kitchen partner instead of a high-maintenance relic. Treat it well, and it may outlast your toaster, your blender, and possibly your patience during holiday cooking.
Conclusion
Learning how to clean a cast iron griddle is mostly about respecting three rules: do not soak it, dry it completely, and oil it lightly. Warm water, gentle scrubbing, coarse salt, and mild soap all have a place in proper cast iron griddle care. The real enemies are lingering moisture, dishwasher detergent, heavy oil buildup, and neglect.
A clean cast iron griddle should be dry, lightly protected, and ready for the next round of pancakes, burgers, tortillas, eggs, or grilled sandwiches. With regular care, the seasoning improves, the surface gets more reliable, and cooking becomes easier. Cast iron is not fragile; it is forgiving. Keep it clean, keep it dry, and it will keep feeding you beautifully for years.














