
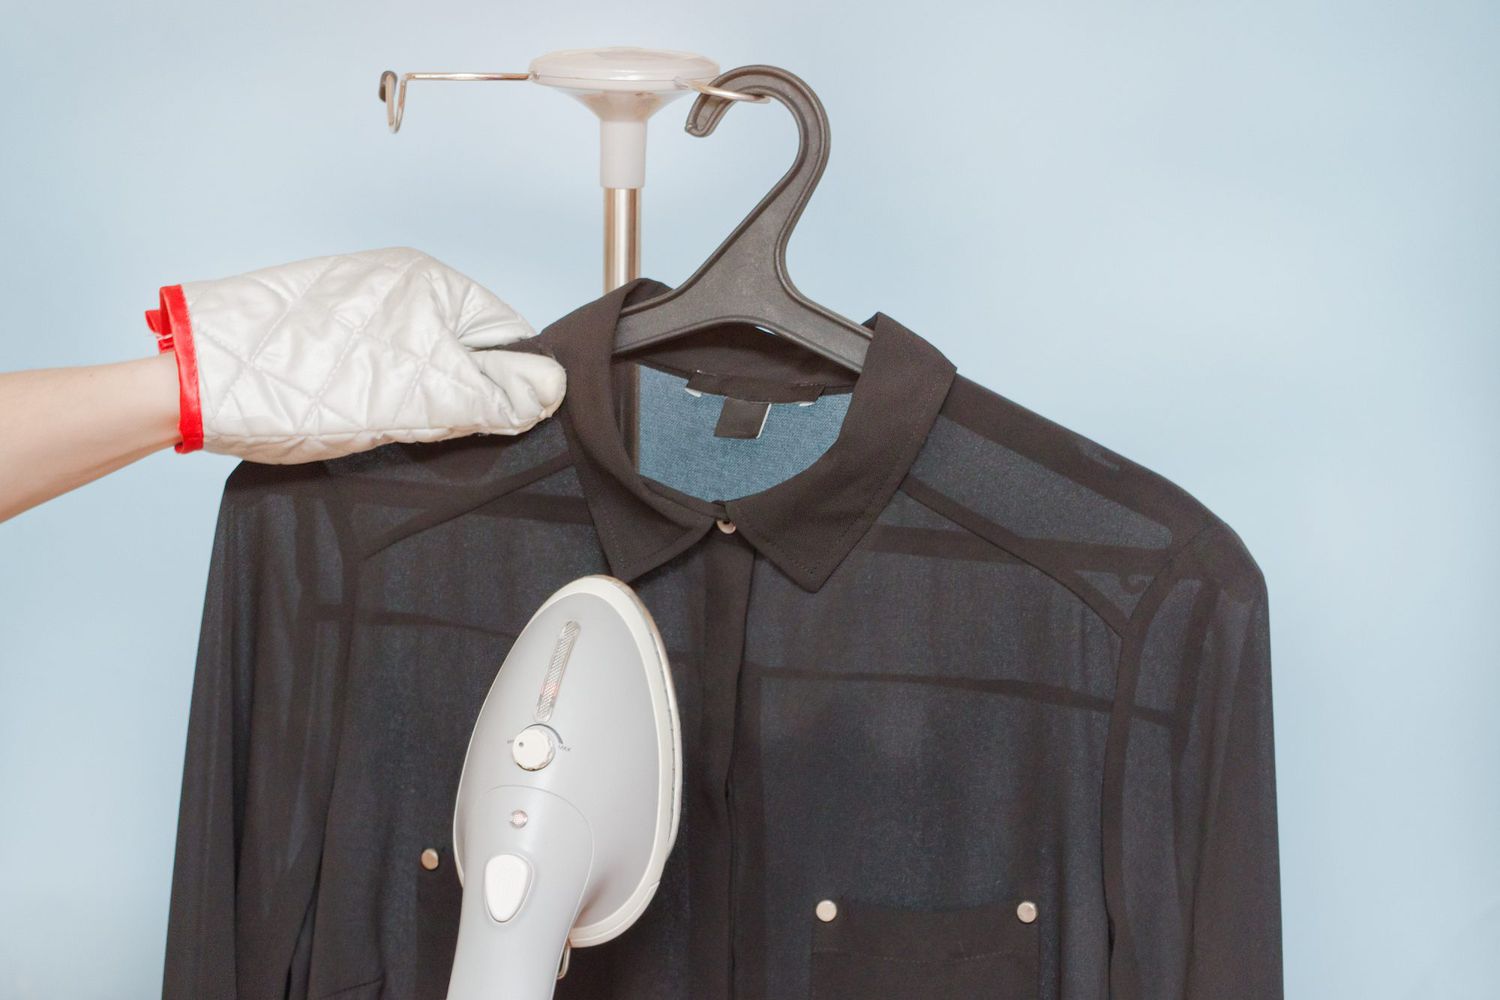
A steamer is one of those appliances that feels almost magical when it works well. Wrinkled shirt? Gone. Musty curtains? Refreshed. Upholstery looking tired? Steam says, “Not today.” But when a steamer starts spitting water, smelling odd, or producing steam with the enthusiasm of a tired tea kettle, it is usually not broken. It is probably dirty.
Learning how to clean a steamer the right way is not just about keeping an appliance pretty on the outside. It is about removing mineral buildup, preventing clogs, protecting fabrics, improving steam flow, and helping your machine last longer. Whether you use a handheld garment steamer, a standing clothes steamer, a travel steamer, or a household steam cleaner, the basic problem is often the same: water leaves minerals behind. Over time, those minerals form limescale inside the tank, nozzle, hose, and steam vents.
The good news? Cleaning a steamer is usually simple. The not-so-fun news? You do need to do it before your steamer begins coughing hot droplets like a tiny, dramatic volcano. This guide explains how to clean a steamer safely, how often to descale it, what to avoid, and how to keep it working smoothly without turning laundry day into a science experiment.
Why Steamers Get Dirty Even Though They Use Water
It seems odd that an appliance filled mostly with water can get dirty, but water is not always as innocent as it looks. Tap water often contains minerals such as calcium and magnesium. When water heats and turns into steam, those minerals do not evaporate with it. Instead, they stay behind and slowly collect inside the machine.
This buildup is called limescale or mineral deposit. It may look white, chalky, gray, or crusty. In some cases, it can turn brownish if mixed with old water residue or tiny traces of corrosion. If you live in a hard water area, your steamer may collect buildup faster than someone using soft water or distilled water.
Common signs your steamer needs cleaning
- The steamer spits or sputters instead of producing smooth steam.
- Steam output is weaker than usual.
- The nozzle looks chalky or clogged.
- The appliance smells stale, sour, or musty.
- Water droplets leave marks on clothing.
- The steamer takes longer to heat up.
- You hear unusual gurgling or popping sounds.
If your steamer shows any of these symptoms, it is asking for a spa day. Unfortunately, it cannot book one online, so you are the spa technician.
Before You Clean: Check the Manual First
Before pouring anything into your steamer, check the owner’s manual. This step matters because different steamers have different internal parts. Some manufacturers recommend a vinegar-and-water solution for descaling. Others specifically warn against putting vinegar, perfume, essential oils, detergent, or chemical cleaners in the tank.
If your manual says to use only water, follow that instruction. In that case, clean the tank with repeated water rinses, wipe the exterior, clear removable nozzles if allowed, and use the manufacturer’s recommended descaling product if one exists. If your manual allows vinegar descaling, use plain distilled white vinegar only, diluted as directed. Do not use apple cider vinegar, wine vinegar, scented vinegar, bleach, ammonia, laundry detergent, or random “internet magic potion” mixtures. Your steamer is useful, but it is not a soup pot.
Supplies You Need to Clean a Steamer
Gather everything before you start. Cleaning a steamer is easier when you are not wandering around the house holding a half-filled tank and muttering, “Where did I put the microfiber cloth?”
- Distilled water
- Distilled white vinegar, only if your manual allows it
- Microfiber cloth
- Cotton swabs
- Small bowl or measuring cup
- Soft toothbrush or small cleaning brush
- Toothpick or pin for removable nozzles, if approved by the manufacturer
- Towel for catching drips
Distilled water is helpful because it contains fewer minerals than most tap water. It can reduce future buildup and makes rinsing more effective. If your steamer’s manual recommends tap water instead, follow that guidance, but still empty the reservoir after each use to reduce residue.
How to Clean a Garment Steamer Step by Step
The following method works for many garment steamers, including handheld and upright models, but always adjust the process to match your manufacturer’s instructions. When in doubt, use the gentlest approach: unplug, cool, empty, rinse, wipe, and dry.
Step 1: Unplug the steamer and let it cool completely
Safety comes first. A steamer uses heat, pressure, and hot water, which is a spicy combination when handled carelessly. Turn the steamer off, unplug it, and let it cool completely before opening the reservoir or removing parts. Do not try to clean a hot steamer. This is not a contest of bravery; it is appliance maintenance.
Step 2: Empty old water from the tank
Pour out any remaining water. Old water can become stale and may contribute to odors or mineral buildup. If your steamer has a removable water tank, detach it and empty it over the sink. If the tank is built in, tilt the steamer carefully according to the manual’s instructions.
Never store a steamer with water sitting inside for days or weeks. That little puddle may look harmless, but it can leave deposits and create a musty smell. Emptying the tank after every use is one of the easiest ways to prevent problems.
Step 3: Rinse the tank with distilled water
Add a small amount of distilled water to the tank, swirl it gently, and pour it out. Repeat this two or three times if the water looks cloudy or if you see flakes. This helps loosen sediment before deeper cleaning.
If your manual says not to use vinegar or any descaling solution, this rinsing step may be your main internal cleaning method. You can also run a clean-water steaming cycle over a sink to help flush the system, as long as the manual allows it.
Step 4: Descale with vinegar only if approved
If your steamer’s instructions allow vinegar descaling, mix a solution of one part distilled white vinegar to two parts distilled water. Some brands recommend stronger or weaker ratios, such as half vinegar and half water, or one-third vinegar and two-thirds water. Follow the ratio in your manual whenever possible.
Pour the solution into the tank. For light buildup, let it sit for about 30 minutes. For heavier buildup, some steamers may need a longer soak, but do not exceed the manufacturer’s guidance. Vinegar can help dissolve mineral deposits, but too much exposure may be harsh on certain internal components.
Step 5: Run the steamer over a sink or towel
Plug the steamer in, allow it to heat, and release steam into a sink, bathtub, or old towel. Do not aim the vinegar steam at clothing, upholstery, wood, pets, plants, people, or anything else that does not deserve a vinegar facial.
Run about half of the solution through the machine, then turn it off and unplug it. Let it sit for another 15 to 30 minutes if your manual recommends a rest period. Then empty the remaining solution from the tank.
Step 6: Rinse until the vinegar smell is gone
Refill the tank with distilled water and run a full steaming cycle into the sink. Repeat as needed until there is no vinegar smell. This rinse step is important because leftover vinegar can transfer odor to fabrics and may continue sitting inside the appliance.
When the steam smells clean and neutral, empty the tank again. Let all parts cool before handling them.
Step 7: Clean the nozzle and steam vents
Mineral buildup often appears around the nozzle or steam holes. Wipe the area with a damp microfiber cloth. If your manual allows it, use a cotton swab dipped in distilled water or diluted white vinegar to clean around the vents. For removable nozzles, soak only the removable part in the approved cleaning solution, then rinse and dry thoroughly.
A toothpick or pin can help clear a blocked hole, but use a gentle hand. Do not jab aggressively or enlarge the steam openings. The goal is to remove buildup, not redesign the appliance.
Step 8: Wipe the exterior
Use a soft, damp microfiber cloth to wipe the handle, body, hose, cord, and base. If the exterior has water spots, a little diluted white vinegar on the cloth can help, but keep moisture away from electrical parts, buttons, plugs, and openings. Never submerge the steamer body in water.
Dry everything with a clean towel. Leave removable parts separated until fully dry. Reassemble only when the steamer is cool, clean, and moisture-free.
How to Clean a Standing Clothes Steamer
Standing clothes steamers usually have larger tanks, hoses, and poles. They can collect more mineral deposits because they hold more water and are often used for longer sessions. The cleaning process is similar to a handheld steamer but requires extra attention to the hose and base.
Clean the tank and base
Unplug the unit, let it cool, and remove the water tank. Empty all water from the tank and base. Rinse the tank several times with distilled water. If vinegar descaling is allowed, add the approved vinegar-and-water solution and let it sit according to the manual. Large tanks may need more soaking time than small handheld models.
Flush the hose
If the hose is detachable, remove it only after the unit is cool and unplugged. Rinse it with clean water if the manual permits. Hold it vertically to help water drain out. Let it air-dry completely before reattaching. A hose that stays damp can smell musty, which is not exactly the fragrance you want near freshly steamed clothes.
Inspect the pole, hanger, and fabric brush
Wipe the pole and hanger attachment with a damp cloth. Remove lint, fibers, and dust from fabric brushes or crease attachments. If attachments are washable, rinse them and dry thoroughly. If they are not washable, wipe them clean and let them air out.
How Often Should You Clean a Steamer?
The right cleaning schedule depends on how often you use the steamer and what kind of water goes into it.
- After every use: Empty the tank, wipe the exterior, and let the steamer dry.
- Weekly: Rinse the tank if you use the steamer several times a week.
- Every 30 to 60 days: Descale if you use tap water or notice weaker steam.
- Before long storage: Empty, rinse, dry, and store with the cap off if the manual allows airflow.
If you use distilled water every time, you may not need deep descaling as often. If you use hard tap water, clean more frequently. Hard water is basically your steamer’s clingy roommate: it leaves stuff everywhere.
What Not to Put in a Steamer
A steamer is designed to heat water, not household chemistry experiments. Avoid adding anything that could clog, corrode, foam, stain, or release irritating vapors.
- Bleach
- Ammonia
- Laundry detergent
- Fabric softener
- Essential oils
- Perfume or fragrance oils
- Apple cider vinegar
- Colored vinegar
- Dish soap
- All-purpose cleaner
Bleach and ammonia are especially dangerous and should never be heated in a steamer. Fragrances and oils can leave sticky residue inside the tank and may stain clothing. Detergents can foam and clog the system. If you want clothes to smell fresh, wash them properly first, then steam with clean water.
How to Prevent Mineral Buildup in a Steamer
Preventing buildup is much easier than fighting a clogged steamer later. The best maintenance routine takes less than two minutes after each use.
Use the right water
Distilled water is often recommended for garment steamers because it reduces mineral deposits. However, some appliances are designed for tap water or a mix of tap and distilled water. Read the manual and use the water type recommended for your model.
Do not let water sit in the tank
Empty the reservoir after every steaming session. Leaving water inside encourages mineral deposits and stale odors. It also makes the appliance less pleasant to use next time.
Let the steamer dry before storage
After emptying the tank, leave it open for a while if your model allows it. This helps moisture evaporate. Store the steamer upright in a cool, dry place. Avoid sealing a damp tank tightly for long periods.
Wipe the nozzle regularly
After the steamer cools, wipe the nozzle and steam plate. This prevents mineral residue from hardening around the openings. A quick wipe today can prevent a stubborn clog next month.
Troubleshooting: What If Your Steamer Still Spits?
If your steamer still spits after cleaning, do not panic. A few simple issues may be causing the problem.
The tank may be overfilled
Too much water can cause sputtering. Fill only to the marked line. More water does not mean more power; it often means more mess.
The steamer may not be hot enough
Give the appliance enough time to heat fully before using it. Starting too soon can push water through before it turns into steam.
The hose may be bent
On standing steamers, a kinked or low-hanging hose can trap condensation. Keep the hose upright and extended so water can flow back into the tank instead of spitting onto your shirt.
The nozzle may still be clogged
Check the steam holes again. If you see white buildup, clean the nozzle carefully. If the clog is severe and approved cleaning does not fix it, contact the manufacturer rather than forcing parts open.
The appliance may be recalled or damaged
If a steamer ejects hot water violently, leaks near electrical parts, smells like burning plastic, or shuts off unexpectedly, stop using it. Check the model number for recalls and contact the manufacturer. Hot water burns are serious, and no wrinkle is worth an injury.
Can You Clean a Steam Cleaner the Same Way?
Steam cleaners, steam mops, and garment steamers are related, but they are not identical. Many steam mops and household steam cleaners specifically warn users not to add vinegar or cleaning solutions to the tank. These machines may have pumps, seals, boilers, or pads that react poorly to additives.
For a steam mop or hard-surface steam cleaner, the safest cleaning method is usually to empty the tank, rinse with clean water, wipe the exterior, wash or replace pads, and use only the manufacturer’s recommended descaling process. Never assume that a vinegar method for a clothes steamer is safe for a steam mop.
How to Clean Steamer Attachments and Pads
Attachments need care, too. Fabric brushes can collect lint. Crease tools can develop residue. Steam mop pads can hold dirt, detergent residue, and odors.
For garment steamer attachments, remove lint by hand and wipe with a damp cloth. If the attachment is washable, rinse it under warm water and let it dry completely. For steam mop pads, follow the care label. Many microfiber pads can be machine-washed, but fabric softener should usually be avoided because it can reduce absorbency.
Do not store dirty pads attached to the steamer. That is like putting muddy shoes back in the closet and hoping for personal growth.
Real-World Experience: What Cleaning a Steamer Teaches You
The first time many people clean a steamer, they are surprised by how much residue comes out. The tank may look clean from the outside, but after a rinse or descaling cycle, tiny flakes can appear in the sink. That is usually mineral buildup. It is not glamorous, but it is satisfying in the same way cleaning a dryer lint trap is satisfying. You see the problem leaving.
One common experience is the “spitting shirt disaster.” You are getting ready for work, the shirt is almost presentable, and suddenly the steamer spits cloudy water onto the front. Now the shirt has a wet spot, you are annoyed, and the steamer has officially chosen violence. In many cases, that sputtering happens because minerals have blocked part of the steam path. Cleaning the nozzle and flushing the tank often improves the steam flow quickly.
Another lesson is that storage habits matter. A steamer used once and stored with water inside for a month may smell unpleasant the next time it heats up. The fix is simple: empty the tank after use and let it dry. It feels like a tiny chore, but it prevents bigger chores. Future you will appreciate it, especially when you are steaming a dress five minutes before leaving the house.
People who travel with compact steamers often learn a different lesson: hotel tap water can be unpredictable. In one city, the steamer works beautifully. In another, it starts leaving chalky dust around the nozzle after a few uses. Carrying or buying distilled water is not always convenient, but it can make a noticeable difference for frequent users. At minimum, emptying and rinsing the tank after travel helps reduce buildup.
Standing steamers teach patience. Because they have larger tanks and hoses, they may need more time to heat, more time to cool, and more time to dry. If the hose droops, condensation collects and spits out later. Keeping the hose upright during use and letting it drain afterward can make the machine feel much more reliable.
Perhaps the most useful experience is learning not to add “fresh scents” to the tank. It is tempting to add essential oil or fabric refresher, but residue can cling inside the machine and transfer to clothes. A steamer should smell like clean steam, which is to say, almost nothing. If clothing smells bad, steaming may help refresh it, but it does not replace washing. Steam is helpful, not a miracle worker wearing a cape.
After cleaning a steamer properly, the difference is often obvious. Steam comes out stronger. The nozzle stops sputtering. Clothes dry faster after steaming because they are not being sprayed with random droplets. The appliance feels less temperamental. Best of all, you avoid the silent panic of wondering whether your steamer is about to decorate your black pants with white mineral confetti.
The right routine is simple: use the correct water, empty the tank, wipe the nozzle, descale only when appropriate, and respect the manual. Treat your steamer well, and it will return the favor by making your clothes look like you have your life together, even on mornings when your coffee is doing most of the heavy lifting.
Conclusion
Cleaning a steamer the right way is a small habit that makes a big difference. Mineral buildup, old water, clogged nozzles, and damp storage can all reduce performance, but they are easy to prevent with regular care. Start by checking your manual, then empty and rinse the tank, wipe the exterior, clean the nozzle, and descale only with an approved method. Use distilled water when recommended, avoid fragrances and harsh cleaners, and never store the appliance with water sitting inside.
A clean steamer produces smoother steam, protects fabrics from drips, reduces odors, and helps the appliance last longer. In other words, it keeps your clothes looking polished without turning your laundry area into a troubleshooting department. Give your steamer a little maintenance, and it will keep fighting wrinkles like the tiny fog machine of responsibility it was born to be.














